As an Amazon Associate I earn from qualifying purchases.
I am so excited for spring and all the fun crafts that come with it! The warmer months are my favorite and they mean birds, sunshine, and paper plate bird crafts. Make these adorable paper plate birds with your kids and bring a little more sunshine into the home. Check out how easy they are to make!
As an Amazon Associate, I earn from qualifying purchases.
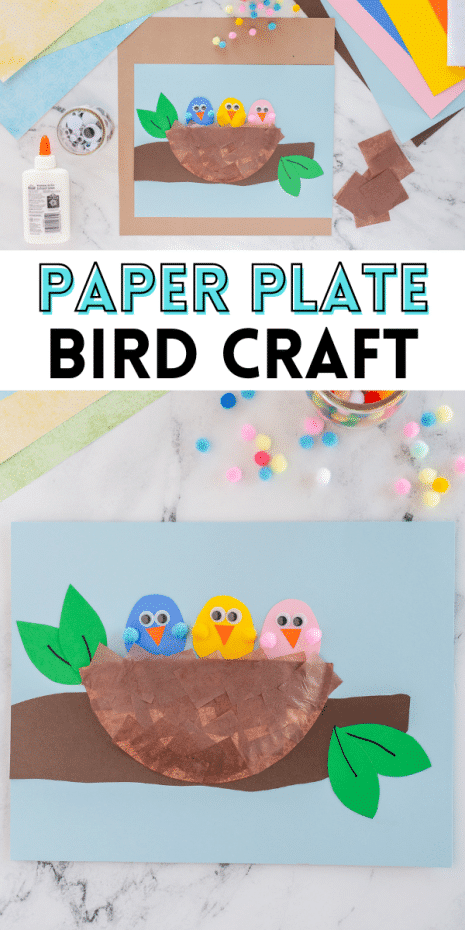
Paper Plate Bird Craft
A paper plate craft is an easy and simple way to get kids excited about a topic. We love using these bird crafts to talk about life cycles and spring. Pair this craft with some books about birds or even some light birdwatching! Kids of all ages enjoy making their own colorful crafts. They are proud to share it with friends and family and hang it on the wall.
Paper Plate Bird Craft HOW TO VIDEO:
Supplies Needed
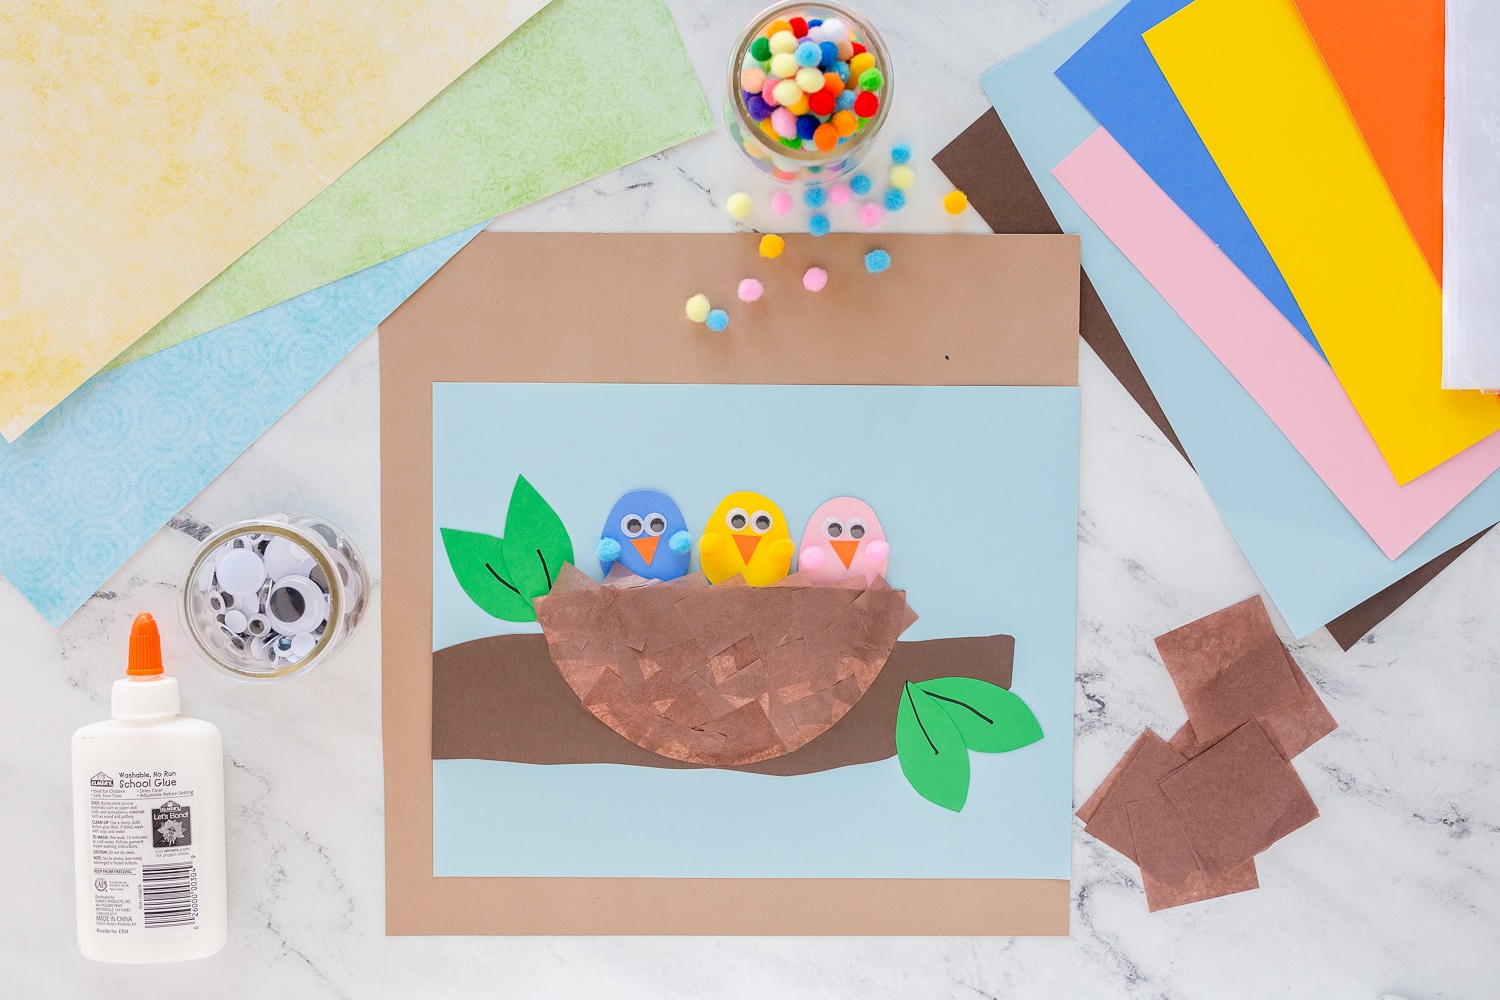
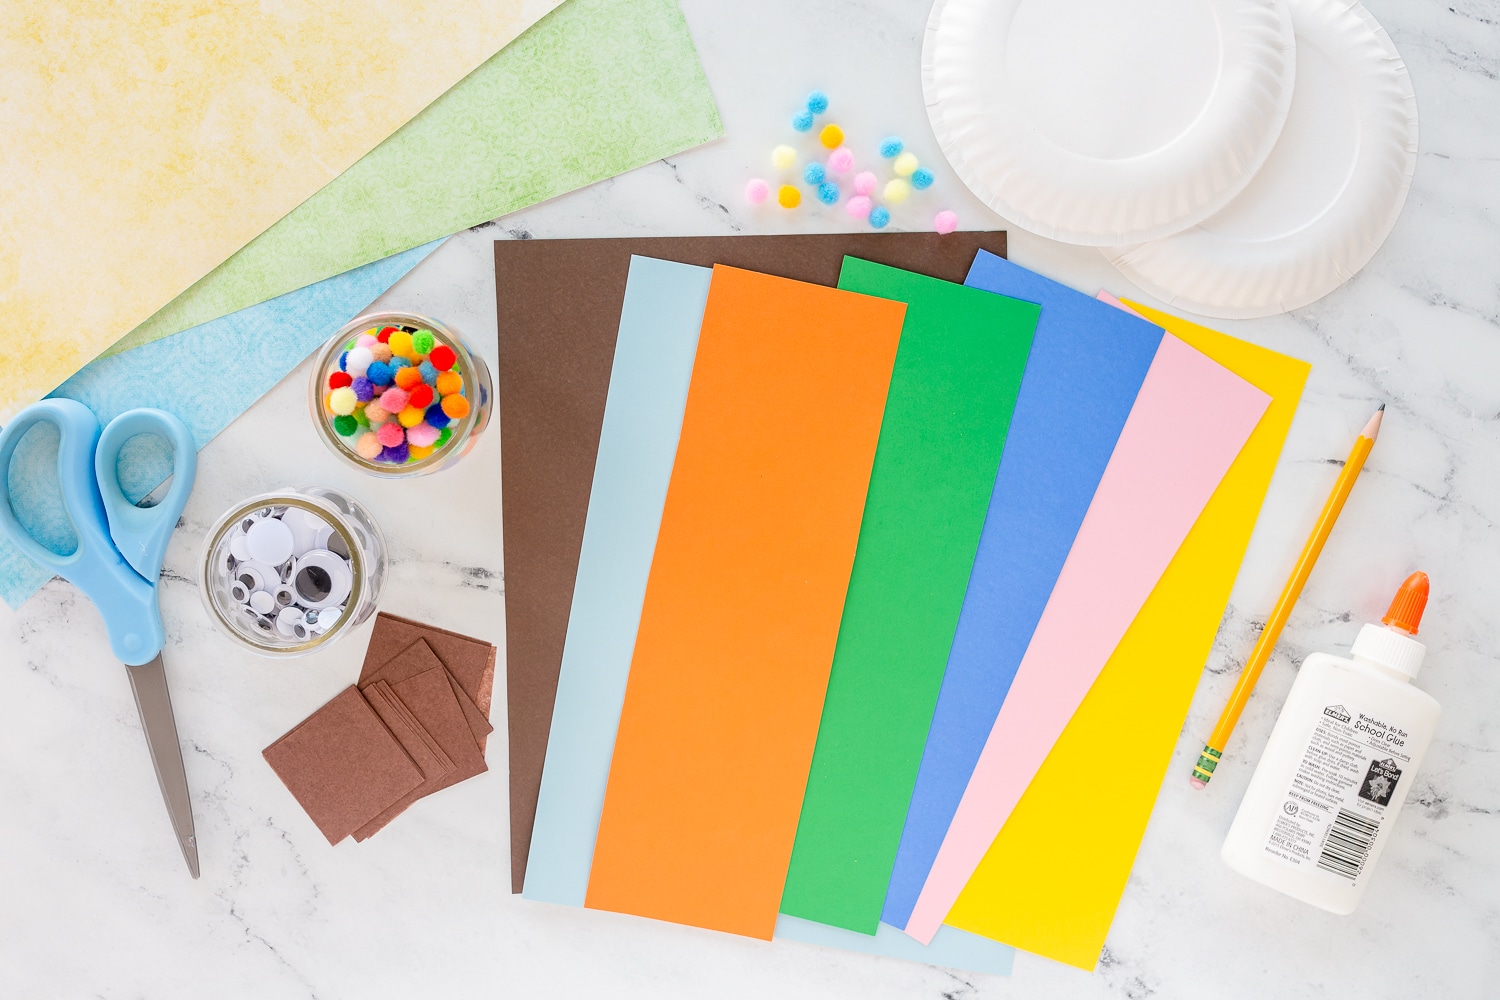
The cute paper plate bird craft only requires a few household supplies you most likely already have. If not, the items are cheap and easy to find at your local craft stores or supercenters. If you love birds, you will love these colorful papercrafts.
You will need:
- paper plates (dessert sized)
- glue sticks
- cardstock (light blue, dark blue, yellow, pink, brown, green, and orange)
- scissors
- small pom poms – pink, yellow and blue
- small googly eyes
- feathers (optional)
- brown tissue paper/gift wrap paper cut into 1-1/2 inch squares
If you don’t have glue sticks, liquid glue works just fine! The tissue paper gives the craft some fun dimension!
Making the Easy Paper Plate Bird Craft
These paper plate crafts are great for fine motor skills with younger children. They are super easy to complete and minimal prep work is required. The kids can cut their pieces or you can pre-cut them depending on their age. Let some of your older kids help with the prep-work for extra fine motor practice.
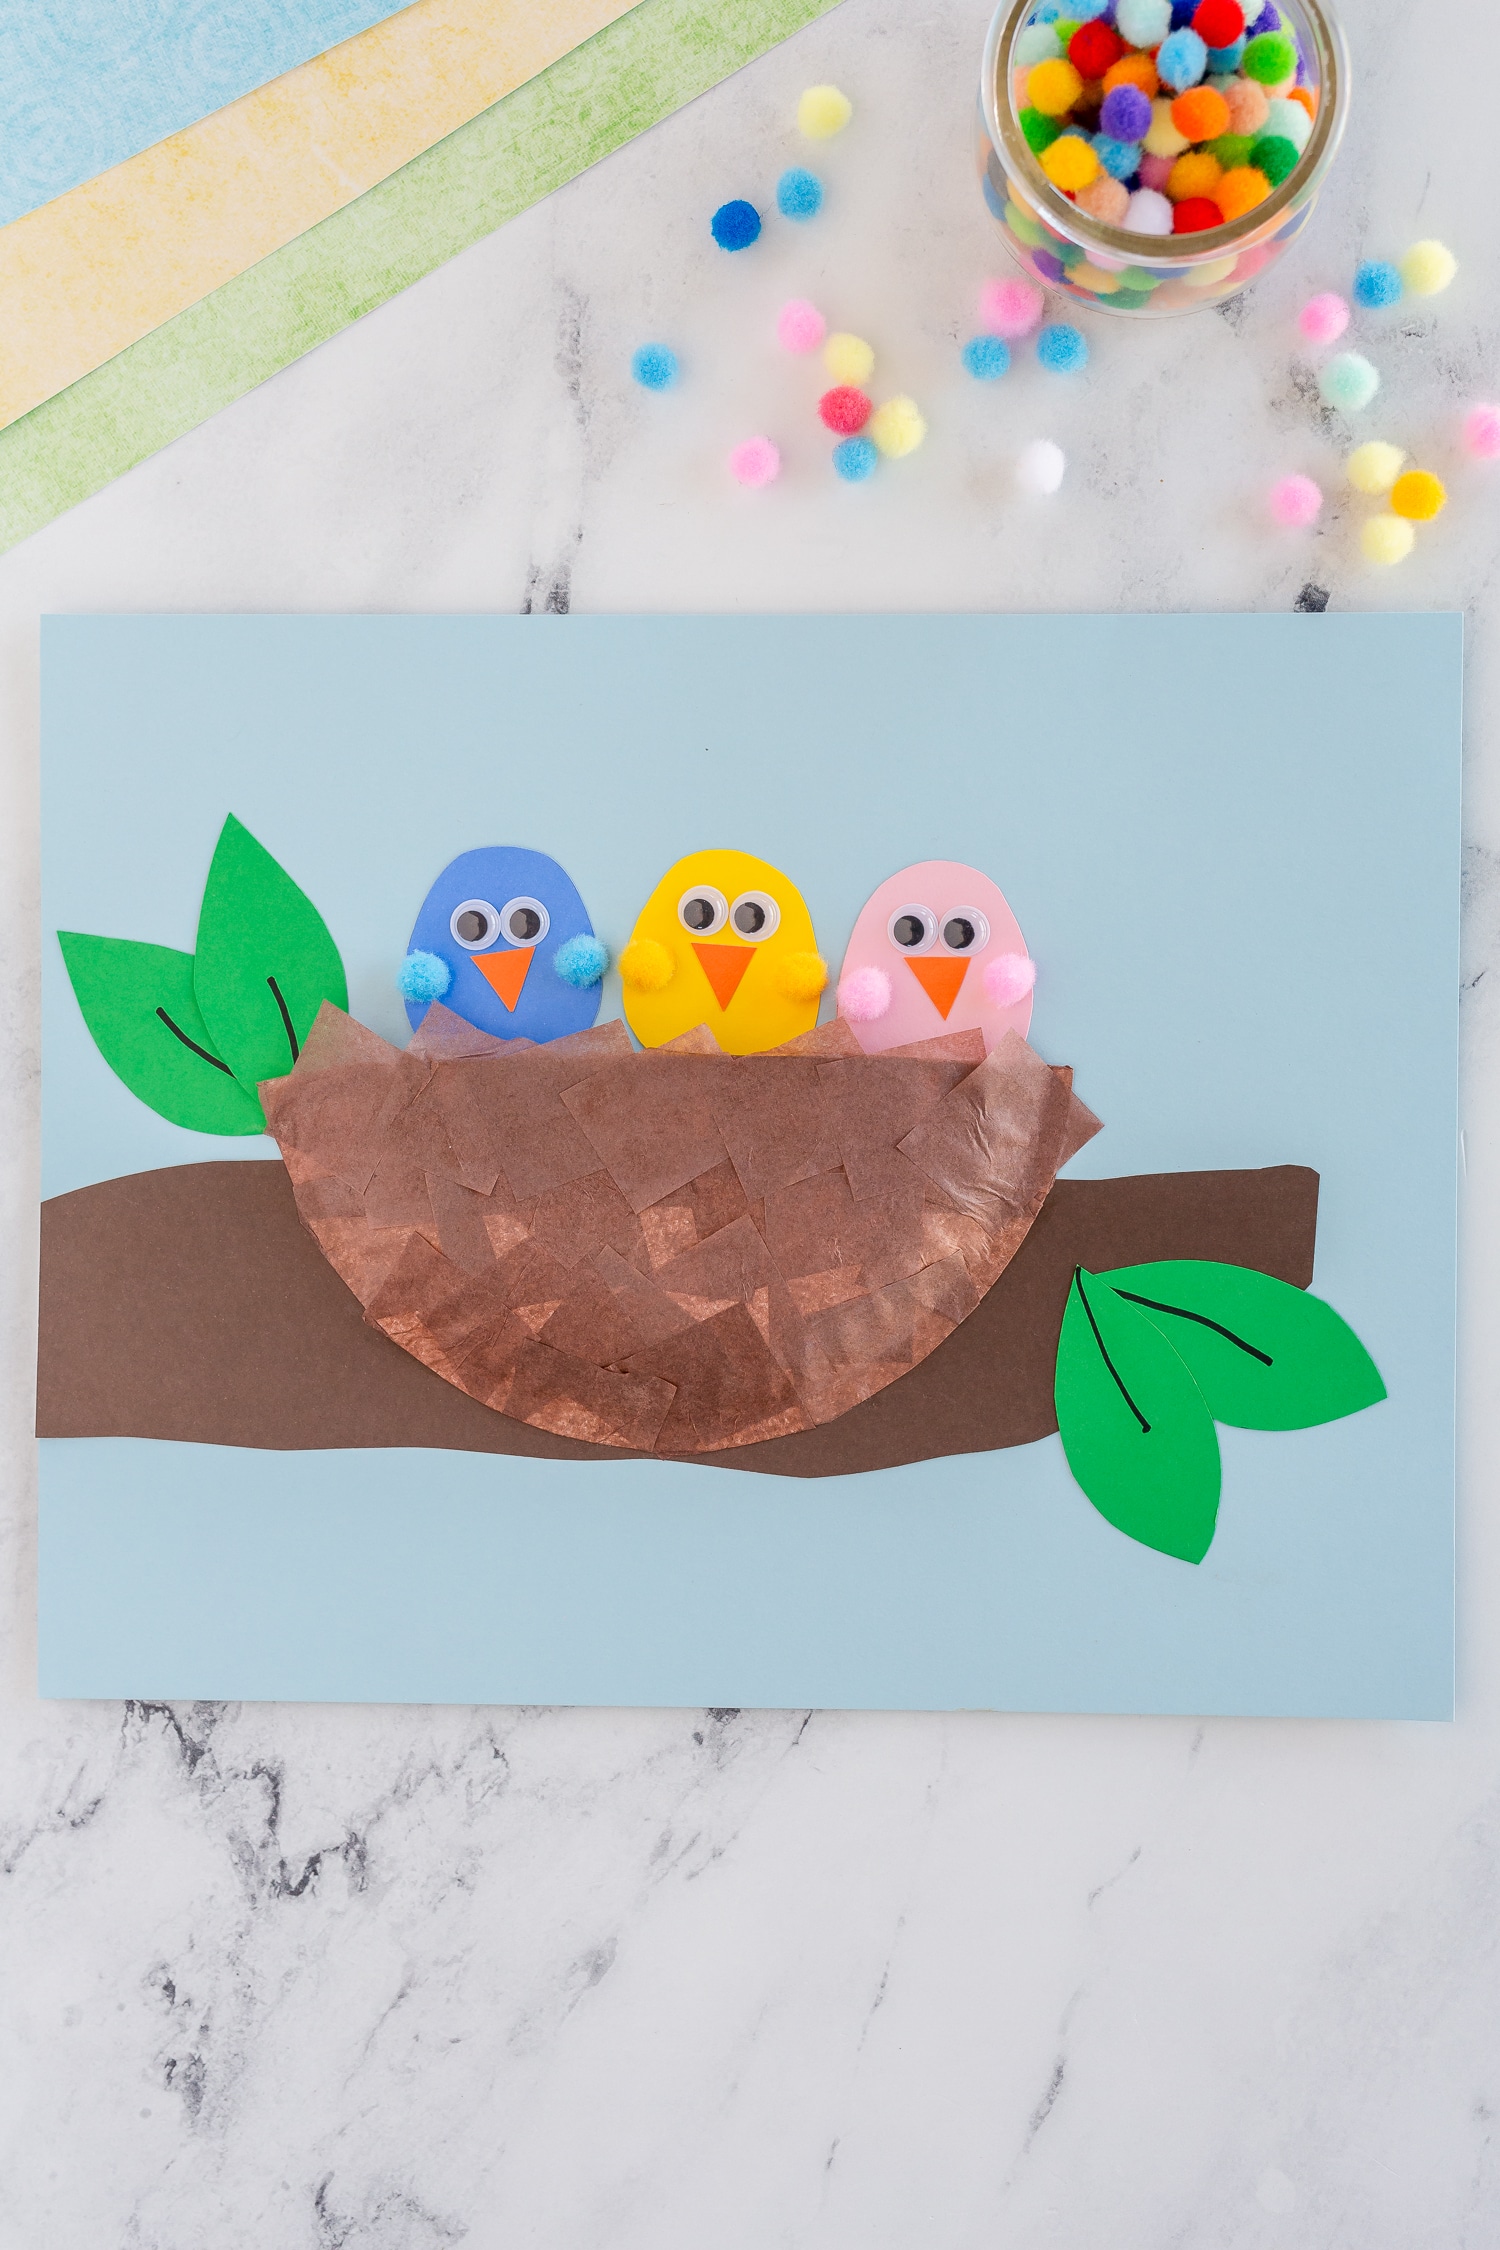
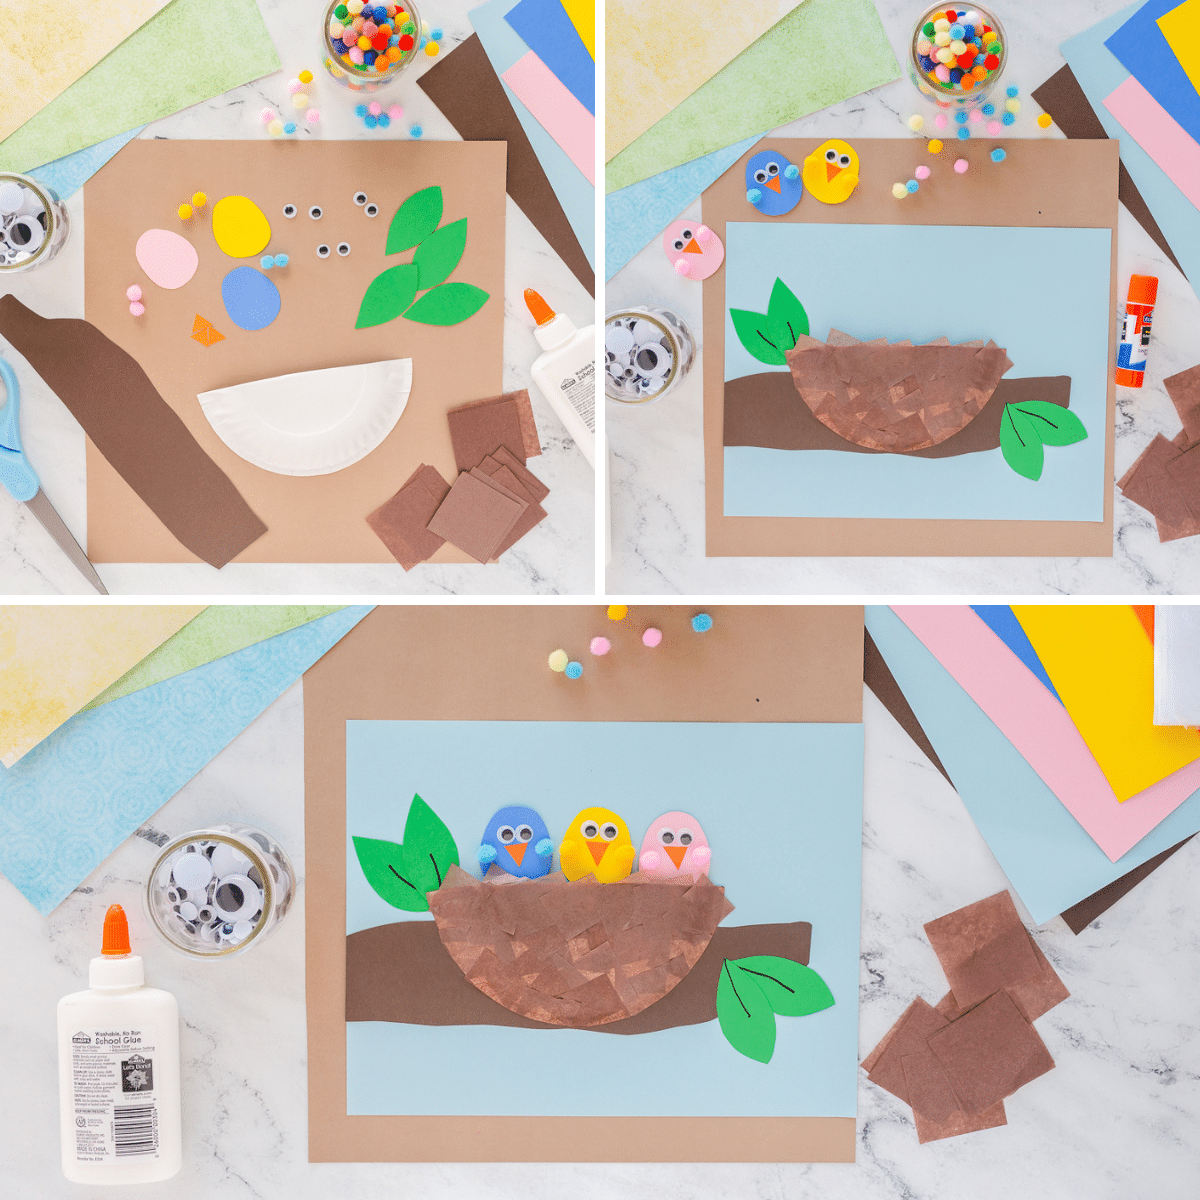
- Make a small oval shape for your baby birds body. Cut out a beak for each baby bird. Add the beak, eyes, and pom pom wings.
- Cut your paper plate in haf. With the bottom of the plate facing you, blue on your tissue paper squares. It doesn’t have to be perfect as nests aren’t!
- Cut out a branch from your brown paper and glue to a 8.5 x 11 inch piece of light blue paper. Add green leaves.
- Glue your nest to the branch. Tuck the baby birds slightly inside the nest (so you can still see their wings) and blue into place.
As a silly option, add colorful feathers to make the birds more realistic. You can find craft feathers at your local craft store. Hang them from windows or doors using a piece of yarn.
This is a great opportunity to talk about the life cycle of birds while you work. Show students pictures of birds nests and eggs in the springtime. Kids will have so much fun learning about birds and making their very own paper plate bird craft.
You can find other paper plate craft ideas here:
I would love to hear how you use these spring plate crafts. Leave me a comment below!