As an Amazon Associate I earn from qualifying purchases.

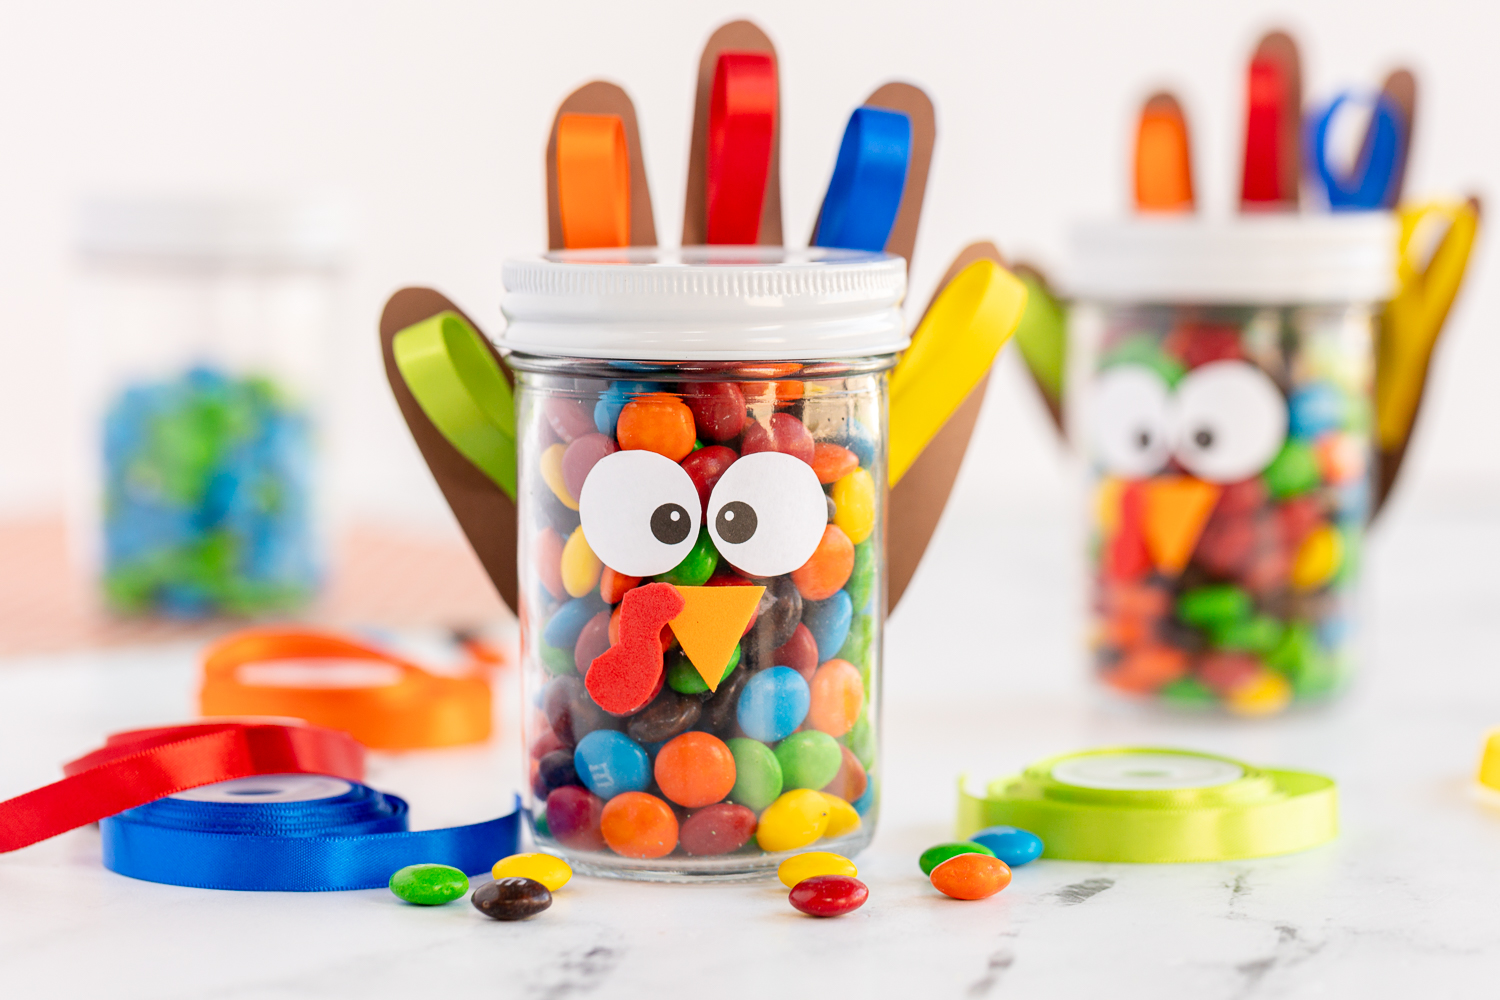
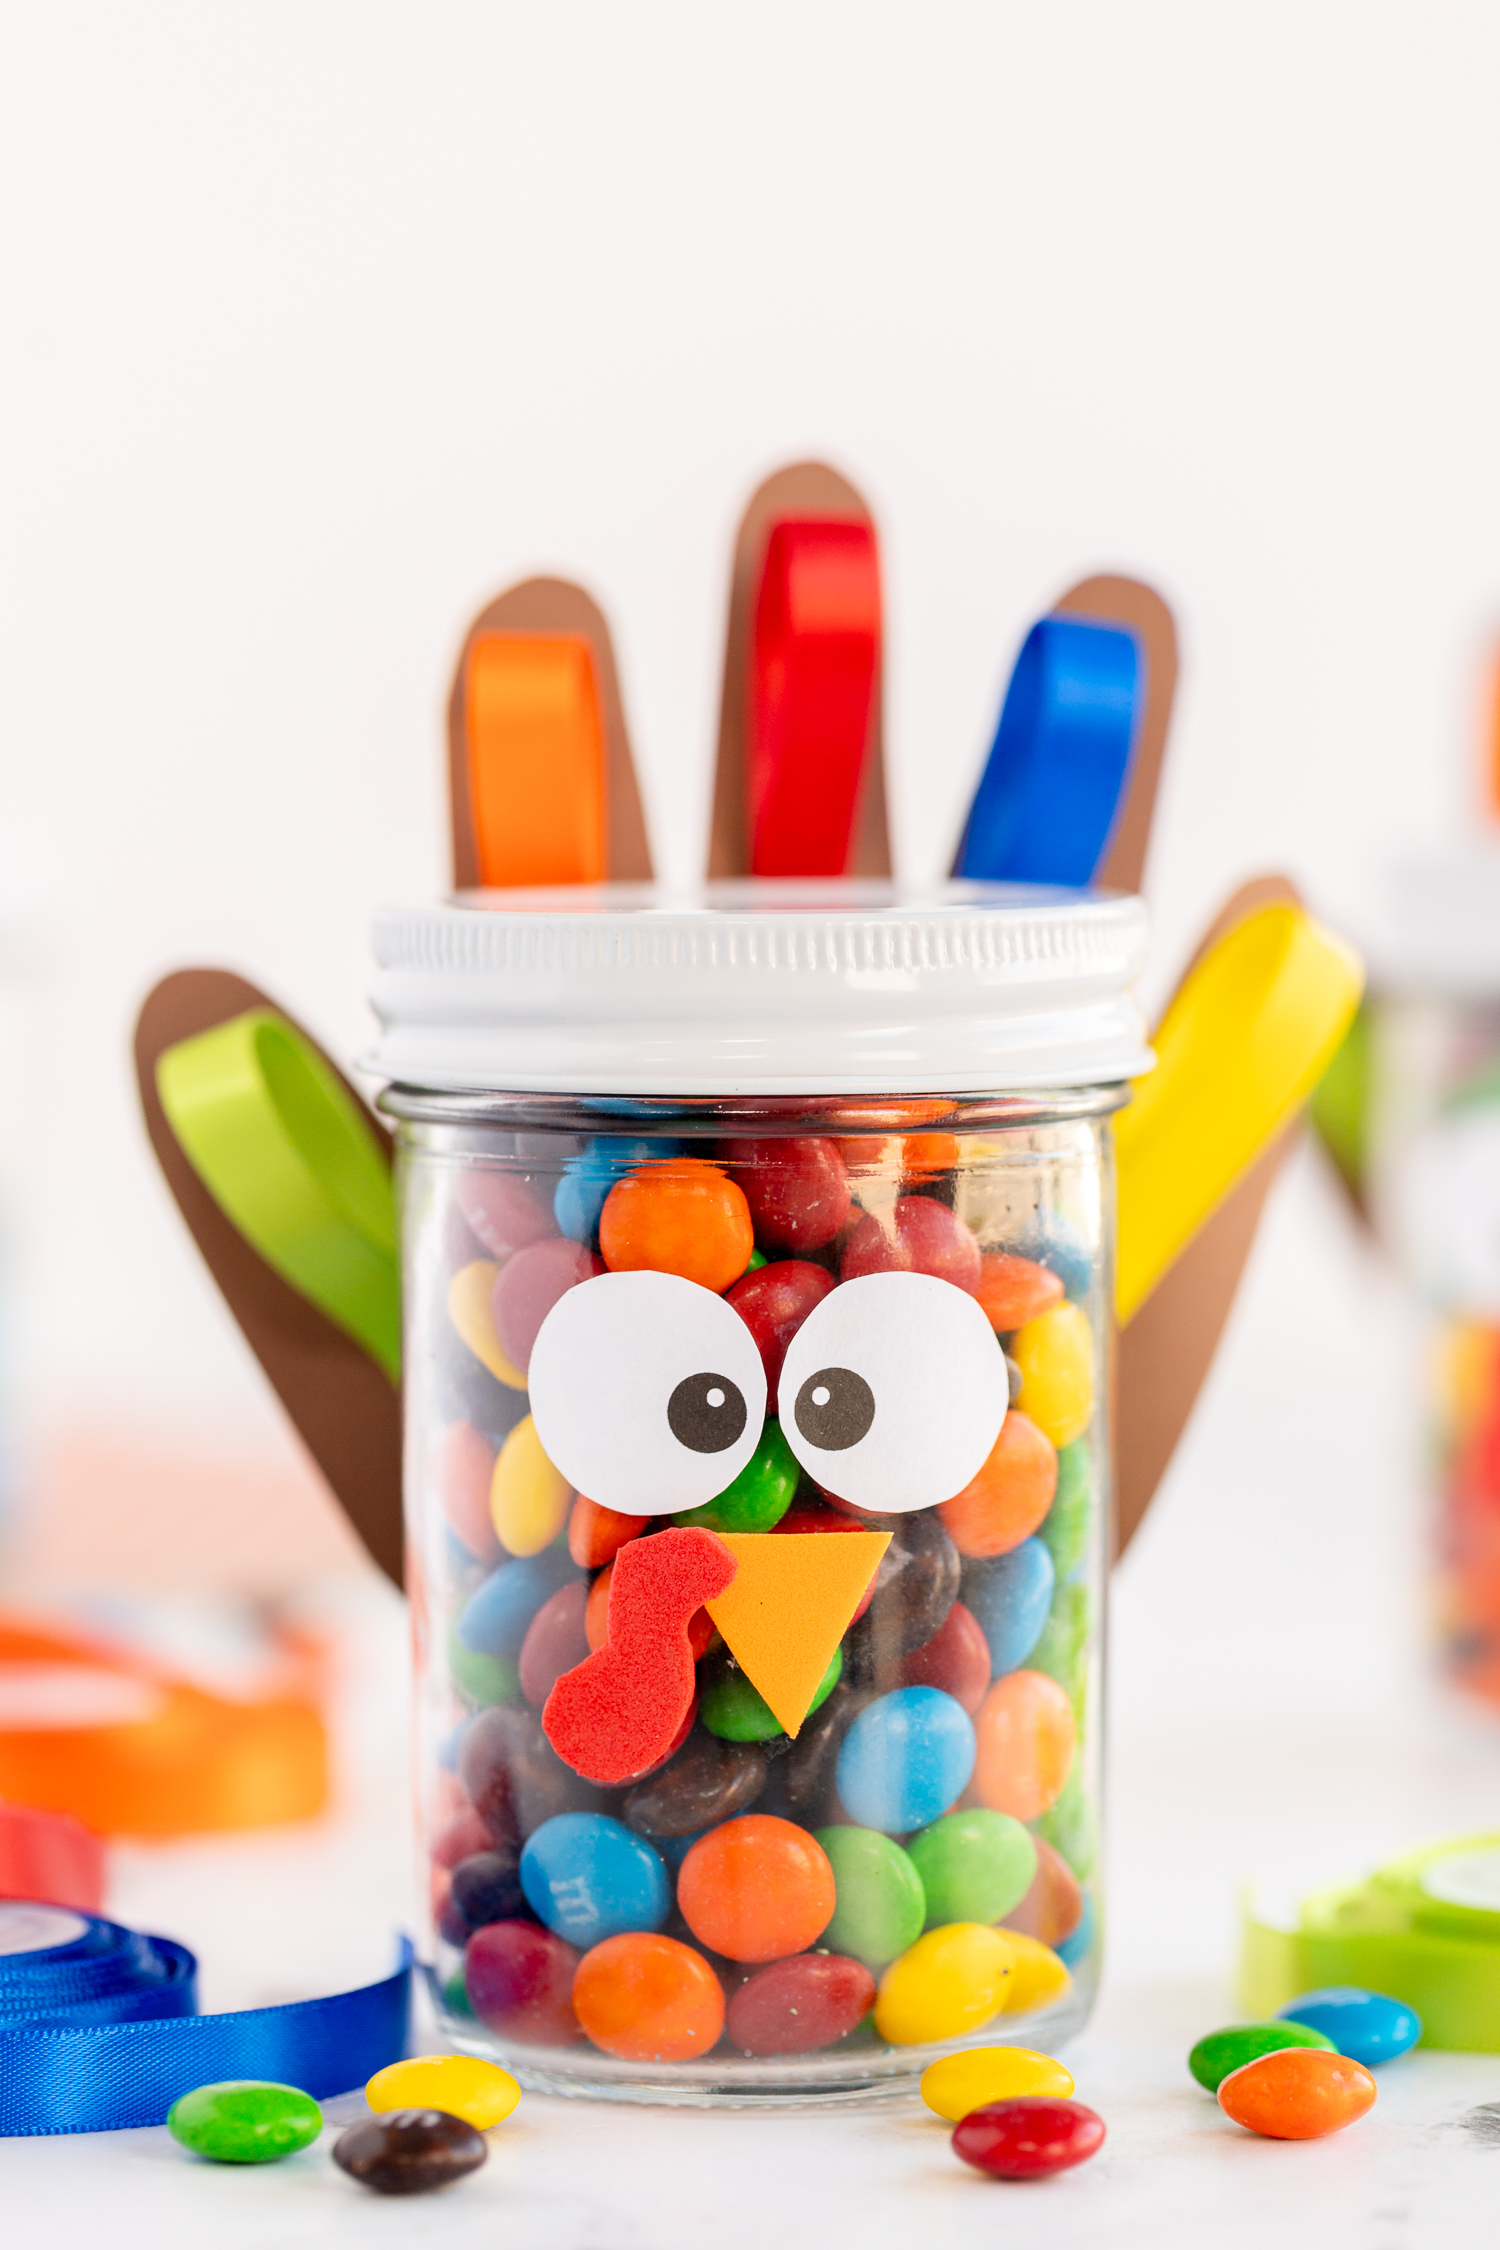
Using a paper handprint, some colorful ribbon, and a jar of M&Ms, you can make these adorable fall favors to gift to family and friends or pass out at your Thanksgiving gathering.
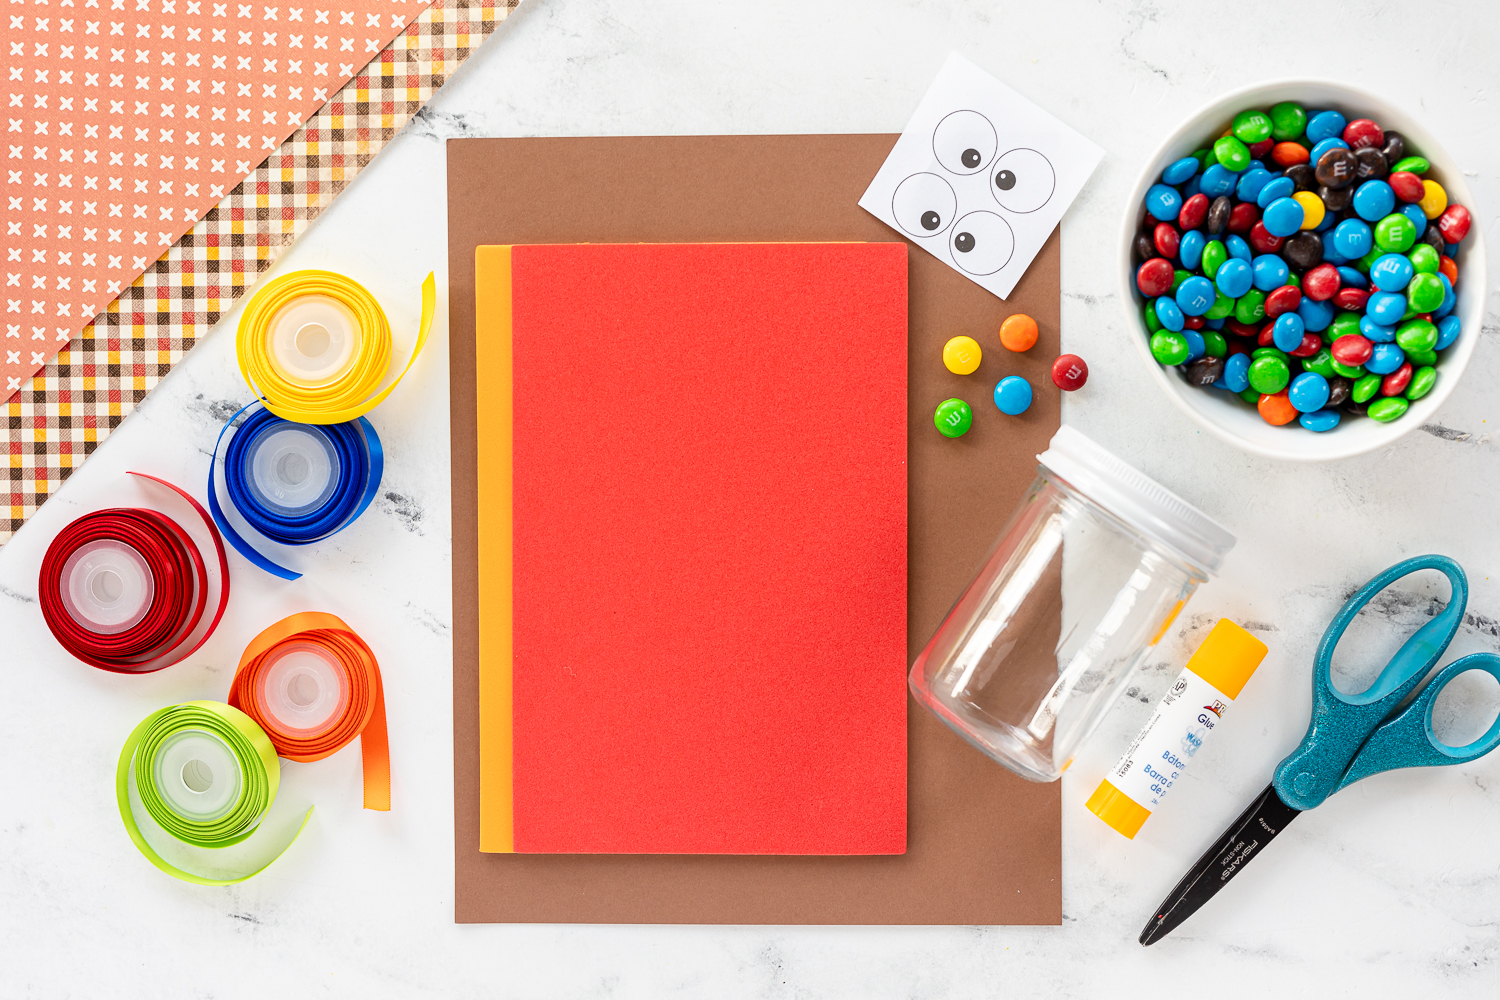
What You Will Need to Create This Adorable Handprint Turkey Jar
You can find all of these craft supplies at your local craft store or dollar stores. Many of these items are also available online, and you can have them shipped straight to your door.
- M&M Candy
- Candy jar/mason jar
- Eye Template
- Orange & Red Craft foam – can also use paper
- Brown Cardstock
- Ribbon – I used lighter green, blue, red, yellow, and orange. Use a different color for each finger to represent the turkey’s feather or use one color.
Instead of paper template eyes, feel free to use fun googly eyes. Kids always love these silly, wiggly eyes, and they add some fun dimension to your craft.
Turkey Candy Jar How to Video:
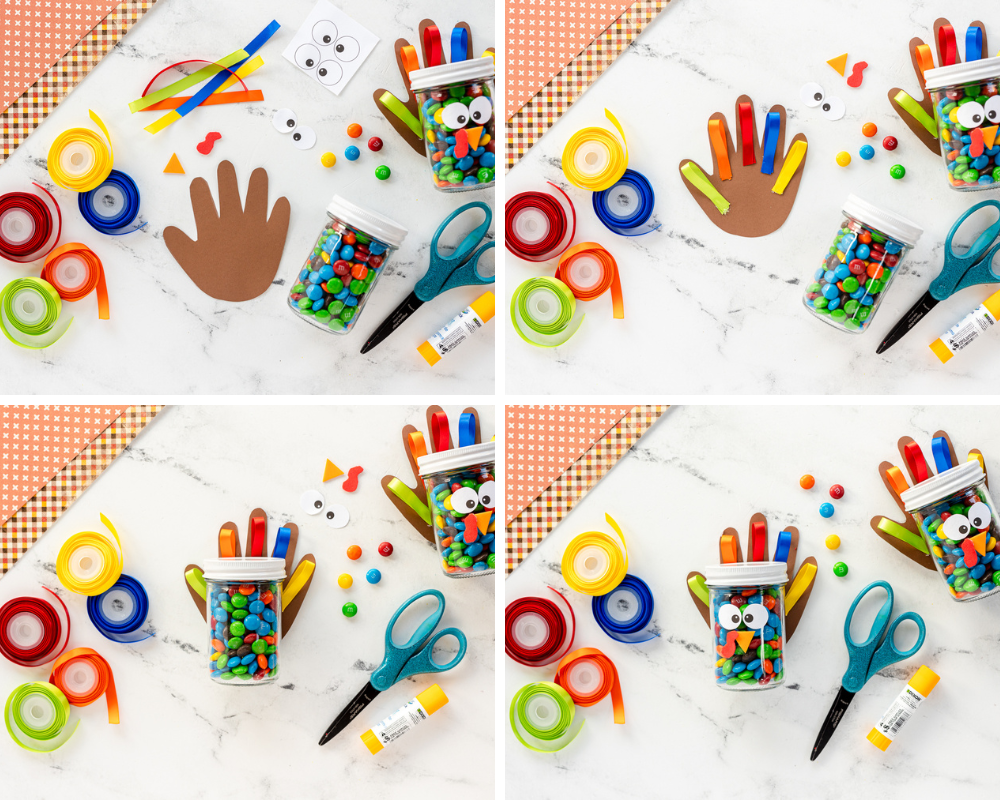
How to Make Your Handprint Turkeys
- Fill your jar with M&M Candies. Add the eyes, nose, and snood by using hot glue. A glue stick won’t cut it for this job.
- Cut out the ribbon. For the thumb and the pinky, I cut out a piece that was 3 ½ inches long using green and yellow. The three middle fingers were 4 ½ inches long.
- Fold the ribbon in half and glue the ends together. Glue the ribbon to the paper fingers (not going past the tips) on the brown handprint.
- Glue handprint to the back of the jar. Make sure you place the handprint where you can still see all of the colorful ribbons behind the jar.
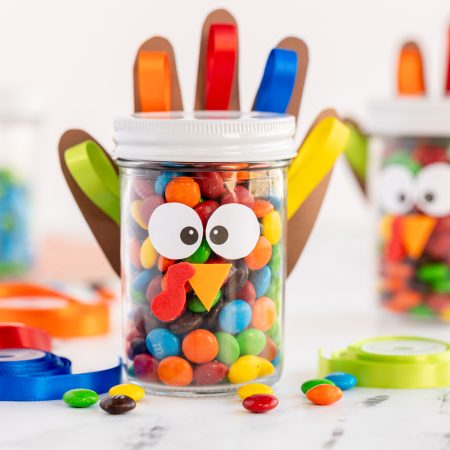
There you have it! Your handprint turkey craft is now an adorable Thanksgiving display or a sweet gift you can give to loved ones. The colorful ribbons look like pretty turkey feathers. The jar is also a great keepsake for mommies and daddies.
How Do You Make a Turkey Handprint?
Making a turkey handprint is simple. You just need some brown construction paper or cardstock. You can also use white paper and cover it with brown paint if you don’t have brown paper. Simply place your child’s hand down on the paper and trace around their fingers and palm using a pencil or marker. Younger kids may need help with tracing, but older kids may be able to trace their handprints on their own.
Brown handprints make a great base for tons of Thanksgiving decorations this time of year. Kids of all ages will enjoy making turkey handprint crafts using colored paper and other craft supplies.
This turkey craft is a fun way to keep your child’s handprint and to celebrate the fall holidays. Read it with the book Turkey Trouble by Wendi Silvano, and you’ll have a fun read-aloud and craft time with your kids

More Turkey Crafts for Adults and Kids:
- Turkey Juice Box Craft – This fun craft is an adorable way to decorate the kiddie table for the holidays. Just use some scrapbook paper and glue to make adorable turkey faces on the cardboard boxes. Kids will love drinking out of their little paper turkeys.
- Coffee Filter Turkeys – Make colorful turkeys using coffee filters and some markers! These make adorable decorations for Thanksgiving dinner. Attach the little turkey body to a popsicle or craft stick and you will be able to place them in flower bouquets or glasses around the table.
- Wooden Turkey Craft – Use this adorable craft to practice fine motor skills and to create a fun Thanksgiving decoration that can be used for years to come.
My site has a lot of turkey crafts you will love! Happy Crafting and Gobble Gobble!
Turkey Handprint Jar
Supplies
- M&M Candy
- Candy jar/mason jar
- Eye Template
- Orange & red foam
- Brown cardstock
- Ribbon – I used lighter green, blue, red, yellow, and orange.
Instructions
- Fill your jar with M&M Candies. Add the eyes, nose, and snood by using hot glue. A glue stick won’t cut it for this job.
- Cut out the ribbon. For the thumb and the pinky, I cut out a piece that was 3 ½ inches long using green and yellow. The three middle fingers were 4 ½ inches long.
- Fold the ribbon in half and glue the ends together. Glue the ribbon to the paper fingers (not going past the tips) on the brown handprint.
- Glue handprint to the back of the jar. Make sure you place the handprint where you can still see all of the colorful ribbons behind the jar.