As an Amazon Associate I earn from qualifying purchases.
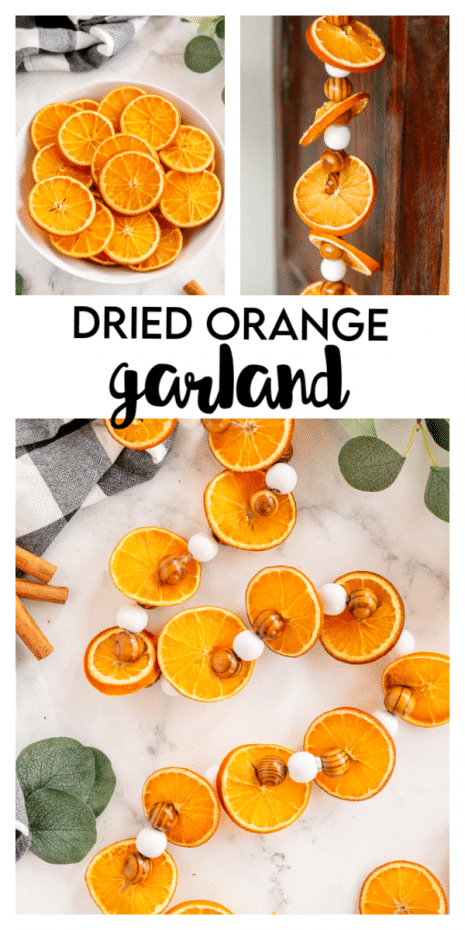
Decorate your home this fall with a beautiful and fragrant Dried Orange Garland! This craft is incredibly easy and simple to make!
How to Make a Dried Orange Garland
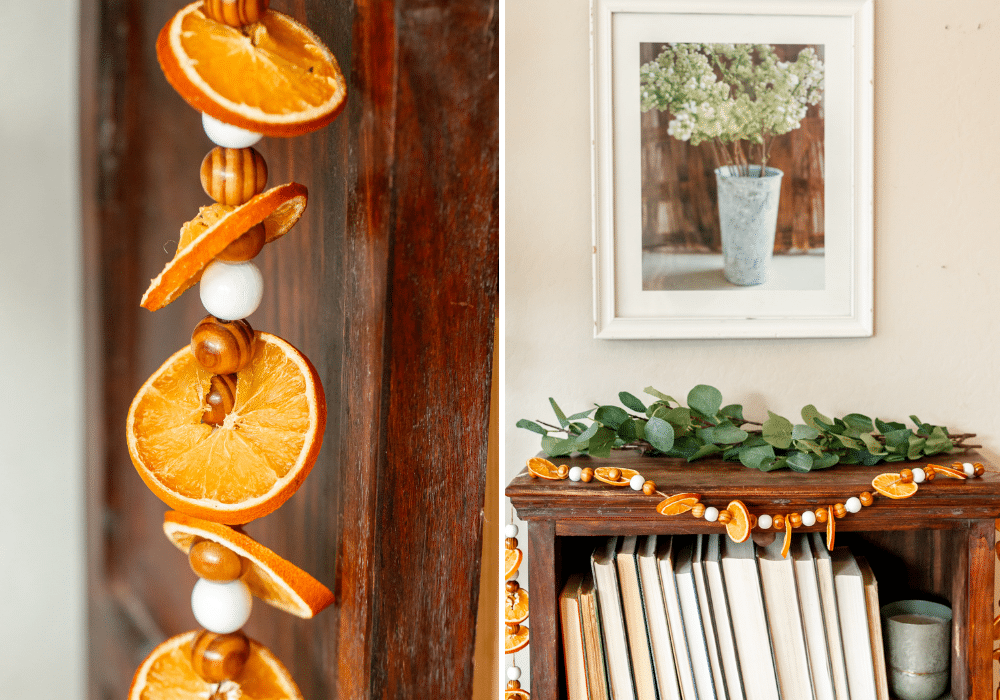
Whether you are planning your decor for the autumn season or for Christmas, one of my favorite crafts is a Dried Orange Garland. It has everything I love about a decor project and more. Dried orange garlands are a snap to create, make your home smell amazing, and look beautiful. You can hang them up in a doorway, against a wall, or wherever else looks best in your home. They look amazing when draped around a Christmas tree!
Whether you are planning to create your Dried Orange Garland solo, with a craft club, or with the kiddos, you will see that the process is a breeze. The materials are very inexpensive, too. You could even make a few of these to give to your friends and family. Dried Orange Garlands might just become a tradition in your home for years to come, if they aren’t already!
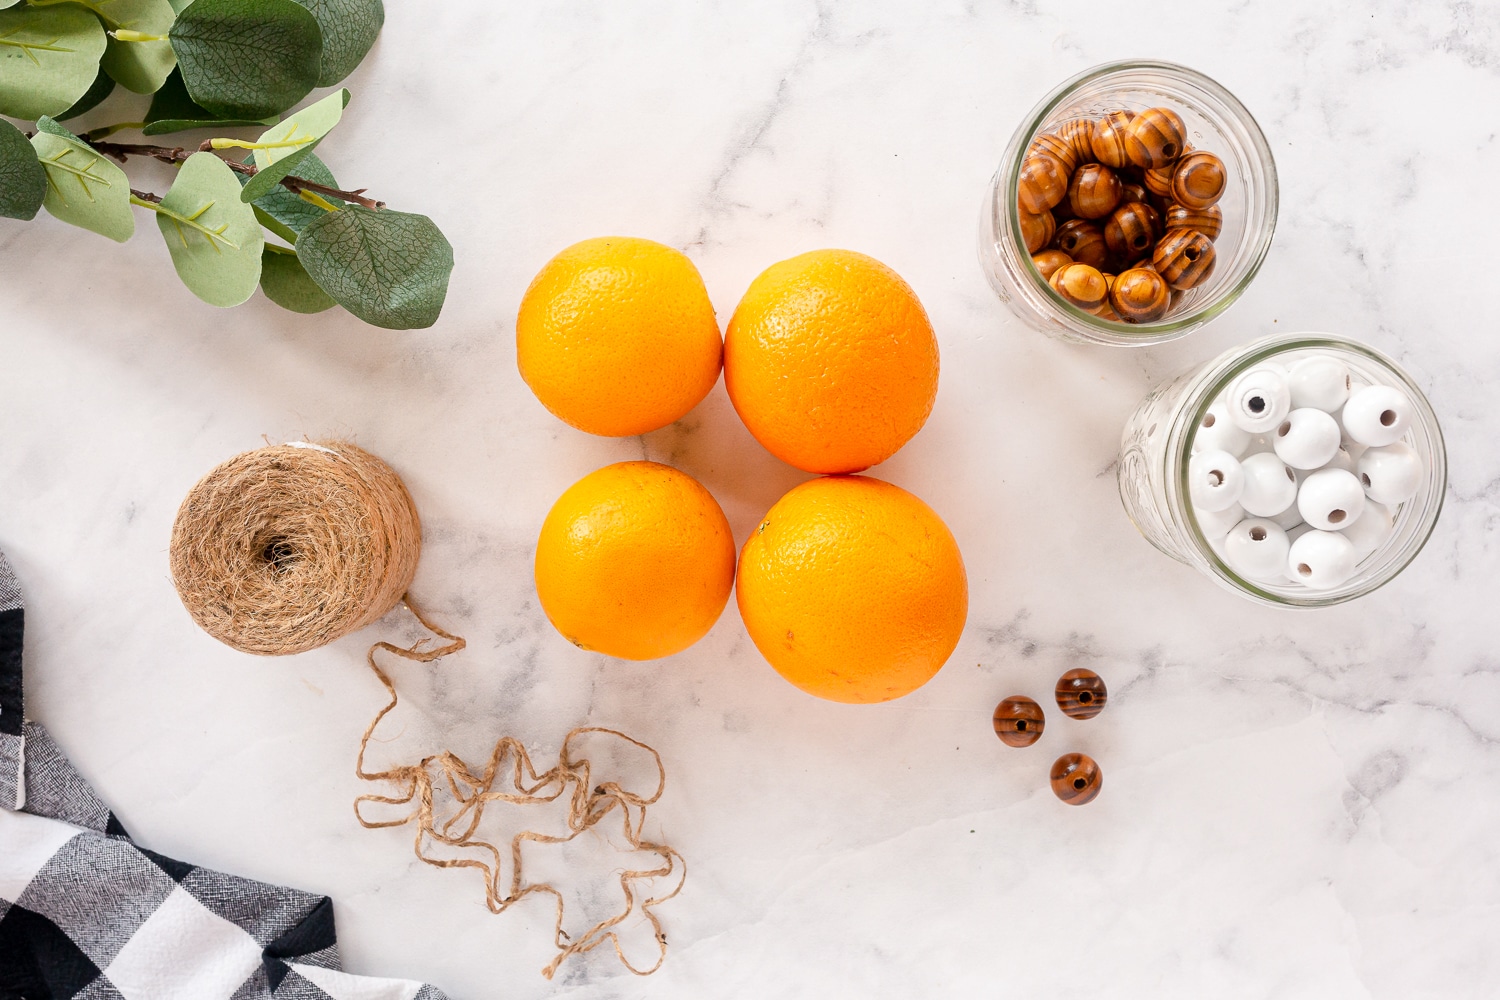
DIY Orange Garland Supplies
As the name suggests, it only takes a few oranges and some other basic craft materials to create your own orange garland! Here is what you will need:
Steps for Making a Dried Orange Garland
- Preheat your oven to 200 degrees.
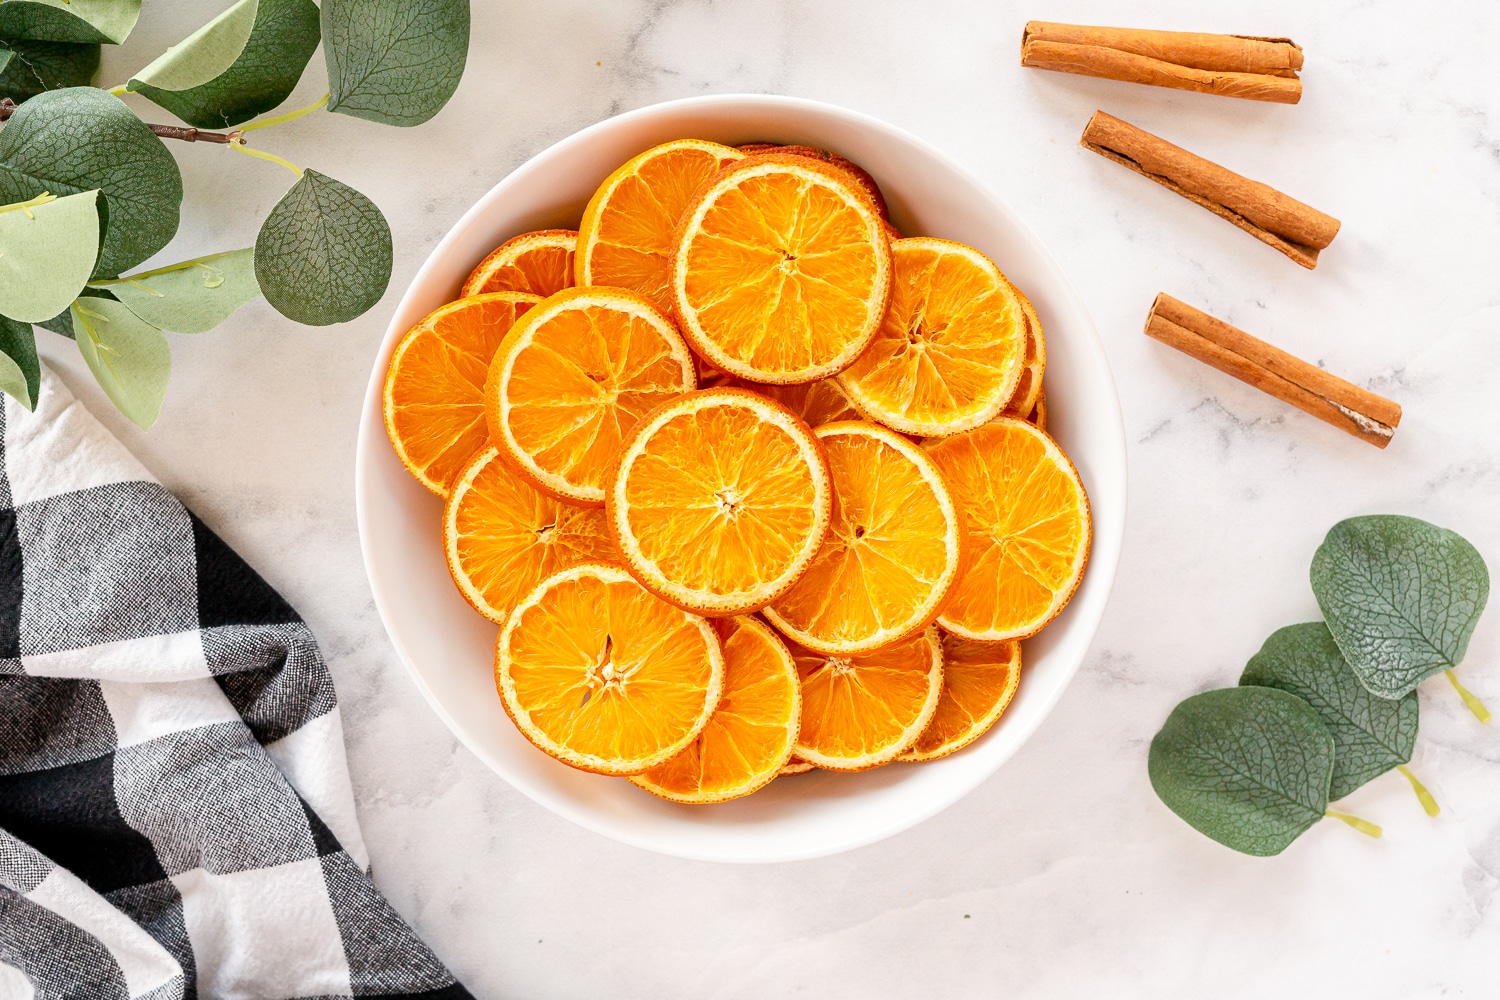
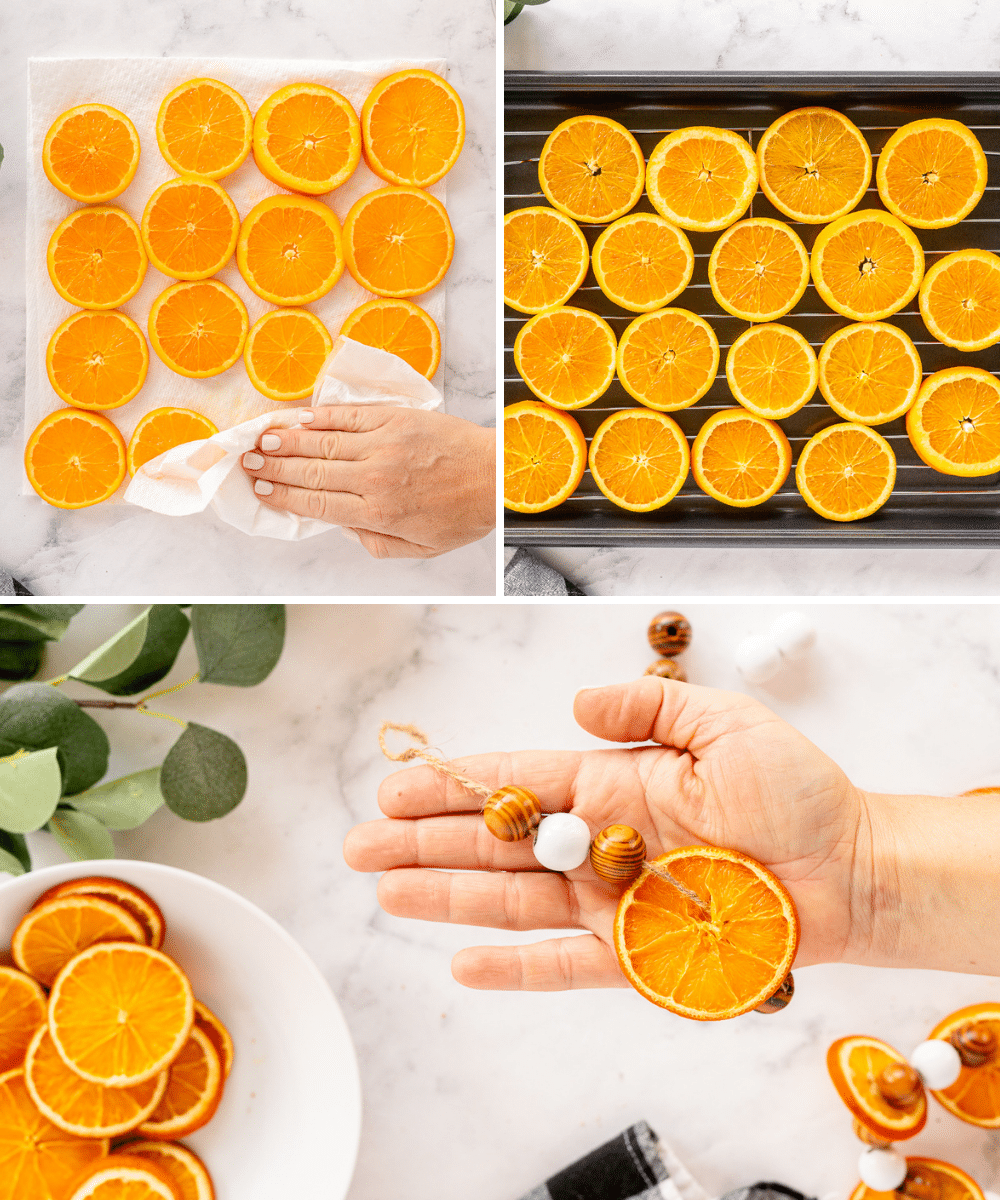
- Cut your oranges into slices, about 1 cm thick.
- Use a paper towel to dab the flesh of the oranges to get as much of the liquid soaked up as possible.
- Place your oranges on a cooling rack that has been placed on top of a cookie sheet.
- Dry your orange slices in the oven for up to 4 hours or until they are completely dry, flipping every thirty minutes or so and checking to see if they’re done.
- Once finished, leave out on your cooling rack to dry and set overnight.
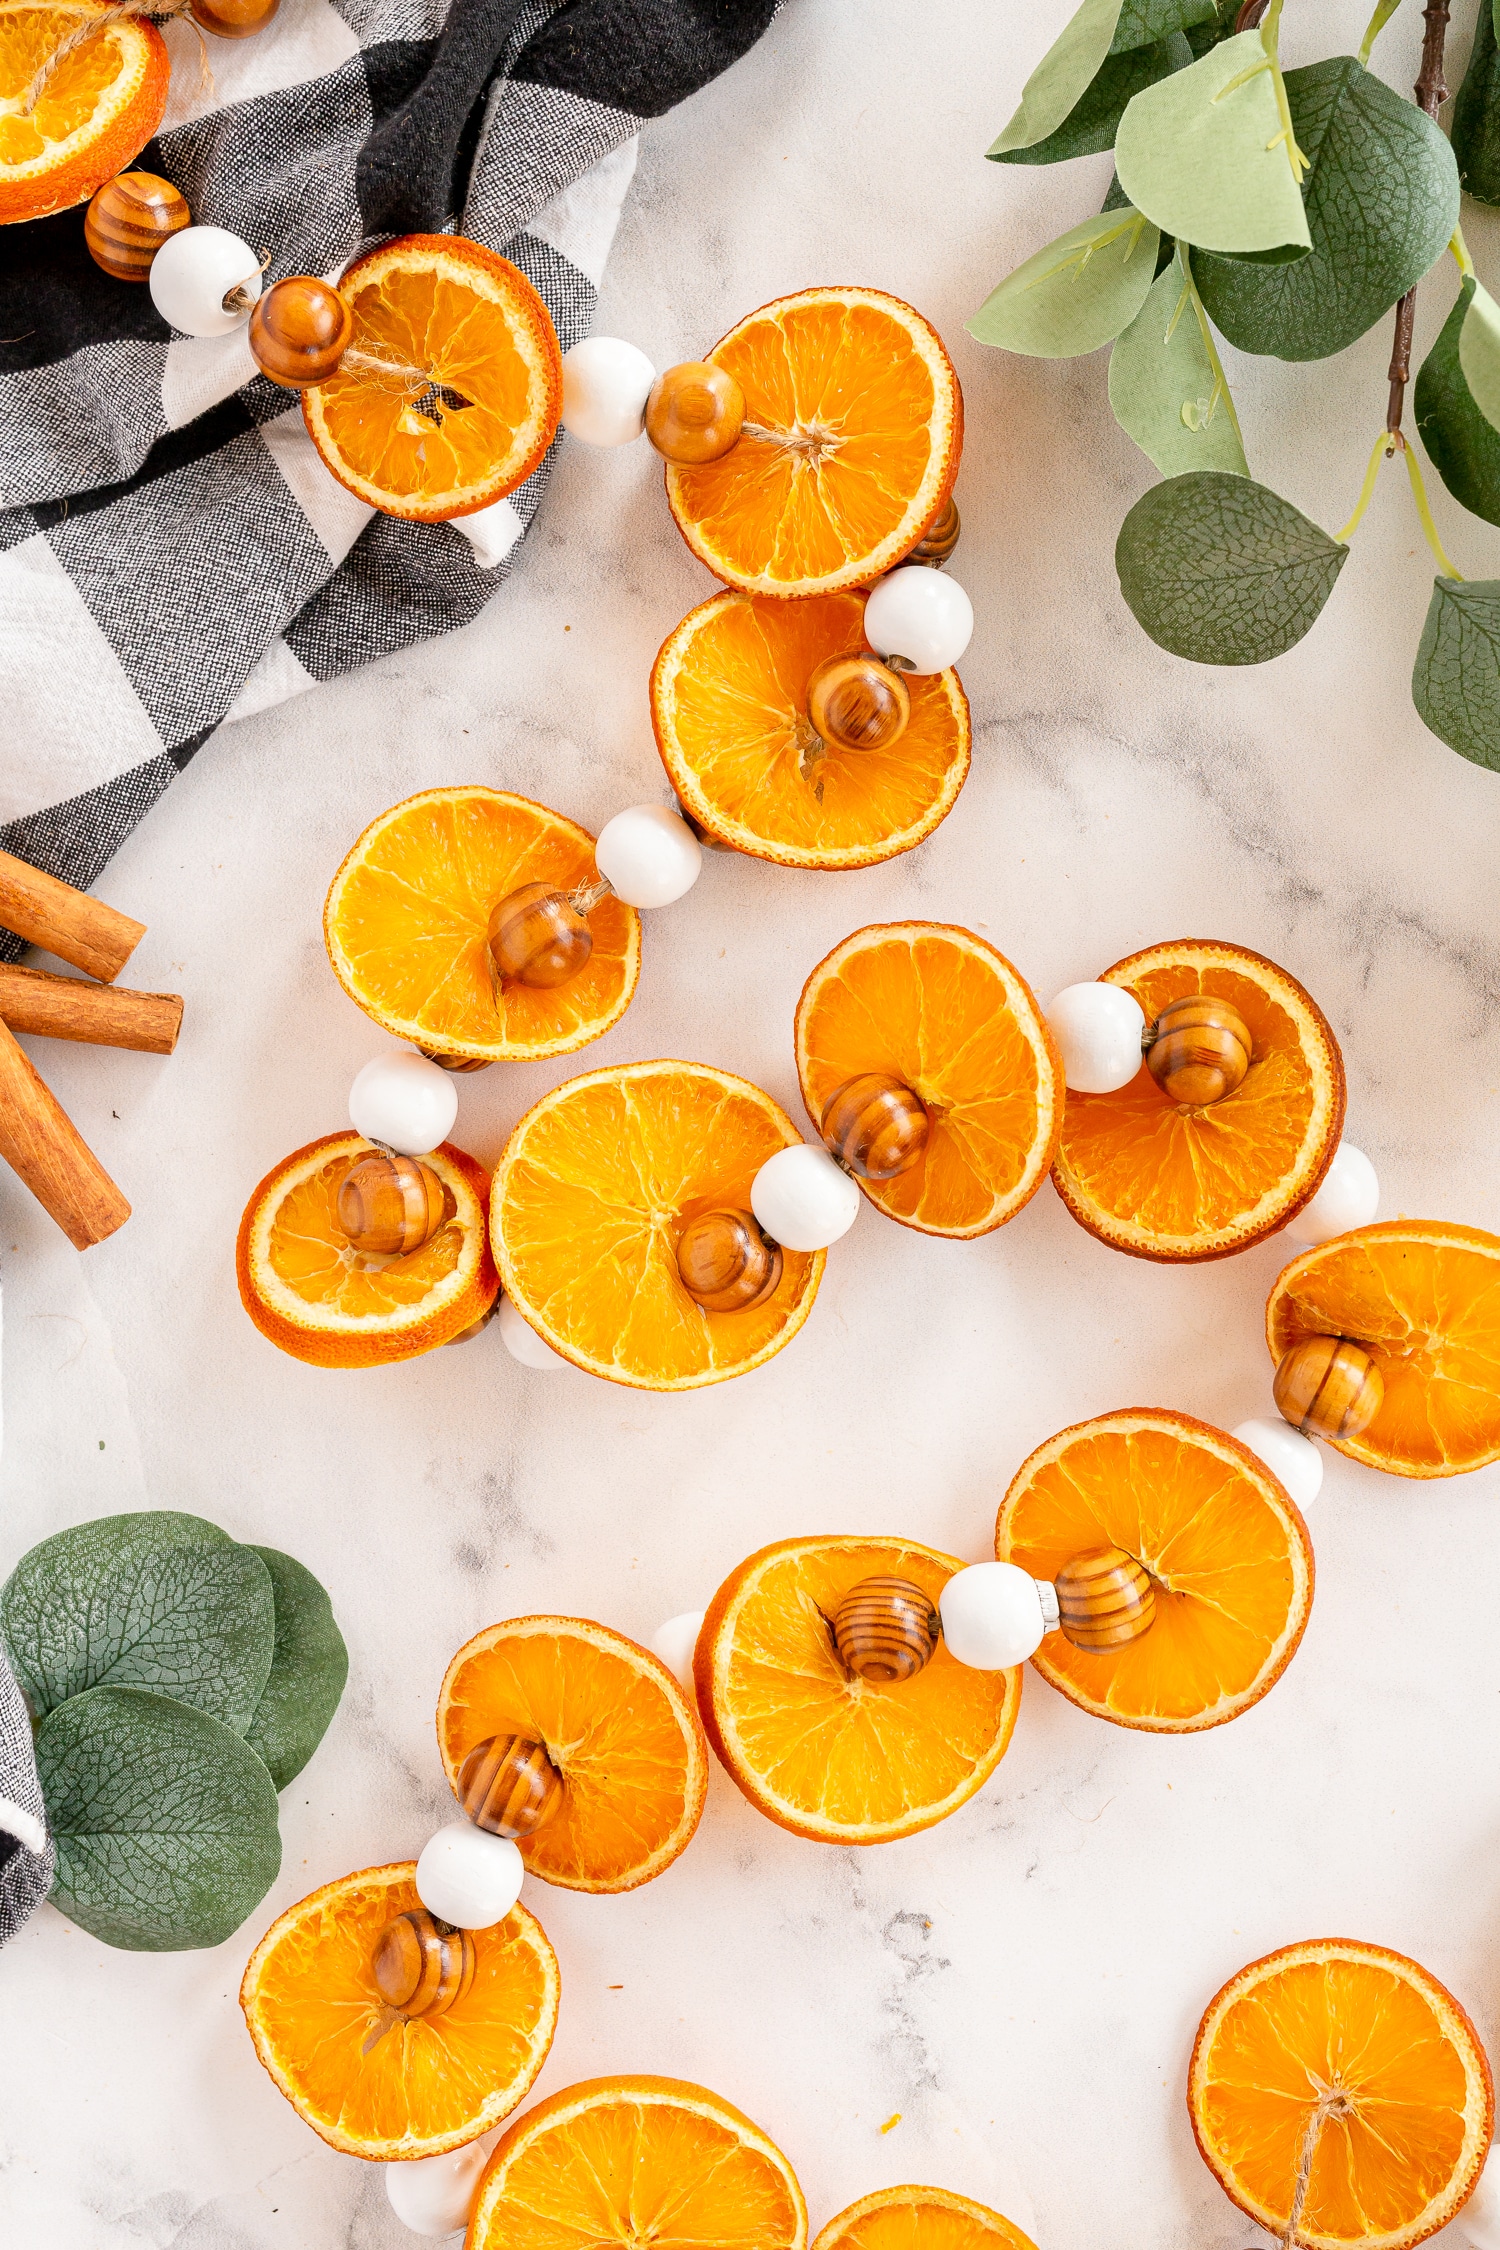
- Thread the dried oranges onto a LONG piece of twine. Add an orange, a stained bead, a white bead, a stained bead and then an orange. Repeat this pattern until you have reached the end of your twine or run out of slices!
Tips for Making Orange Garlands
- Orange slices burn VERY easily! If they start cooking too quickly and they are burning rather than drying (they’ll turn brown), drop your temperature by 5-10 degrees and check them more often. If you notice that they have burned and developed an unpleasant smell, you may need to chuck them and start over.
- You might not need to poke holes in the oranges in order to thread them; there is usually a natural opening in the center of each orange slice. If your orange slices don’t have this opening, you can (carefully) use a pair of scissors or a knife to poke a hole in the center. Twine is on the thicker side, so you may need a bit of extra help to get the thread through your orange slices. You can use a needle, but make sure it’s big enough for the twine (like a yarn needle).
- Start out with more twine than you think you will need. If you do end up needing to add more twine to your garland, simply tie a knot, cut off the ends, and continue threading. I love having a big garland that can stretch across a wide space and really add something special to a room!
Which oranges work best for garlands?
I recommend using navel oranges for this dried orange garland! I found them to be the perfect size and they gave off a beautiful fragrance. You may be able to use blood oranges, but I have not tried this project with them so the cooking procedure might be different.
How long does a dried orange garland last?
Providing you’ve dried the oranges out completely, dried orange garlands can actually last up to two years! If the orange slices haven’t been fully dried out, they can grow mold and attract bugs. So, make sure that all the moisture is gone from the slices before stringing them up.


