As an Amazon Associate I earn from qualifying purchases.
Hi! It’s Amy from Hertoolbelt! I hope you all are having a wonderful Christmas season. This summer I made a patriotic Americana Door hanger, and loved the look of the ‘sewn’ star. Then while flipping through the Christmas Pottery Barn kids magazine, I saw their rustic star ornaments…and knew it was time to make some more stars!
This post contains affiliate links
How to Make Rustic Patchwork Stars
Patchwork Rustic Stars Materials
- wood at least 1/2″ thick – barn wood, pallets or new wood
- wire
- 3/8″ dowel – optional
- 2″ x 4″ wood – optional
- ribbon – optional
- Drill
Patchwork Rustic Stars Instructions
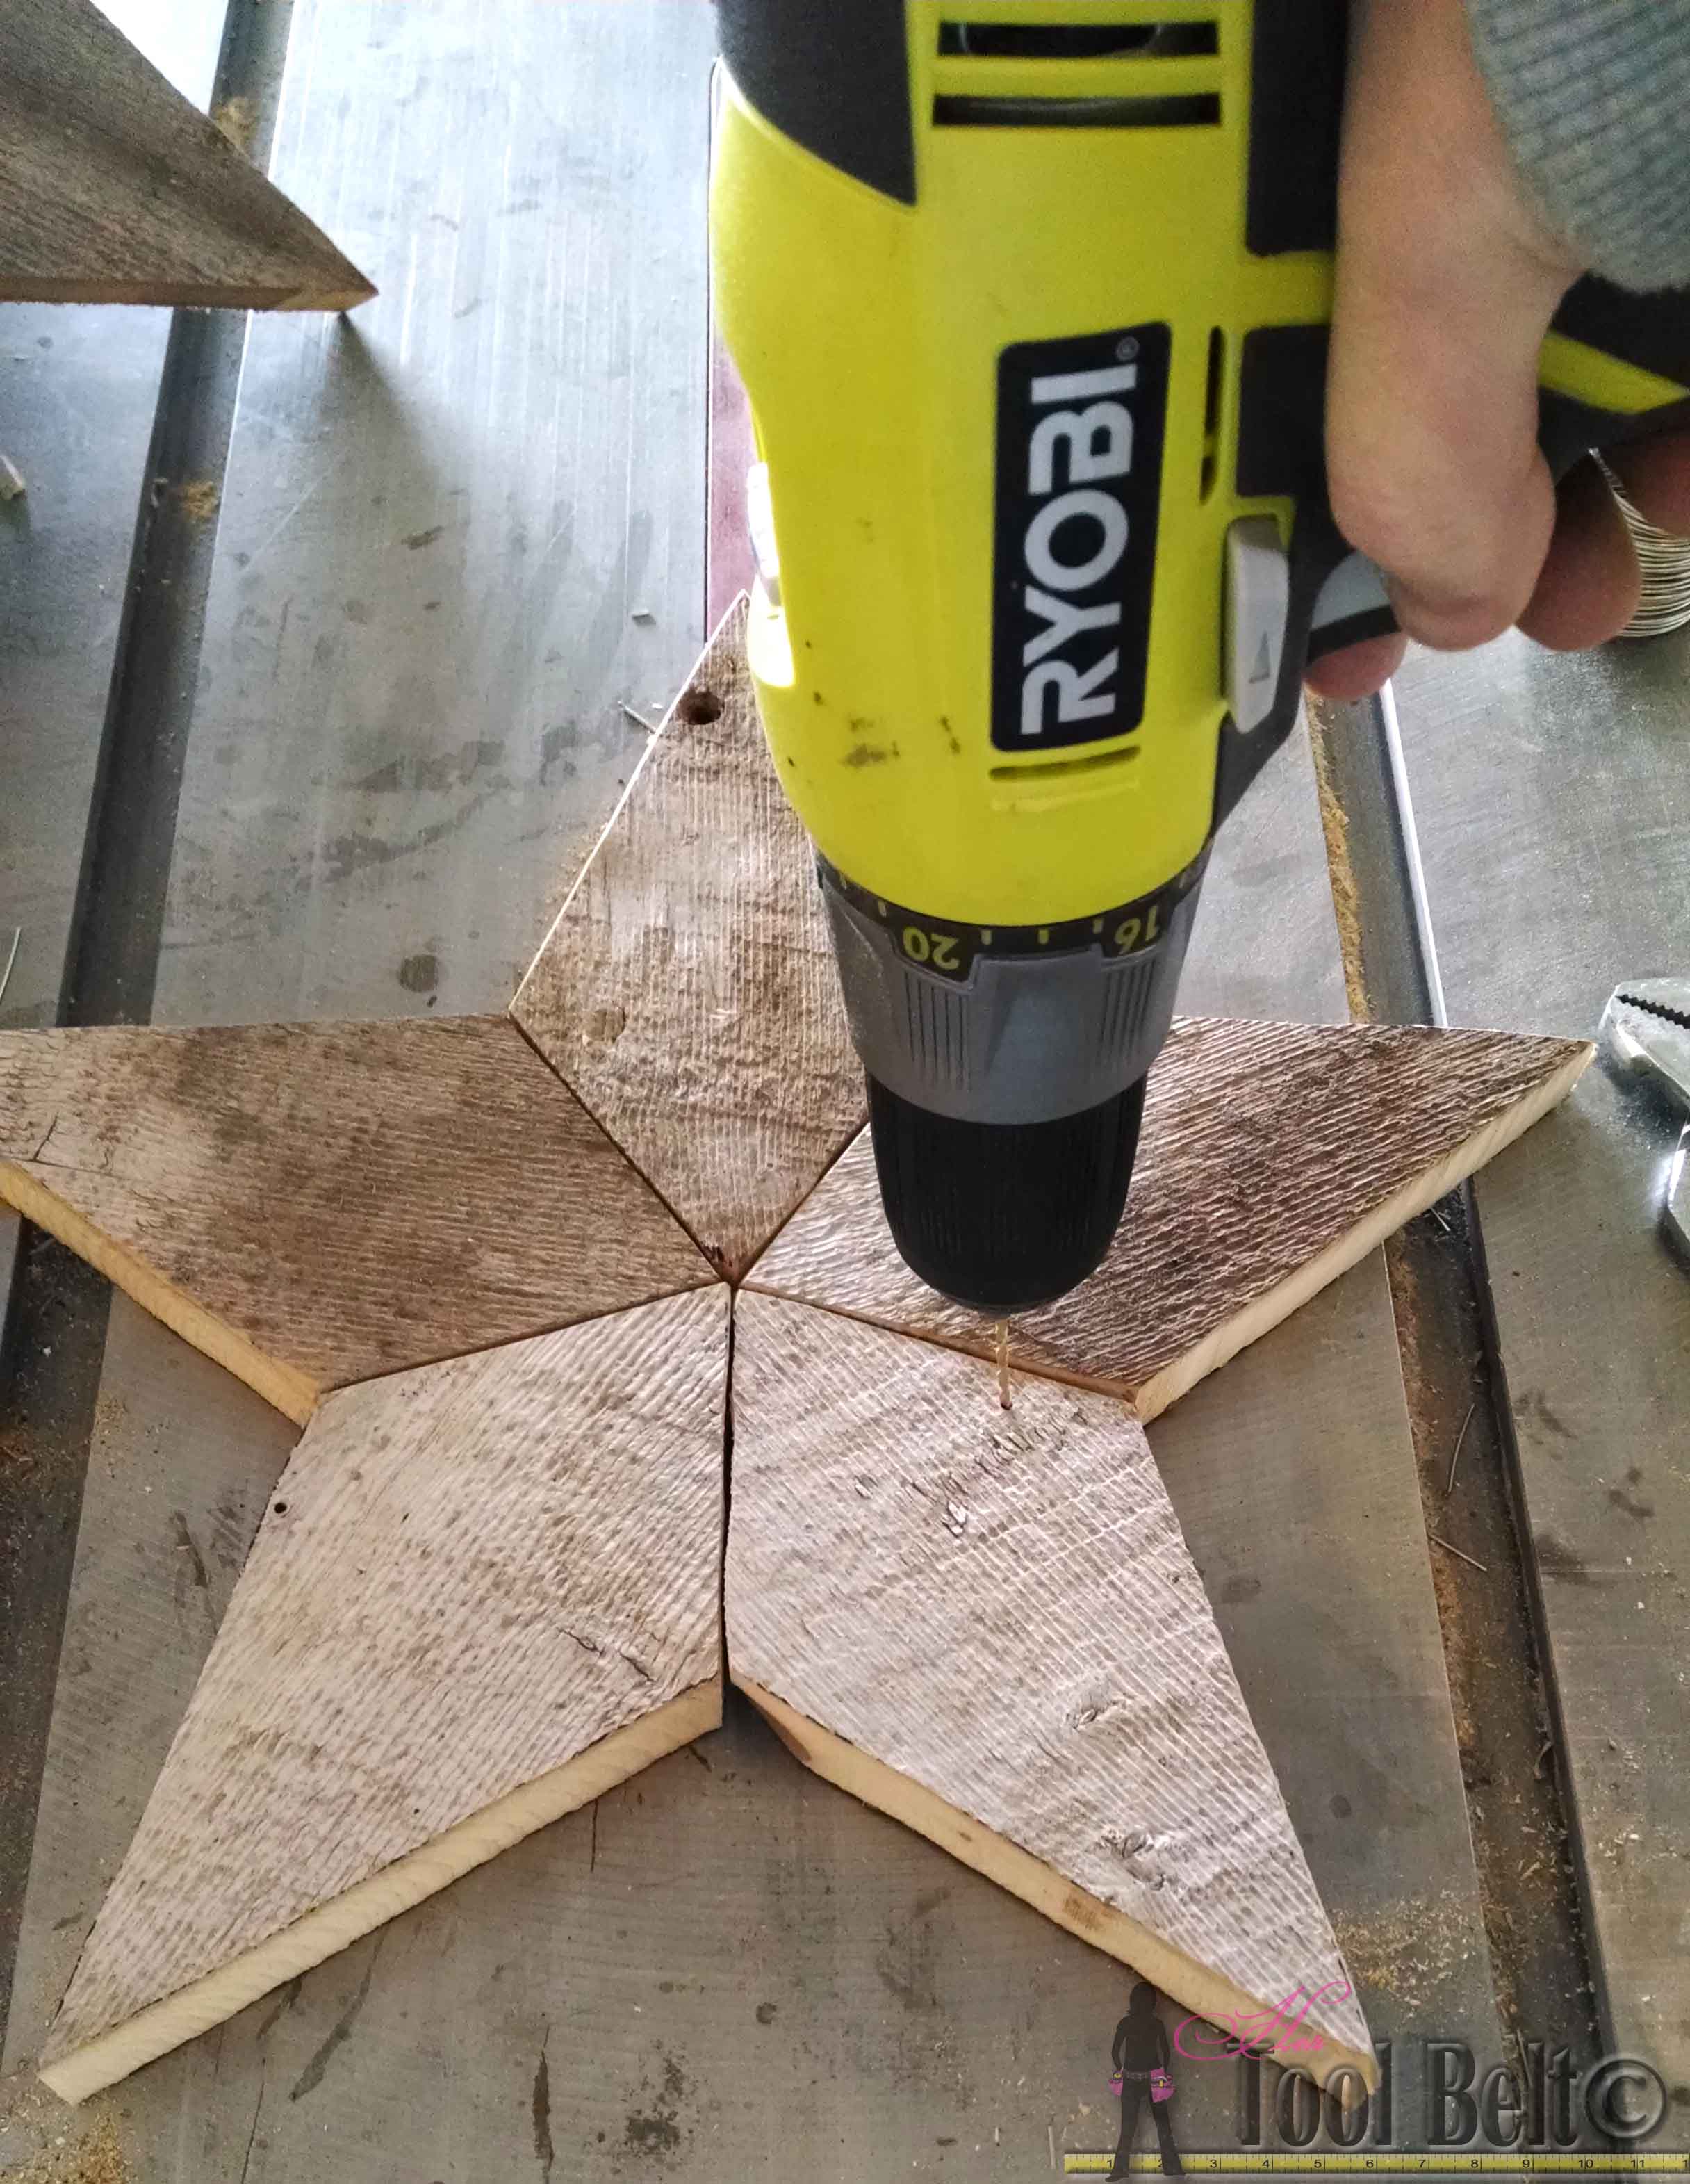
The star pattern includes 2 sizes of stars. The large star is about 13 1/2″ wide, the small star is about 7 1/2″ wide. Print out the Patchwork star pattern, when printing make sure your print settings are on 100%, not ‘fit to page‘. Cut out the diamond pattern(s). Trace 5 diamonds on a piece of wood for each star that you’d like to make.
Use a jig saw, band saw, scroll saw or even a hand saw to cut out the diamonds. I love working with weathered wood. Look at all of that natural character!

The gauge (size) of the wire used to tie the star pieces together isn’t very important. Grab a drill bit that is slightly larger than the size of wire. Drill adjacent holes for each joint. I only made one set of holes, you may want to add a second set of holes closer to the center.
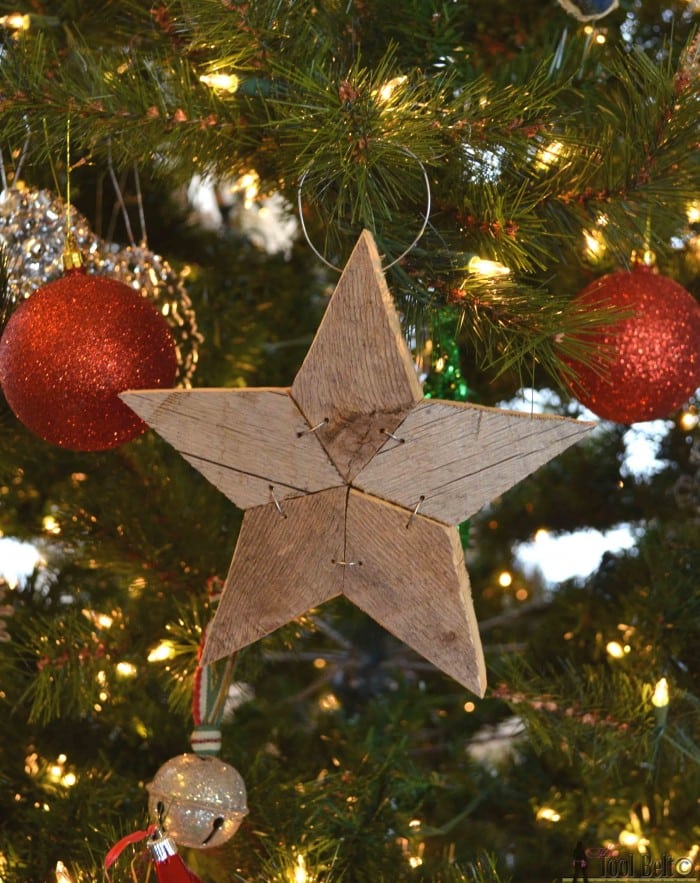
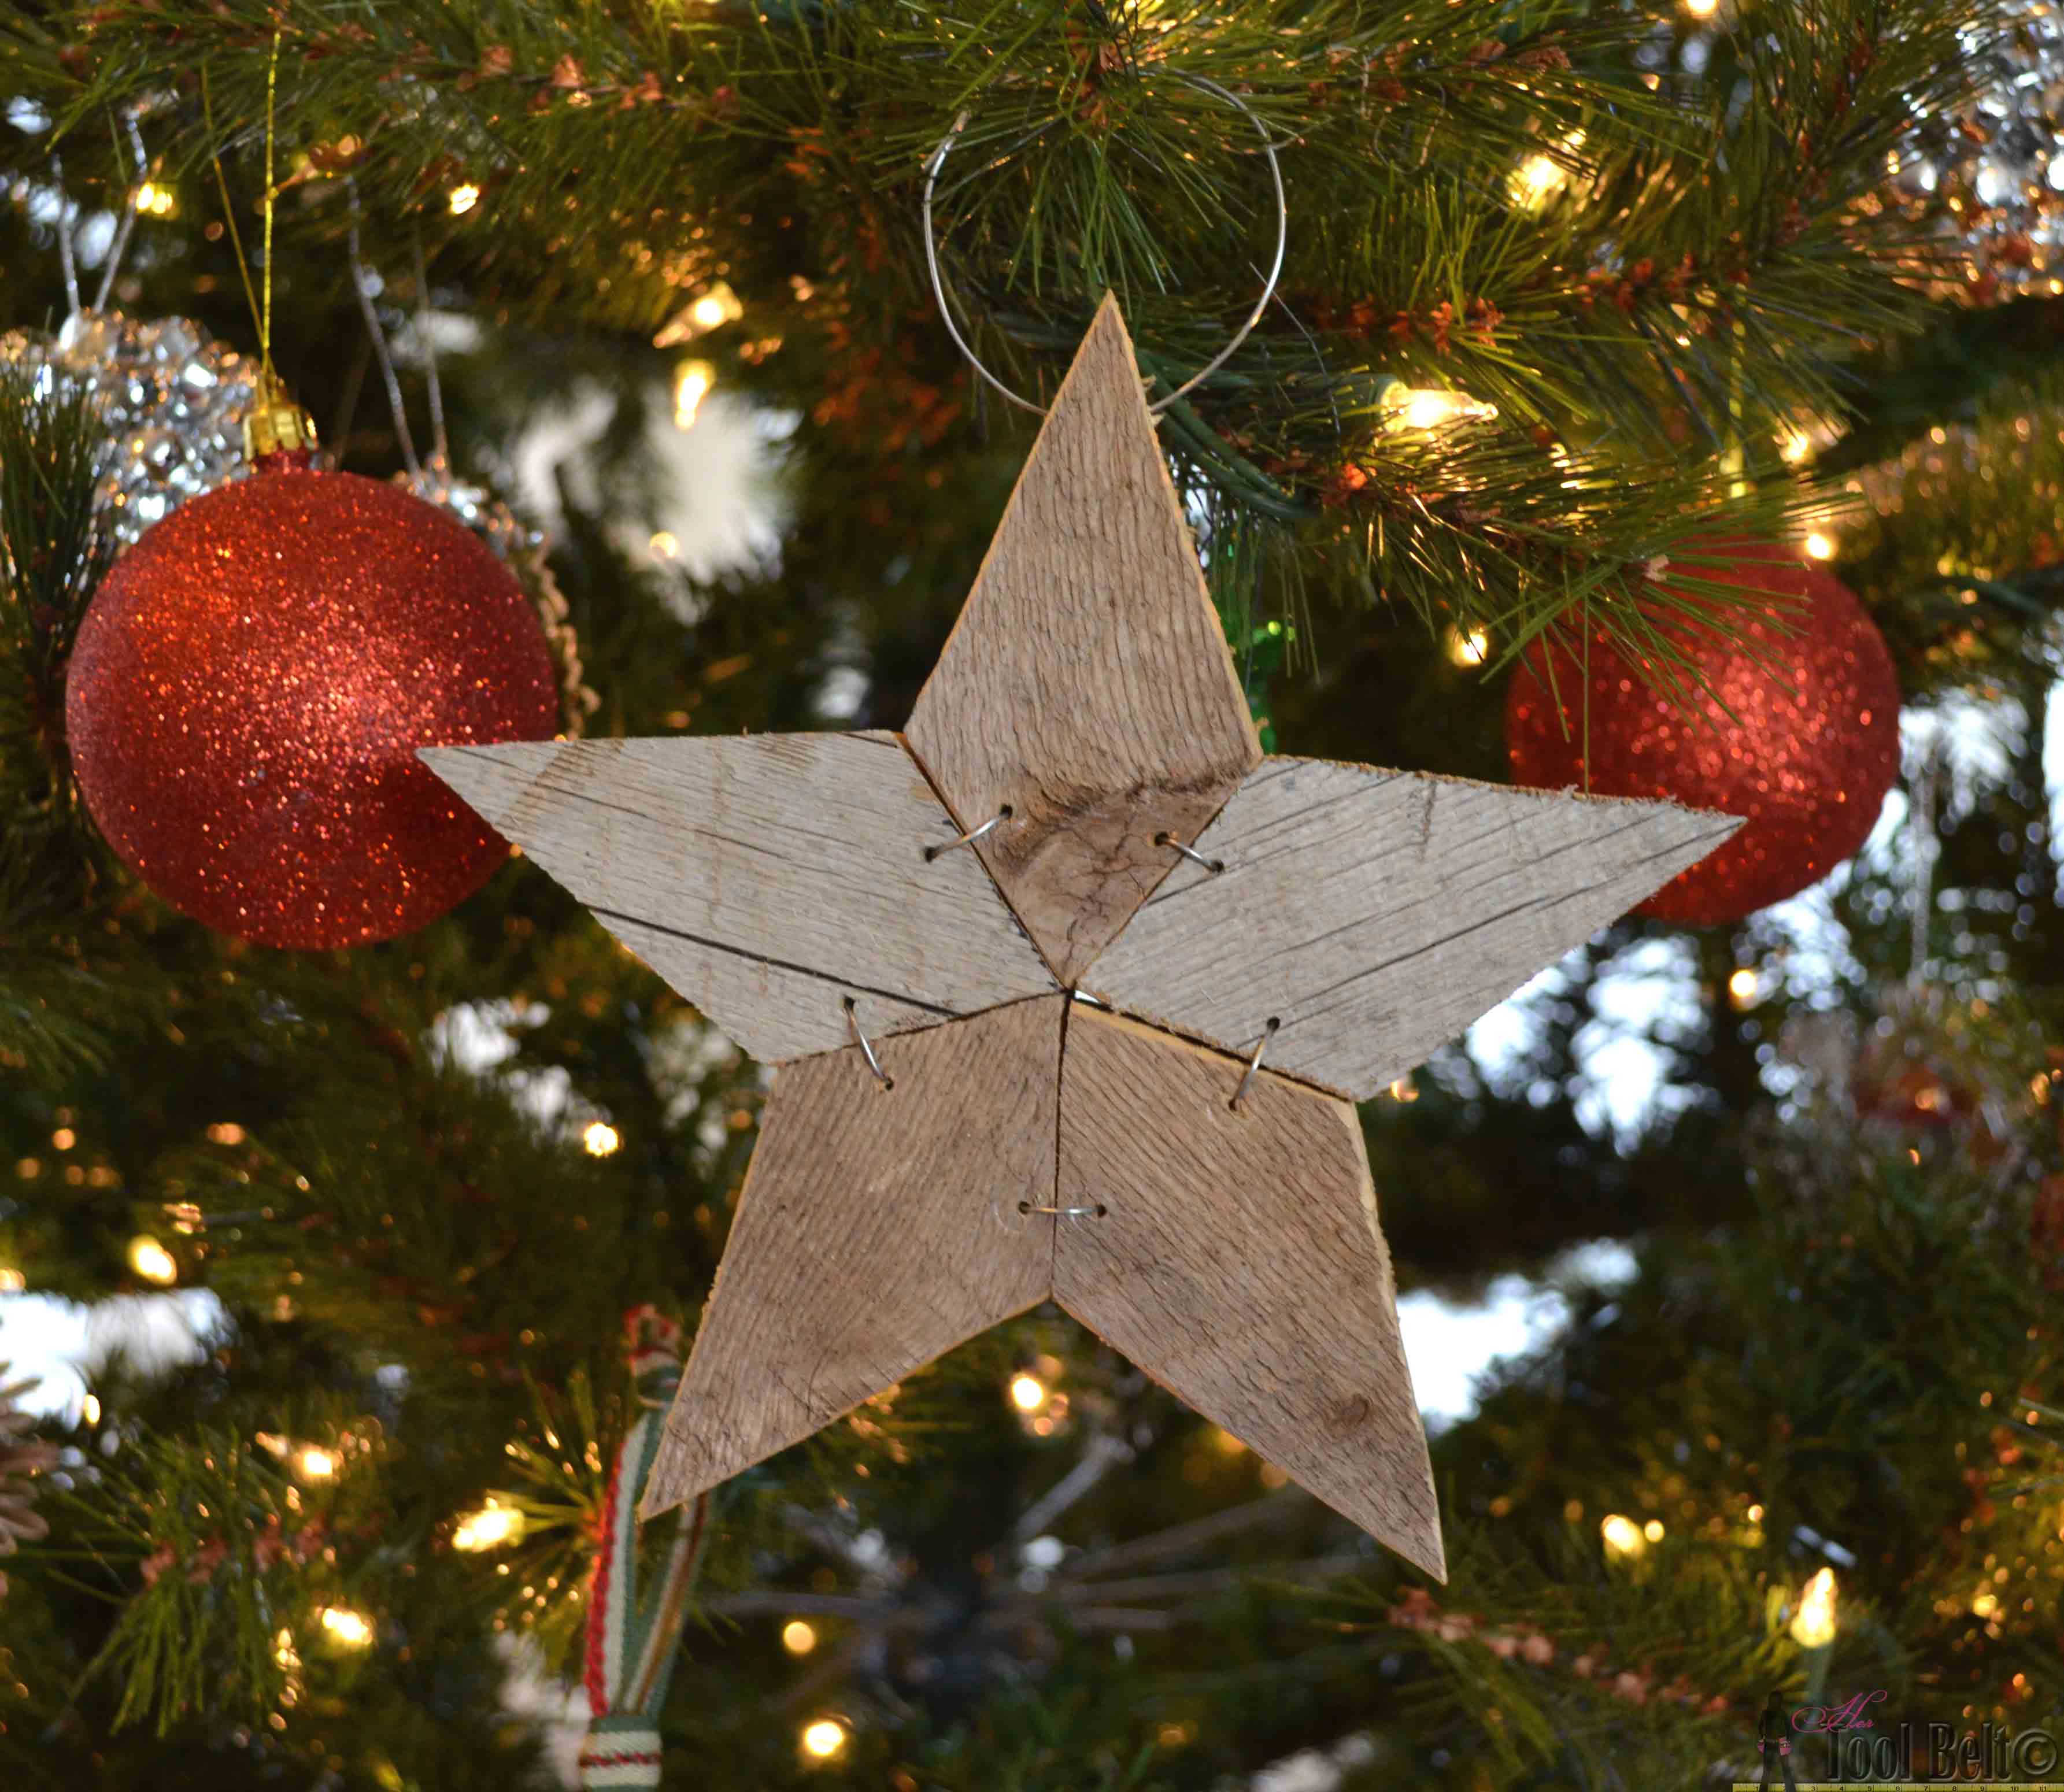
Thread the wire through the adjacent holes and twist it together tightly. Repeat for each set of holes. To make the rustic stars an ornament, drill a hole through the top of one of the star points and add a loop of wire.
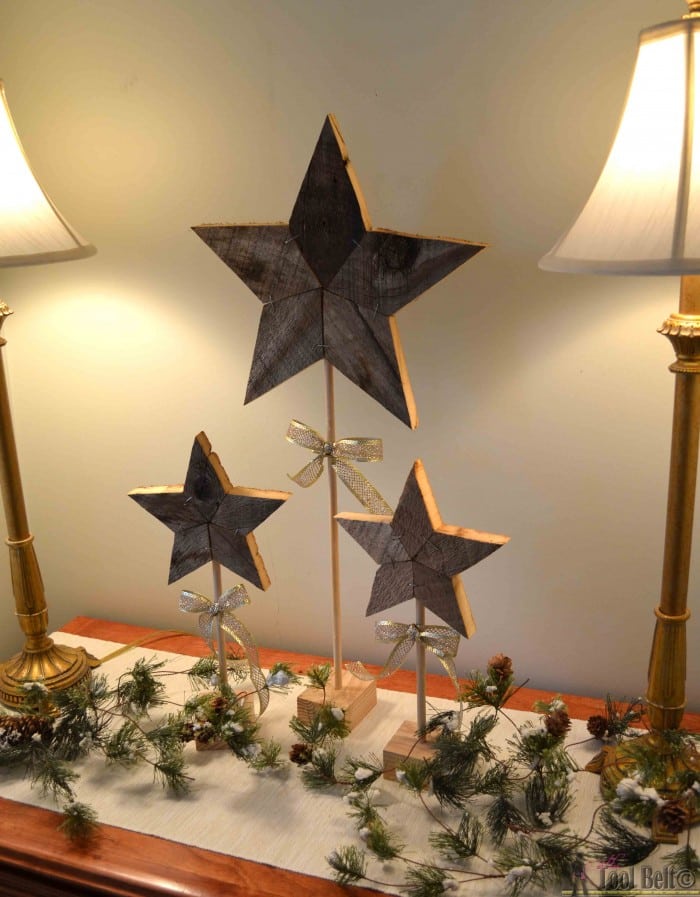
I wanted to make some of the rustic stars free standing, for a table decoration. I drilled a 3/8″ hole about 1″ deep through the bottom of the star. Cut a piece of 3/8″ dowel according to the height you need. Cut a small piece of 2″ x 4″ wood and drill a 3/8″ hole. Place the dowel in the wood block and star. Add a bow if you’d like.
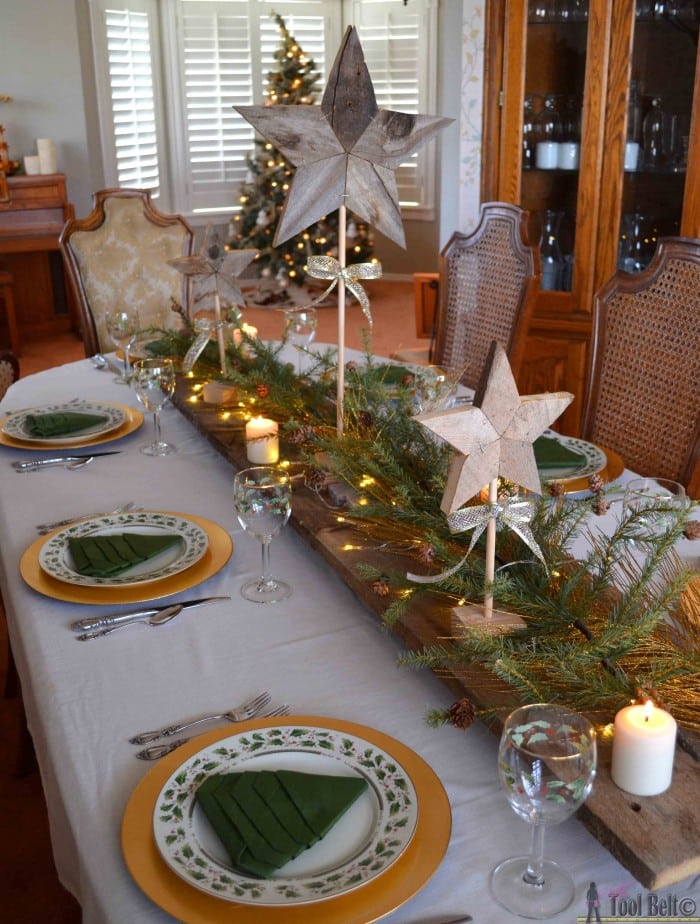
The stars also make a cute vignette, or they can be used as a backdrop for your nativity set.
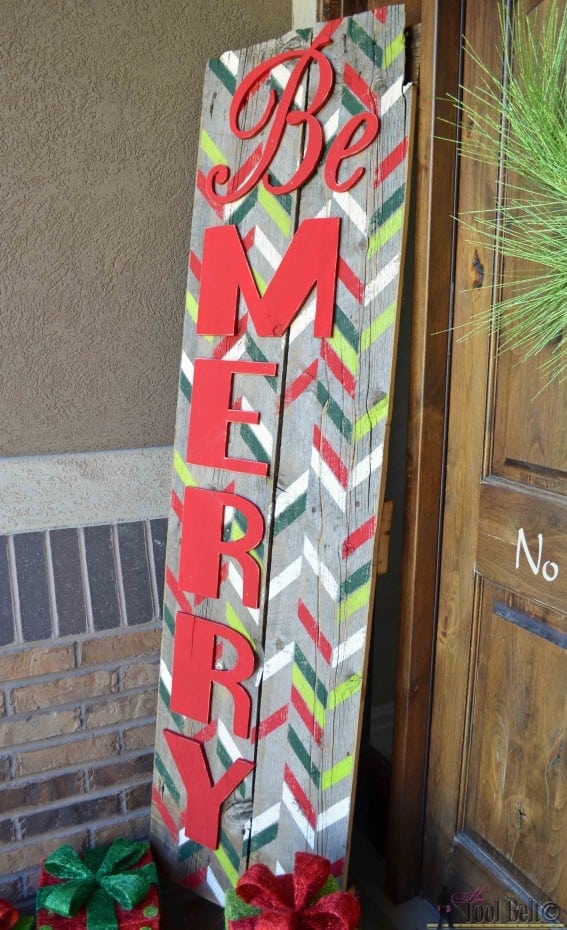
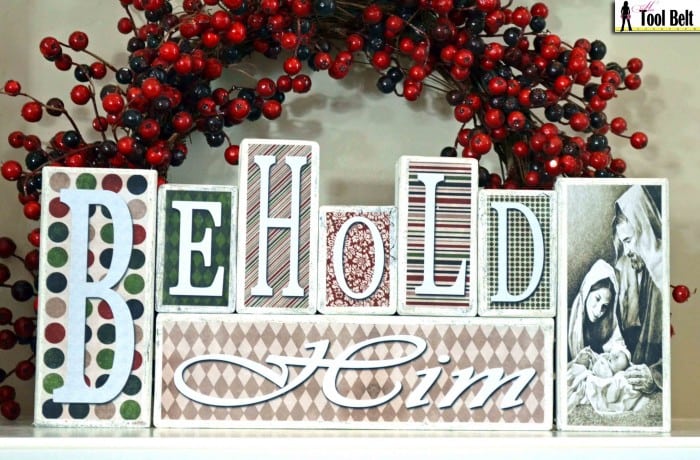
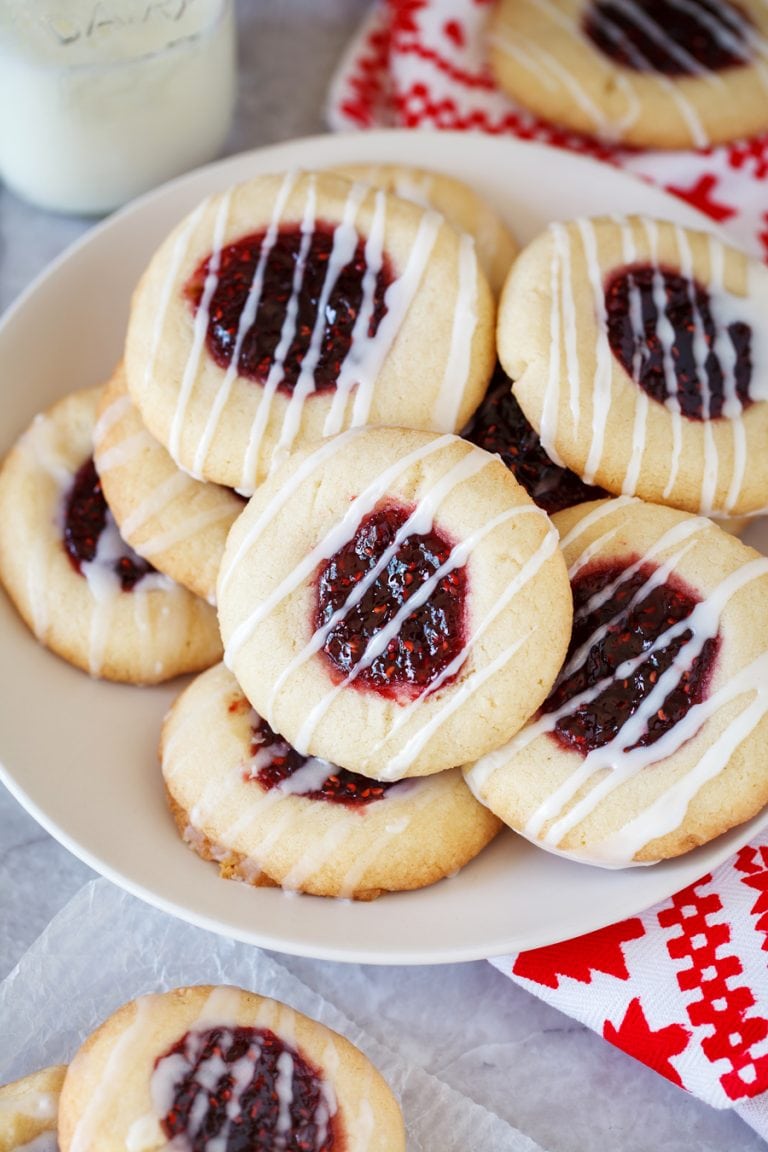
I hope you have a very merry Christmas! Here are a couple other Christmas projects that you might want to check out:


What degree do I use to cut these on my saw