As an Amazon Associate I earn from qualifying purchases.
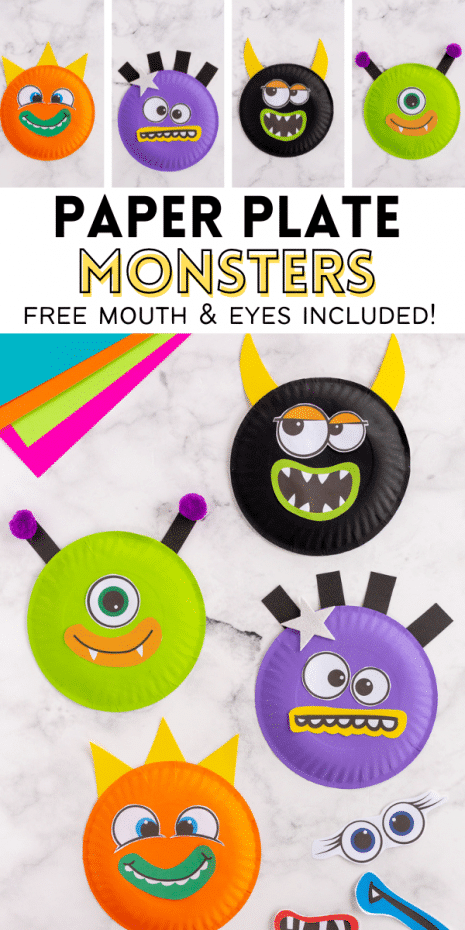
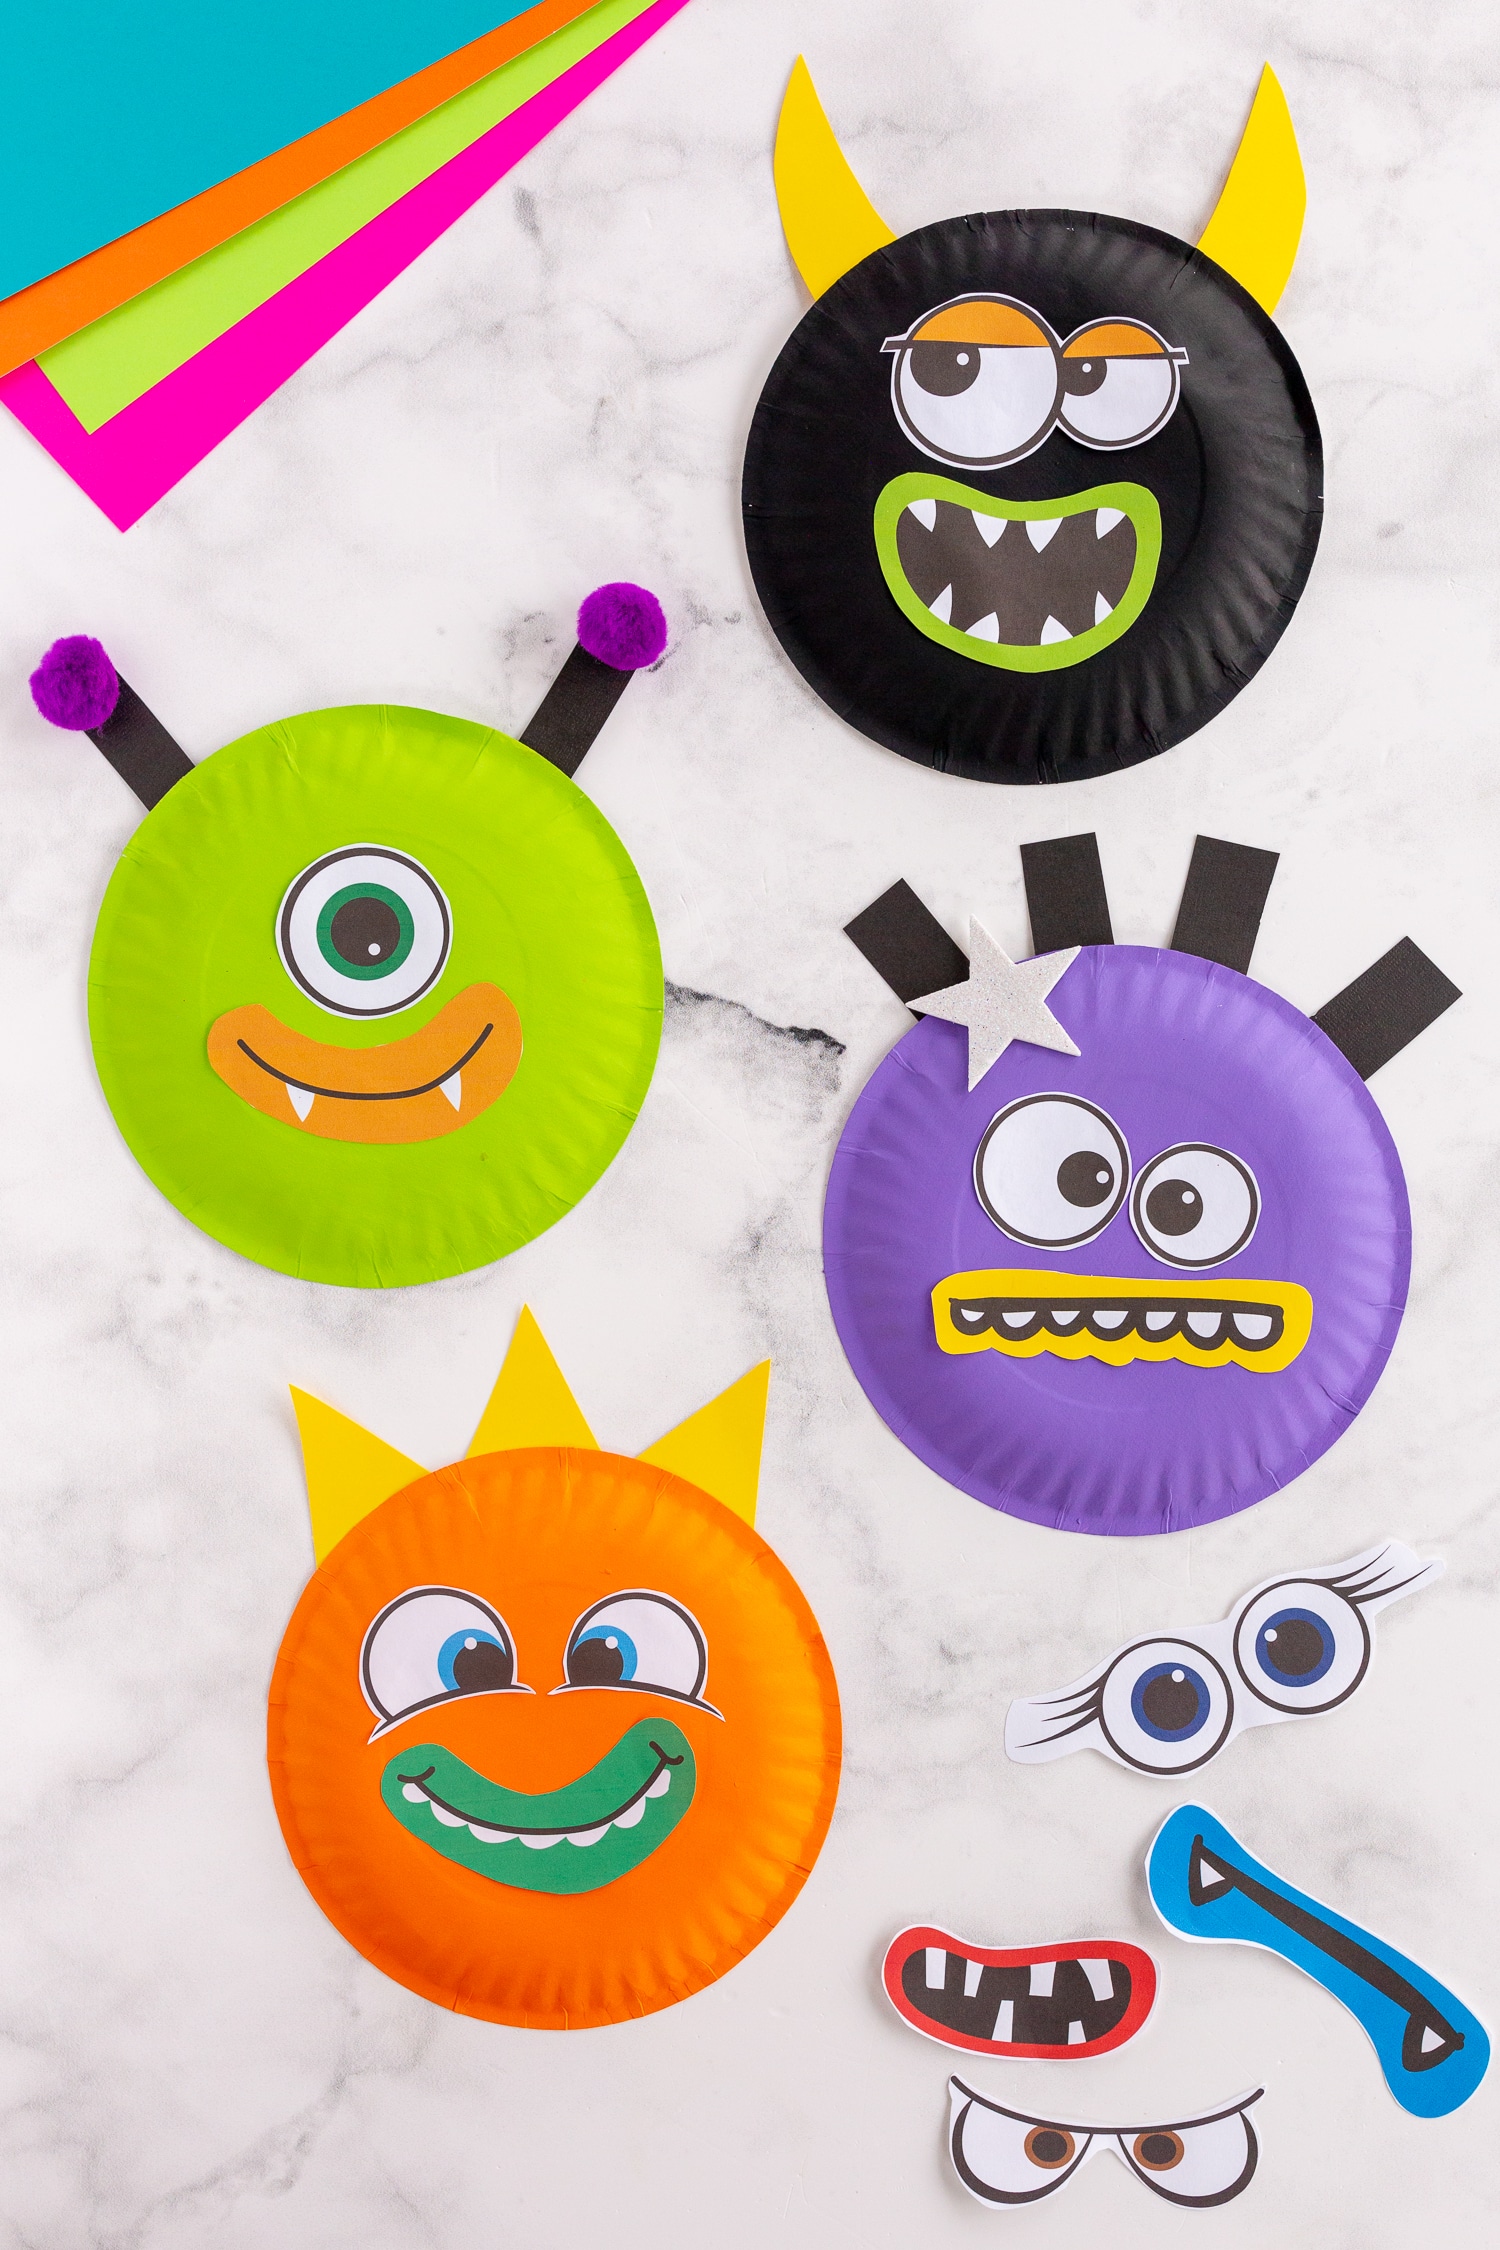
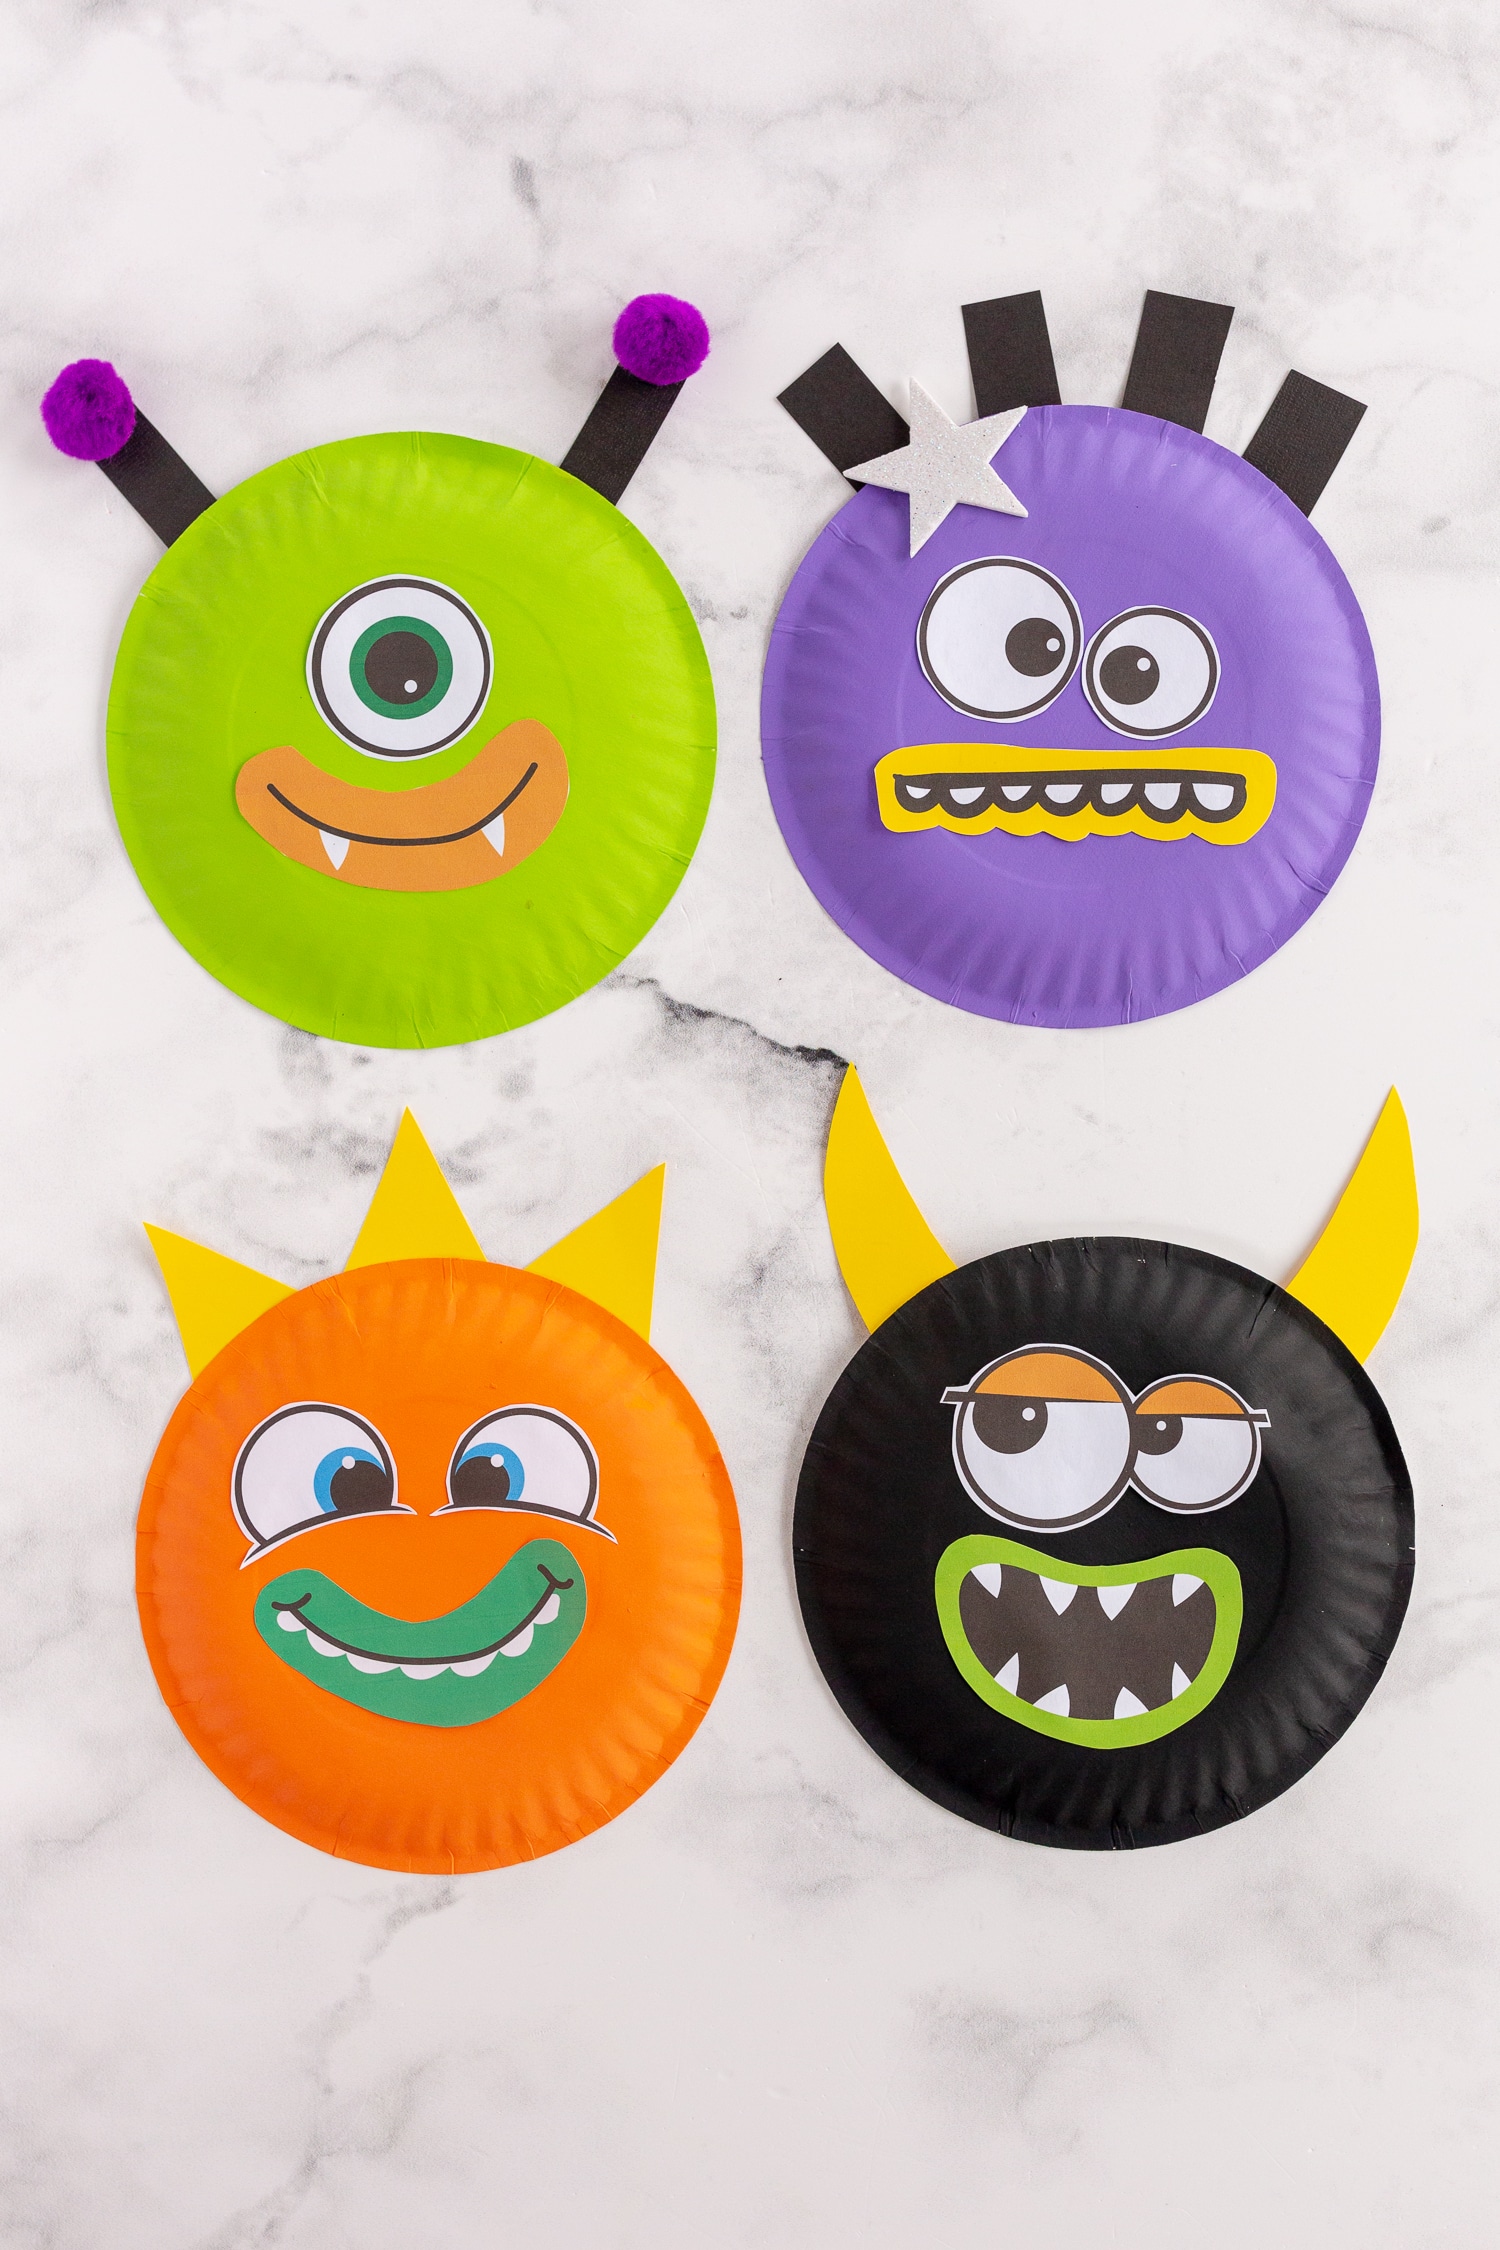
Craft these Paper Plate Monsters with your little monsters to celebrate Halloween! You only need a few simple supplies for this adorable craft and we include a fun template for the eyes and mouthpieces. It’s the perfect not-too-spooky craft for the season!
Adorable Paper Plate Monsters
If you know us, you know we’re not huge on a dark, gory Halloween in our house. We definitely lean into the cute-spooky side of Halloween festivities. That goes for our costumes, activities, and our Halloween crafts!
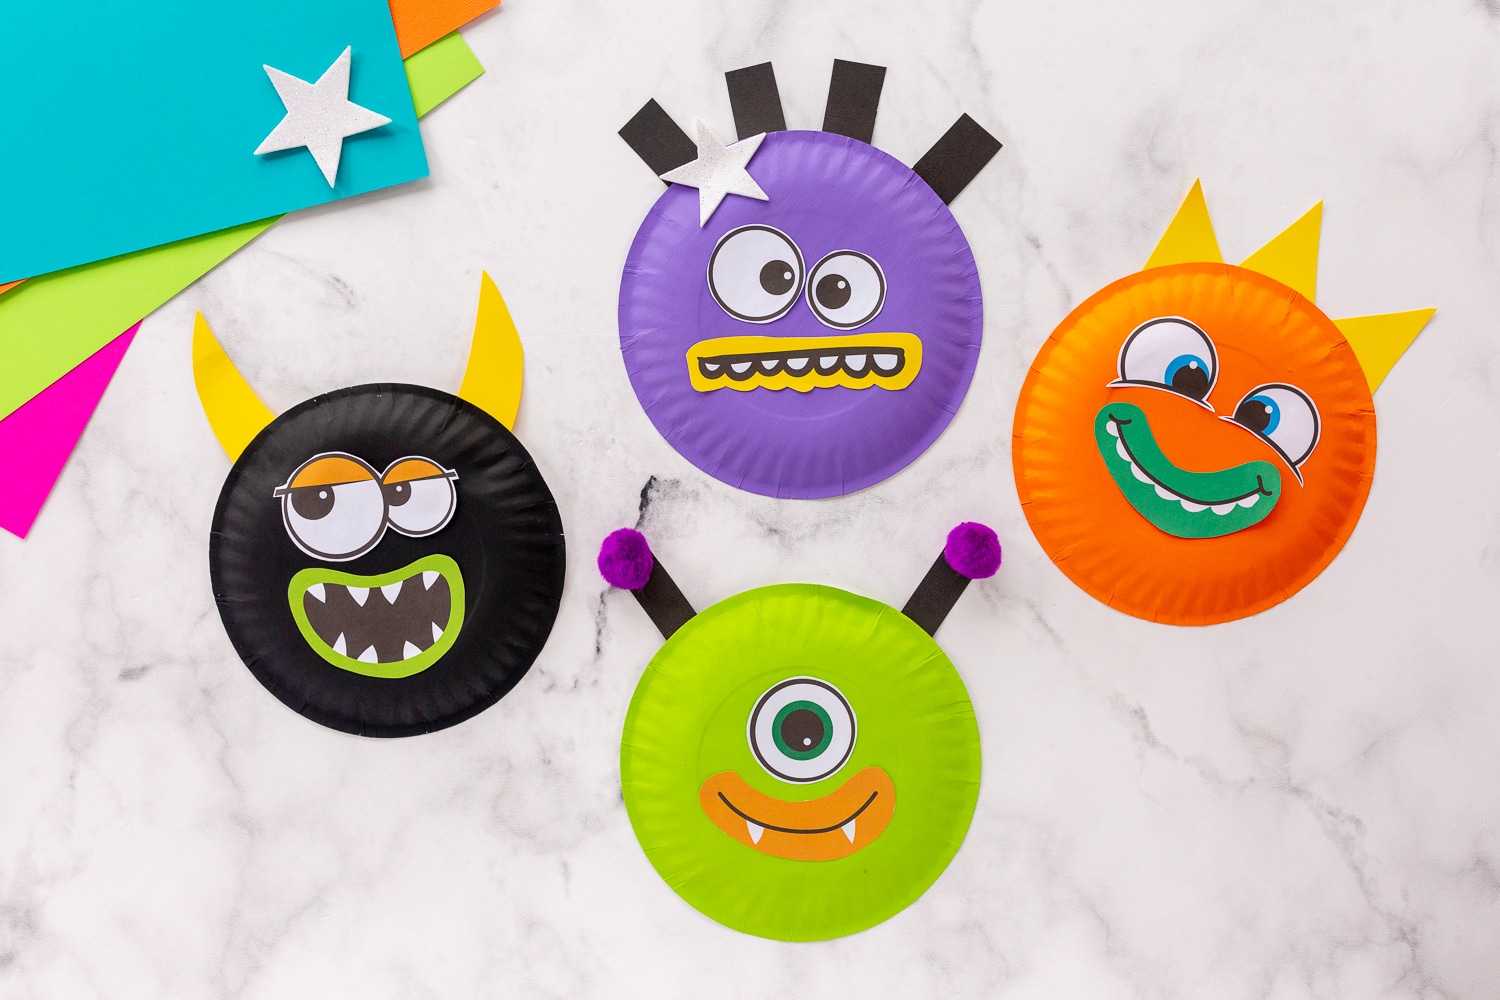
These cute Paper Plate Monsters are SO much fun for the kids to make. We created a fun printable template so you can make many different monster options, mix and match your favorite mouth pieces and eyes and add your own elements of flair.
This paper plate craft is perfect for a Halloween party, school crafting activity, or just for fun with the kids at home. The steps are simple and easy to follow, but the kids will have a blast. You can recreate the exact monster designs and color combinations I used, or your kids can dream up their own monsters. It’s such a fun way to activate their imaginations! However you choose to recreate this easy Halloween craft, I can’t wait to hear about how much your little monsters loved it!
Grab your free Monster Face Pieces HERE or in the FREEBIE section of our SHOP.
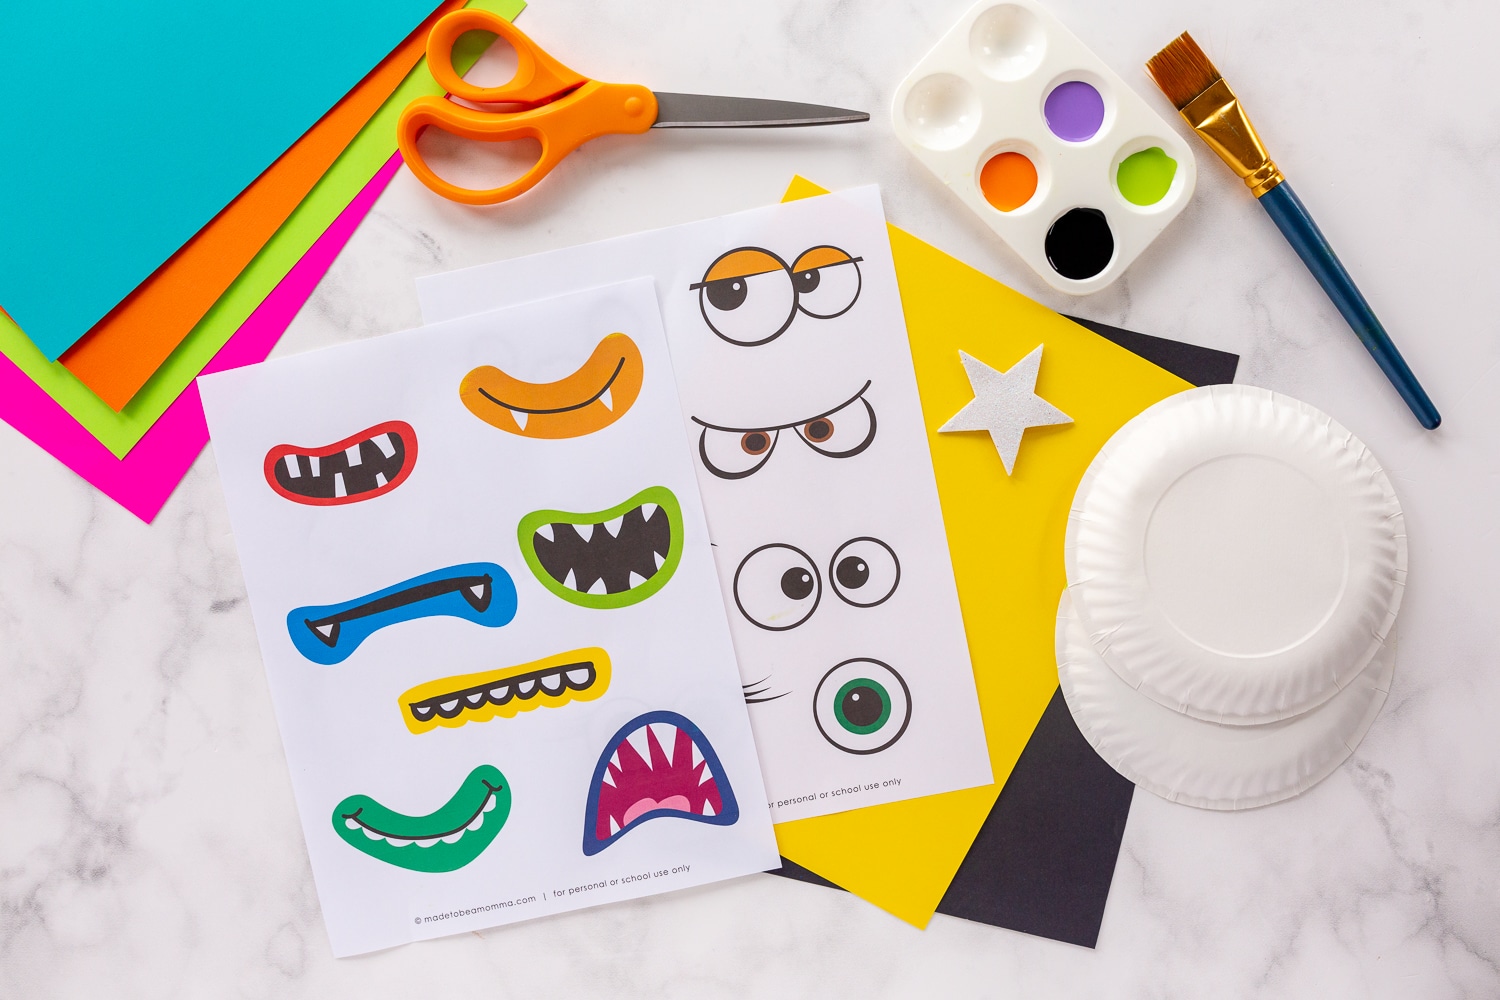
Supplies You’ll Need:
How to make Paper Plate Monsters
Follow these simple steps to create your own adorable paper plate monsters at home!
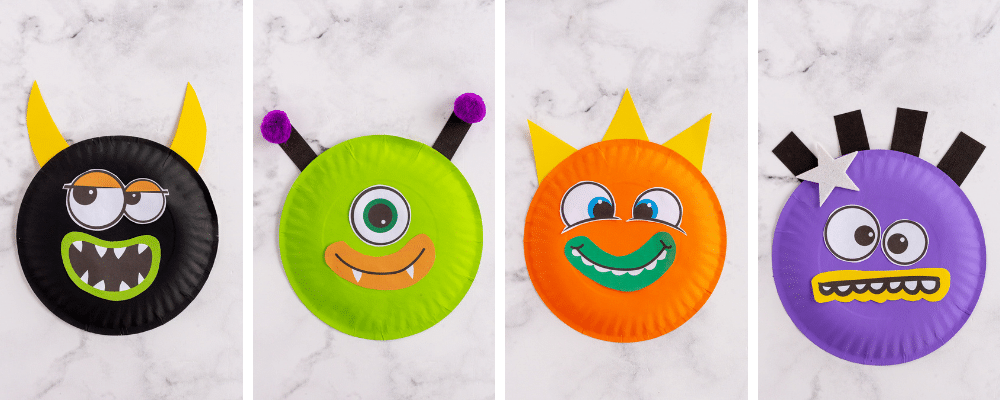
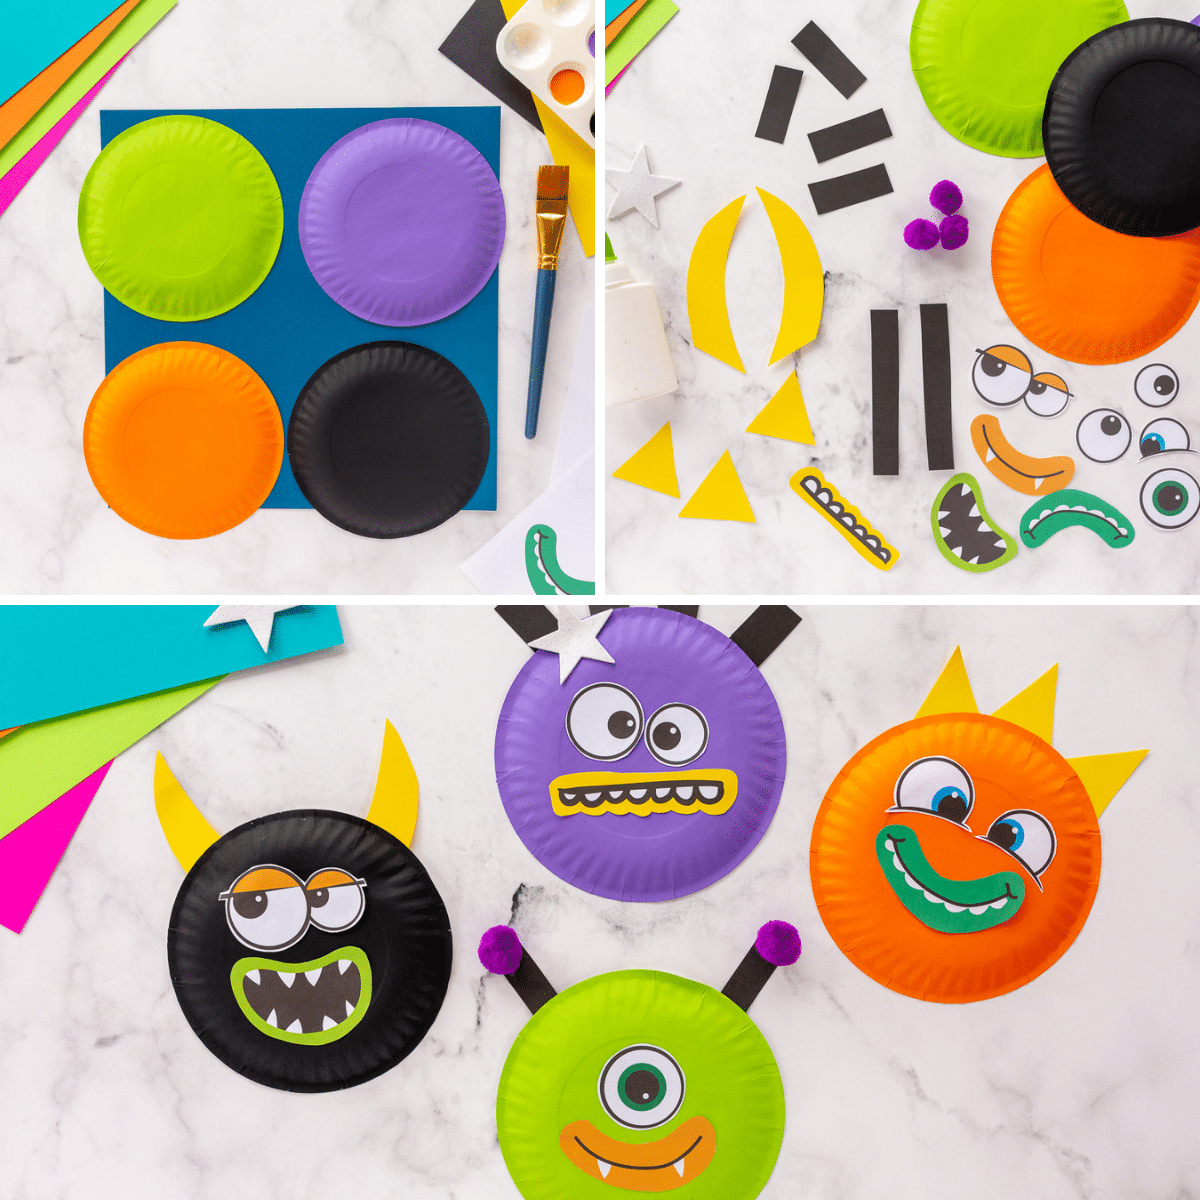
- First, paint your paper plates. If you’re making all four monsters, paint one plate green, one black, one purple, and one orange. Depending on the opacity of your craft paint, you may need to add a few coats. Once they’re all painted, allow the plates to dry completely.
- Once the paint has dried, cut out your monster eyes and mouthpieces. For the mouthpiece, I cut as normal right around the color. For the eyes, I cut around them and left just a TINY border of white around them. This helps the black edges stand out from the paint and makes it easier to navigate your scissors around the thinner edges.
- Next, glue the monster face pieces to your paper plates. You can glue each face combination on the same colors that I chose, or your little one can mix and match the pieces to make their own monster creation!
- Finally, add all of the finishing touches. For us, these included hair, headpieces, horns, and the little antennae as seen in the picture! For the antennae, you want to add a purple pom pom on the ends of each for a cute touch. Be sure to glue the hair and headpieces to the back of the paper plate, with the exception of the foam star. This will ensure that they come neatly out of the top of your monsters’ heads.
More Halloween crafts to love
Searching for more Halloween crafts for kids? You’re in the right place! Your little monsters will love these other spooktacular craft ideas.