As an Amazon Associate I earn from qualifying purchases.
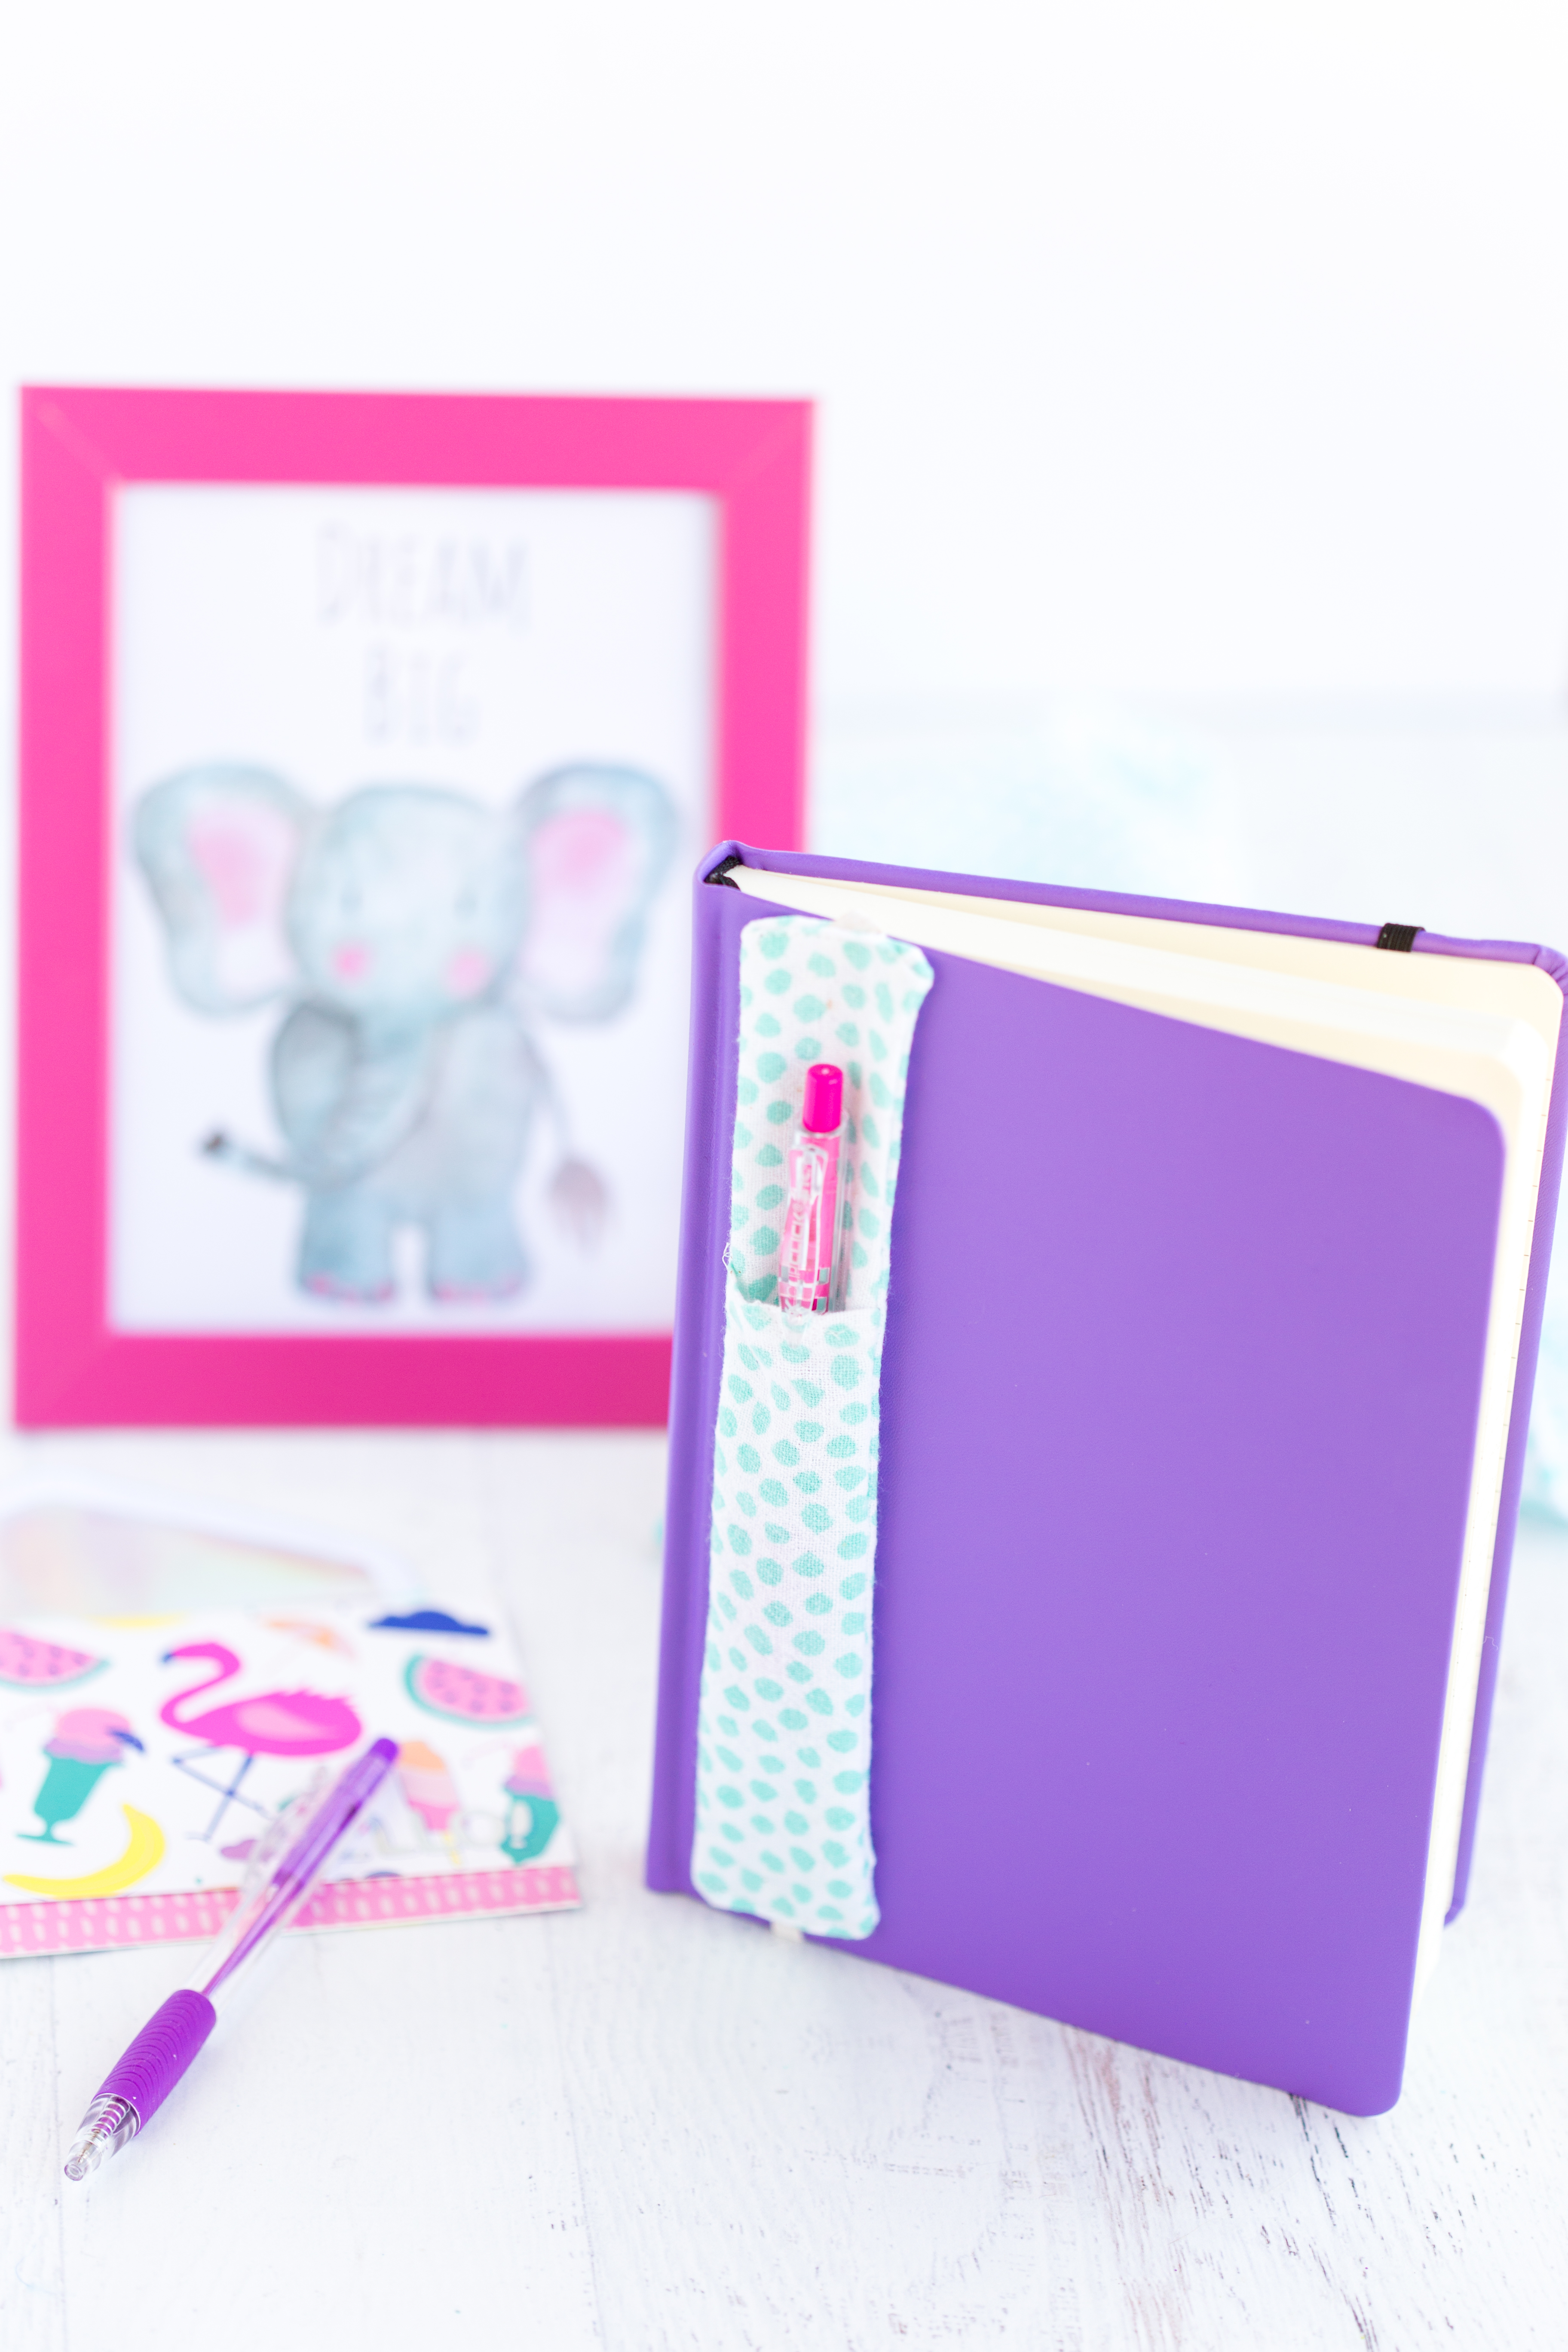
This journal pen holder is a simple diy fabric craft idea that will make a great gift! Keep a pen right where you need it when the memories or funny stories come along!

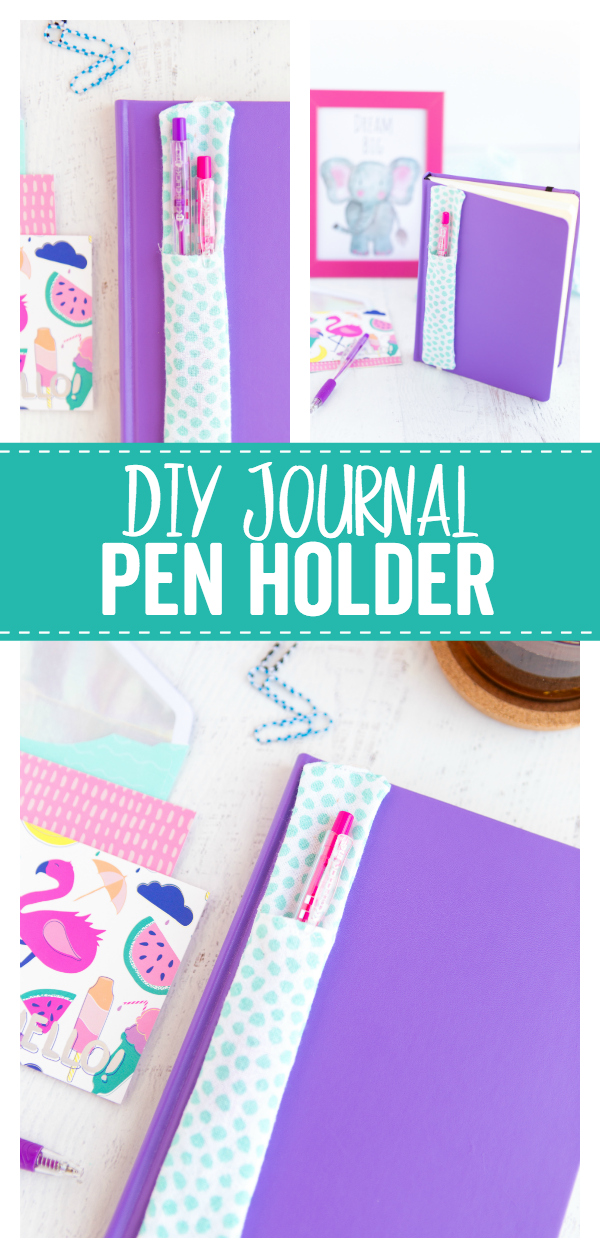
Journal Pen Holder
One thing I wish I was better at is keeping a journal! Not a journal where I necessarily keep my personal feelings for the day, but a journal to keep the memories of the day! Every day, my three kids do something that makes me smile, sometimes cry and feel extremely blessed to be there Momma! Days go by like a blur and I know I will forget the memories or the silly things they said or did that had me chuckling for an hour. I have recently been trying to keep “notes of the day” and having a pen attached to my journal definitely helps. I made this fun journal pen holder to make sure there is always one there when I need it!

Materials for Journal Pen Holder:
- Fabric
- Elastic
- Sewing Machine
- Hot Iron
You don’t have to have much experience with sewing in order to make this journal pen holder. If you can sew a straight line you are set 🙂 The directions for this pen holder is pretty simple as well. Follow along in the written directions below and use the collage above to help guide you.

How to make Journal Pen Holder:
1. Measure the length of your journal. Mine was about 8 1/2 inches.
2. Cut out two strips of fabric 2 inches wide by the length of your journal and a third strip about 2 inches longer than half of your first two strips. Confusing? My two strips were 8 inches x 2 inches. My third strip was 6 inches by 2 inches. ( slightly longer than half) You also need to cut a piece of elastic. I cut mine 1 inch smaller than the length of my journal so it would fit nice and snug over my journal
3. Using the smallest strip of fabric, fold your edge over a 1/4 inch and press with a hot iron. Top stitch. ( This will be your pocket piece)
4. Lay your pocket piece on top of one of the first two strips. Ugly sides facing each other. Sew down the pocket sides to hold in place. You don’t need to sew the bottom.
5. Lay your final piece on top of your main piece ( pretty sides together. Sew down both sides. You don’t need to sew the top or bottom.
6. Turn both of your ends inside of itself and press with a hot iron. Insert the end of your elastic and fold over the edge slightly to create a clean crease. Sew together and repeat on the opposite side.

Now when you are all finished make a few more! Pair the journal pen holder with a new coordinating journal and pens to make a great gift idea that is perfect for your girlfriends, book club members, Christmas gifts and more!
For more fabric craft ideas you should try these!
The pictures of this post has been updated as of 2018. The directions are the same just some newer brighter images 🙂


This would be great to make wider so reading glasses would also fit in it.
Are you sure you mean “ugly sides together” in step 4 for pocket placement? I had to rip out the seams after doing that. I then placed the pocket piece pretty side up on top of main fabric, also pretty side up and proceeded from there with success.
This was an awesome tutorial. I am going to make one for my Midori Travellers Journal. I want to make some for gifts, and will just leave the elastics free at the ends so the person can just tie them to the length they need. Thank You so much for making these!
This pencil holder is EXACTLY what I was looking for. THANK YOU!!
Quick note: I am 57, my youngest is turning 26 next month. I wrote down Some things my kids did and here is one from when my son was about 8: [We were sitting in the dentist office waiting, Nate was looking at a National Geographic mag. He got so excited and said LOOK MOM, the cheetah is taking down the cantelope!!! I looked at the picture and indeed saw the cheetah taking the down ANTELOPE…]
So persevere young mommas. It is so precious to have some things written down for when they are all out of the nest.
Amazing! This is what I’ve been in dire need of! Can you lease do a tutorial video for this? I couldn’t understand a couple of steps.
Thank you,
M. K
Please*
Thank you so much for the inspiration. I just whipped one of these up today. Instead of using a separate piece for the pocket I used a longer strip for the top piece and folded it twice to create the pocket in the overlap. Too easy. It was a fun little project and I’m stoked to have somewhere cute to keep my pen.
I have a teenaged neighbor whom has adopted me as a big sister/mom type figure in her life and she was telling me that they are NOT allowed to carry backpacks to class. I was amazed. Times are so different from when I was in high school. .::sigh::. Anyway, this is perfect to make for her to help keep pens and pencils with her. I’m also looking into making a bookstrap to help carry her books. There aren’t to many tutorials on these out there. Most of them are made of leather. I’m going to look at some pics and try to wing it…unless anyone on here knows of a tutorial for one ?. Thanks so much for your time and effort in making and sharing this. I pray you are blessed with inspiration daily. Blessings~Stephanie
When I make this (and I will) I will probably make my elastic a bit longer…maybe only 1/2 inch shorter then my book so I can slip it over the pages I have already written on and have a book mark at the same time! I hate using bits of newspaper or tossed mail to mark my place. LOL At least your juice was with your glasses!!