As an Amazon Associate I earn from qualifying purchases.
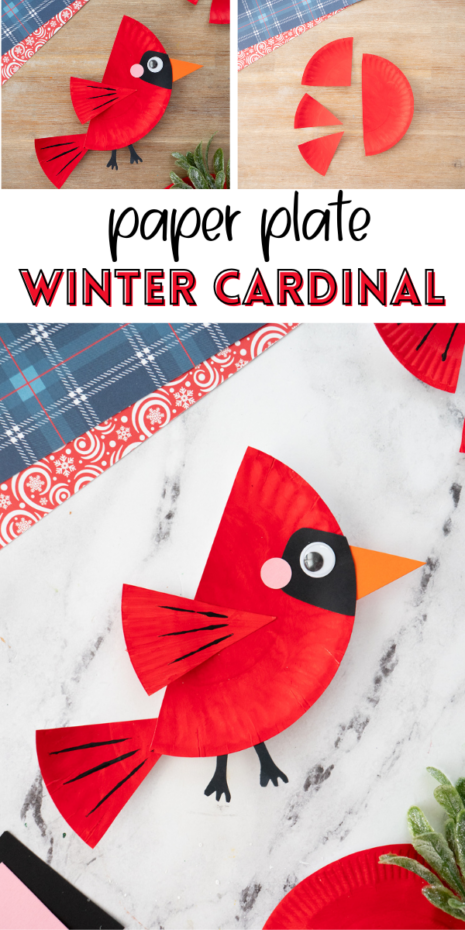
This paper plate winter cardinal craft for kids is a simple winter bird project using basic supplies. Kids will love the bright pop of red and putting their bird together piece by piece.

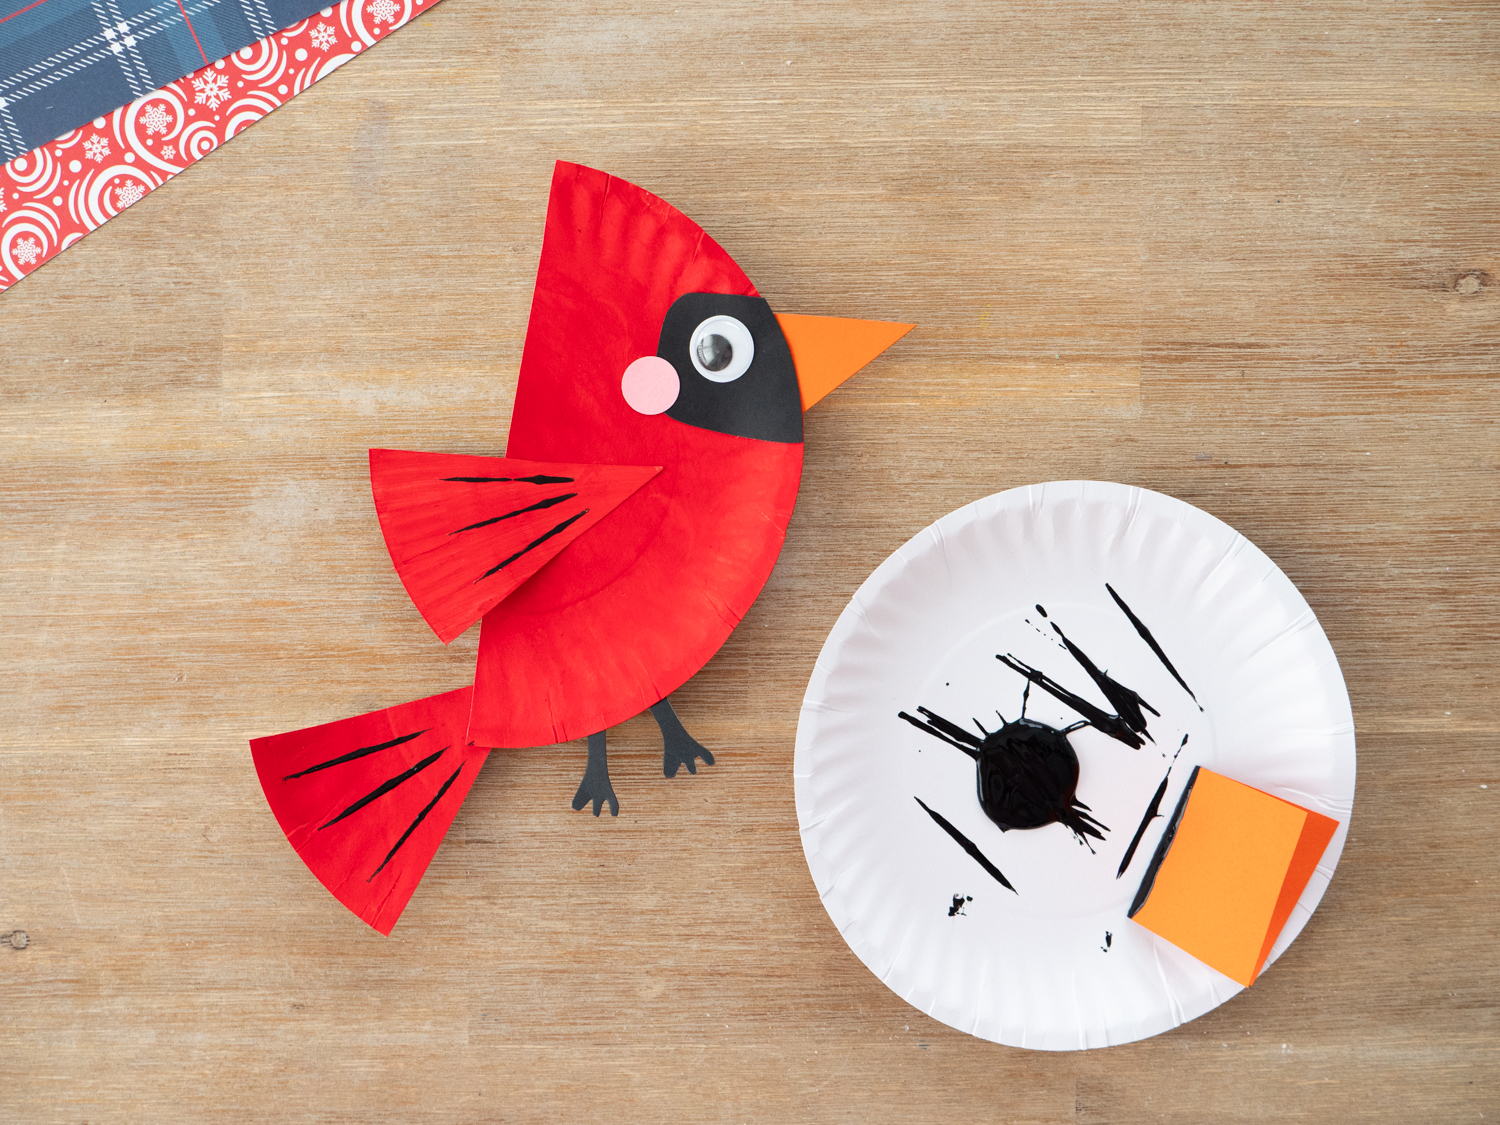
Paper Plate Winter Cardinals
Cardinals are one of the few birds that stay bright red all winter long, which is why they’re so easy to spot against snowy backgrounds. Unlike many birds, cardinals don’t migrate, so seeing one in the winter often feels like a little bold pop of color.
This Paper Plate Winter Cardinal Craft is such a fun way to bring that pop of red into craft time. It’s simple, inexpensive and one of those projects that kids can jump right into without needing a lot of prep.
Pair this winter cardinal craft with some simple winter bird watching, a homeschool bird lesson, or a fun book about birds!
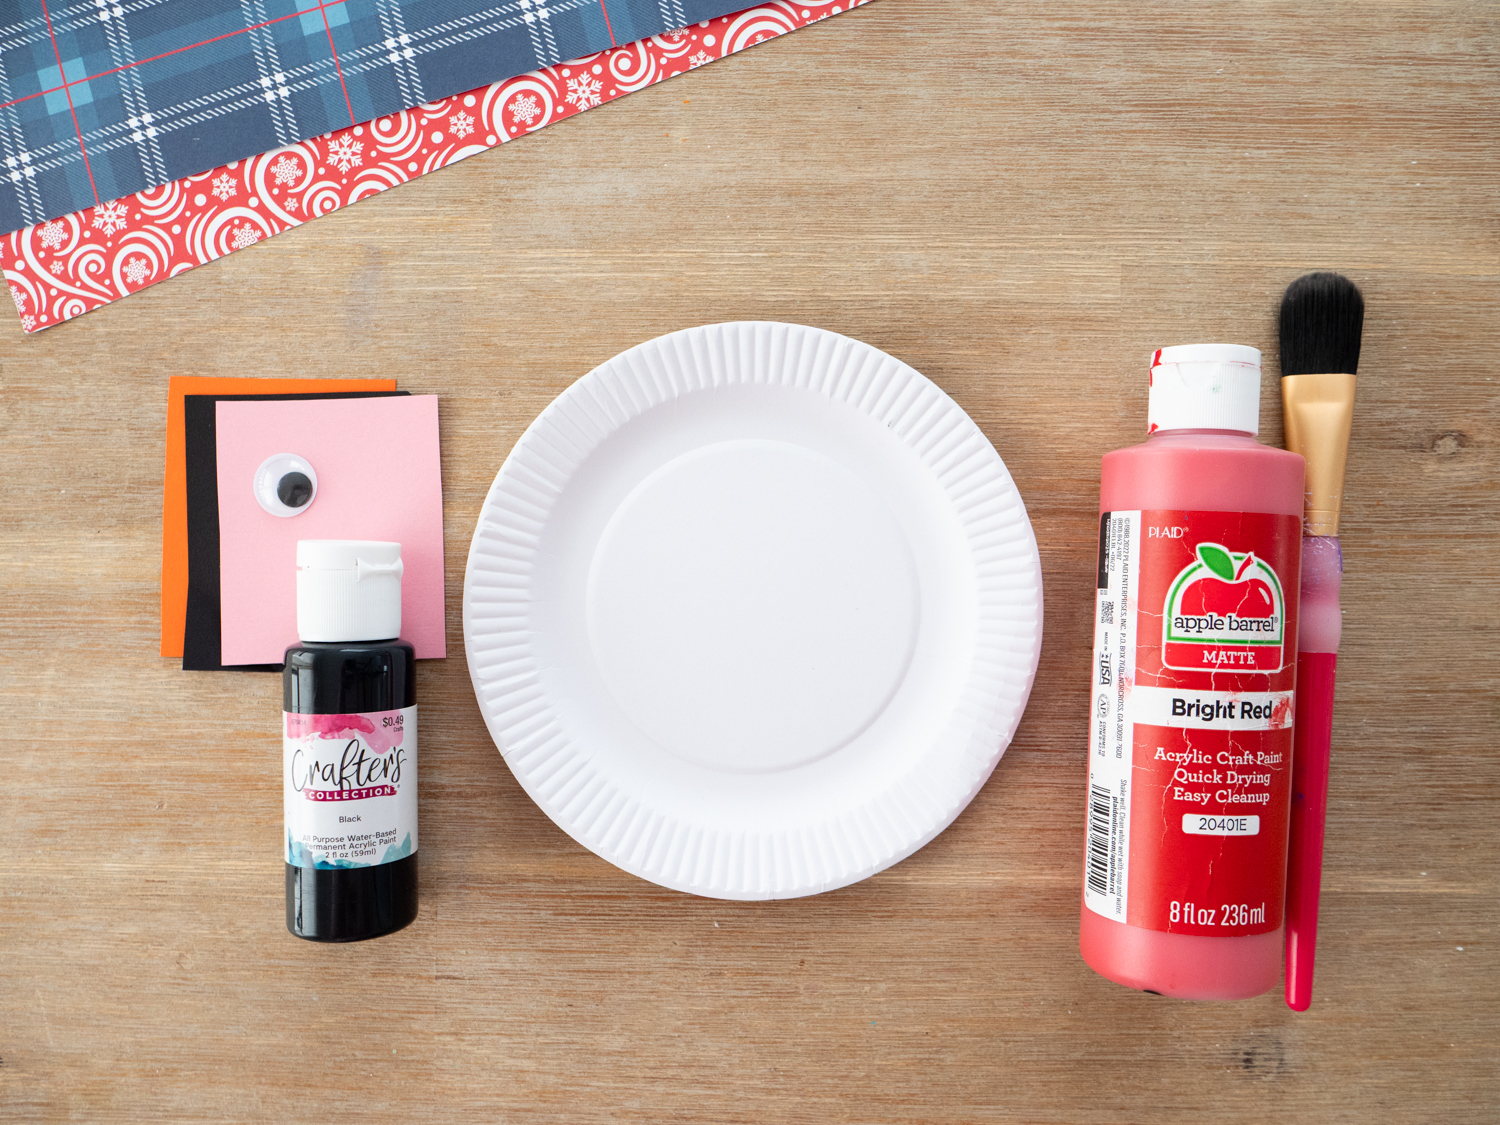
Materials Needed To Make A Paper Plate Winter Cardinal
- Winter Cardinal Template
- Paper Plate, dessert size
- Craft Paint, red and black
- Paint Brush
- Scrap Paper, in orange, black and pink
- One (1) googly eye
How To Make a Paper Plate Winter Cardinal
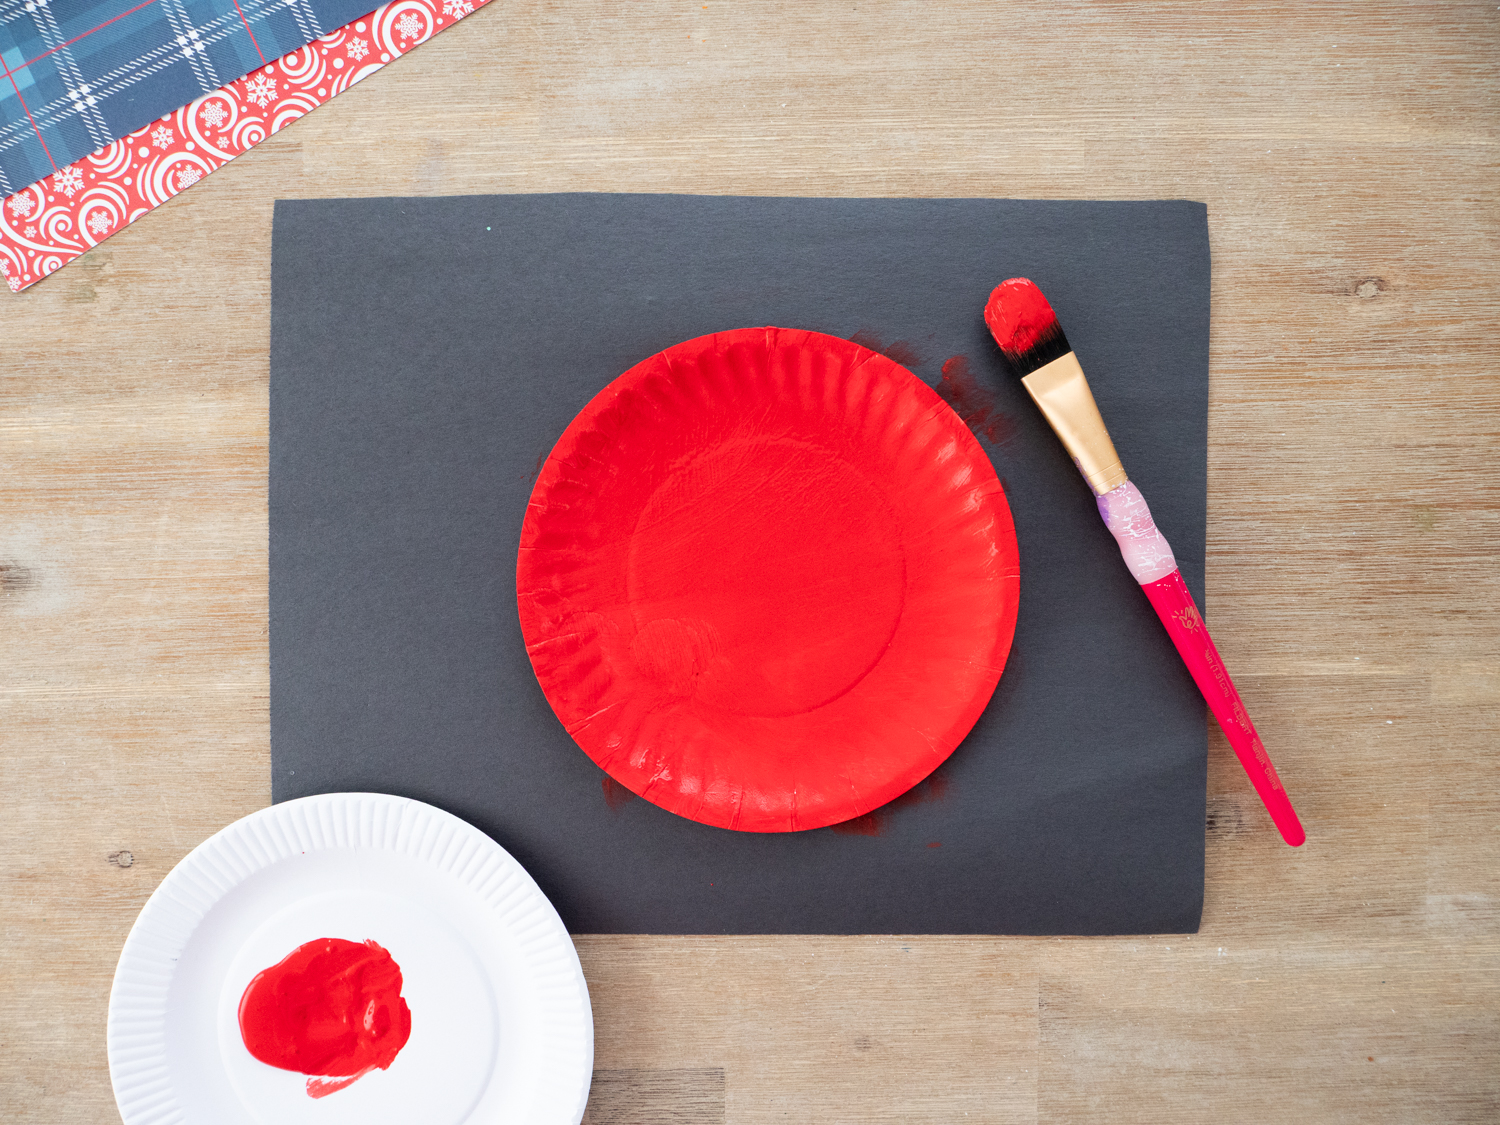
Step 1: Paint the Paper Plate
- Paint the paper plate in your bright red paint. (You may need two coats)
- Let dry completely.
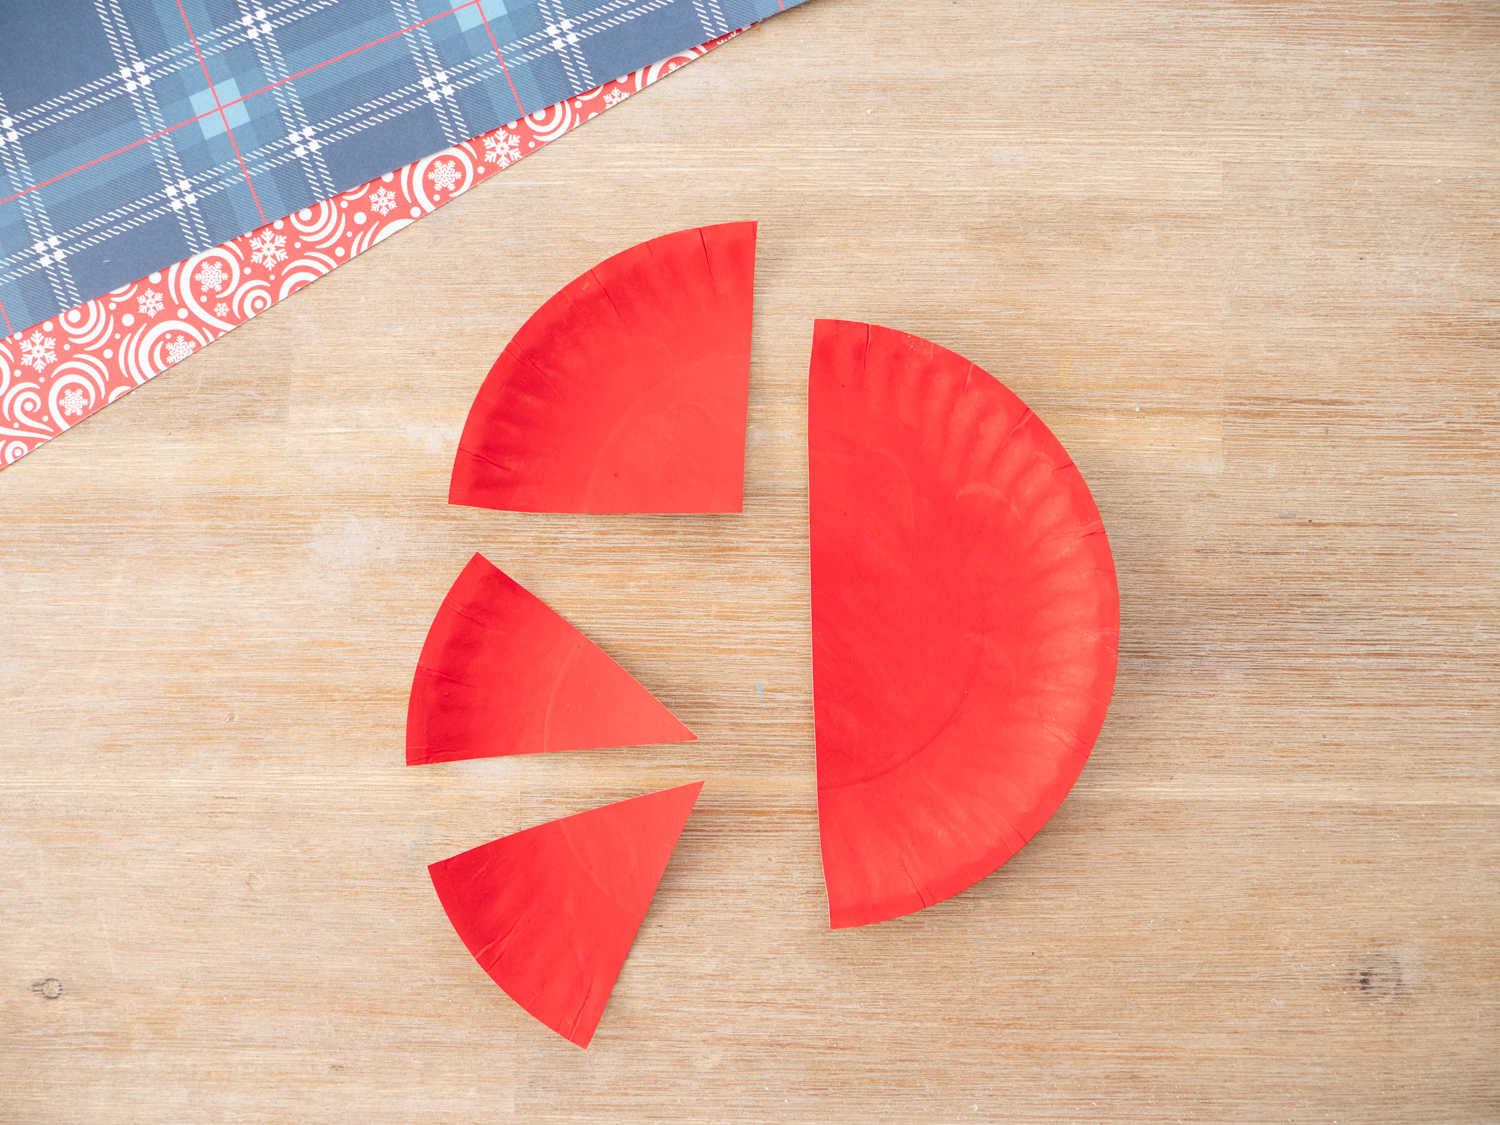
Step 2: Cut your Plate and Paper Pieces
- Cut your paper plate in half. Now cut ONE of those halves in half again. Now cut one of your cut half pieces in half again. This will result in two triangle pieces and one half circle. You can discard the remaining pieces or save it for another craft!
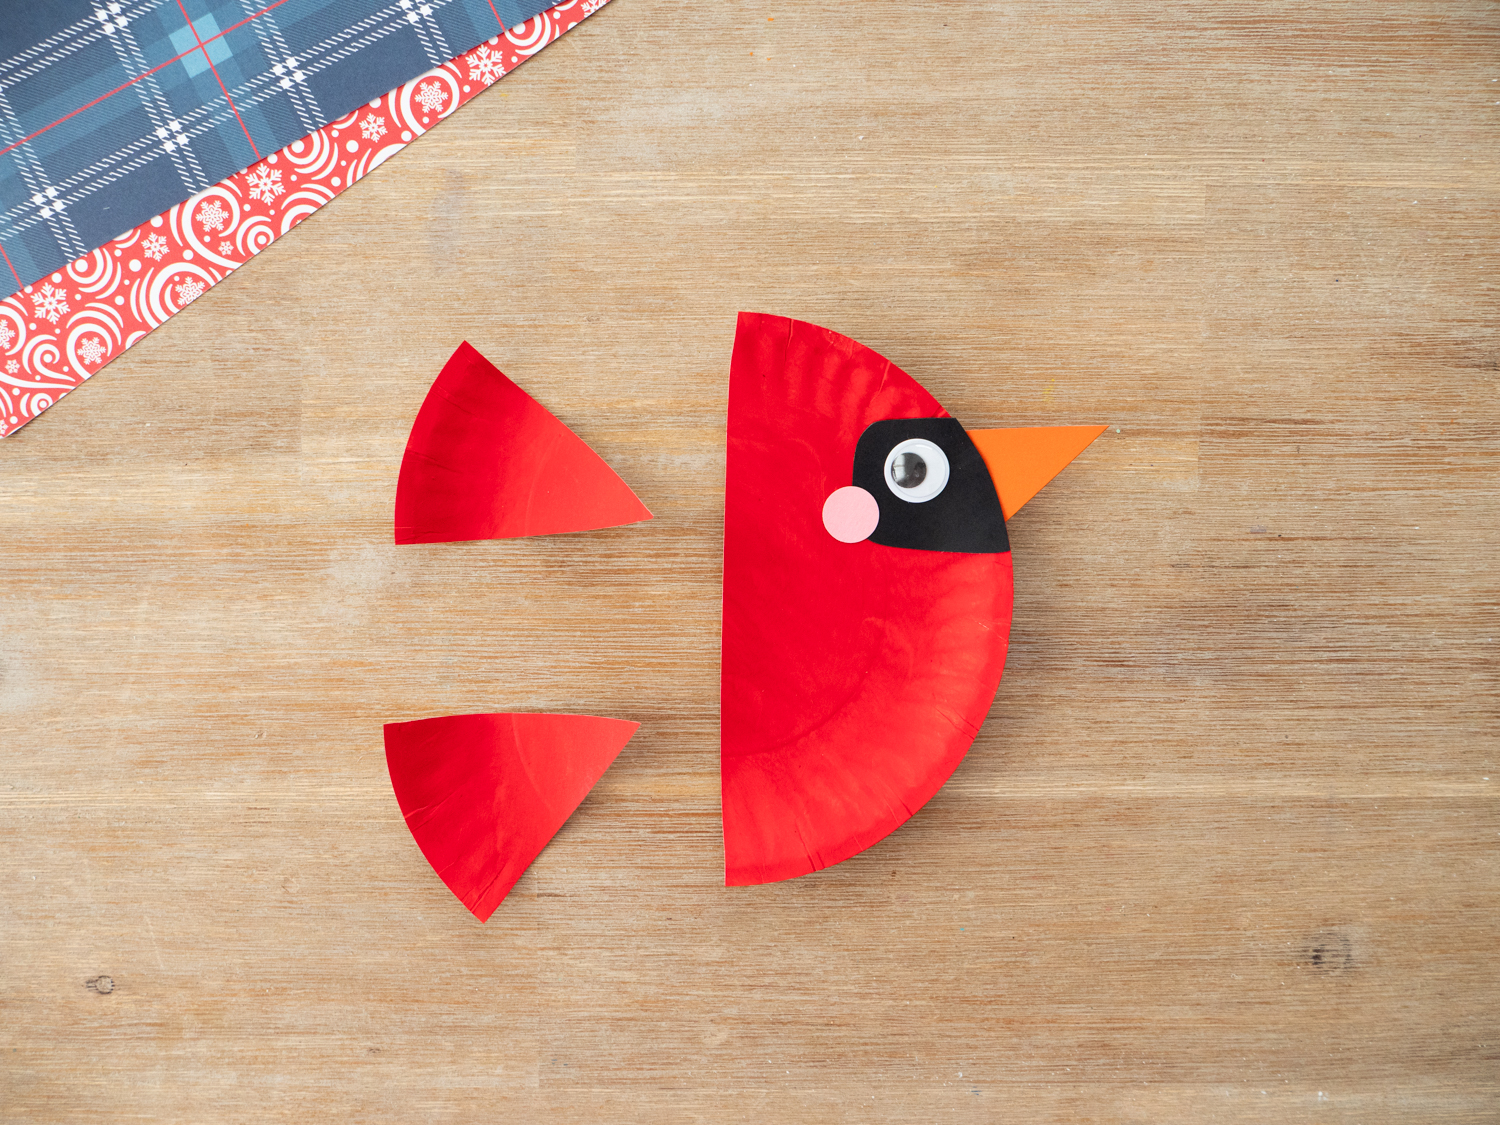
- Cut out your beak, eye piece and pink cheek from the corresponding paper colors, using our free template if desired!
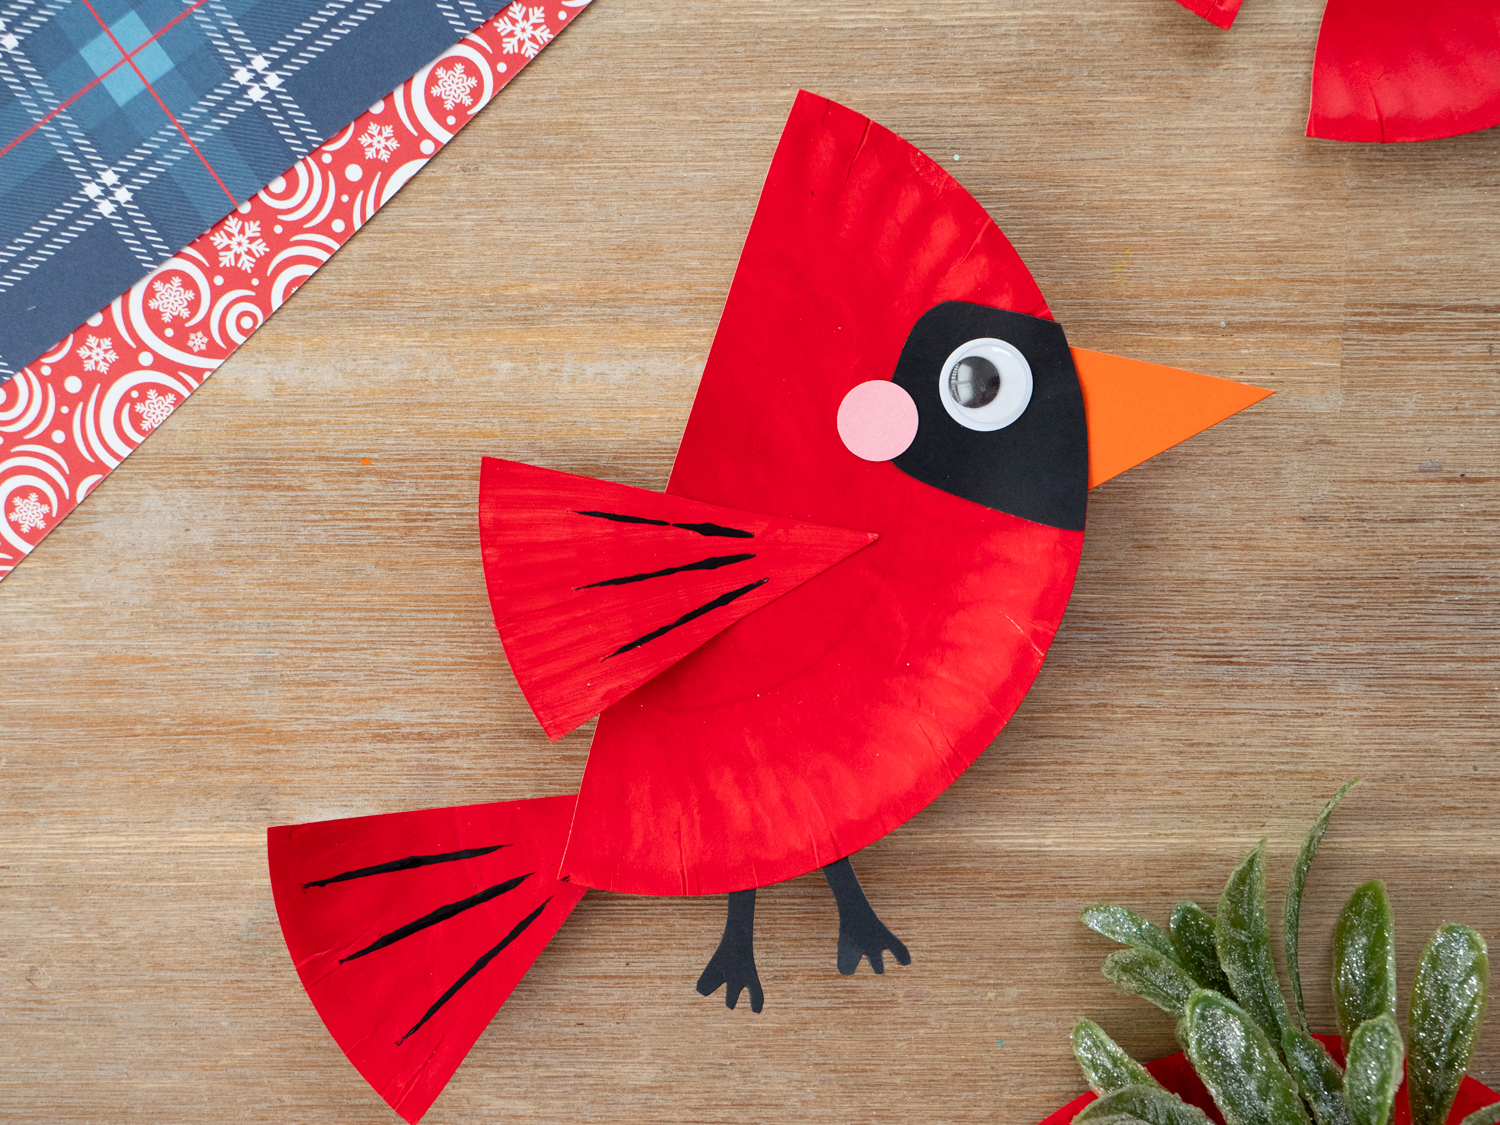
Step 3: Build your Bird Face & Body
- Build your birds face by adding the black eye piece to your plate.
- Glue an orange beak behind.
- Add your pink cheek and your single googly eye
- Glue your birds wing and tail feather to it’s body.
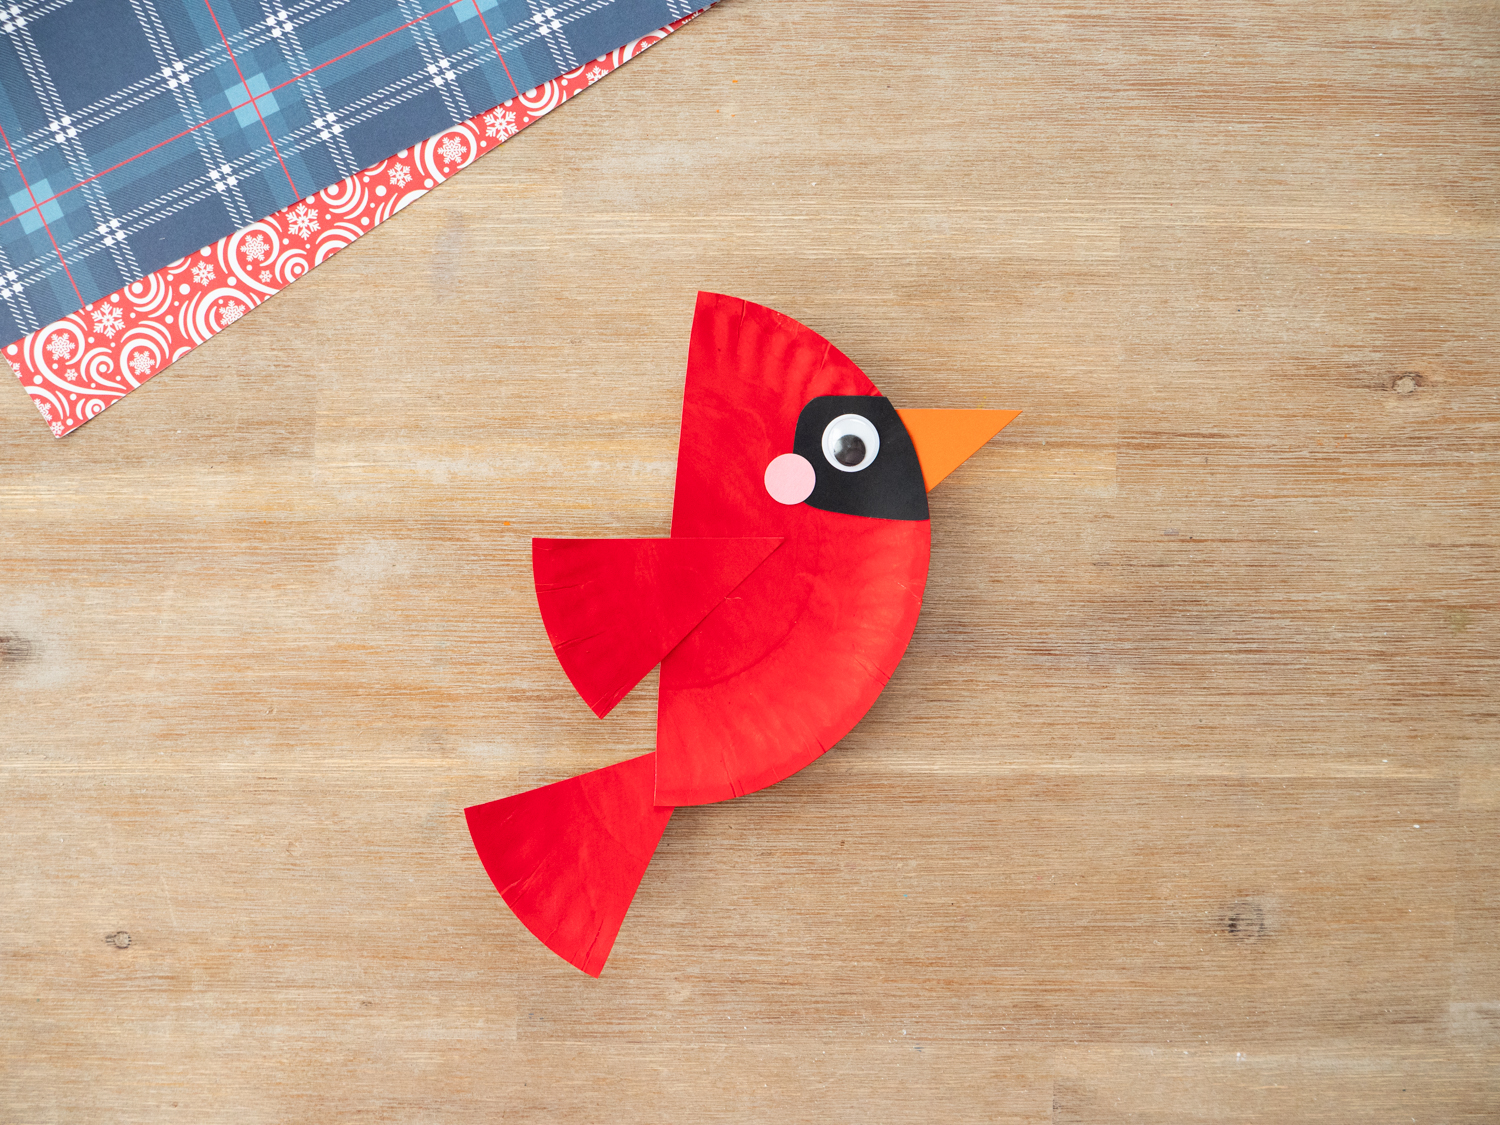
Step 4: Add Texture Details, optional but fun
- Fold a piece of scrap paper.
- Using the folded end, dip your paper into black paint.
- Stamp three texture lines on both the wing and tail feather piece.
- Let the paint dry completely before handling.
Crafty Tips:
- Pre-cut pieces for younger kids or classroom settings
- Skip paint and use dark red or black crayons or markers if you want a less messy option for the “texture”
- Great opportunity to talk about winter birds you might see outside
- Looks especially cute displayed as a group
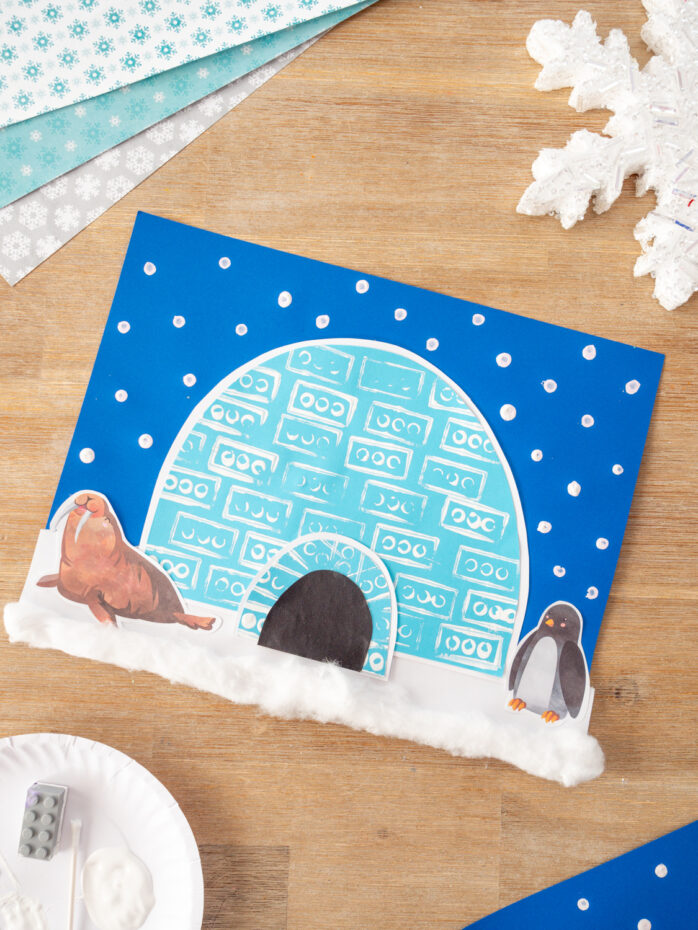
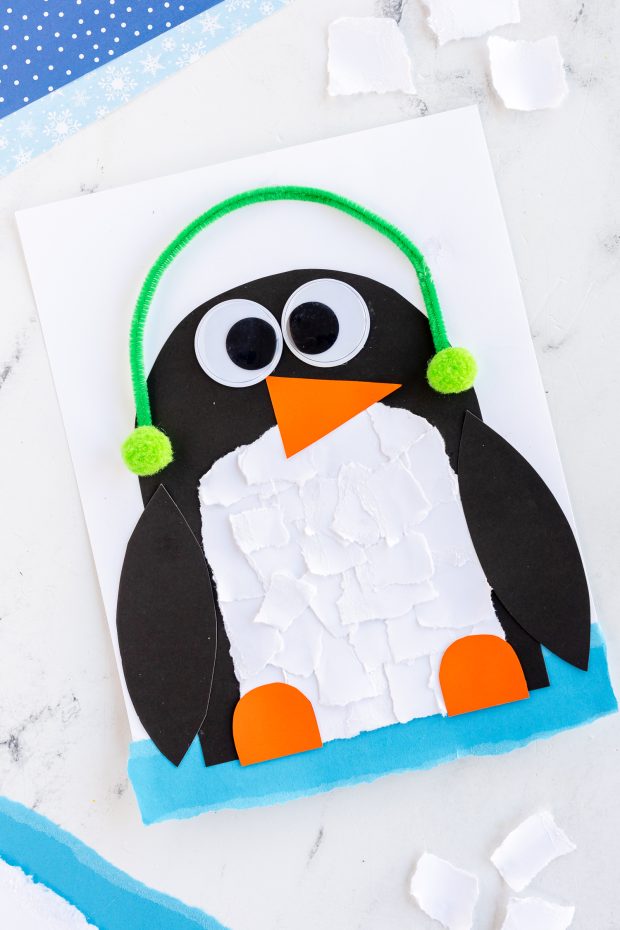
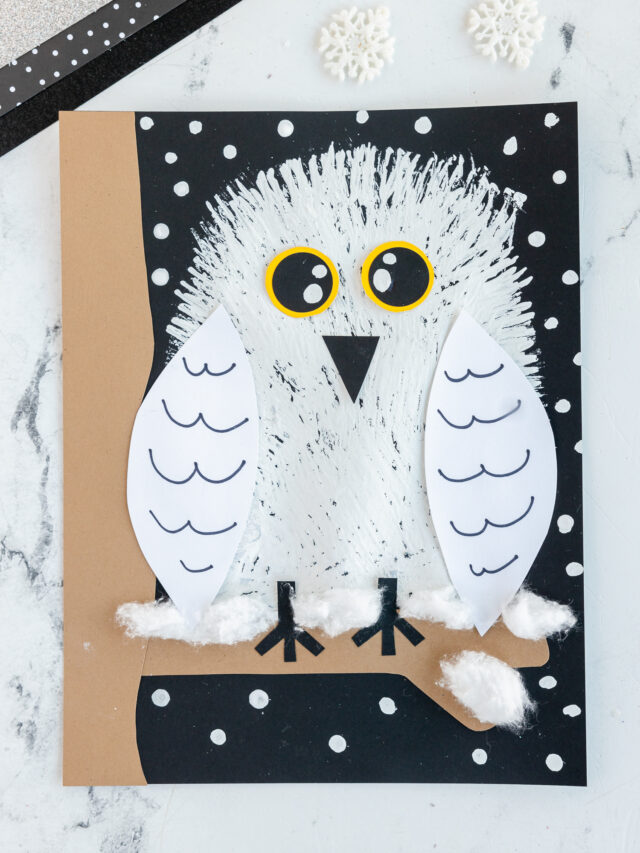
For more Winter Crafts try these: