As an Amazon Associate I earn from qualifying purchases.
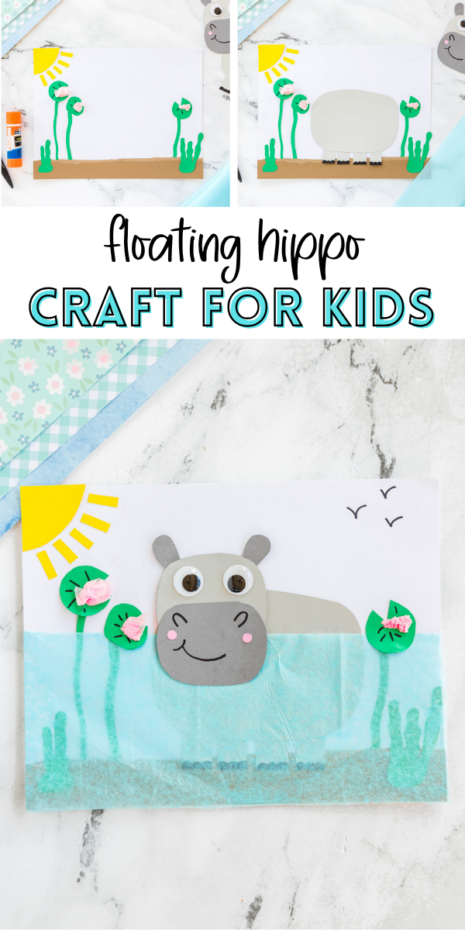
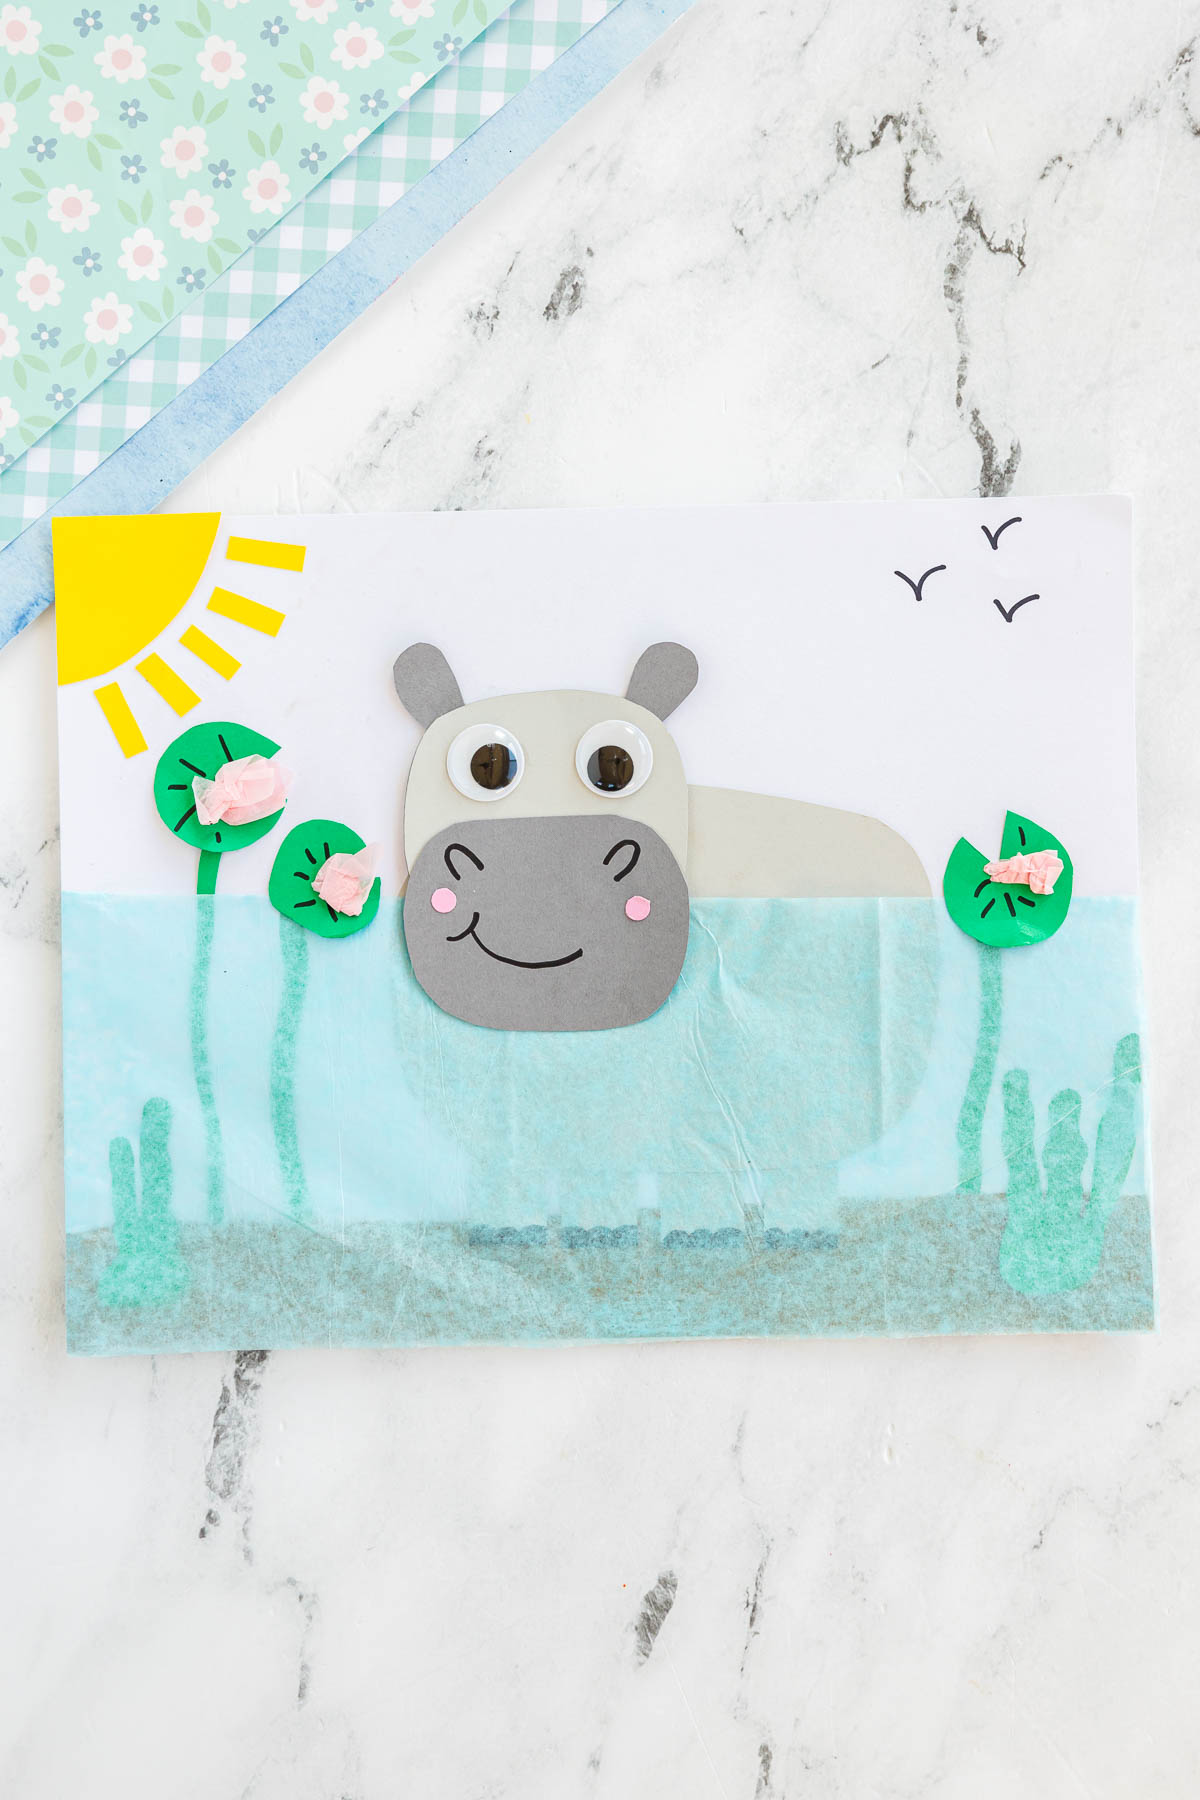
This adorable hippo craft uses layered tissue paper to create water, with lily pads, sunshine, and charming details like googly eyes and paper flowers—perfect for a safari theme, animal unit, or summer craft.
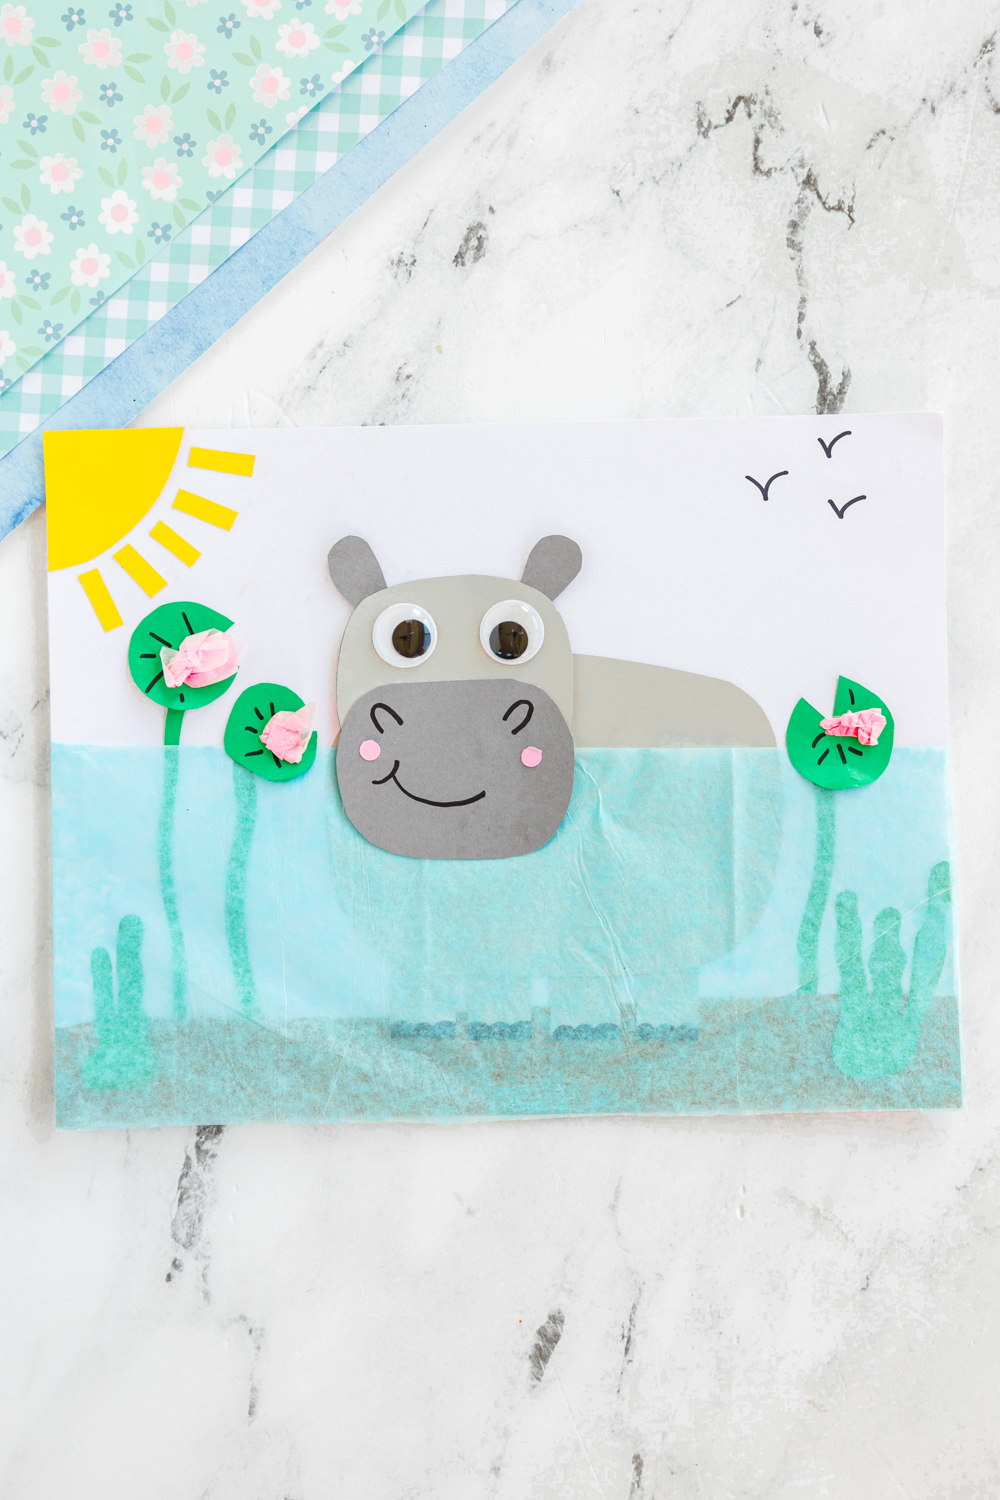
Hippo Craft
This adorable hippo craft brings the safari to life with a gentle twist! Using layered tissue paper to mimic water, kids can create a floating hippo surrounded by lily pads and sunshine. Big googly eyes, pink cheeks, and soft paper flowers add just the right amount of charm. It’s a fun and easy project that’s perfect for a safari theme, animal unit, or summer crafting afternoon.
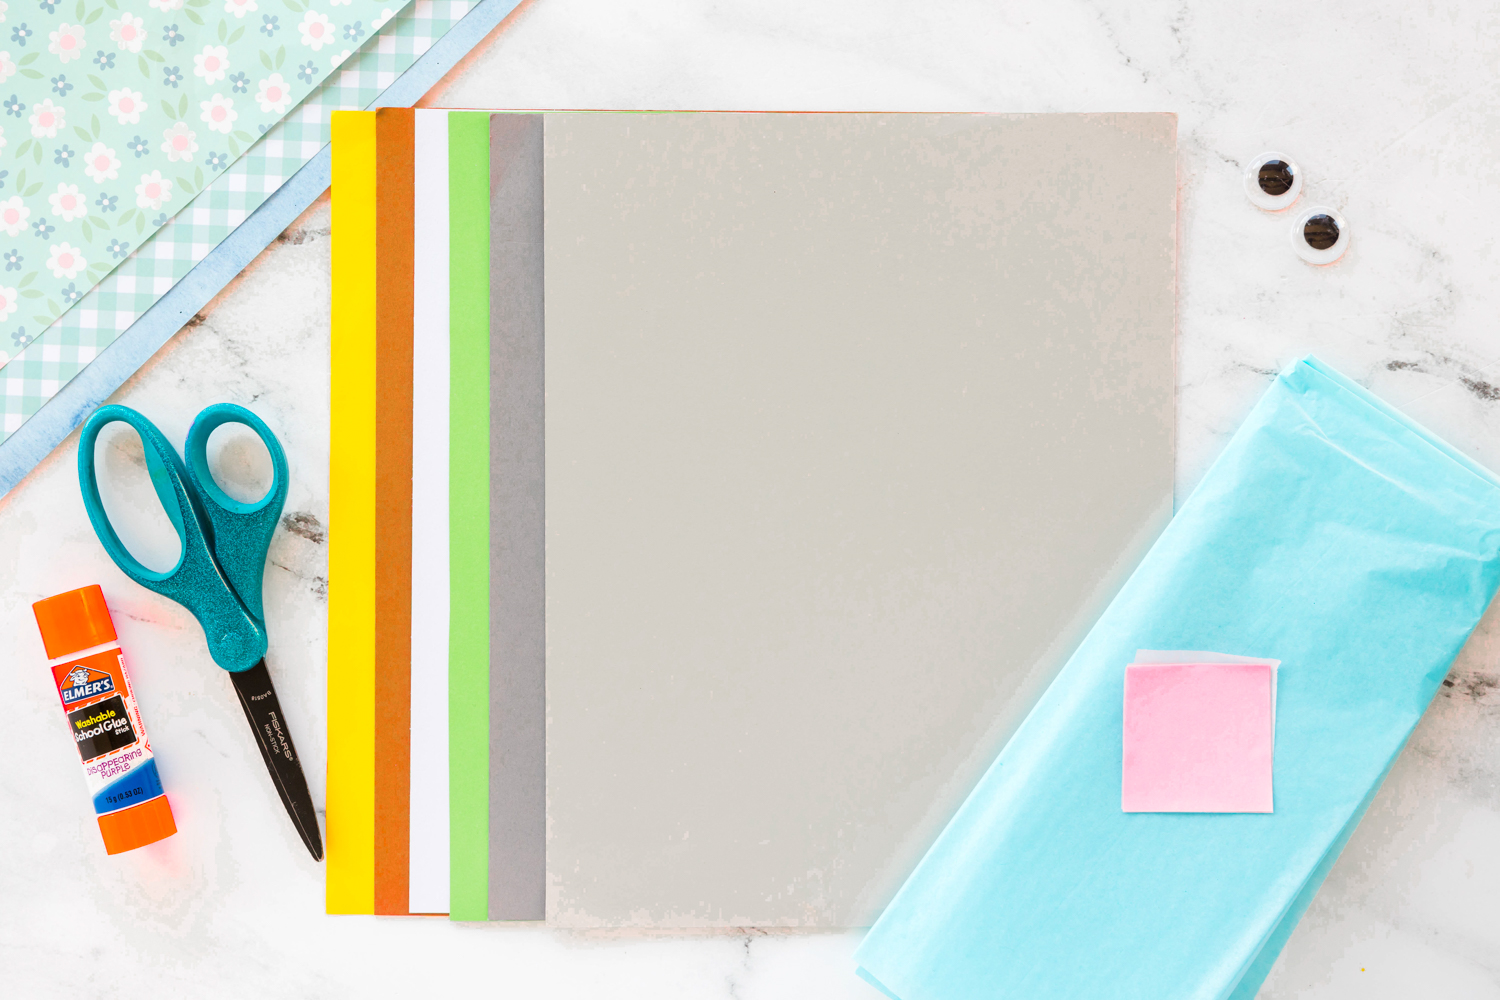
Materials Needed To Make A Floating Hippo Craft
- Hippo Template
- White cardstock or construction paper
- Light blue tissue paper
- Gray paper
- Dark gray or black paper
- Green paper
- Yellow paper
- Orange or Brown Paper
- Tissue Paper, pink and light blue
- Googly eyes
- Glue stick or double-sided tape
- Scissors
- Black marker or crayon
How to Make a Hippo in Water Craft
STEP ONE: Making the Background
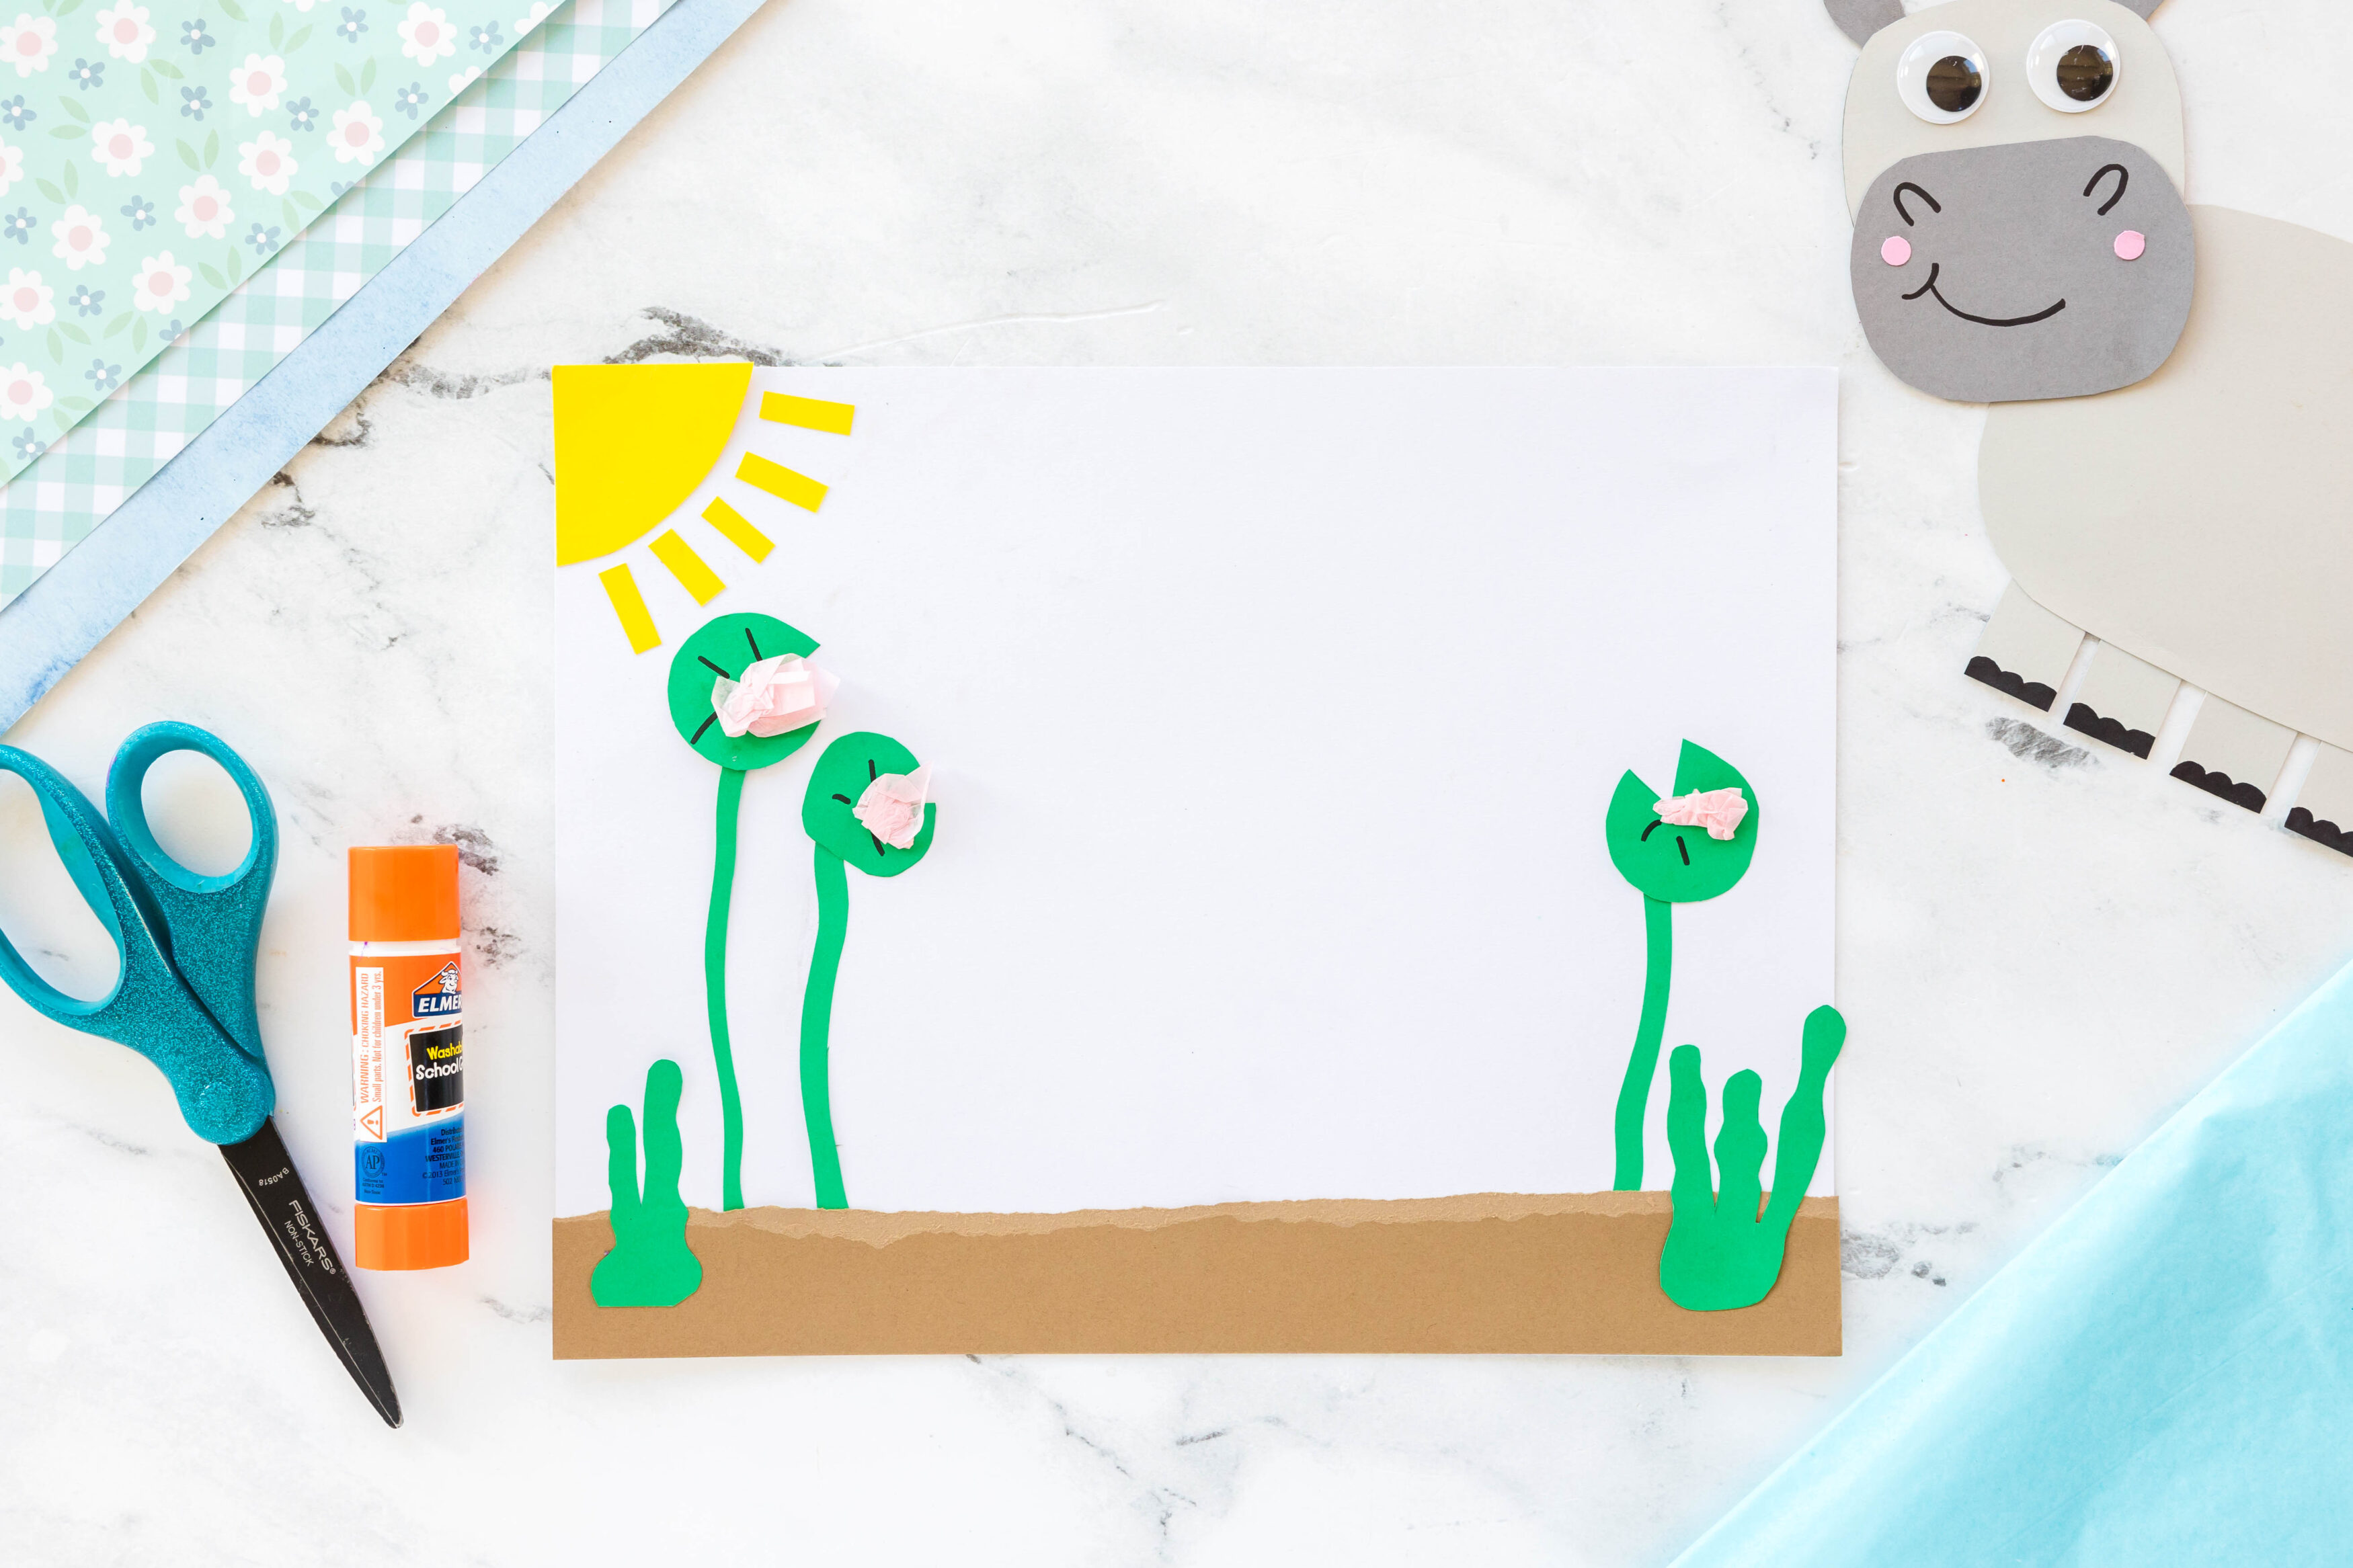
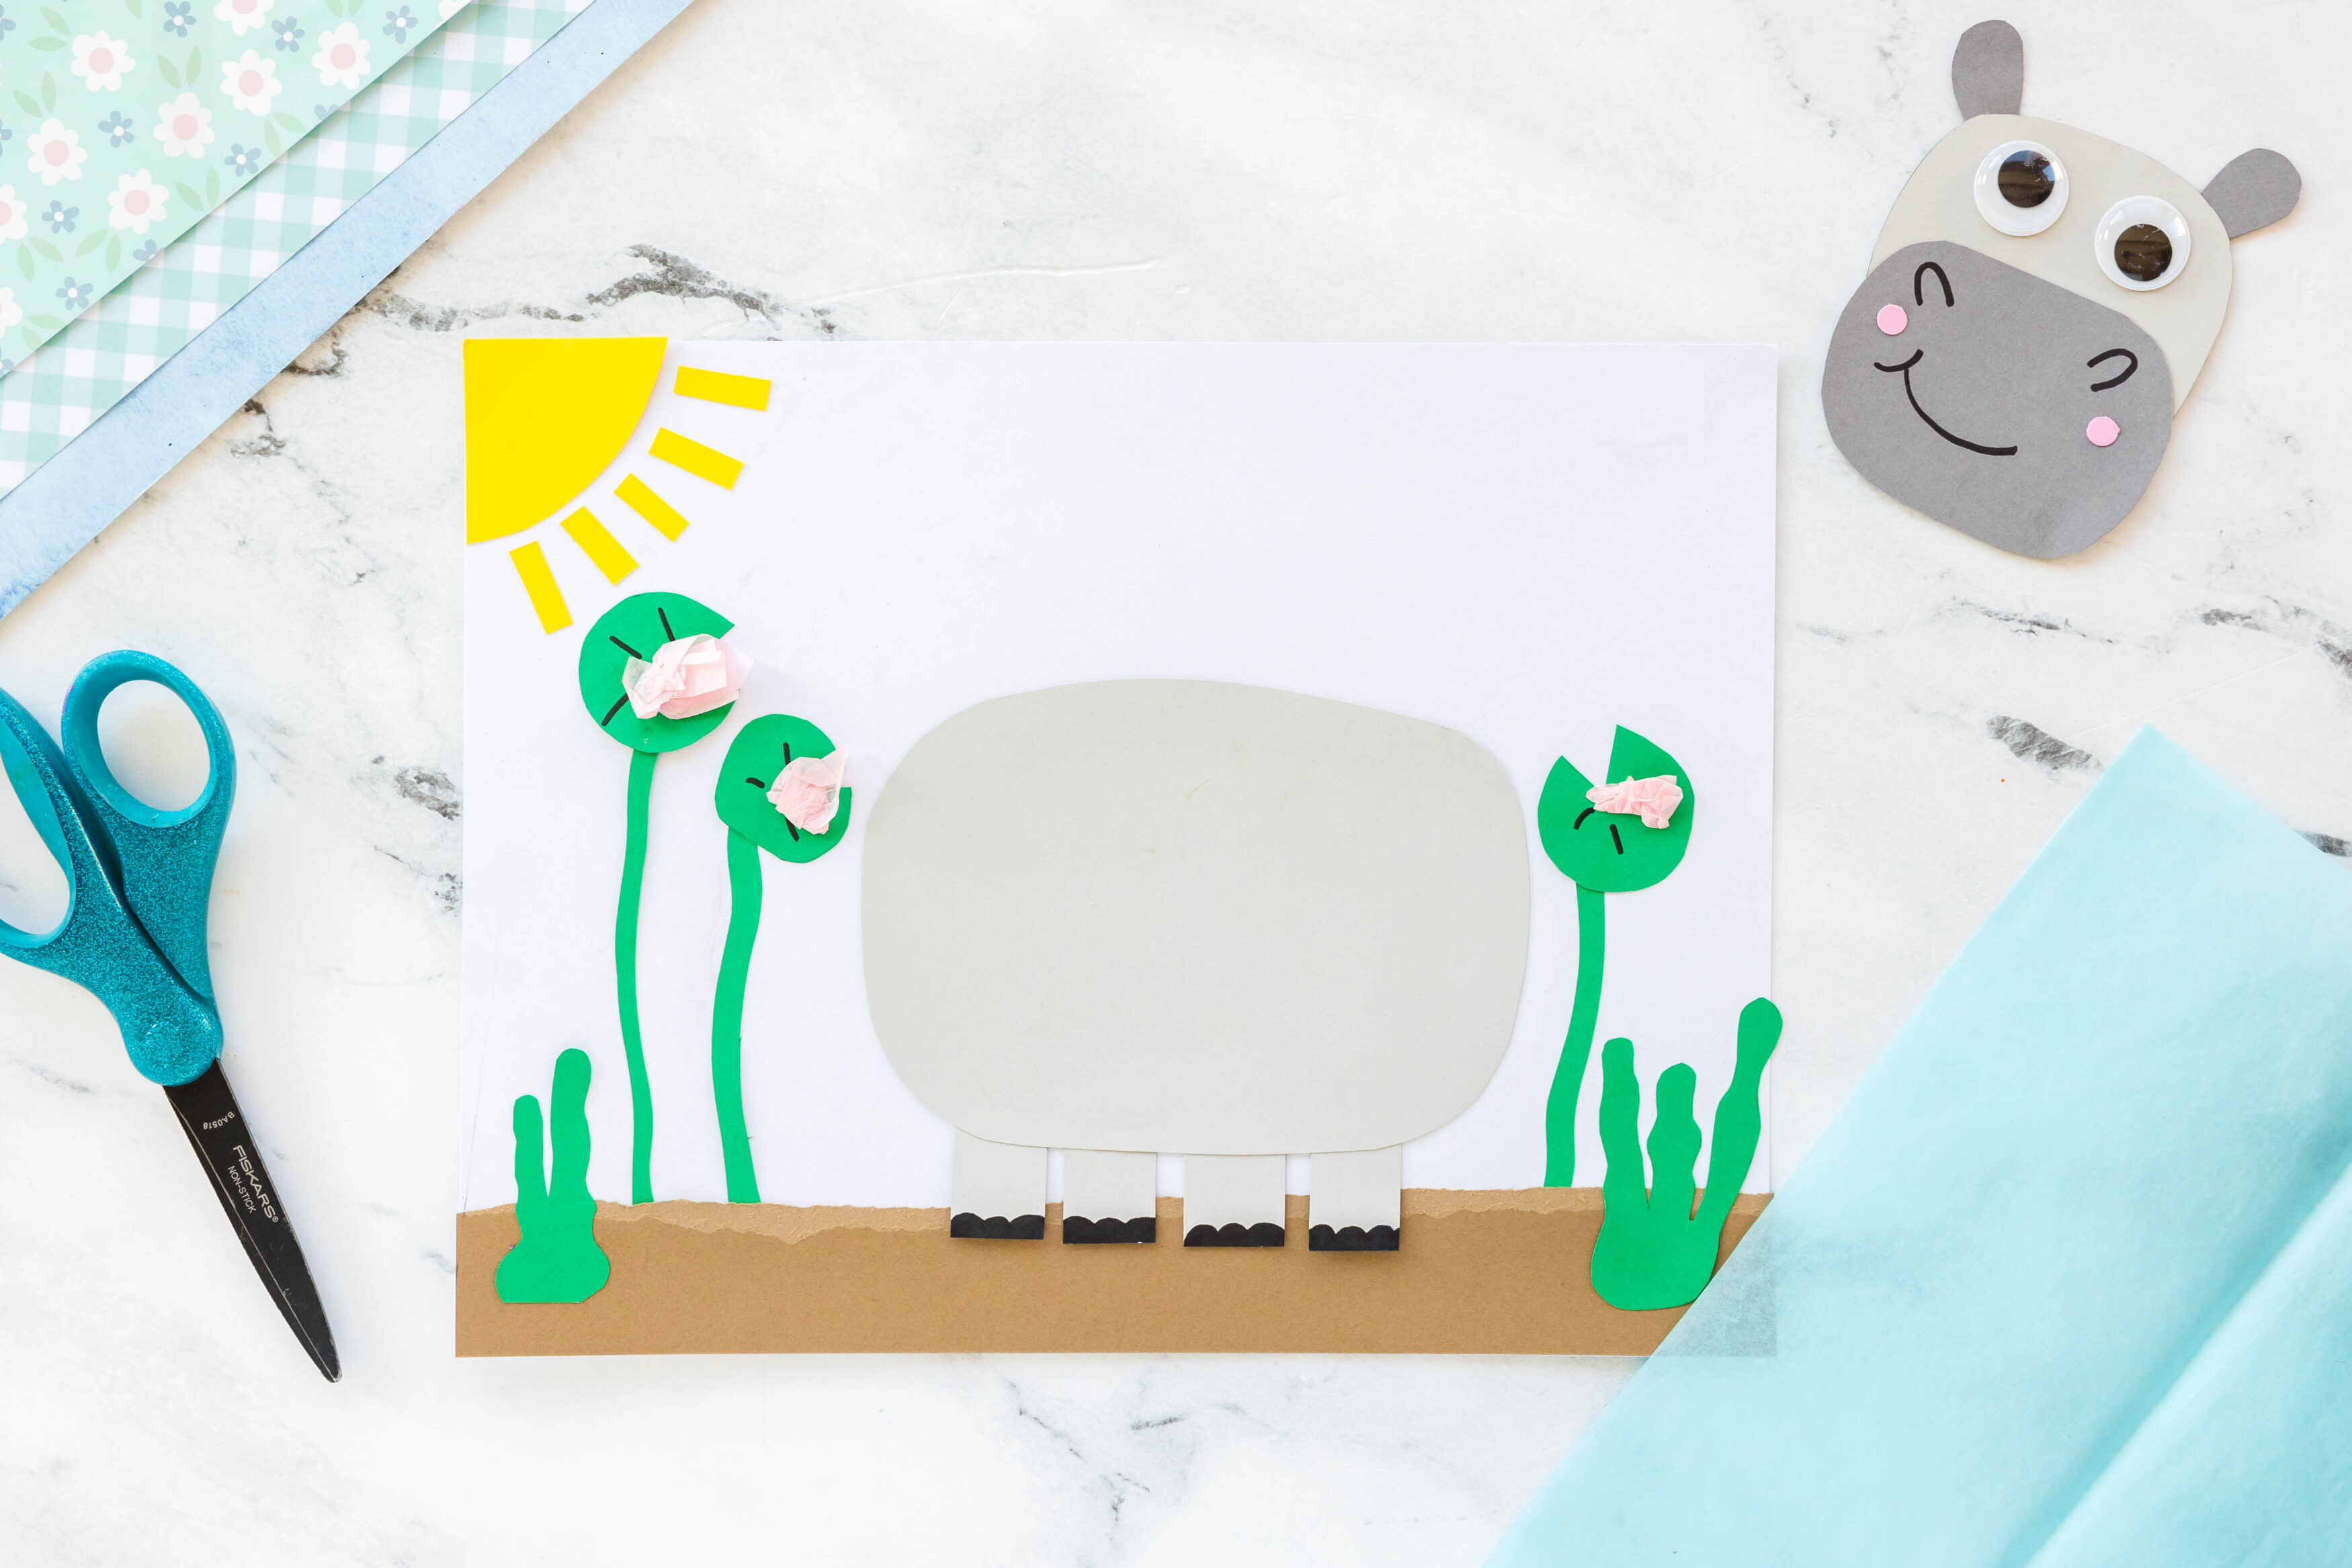
- Begin by creating your background. Tear a piece of brown or orange paper to represent the muddy bottom and glue it near the base of your page.
- Use the template to cut out the hippo and any other pieces you’ll need for the scene.
- Cut out your lily pads from green paper and use a black marker to add simple line details. Glue them to the background, making sure to leave space for your hippo.
- Cut a few thin strips of green paper to create seaweed or pond plants and glue them into the water for extra texture.
- You can also add your sun piece at this time if you are making one.
- Make flowers for the lily pads by tearing small squares of pink tissue paper, crumpling them into tiny balls, and gluing them to the center of the lily pads
STEP TWO: BUILDING THE HIPPO
- Attach the ears to the top corners of the head.
- Glue on the muzzle toward the bottom of the face.
- Add pink cheeks on either side of the muzzle for a fun pop of color.
- Stick on googly eyes above the muzzle and add a smile with a black marker.
- Set the head aside for later use.
- Create the legs by gluing four rectangle leg pieces.
- Draw small black half circles at the bottom of each leg using a Sharpie to look like hooves.
STEP THREE: ADD THE WATER
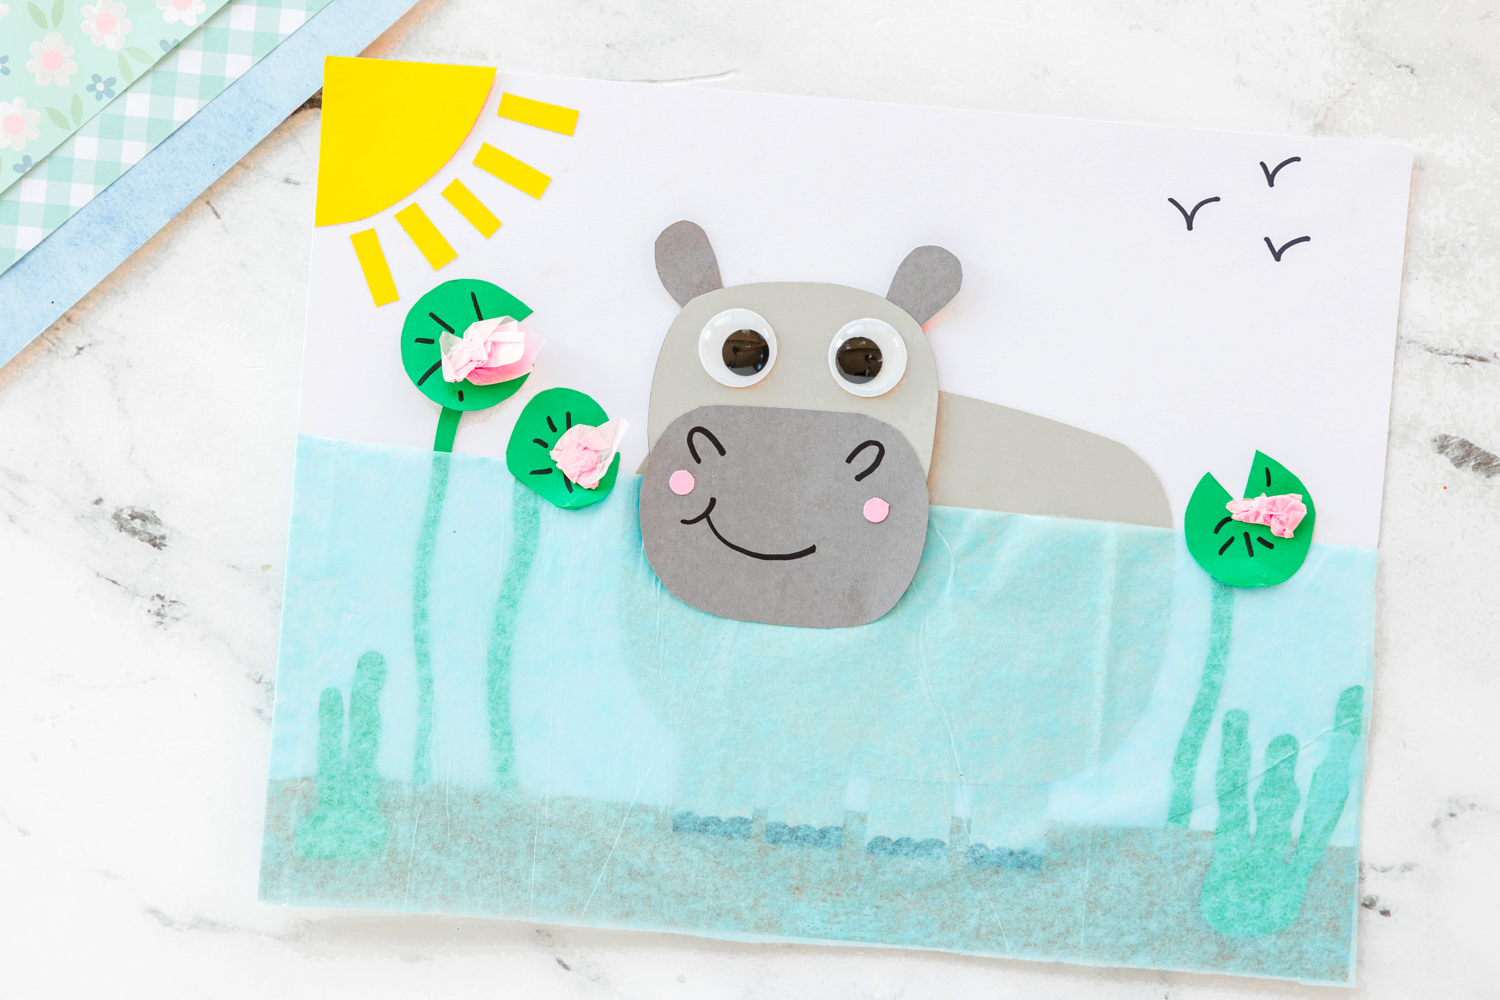
- Add a layer of light blue tissue paper over parts of the hippos body and legs to make it look like it’s submerged in water. Be sure to glue it lightly over the edges for a see-through effect.
- Glue the top of the head over the tissue paper so it looks like the hippo is popping out of the pond.
- Use the Black sharpie to add three “v” shaped birds in the top corner.
For More Safari Animal Crafts Try These: