As an Amazon Associate I earn from qualifying purchases.
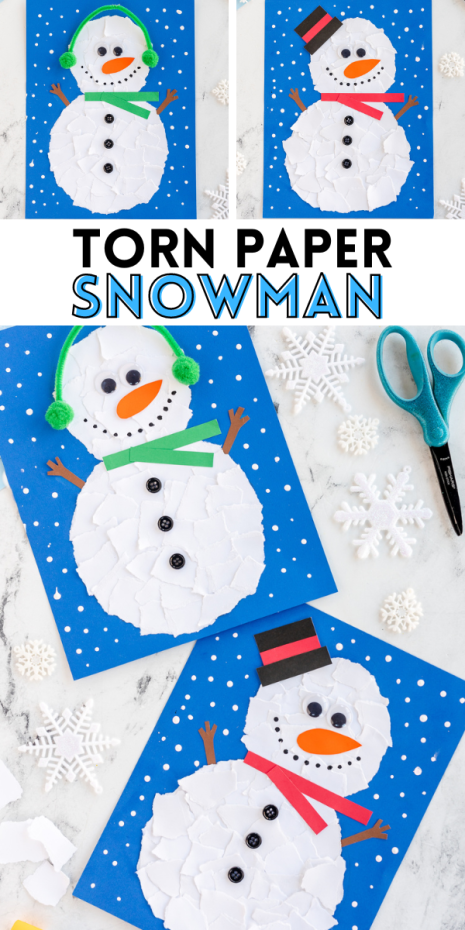
Learn how easy it is to make a torn paper snowman this winter to learn about snow and to practice fine motor skills with kids.

Snowman crafts are a super fun way to practice fine motor skills when it’s too cold to go outside in the wintertime. This torn paper snowman craft requires just a few simple supplies and is an easy craft to make with young kids. Paper art makes adorable decor for the home during the winter season, and this craft can be tweaked to suit any theme. Add this to your list of winter crafts to complete each year. Your kids will love this simple art project. Continue reading to see how simple it is to do this snowman craft.
How to Torn Paper Snowman Video:
Supplies for a Torn Paper Snowman
You most likely have these materials lying around the house, so be sure to take a peek before heading to the store. If you have done any of my other crafts, you might already have everything you need. If you have to hit the craft store, I recommend Walmart or the Dollar Store. They always have everything I need for crafting.
- Medium Dark Blue Paper
- cardstock in white, red, black, brown, orange, and Christmas green
- googly eyes
- black paint or black paint pen
- white paint
- black buttons (3 per snowman)
- green pipe cleaner
- green pom poms

How to Make a Torn Paper Snowman
Crafts like these are fantastic for eye-hand coordination in younger children. It’s a great project to keep kids busy while they tear paper and paste it onto their snowman. The steps for decorating the snowman are quite simple. Follow these step-by-step directions to see how easy it is.
- Start by drawing two rough circles on your blue paper.
- Have your child tear up white paper and glue them to the circles using a glue stick.
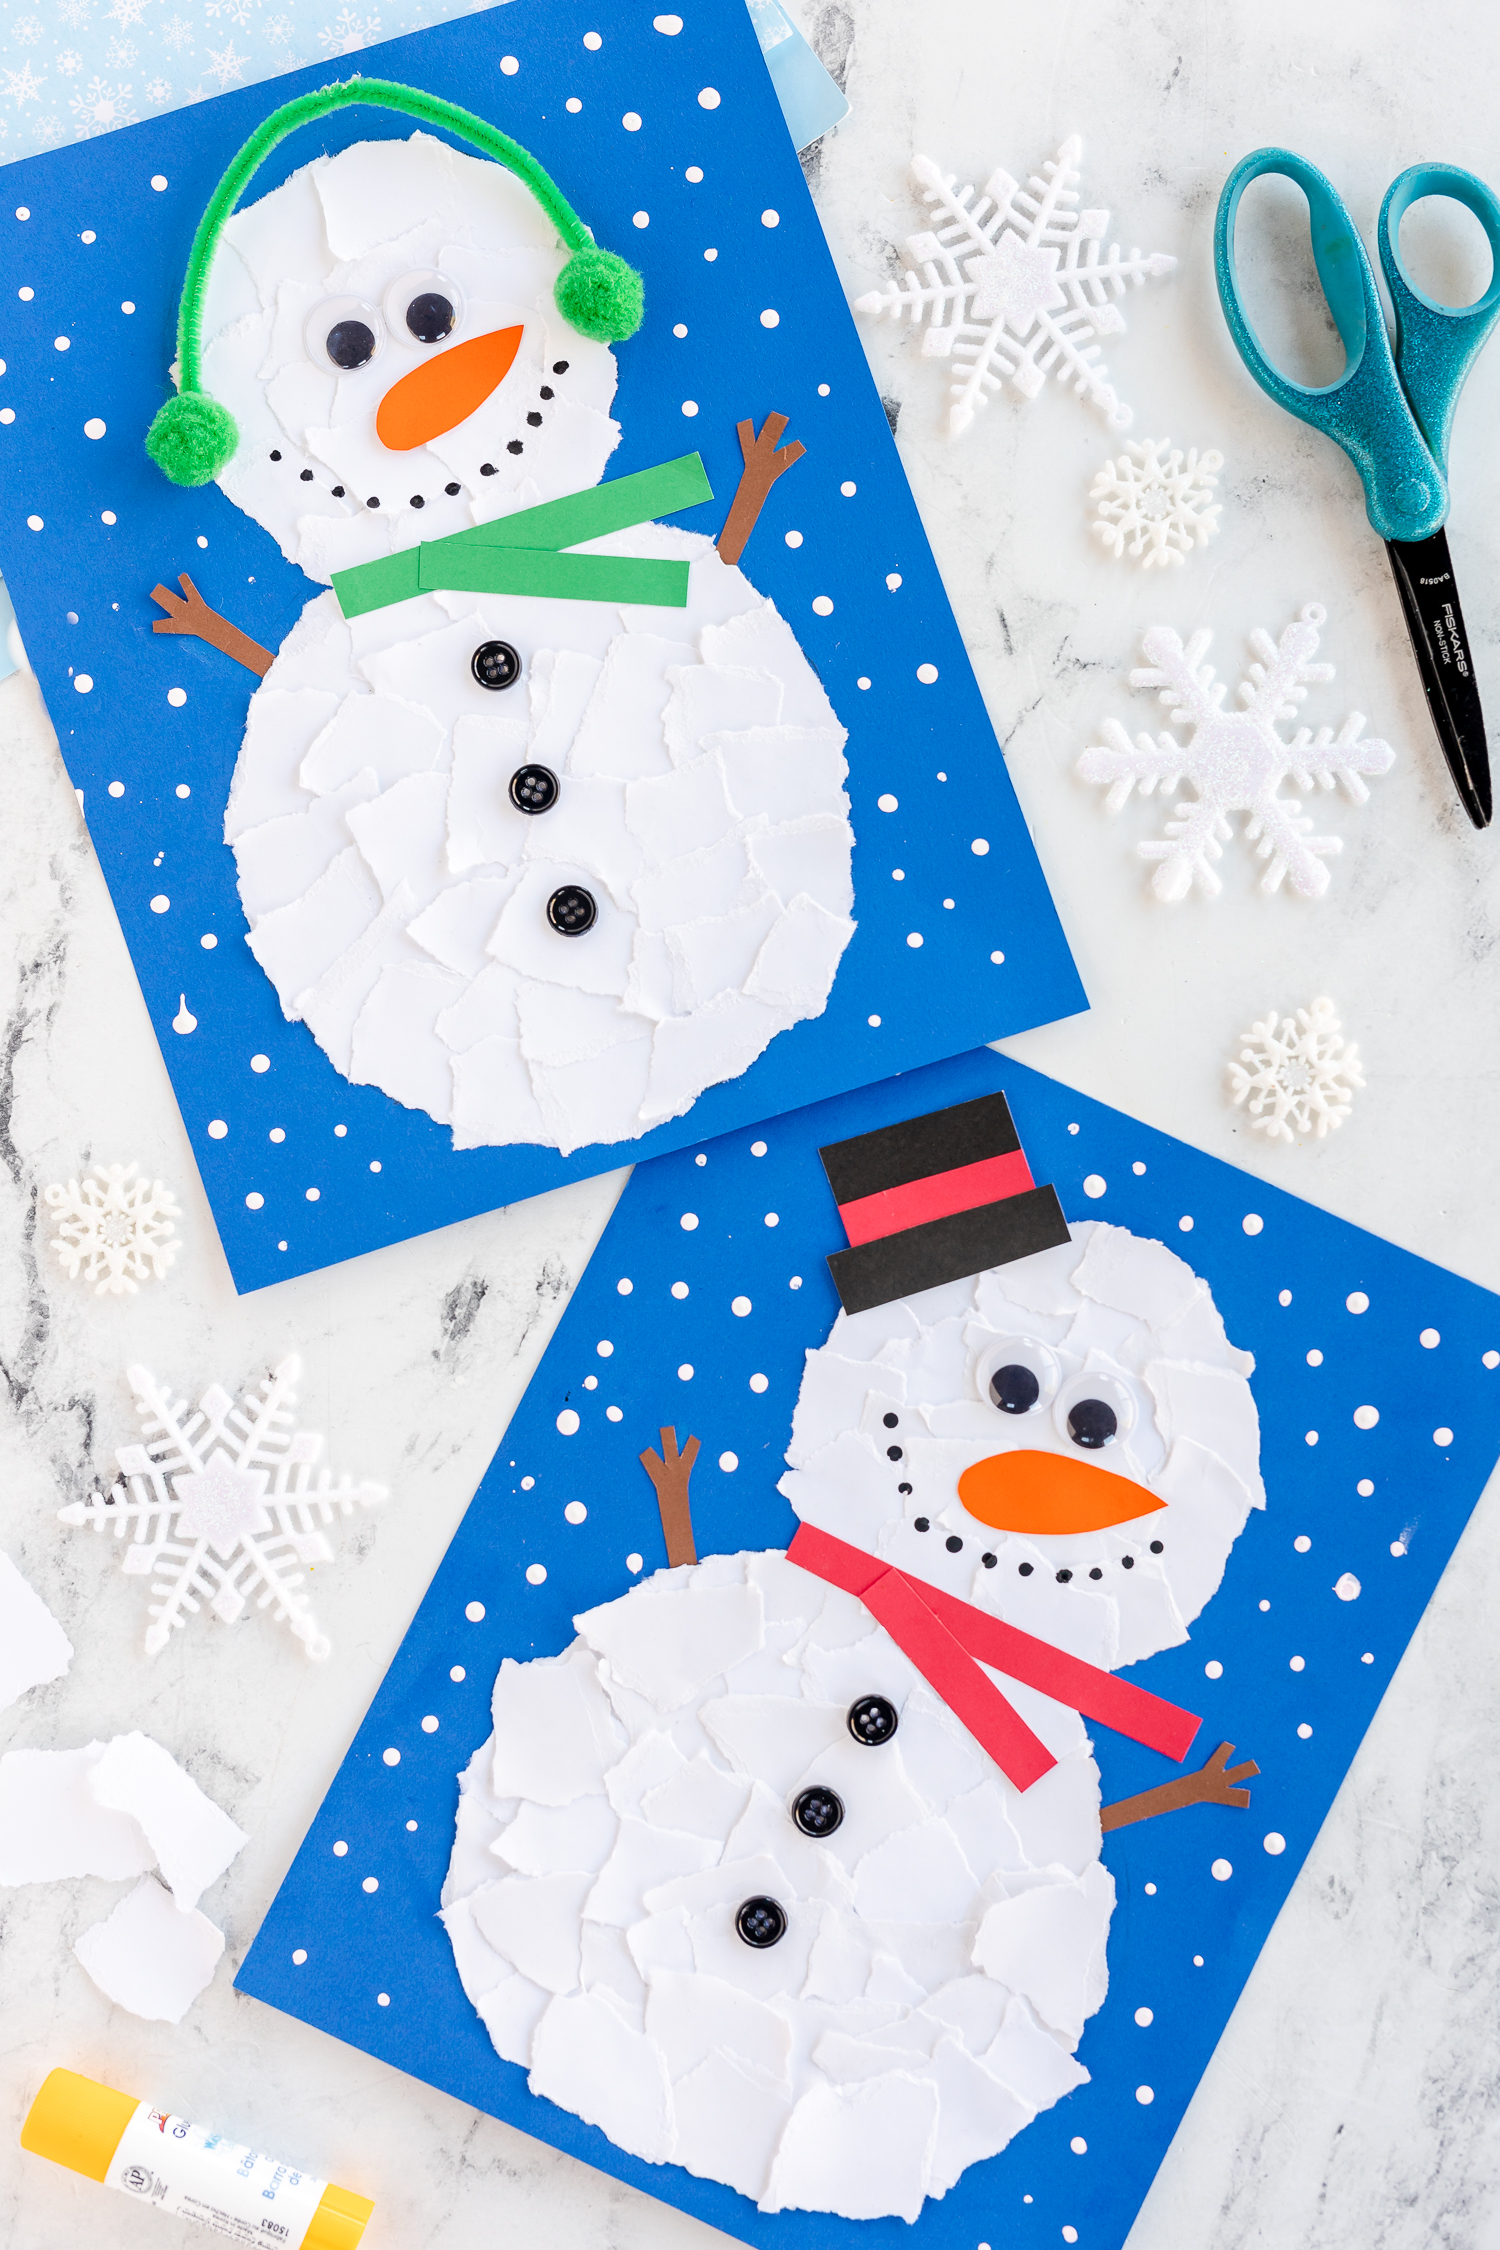
- Once the circles are filled, cut out two rectangles to be the snowman’s scarf. I made one rectangle shorter than the other.
- Cut out a hat and glue it to the snowman’s head.
- Add your pom poms and a pipe cleaner as ear muffs.
- Paint on a mouth using the end of a paintbrush or a paint pen.
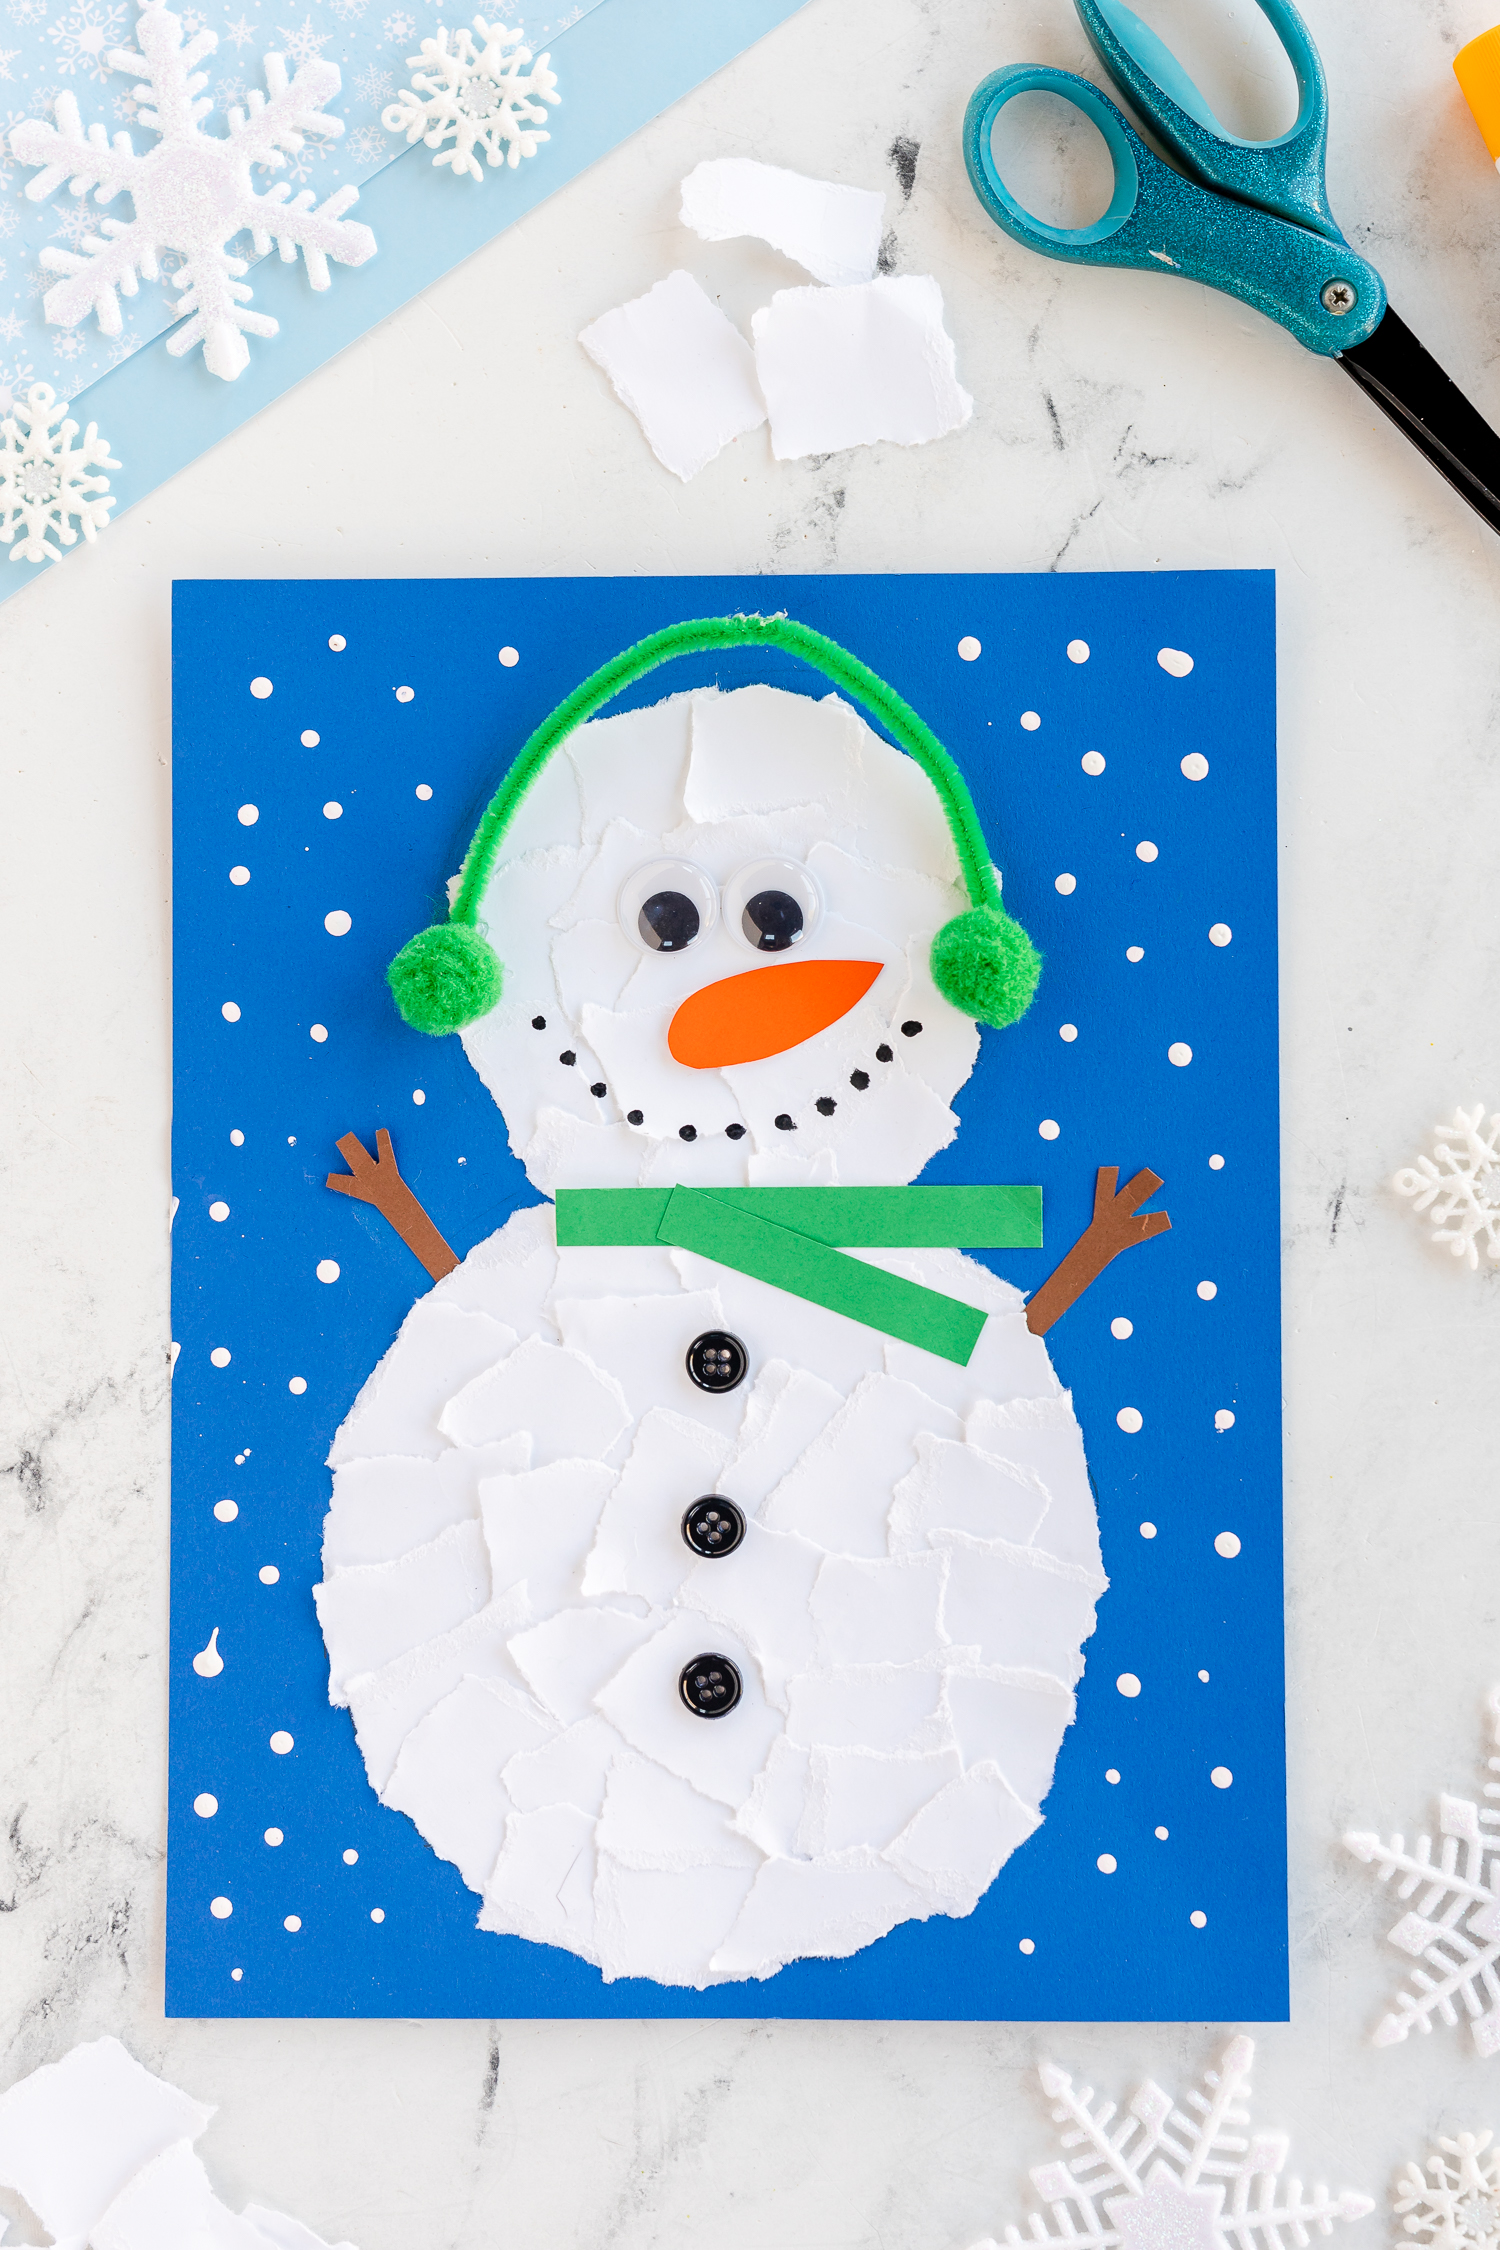
- Add the remaining parts of the face.
- Dot the blue paper with white paint to look like snow is falling around the snowman.
Instead of using a piece of construction paper, you can try using a piece of tissue paper as well. The tissue will tear easier but might be a bit stickier on the fingers.

Why Use Torn Paper?
Tearing paper into small pieces is a great way to strengthen small muscles in the hands. Kids are developing their fine motor skills for drawing, coloring, writing, cutting, zipping, and more. Crafts like this require them to use those muscles, which are both cute and functional.
Kids can also cut the scrap paper, but tearing it allows those muscles to really work. It’s a great craft to have for the elementary school classroom or for an at-home activity. The torn-paper snowmen also look really cool with the different sizes and shapes of paper on them.
What To Do With a Torn Paper Collage?
There are many things you can do with a torn paper art project like this. They are perfect for studying all sorts of topics, including snowmen and winter. The snowmen make fantastic art displays on bulletin boards, doors, windows, and refrigerators. They also keep kids occupied in the classroom and at home. Not to mention, they help strengthen fine motor skills in both younger and older kids.
Pair the activity with a fun read-aloud about snowmen or winter to get the kids started. Kids love reading books and then completing a craft that ties everything together. You can find tons of books about snow, snowmen, and the science of freezing at the library. We love Snowmen at Night, Sneezy the Snowman, and The Snowman. The Snowman even has a video short you can find on YouTube! The kids love these cute stories!
Paper activities like this are easy to have on hand at a moment’s notice. As long as you have construction paper lying around, you’re always ready for an activity like this. Use the paper snowman art to decorate for the winter and to work on those hand muscles. It’s great sensory input for anyone completing the activity.
For more fun art for kids, take a look at these fun crafts. They are perfect for the winter months:
- DIY Scratch Art – Use pieces of paper to make black scratch art canvases for a rainy day.
- Torn Paper Christmas Tree – Kids will have so much fun creating their own Christmas tree art.
- Paper Plate Snowman – Make adorable snowmen using white paper plates and a few extra materials.
- Snowman Pancakes – Kids will love a tasty and cute breakfast with these snowman pancakes.
Torn Paper Snowman
Supplies
- Medium Dark Blue Paper
- cardstock in white, red, black, brown, orange, and Christmas green
- googly eyes
- black paint or black paint pen
- white paint
- black buttons (3 per snowman)
- green pipe cleaner
- green pom poms
Instructions
- Start by drawing two rough circles on your blue paper.
- Have your child tear up white paper and glue them to the circles using a glue stick.
- Once the circles are filled, cut out two rectangles to be the snowman’s scarf. I made one rectangle shorter than the other.
- Cut out a hat and glue it to the snowman’s head.
- Add your pom poms and a pipe cleaner as ear muffs.
- Paint on a mouth using the end of a paintbrush or a paint pen.
- Add the remaining parts of the face.
- Dot the blue paper with white paint to look like snow is falling around the snowman.