As an Amazon Associate I earn from qualifying purchases.
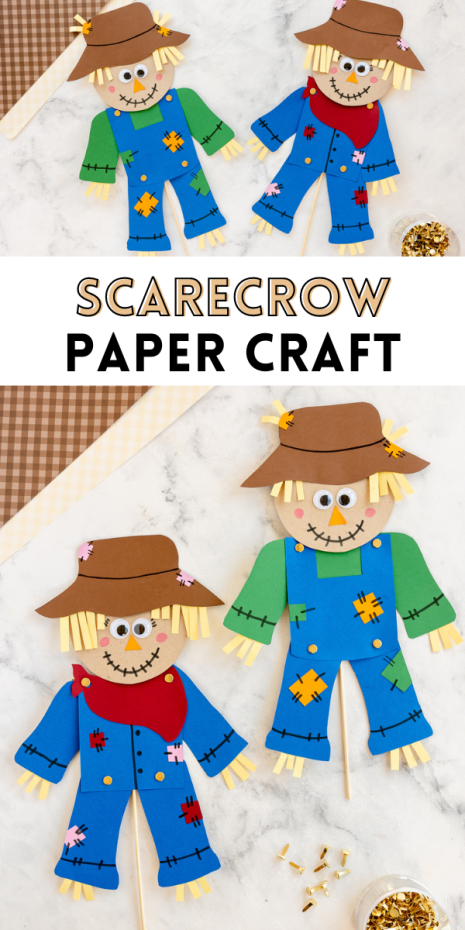
This Scarecrow Paper Craft is an easy fall craft for kids of all ages! All you need is paper, glue and a few other minimal supplies and you can create your own scarecrow for this autumn season!

This fall time of year is filled with all sorts of harvest crafts centering around things such as apples, pumpkins, leaves and scarecrows! We have a few fun and easy scarecrow crafts on our site and this new scarecrow paper craft is a fun addition to our collection! You only need minimal supplies such as paper, a little glue or tape, scissors and googly eyes to create this paper scarecrow which makes this a simple project that kids of all ages will enjoy.
Free Printable Scarecrow Template
For this adorable scarecrow craft we offer a free printable template in two versions! Read more to see how to use them:
1. Print, Trace and Cut – print your free template and cut out the pieces. Take your cut pieces and trace the shape onto your desired colored papers. Cut out your pieces and continue with the tutorial.
2. Print & Color – print your free template on card stock paper and color as desired. Cut out your colored pieces and continue with the full tutorial.
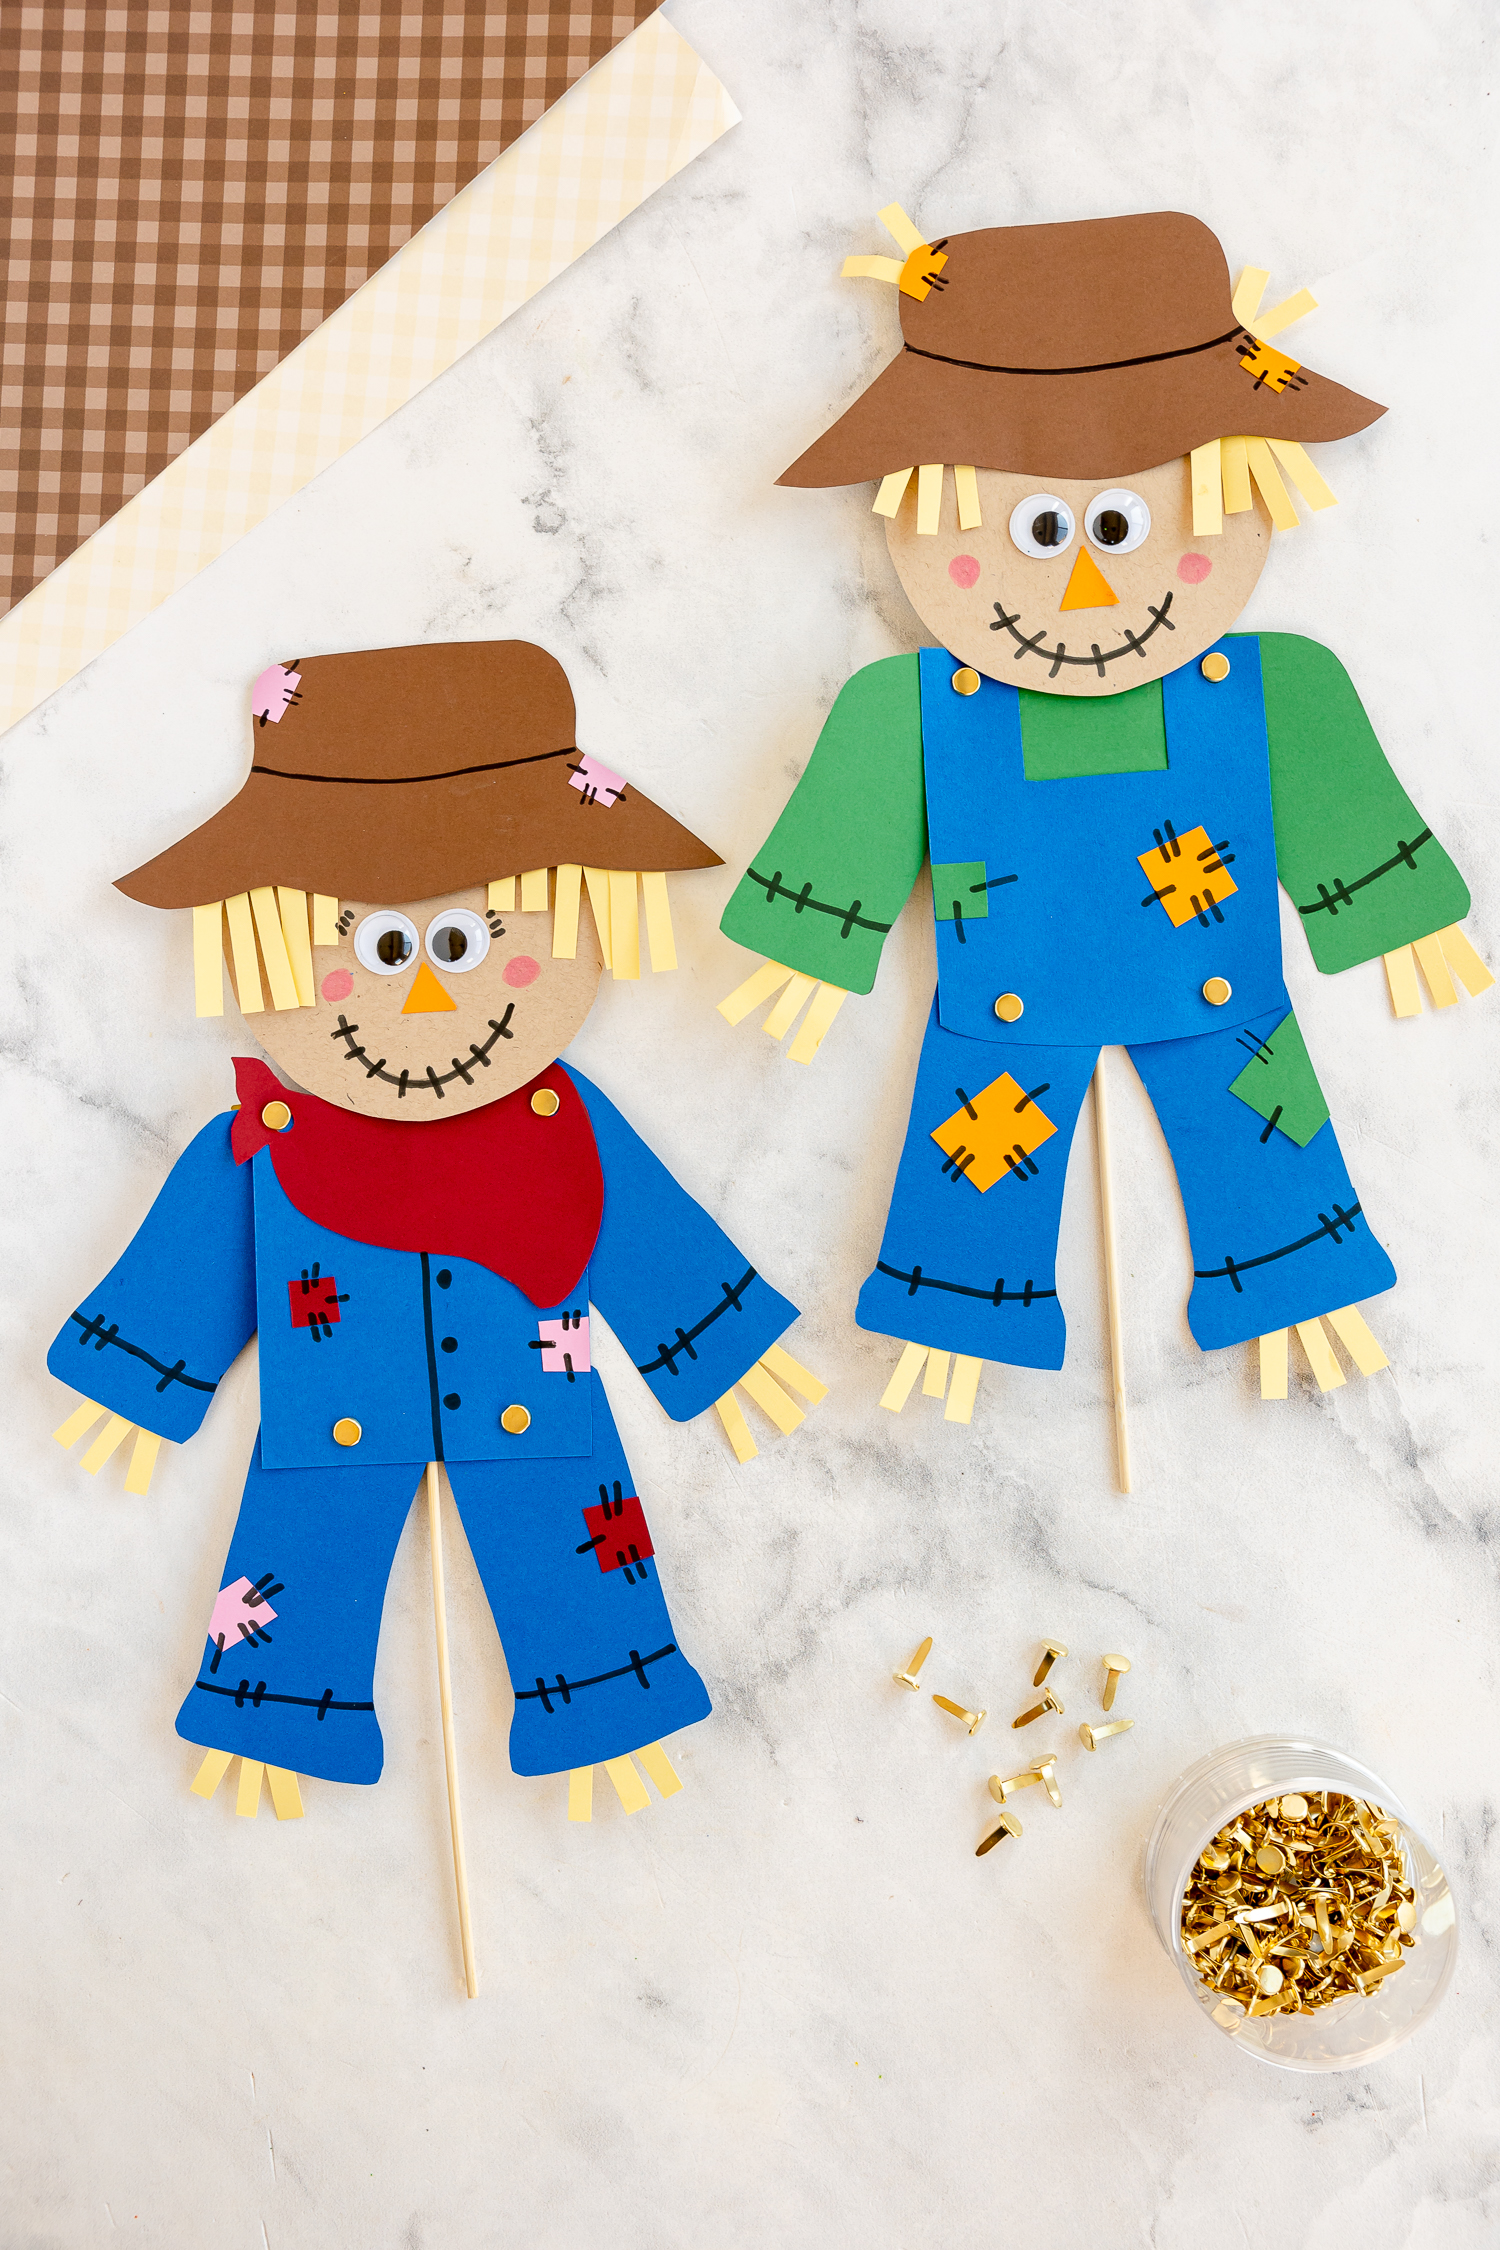
Once you assemble your scarecrow you can even make this craft into a scarecrow puppet using a craft stick or a wooden skewer which is perfect for little hands to enjoy. Make this in a classroom setting? The finished scarecrows make a great art project to add to a fall themed bulletin board.
HOW TO VIDEO:
Craft Supplies Needed:
- Cardstock, in desired colors
- Googly Eyes
- Free Printable Scarecrow Template – see above!
- Paper Fasteners
- Paper Hole Punch
- Popsicle Stick or Wooden Skewer (optional)


How to Make Paper Scarecrow Craft
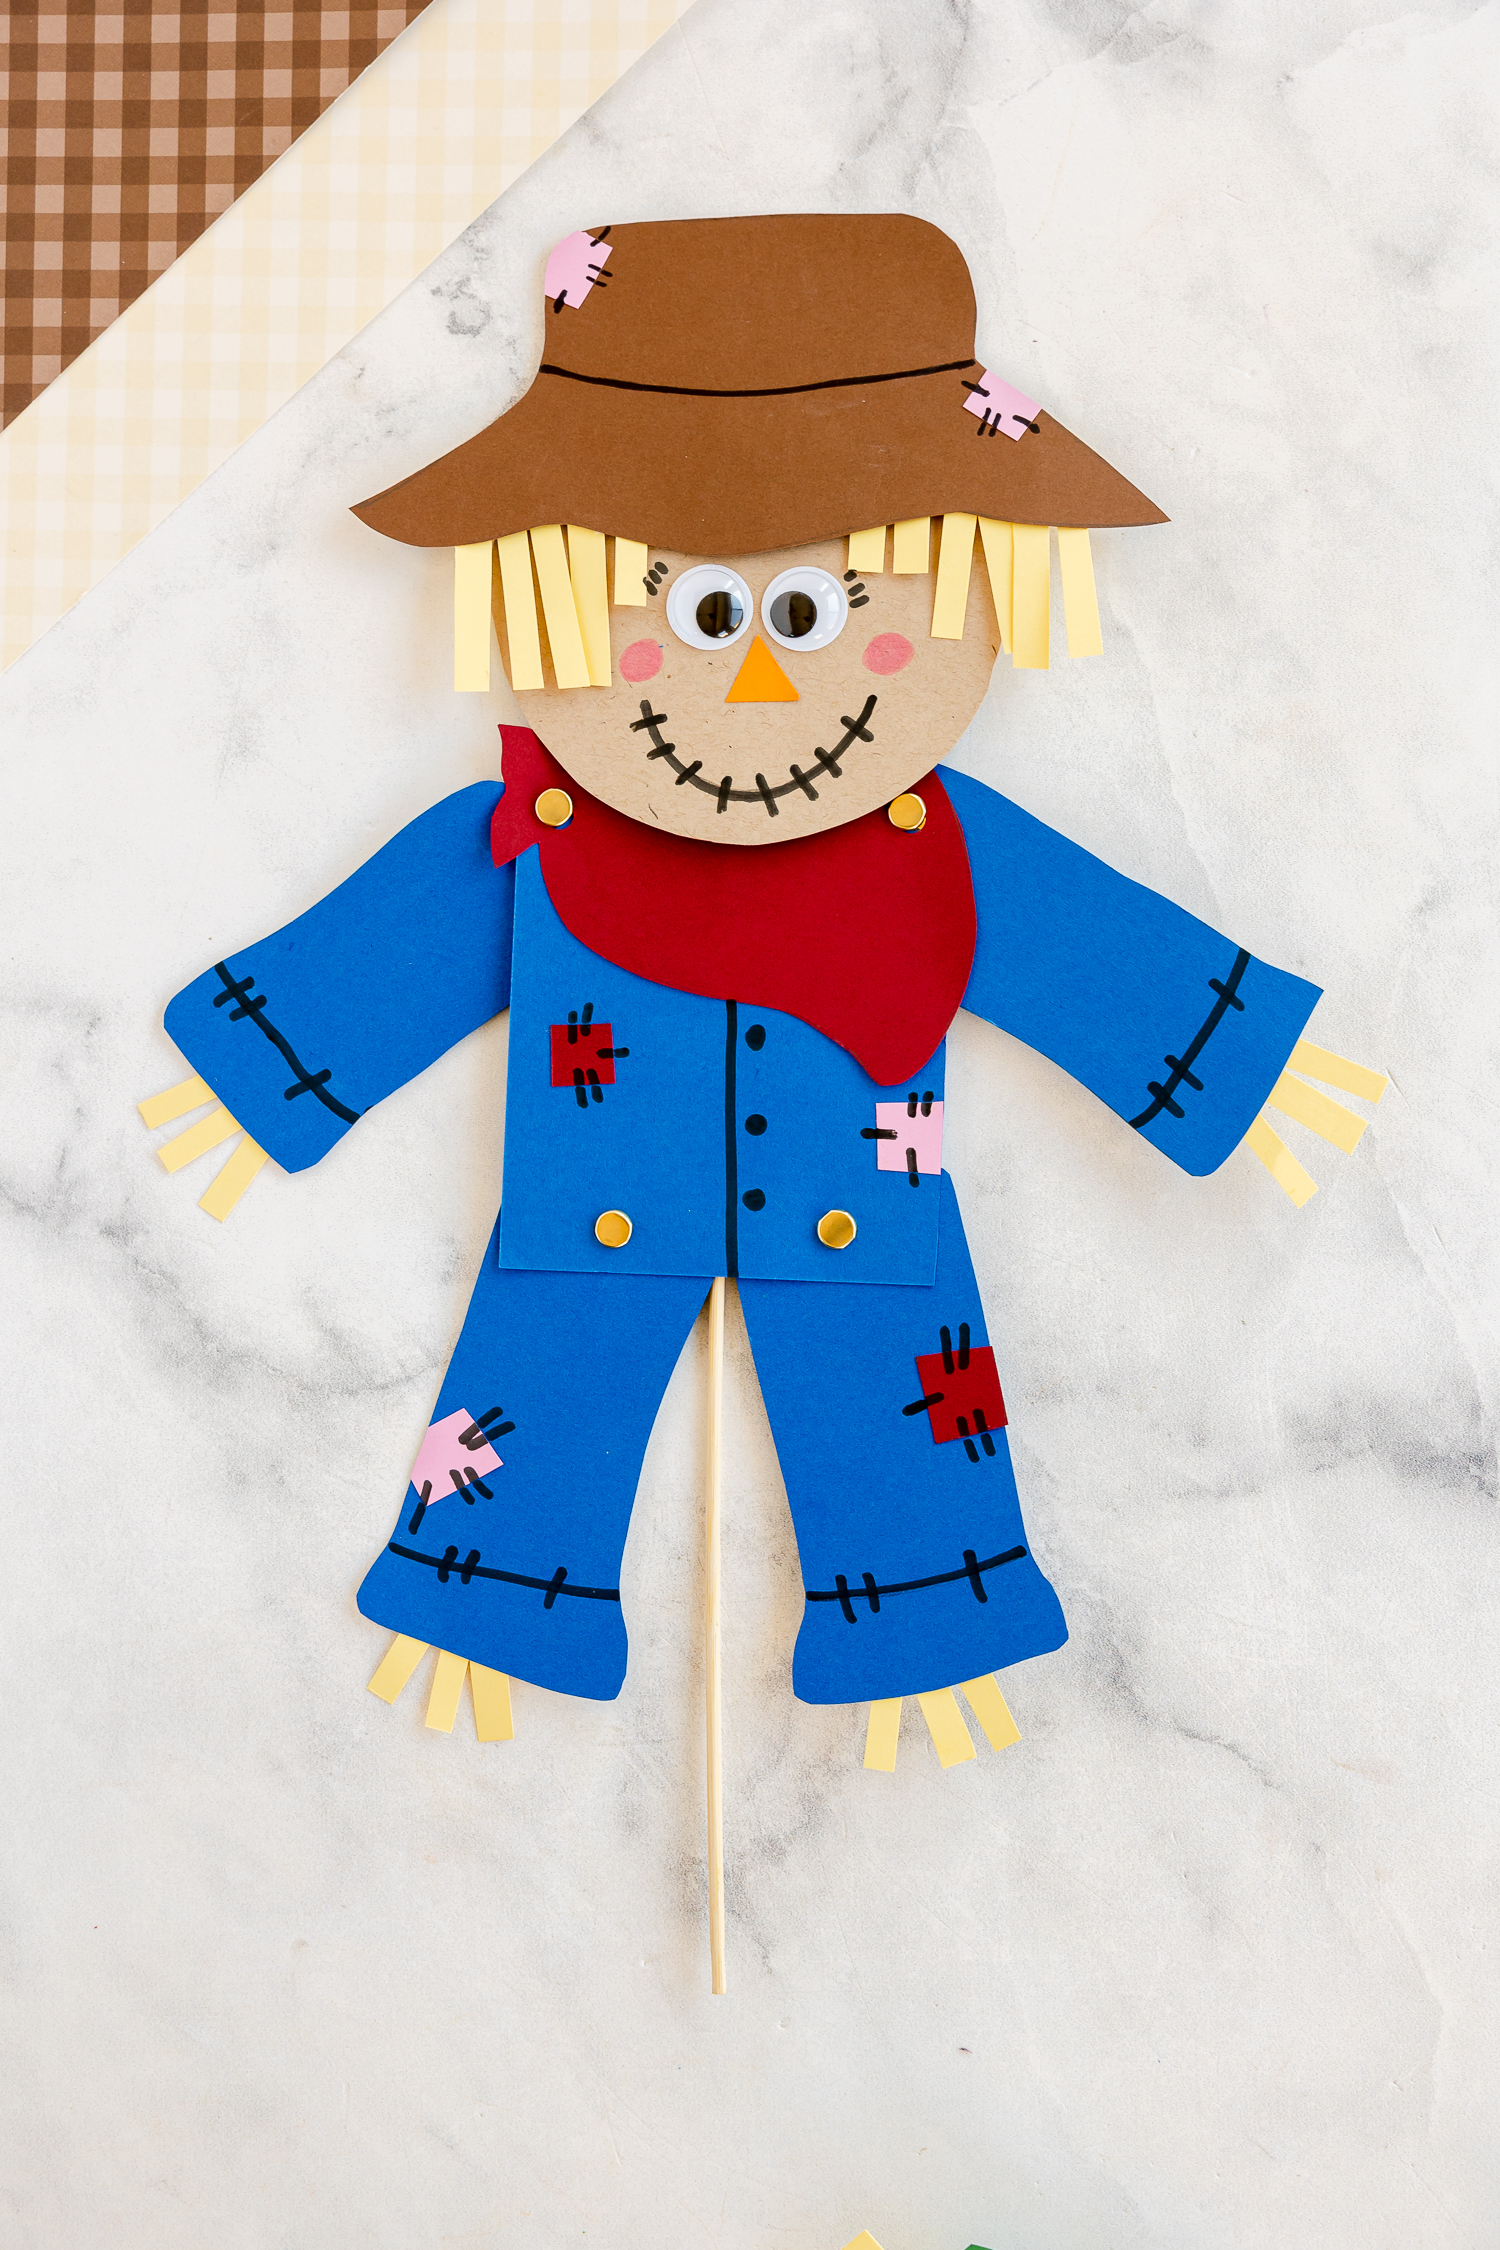
Step 1: Make the Scarecrows head.
- Cut out the scarecrow’s head and hat pieces. I used a skin-toned cardstock for the head and brown cardstock for the hat.
- Glue small colored squares onto the hat wherever you’d like, then trim off any excess. Use a marker to add lines so the squares look like stitched patches.
- Cut yellow cardstock into thin vertical strips and glue them along the hat’s edges to resemble hay.

Step 2: Creating the Face
- Add googly eyes to your face. Draw on eyelashes if desired.
- Use a black Sharpie to draw a smile on the scarecrow’s face, then add short vertical lines across it to create a stitched look.
- Add a small orange triangle nose.
- Color pink cheeks with a marker or colored pencil.

Step 3: Prepare your Body Pieces
- Cut out your body pieces from your desired colors.
- Add small paper squares to your body pieces and repeat adding the stitches and other line elements with your sharpie marker.


Step 4: Attach your body pieces with Paper Fasteners
- Hole punch all of your body pieces as shown in the picture below.
- Tape or glue more vertical yellow pieces to your arm and leg pieces.


Step 5: Add a Wooden Skewer or Popsicle Stick
- Add a wooden skewer or popsicle stick to the back of your scarecrow. We chose to add a skewer because it always your child to hold it better. We snipped off the pointy edge of the skewer before taping.


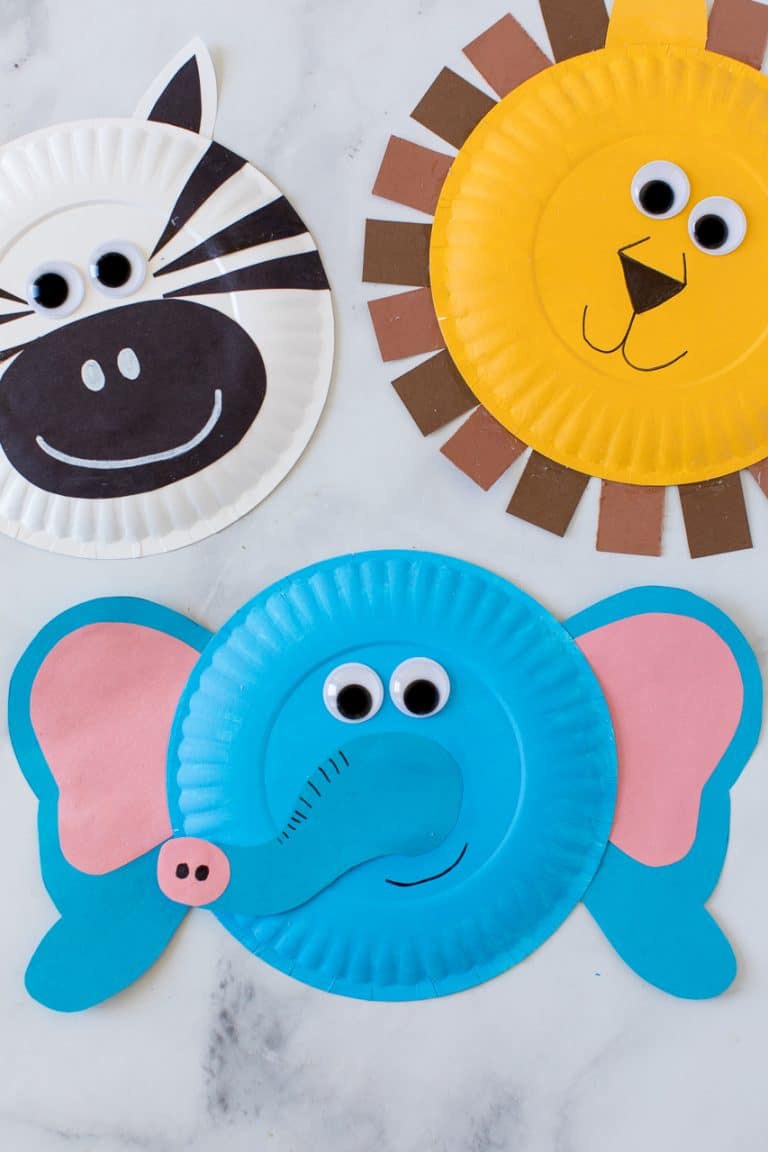
Need more scarecrow fun or some more fun fall activities? Try these autumn crafts that can be a perfect activity for both older kids and younger children alike.


I couldn’t open the print, trace, and cut. It says site cannot be reached.