As an Amazon Associate I earn from qualifying purchases.
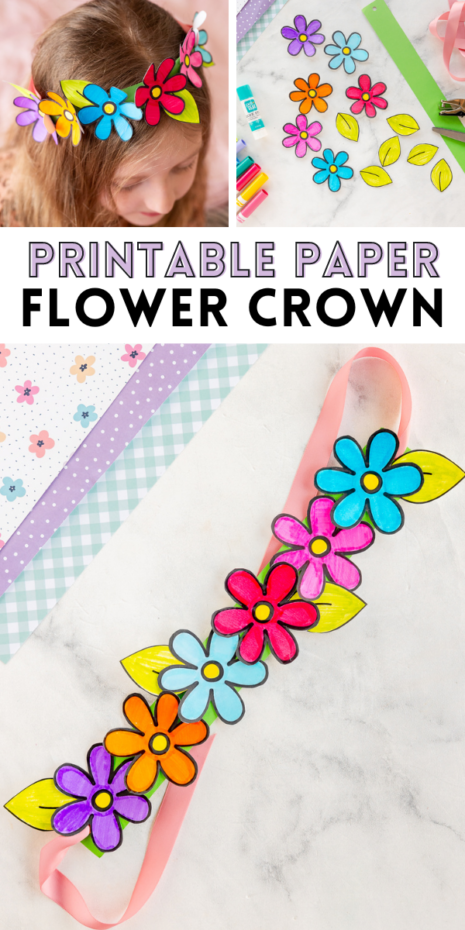
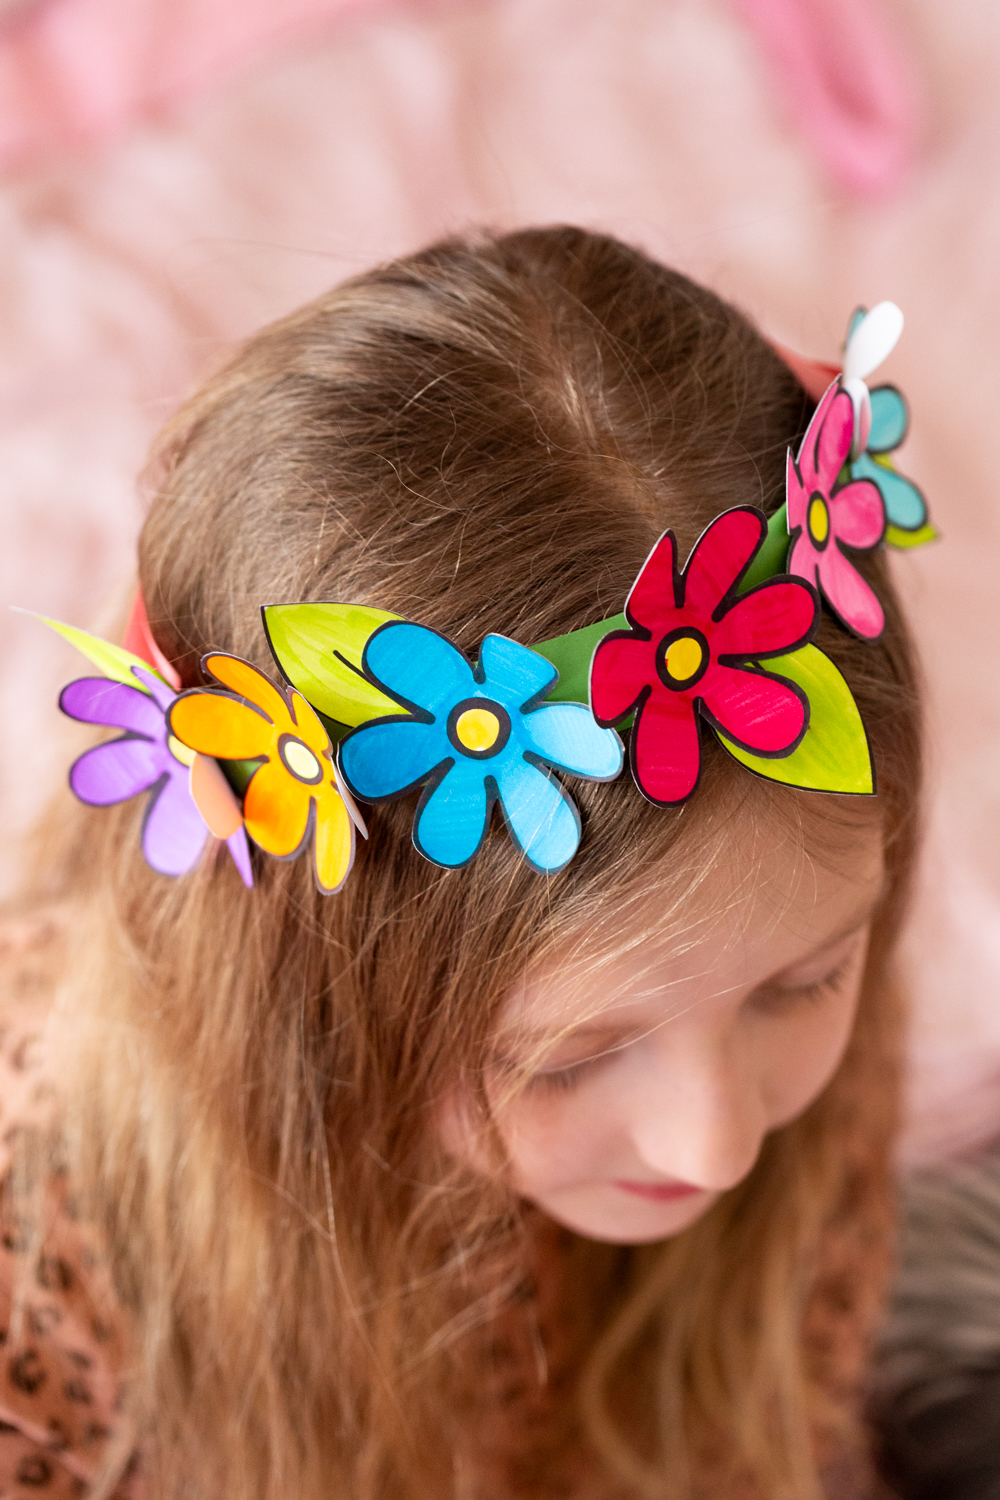
This printable paper spring flower crown is such a fun coloring activity for kids! Color your flowers, glue them together and add a ribbon to make a beautiful crown fit for a floral princess.
Simple and sweet is what describes this flower craft! It starts with a free printable with basic flowers for your little artist to color. We then practice some fine motor skills while we carefully cut out our flowers and leaves. Grab a little glue and glue them all together and you are well on your you way to make an adorable spring crown your little girl will love to run around with! It’s perfect “dress up” play for a princess, fairy or just for the spring and summer season!
Ready to make this simple floral piece? Let’s get started!
Supplies Needed:
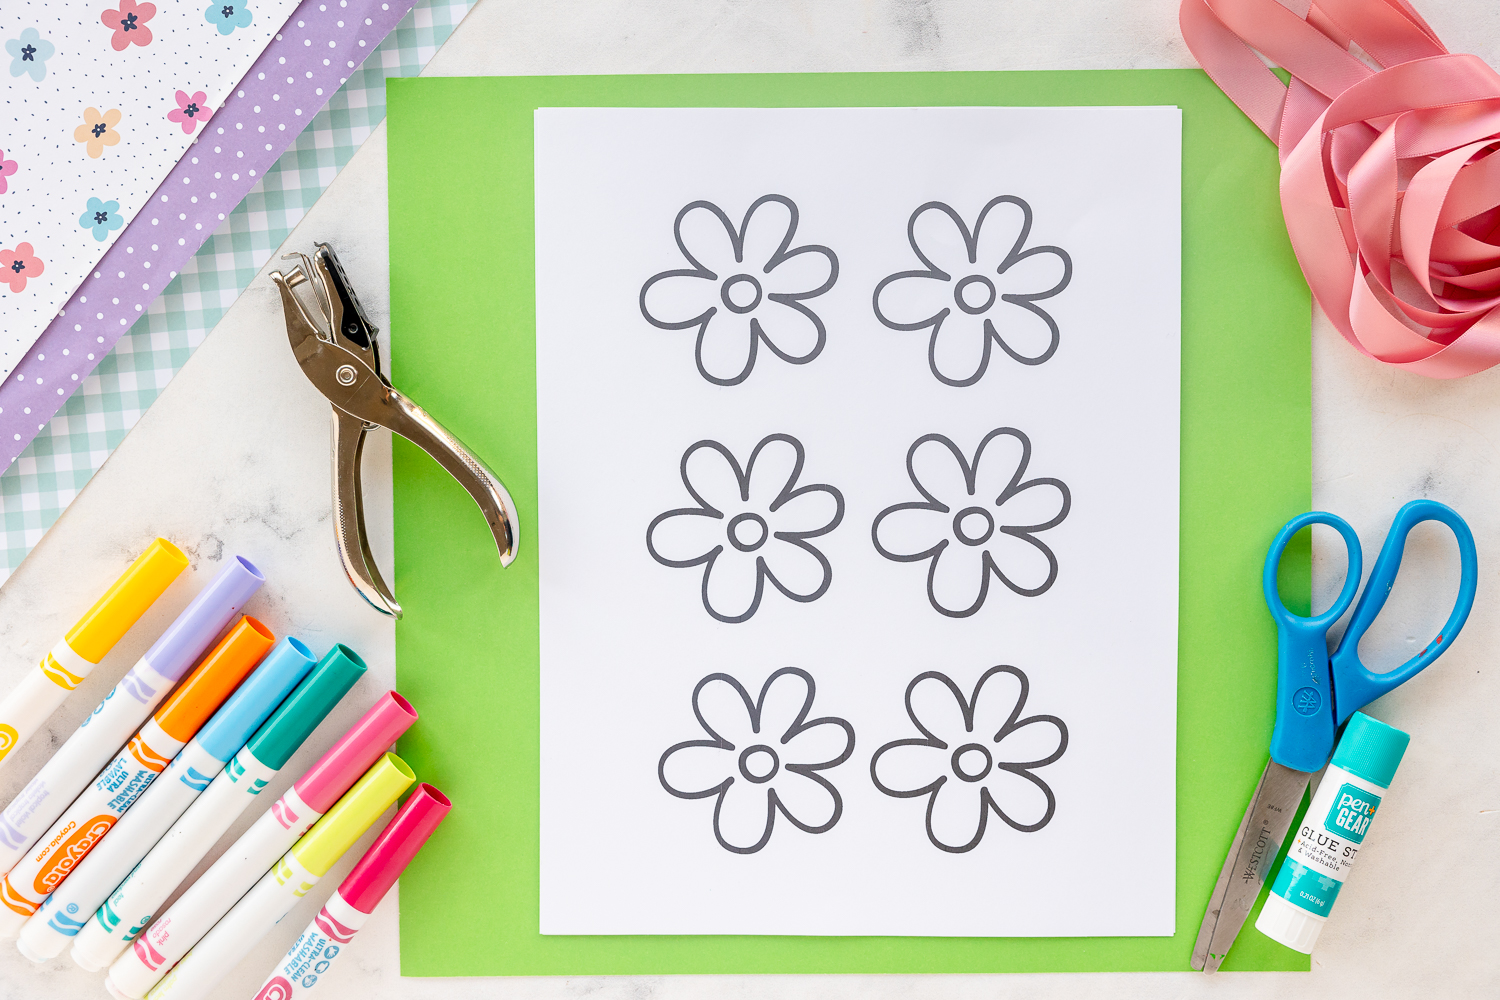
- Free Flower and Leaf Template
- Coloring supplies – feel free to use markers, colored pencils or crayons! We prefer to use markers for a brighter look.
- Scissors (use with care)
- Glue Stick
- Card stock, green or brown
- Hole Punch
- Ribbon, amount determine on child’s head size
How to make a Paper Flower Crown
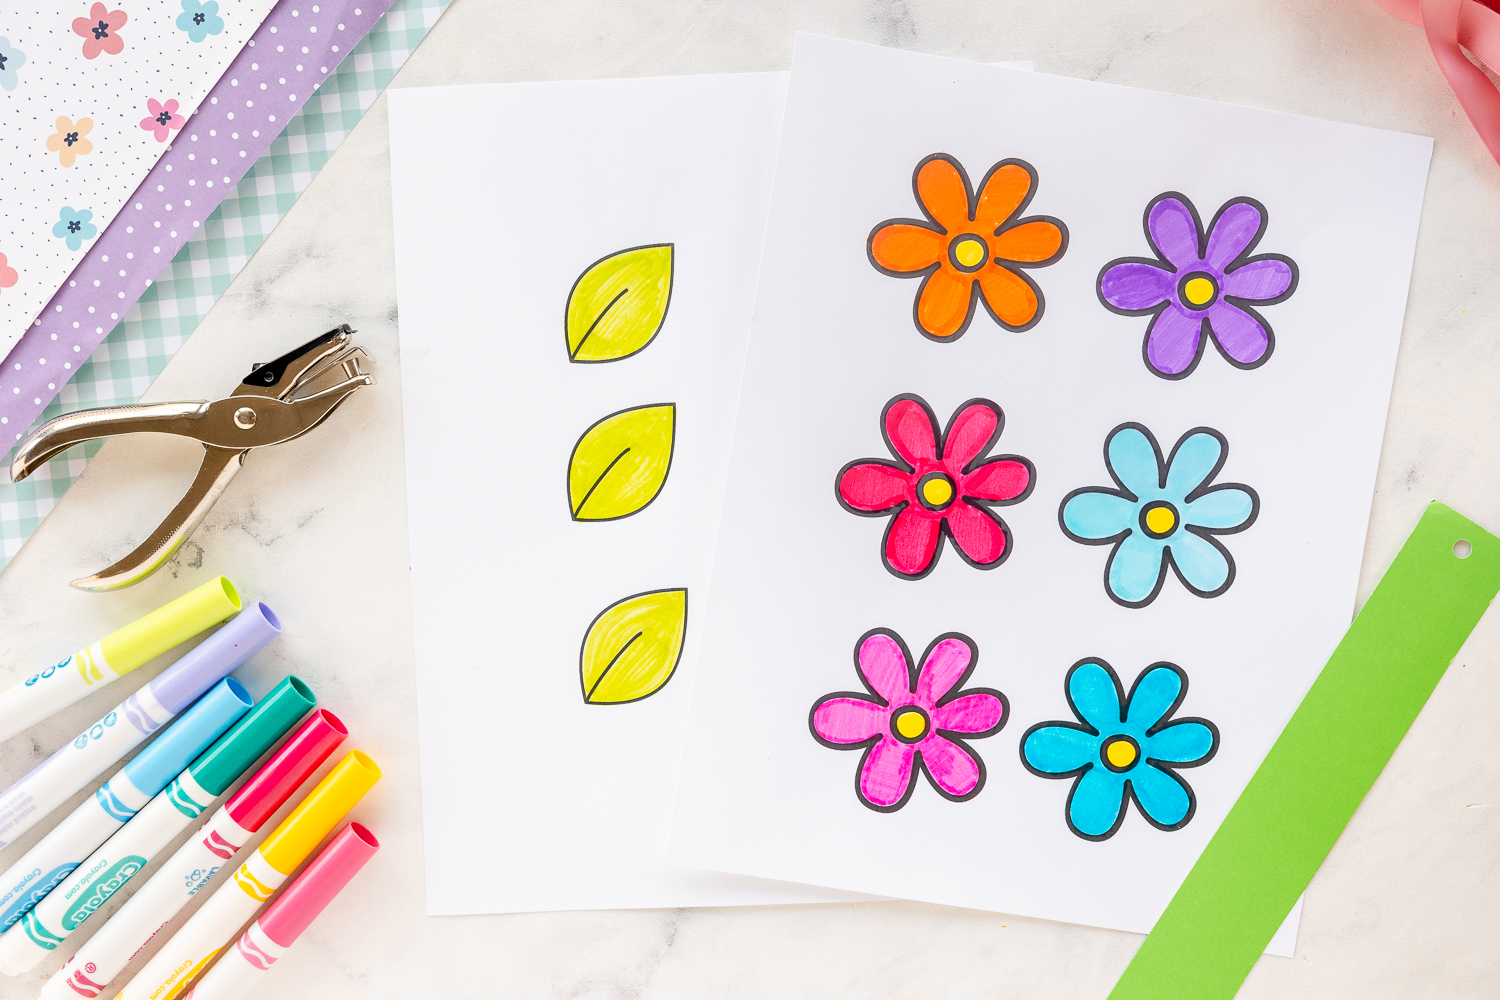
Step 1: Color Flowers
Grab our free flower and leaf printable and color with your desired coloring supplies. Cut out a long piece of green or brown card stock. Our strip was 1 1/2 inches wide by 12 inches long. Punch a hole on each end of the green card stock strip.
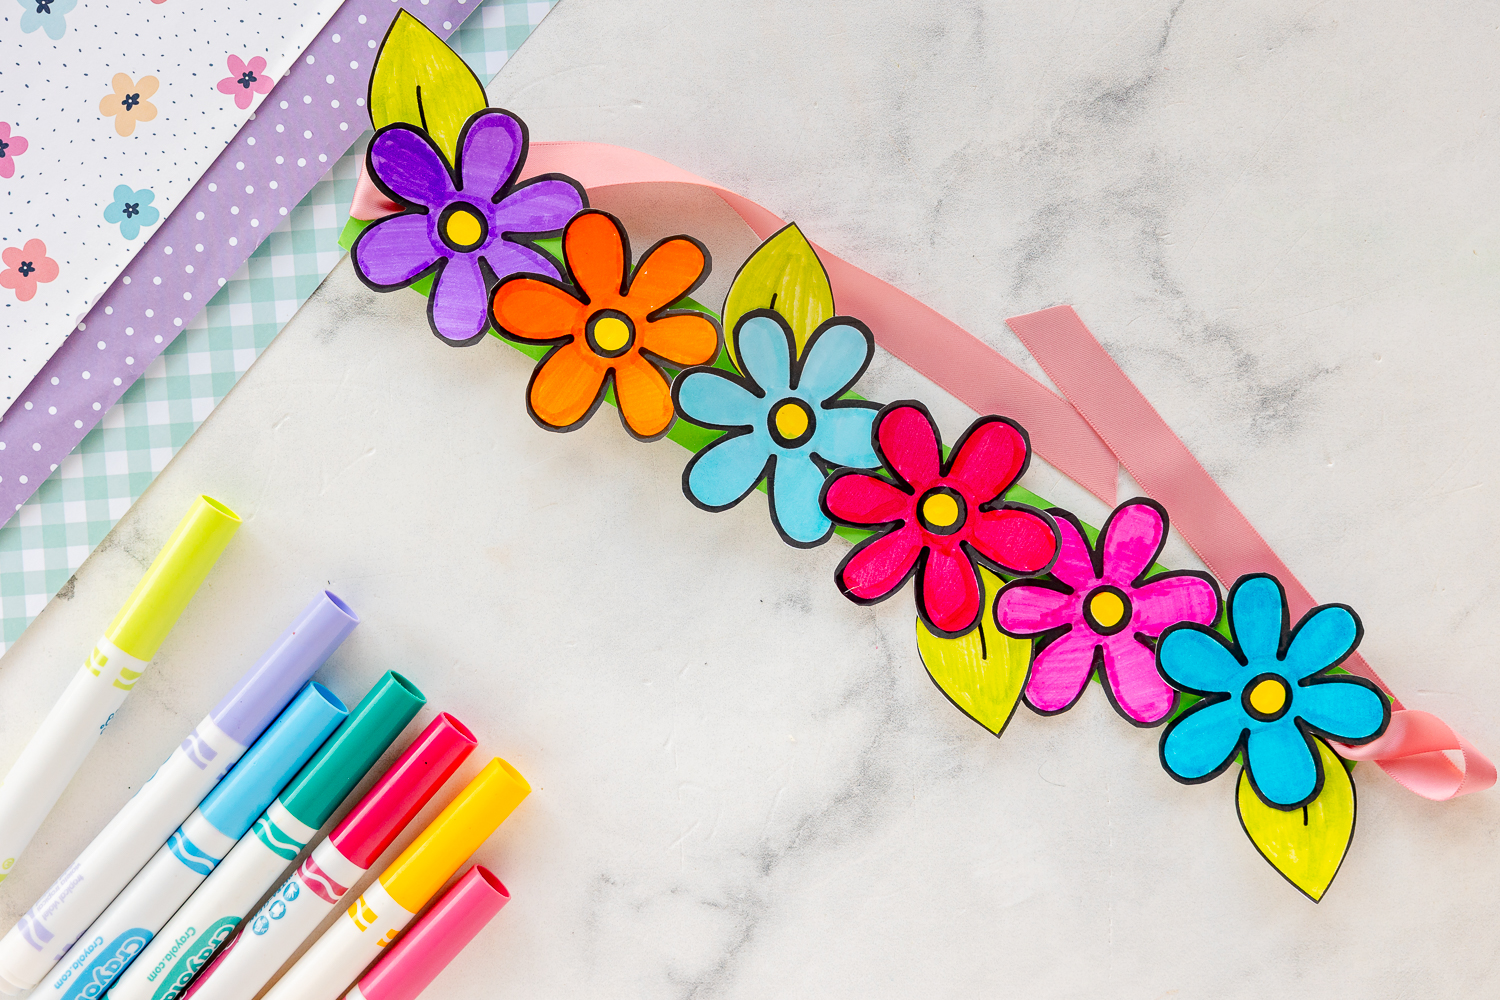
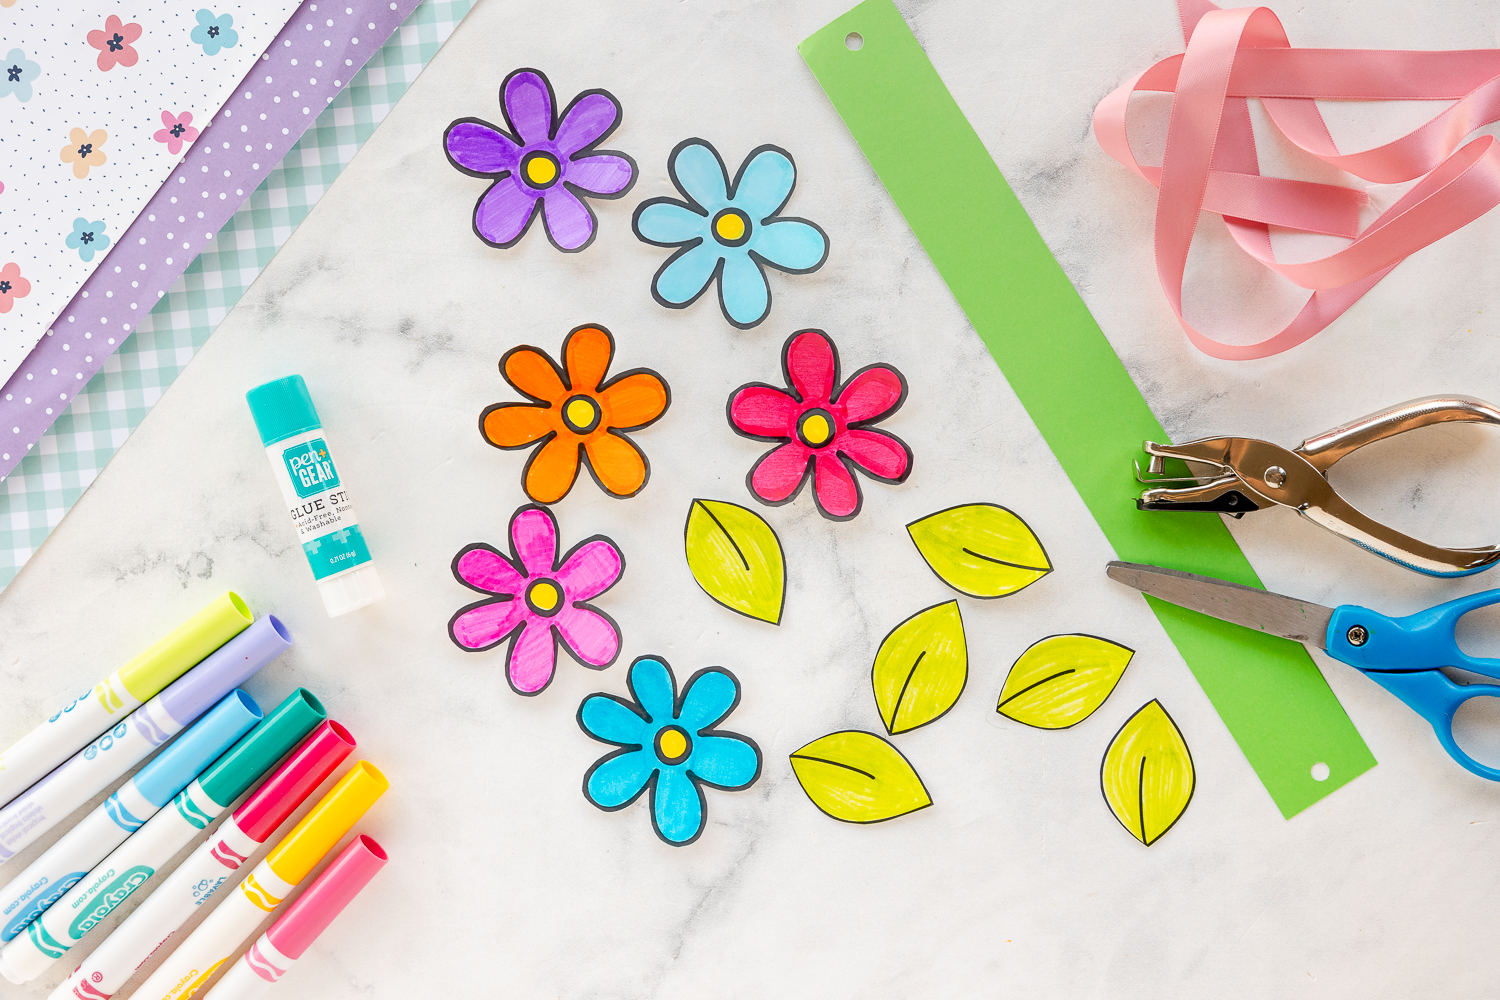
Step 2: Cut, Cut Cut!
Cut out your colored leaves and flowers.
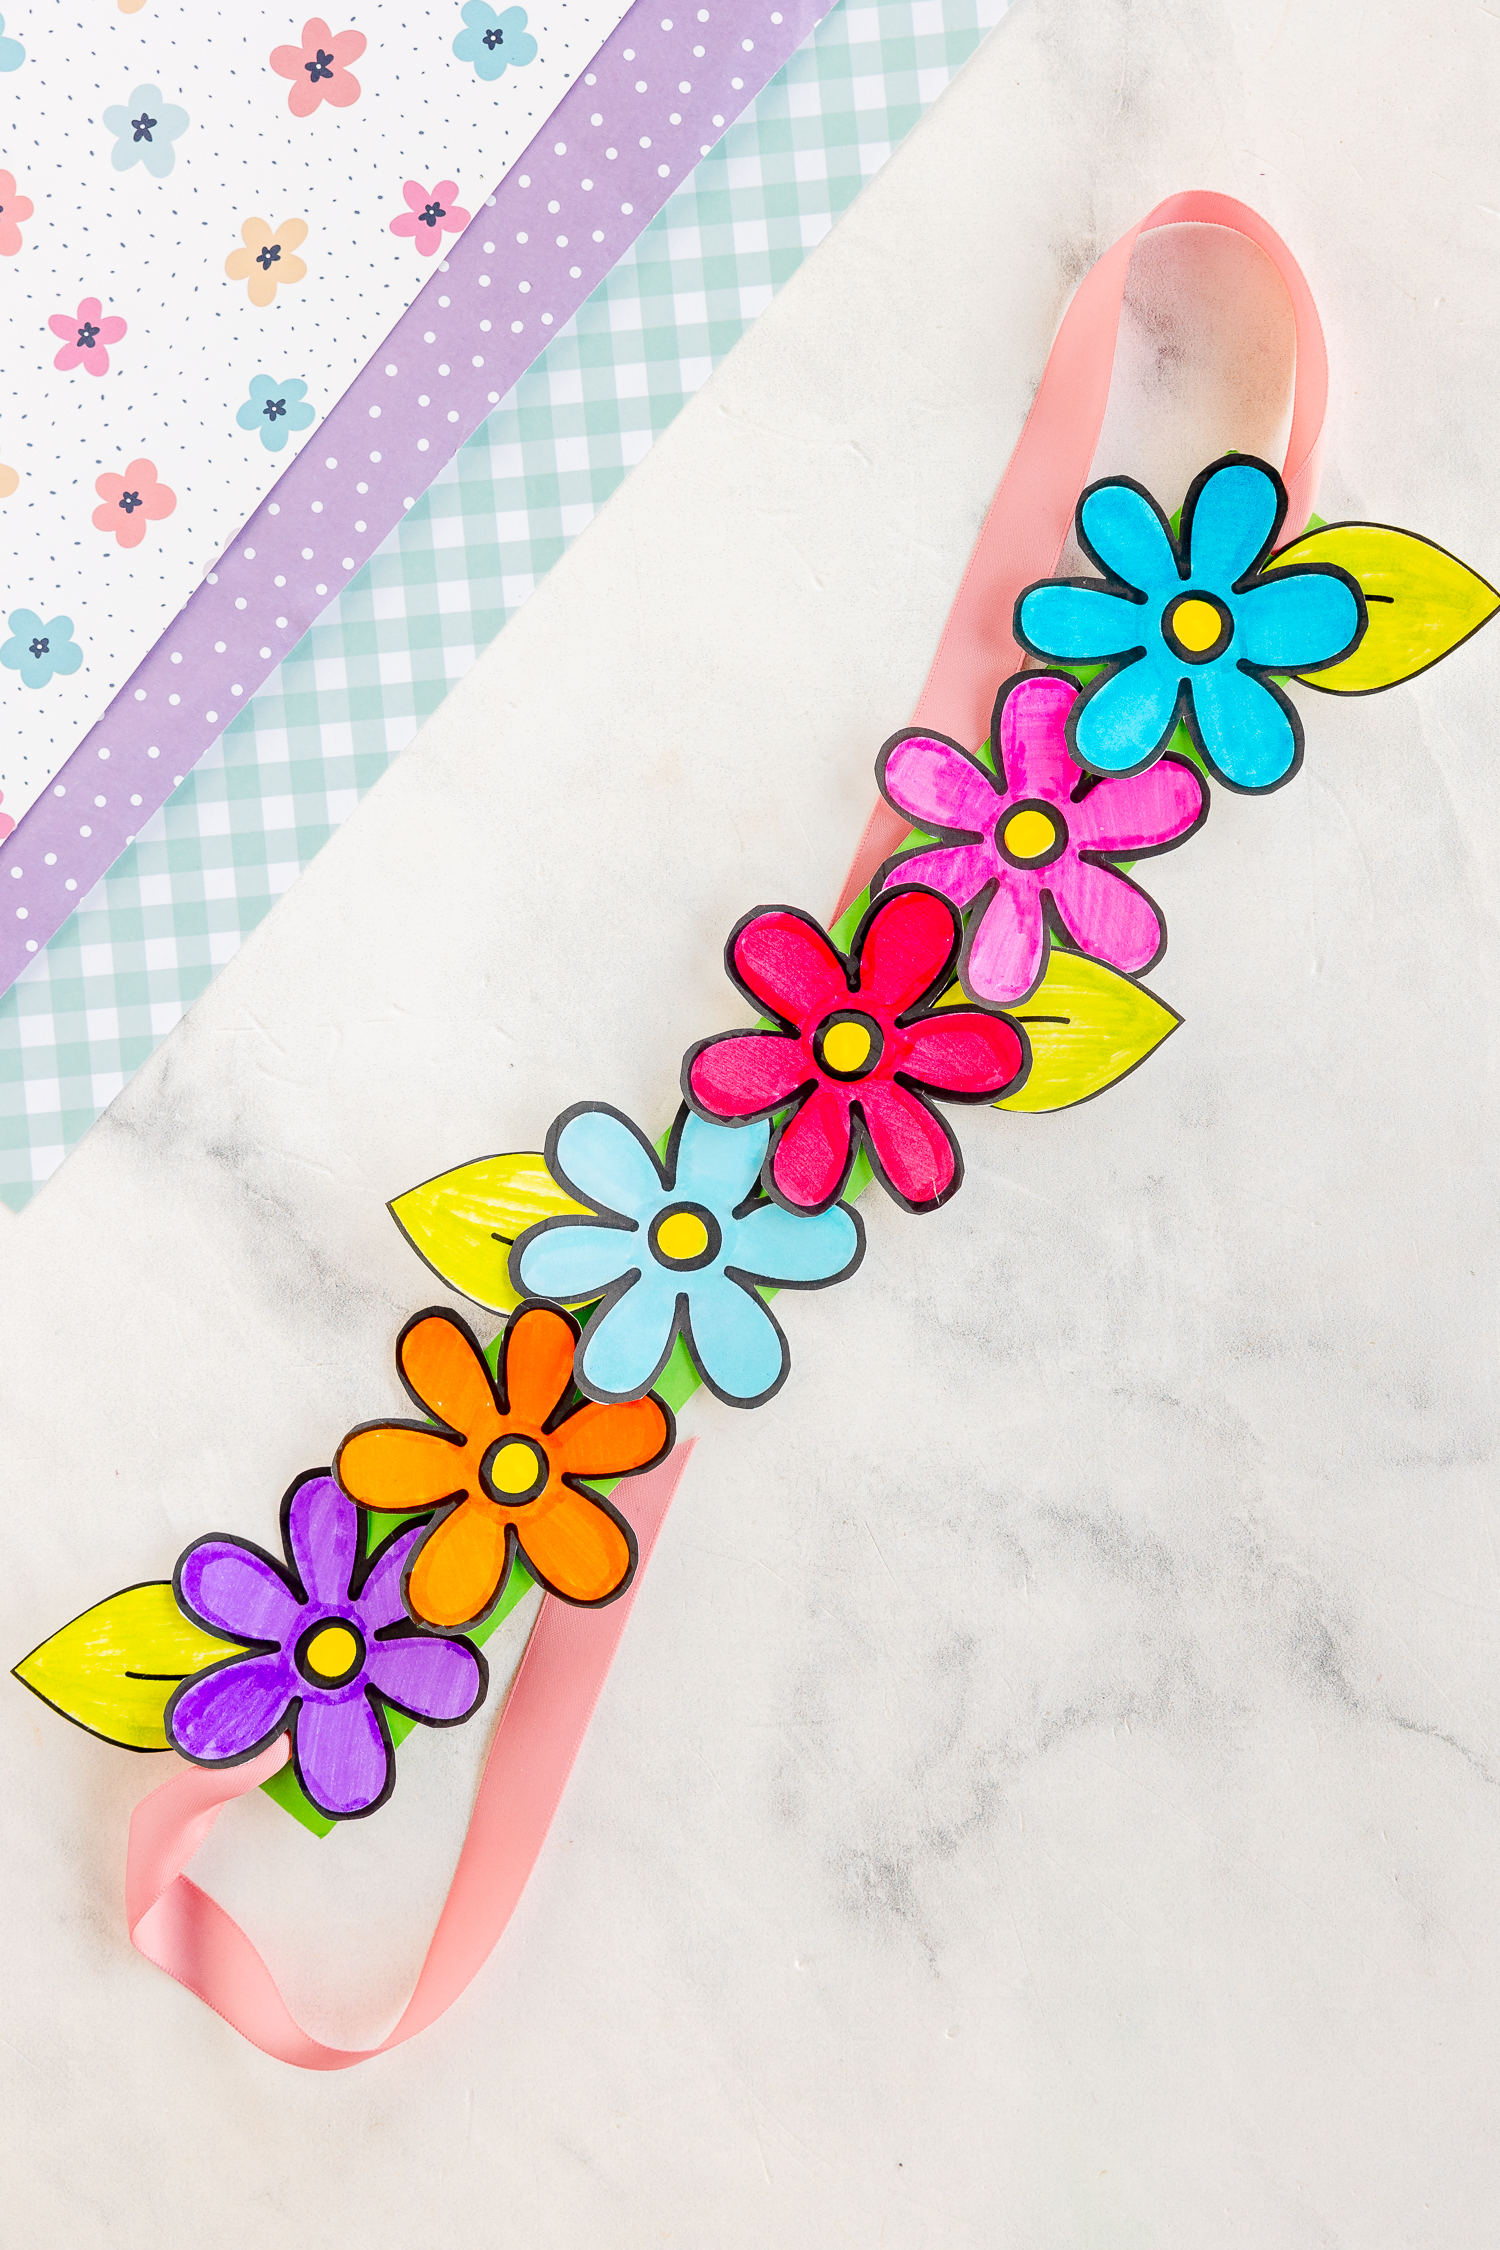
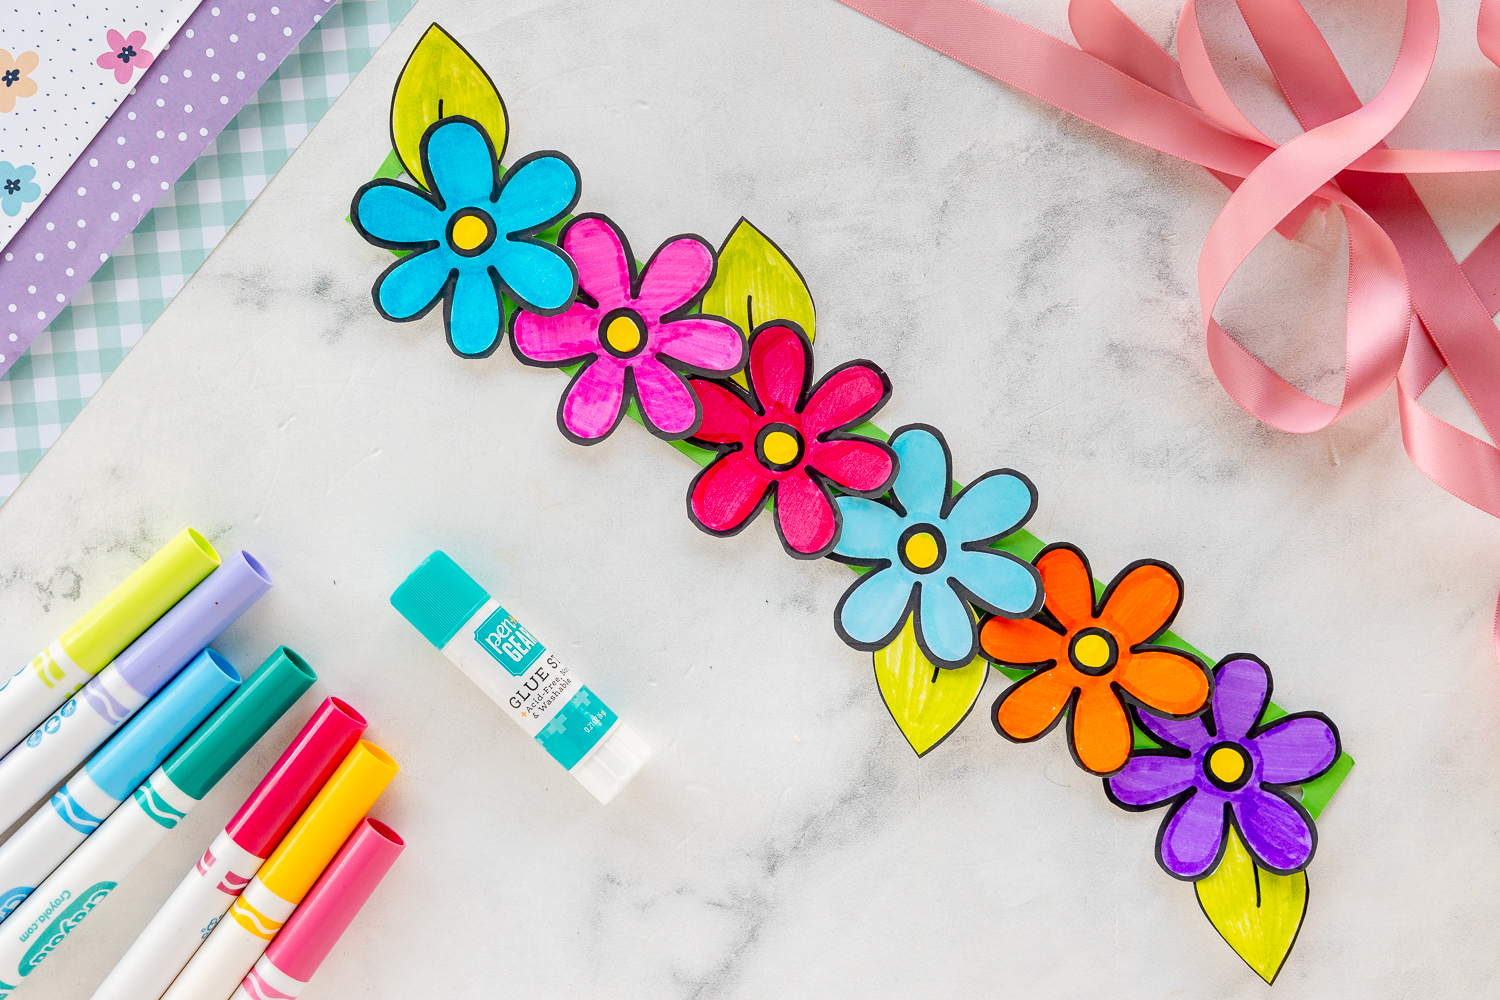
Step 3: Assemble your crown.
Glue your flowers and leaves to your long strip of paper. Be sure you don’t cover the hold punched holes completely so that you can still thread a piece of ribbon through it. Feel free to glue on as many leaves as you want or none at all 🙂 We loved how it looked with a few leaves in between some of our flowers.
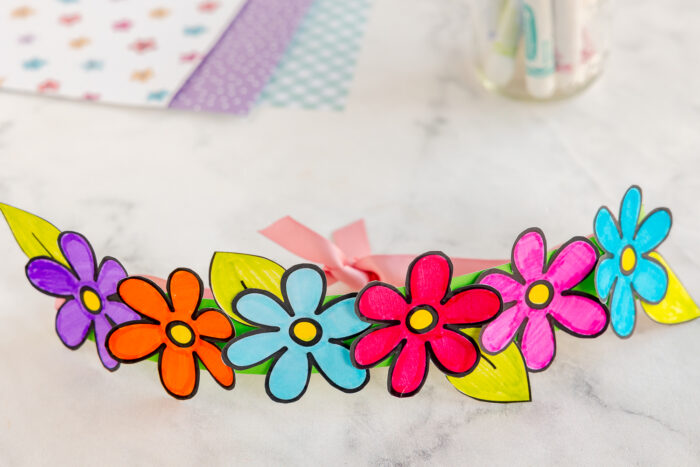
Step 4: Add the ribbon
String a piece of ribbon through both ends of your strip of paper. Before cutting your ribbon measure it around your child’s head to make sure both ribbon pieces and tie around their head.
Crafty Tips:
- Print your flowers on a heavier card stock for durability. While regular copy paper will work in a pinch the heavier card stock holds up better to color utensils like markers and will fit nicer on your child’s head.
- Add a hole punch reinforcement circle if needed for kids that are a little “rough” on their projects. You can also add a layer of tape to the end of your card stock before punching a hole for added strength.
- Feel free to color with markers, crayons, colored pencils or even watercolors for a fun summer activity!
- Use this craft in conjunction with a unit on flowers or gardening for a fun interactive homeschool or classroom hands on lesson!
For more simple summer crafts you should try these:
- Handprint Flowers
- Hibiscus Flowers – free printable!
- Celery Stamped Flowers – a little messy but loads of fun!


Where is the template for the free flower and leaf printables?
So sorry about that Tammy! It should be there now in the supply list and the directions 🙂 Thank you for pointing that out!