As an Amazon Associate I earn from qualifying purchases.
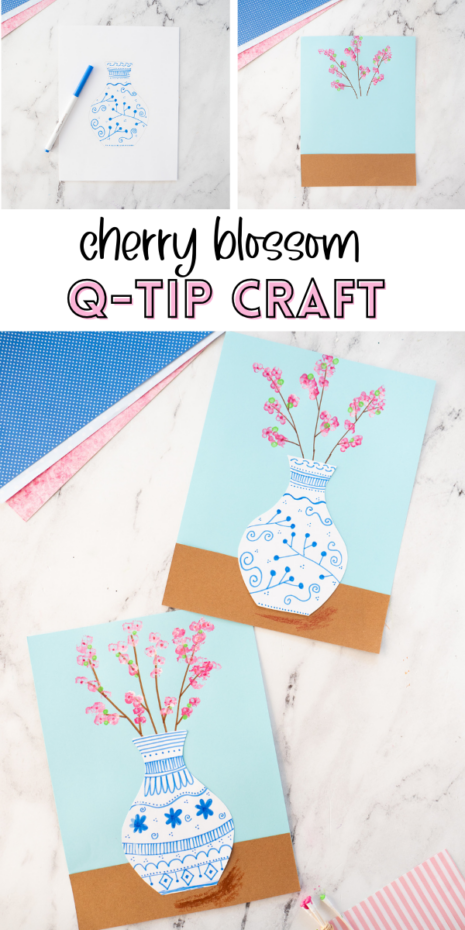
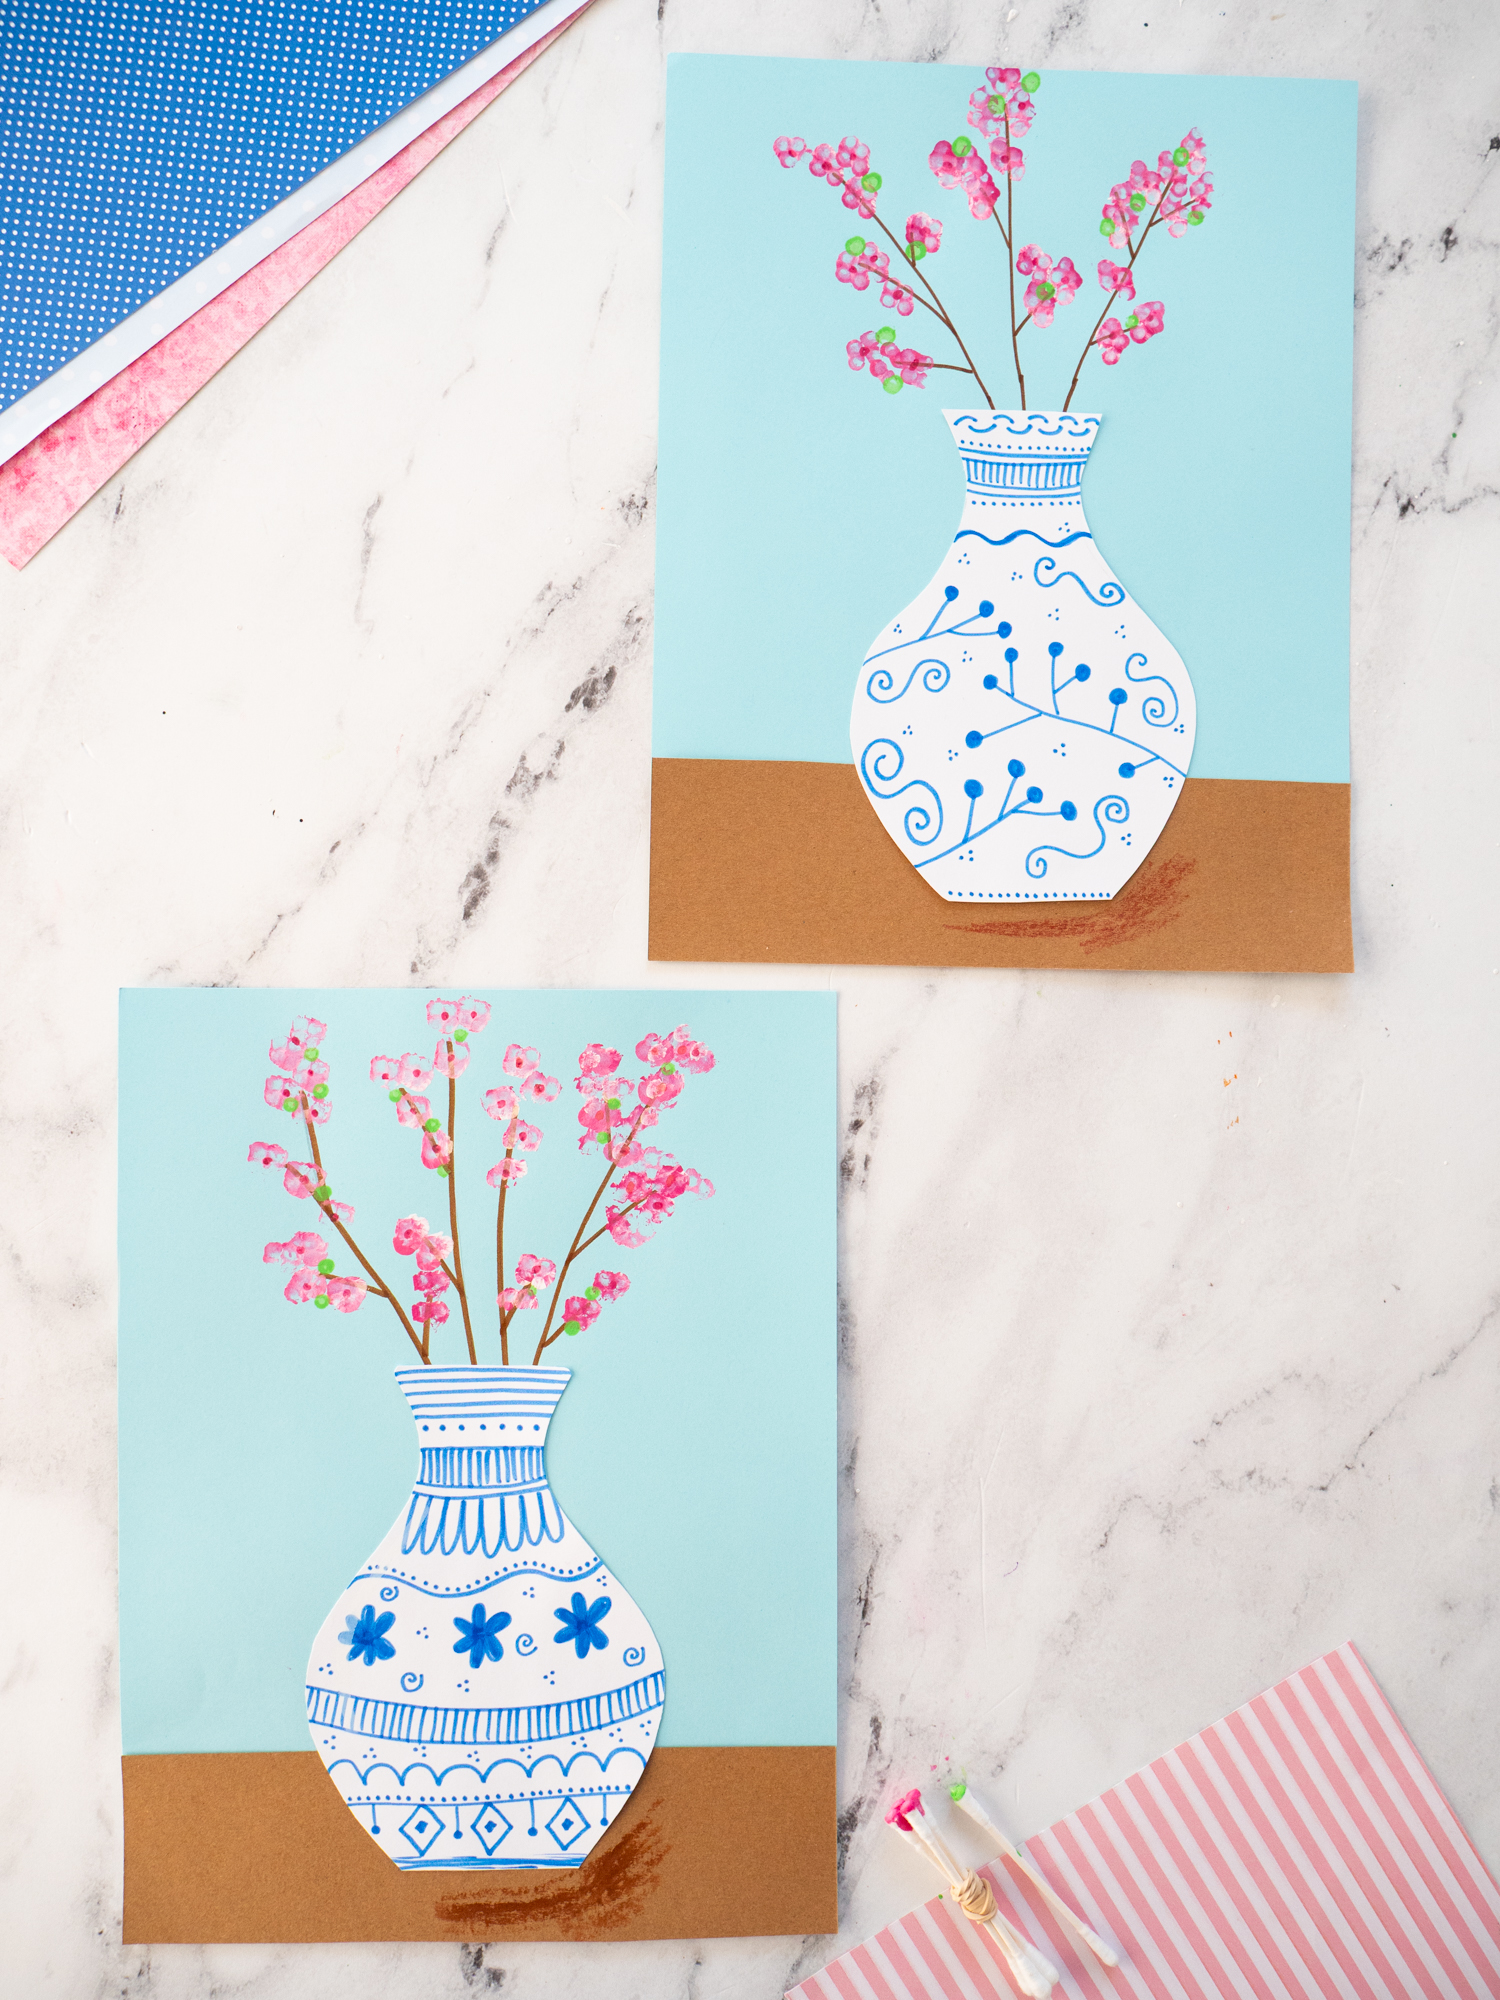
Create a beautiful Cherry Blossom Craft for kids using a free printable vase template and design inspiration sheet. Kids use Q-tips to stamp soft pink blossoms onto branches, making this an easy and creative spring art project inspired by traditional Japanese blue-and-white pottery.
Q-Tip Cherry Blossom Craft for Kids (With Free Vase Template!)
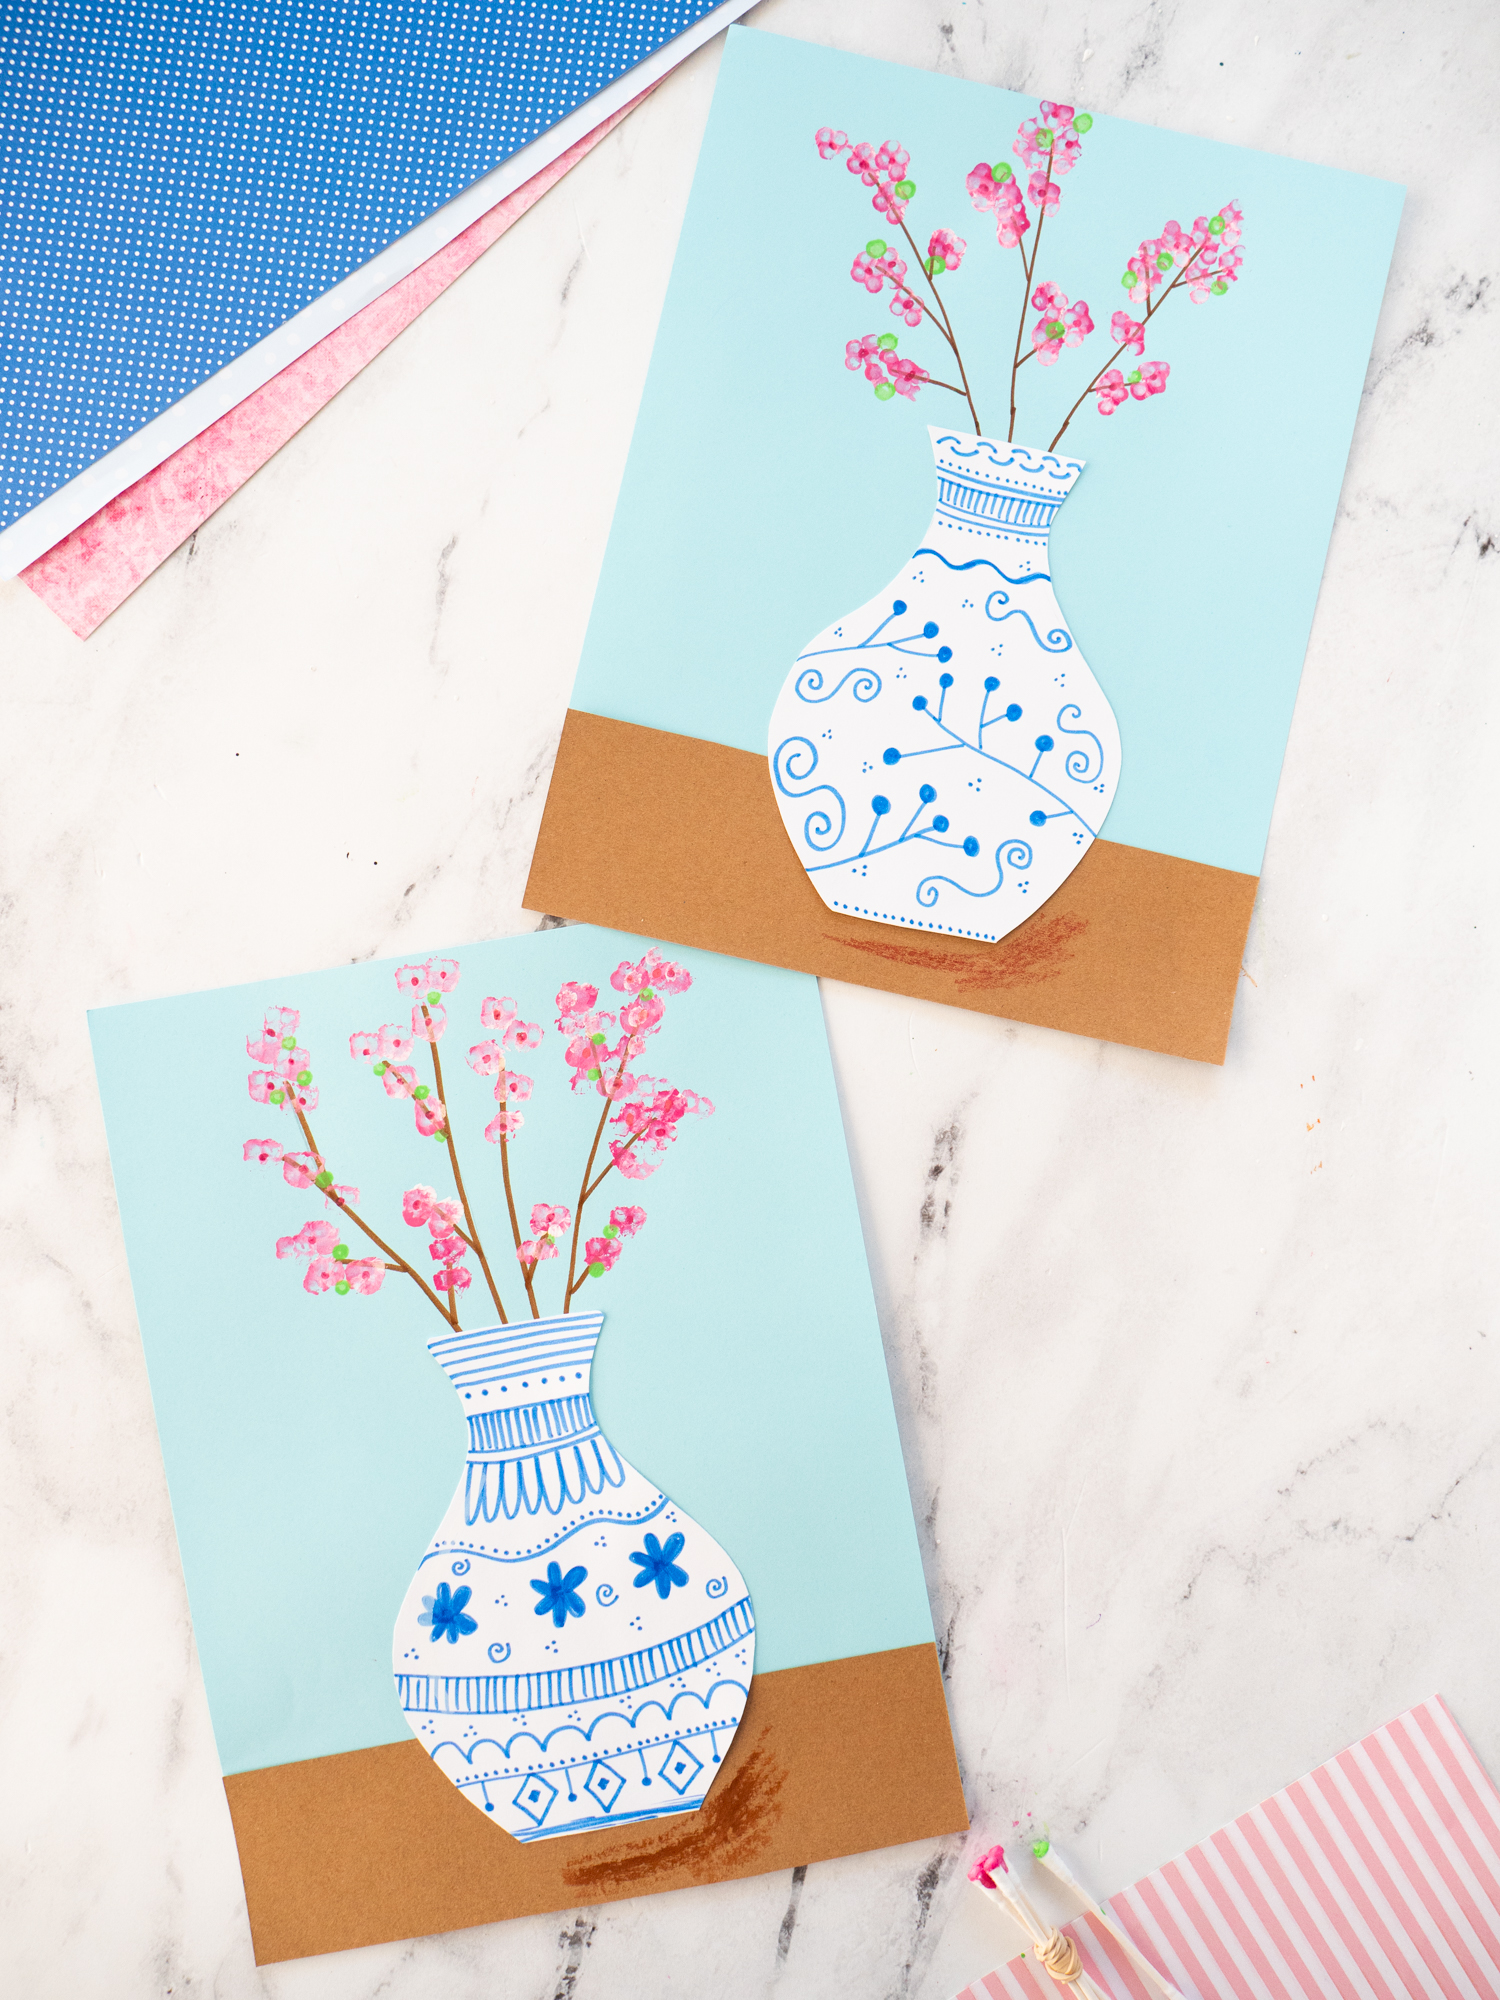
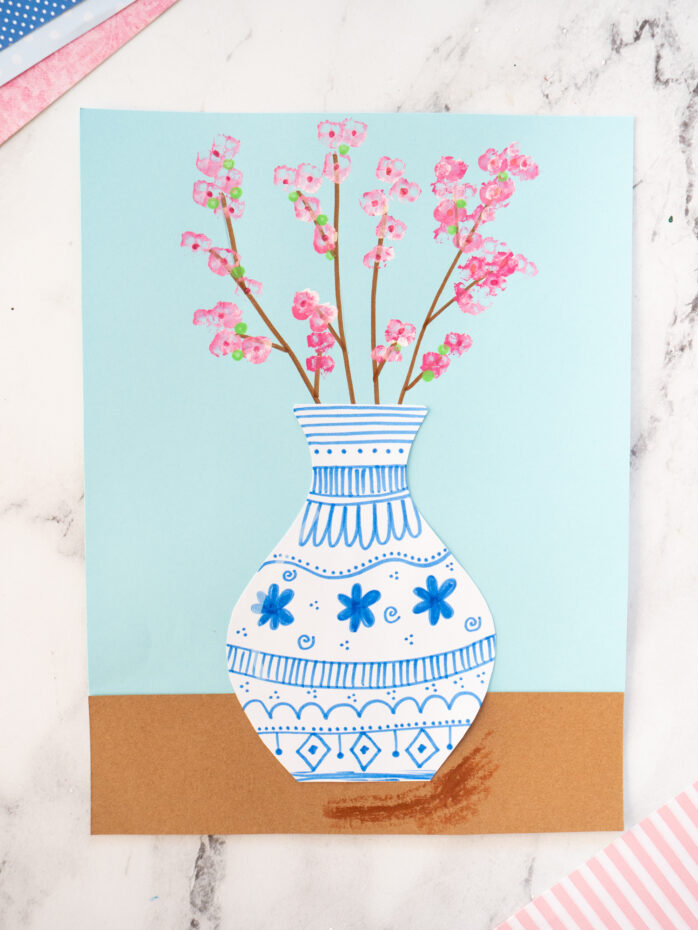
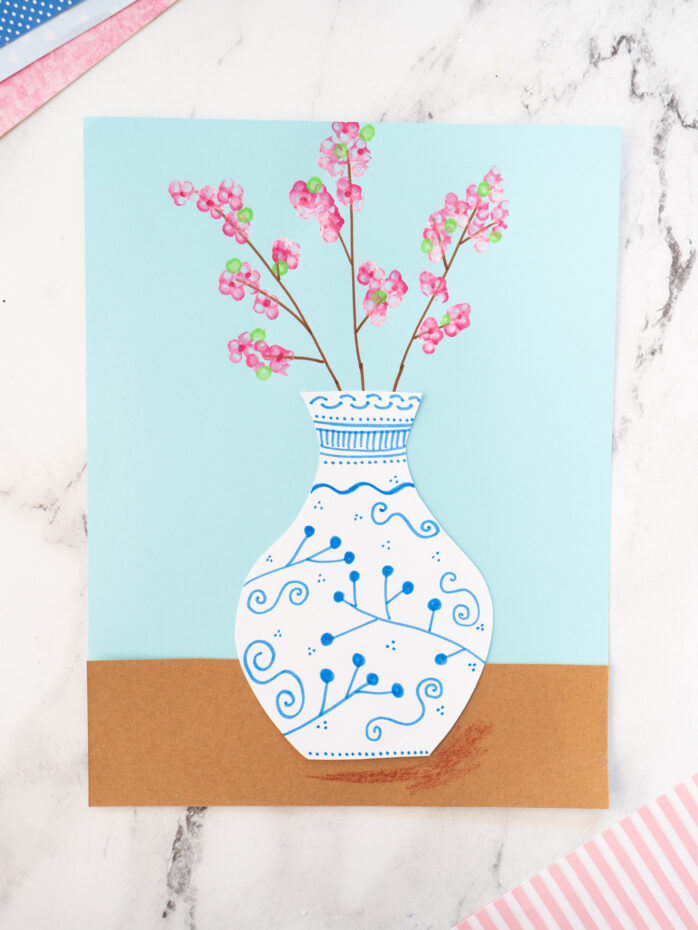
This Cherry Blossom Craft is such a beautiful way to welcome spring! With delicate pink blossoms and a blue-and-white vase inspired by traditional Japanese ceramics, this project feels both spring ready and creative. It’s the kind of craft that looks extra special when finished but I promise the kiddos will love it!
We’re providing a free printable vase template plus a free inspiration sheet filled with doodle ideas to help kids design their own patterned vase. And the results? Absolutely stunning!
Inspired by Japanese Vase Designs
For this craft, we’re creating a vase inspired by traditional Japanese blue-and-white pottery. These ceramic designs often feature:
- Simple floral patterns
- Flowing lines and swirls
- Repeating shapes
- Decorative borders
- Clean blue details on white backgrounds
Kids will use the printable vase template as their base, then decorate it using patterns and doodles inspired by these traditional styles. To make it easy (and not overwhelming!), we’ve included a free inspiration sheet with simple design ideas they can copy, mix, or make their own.
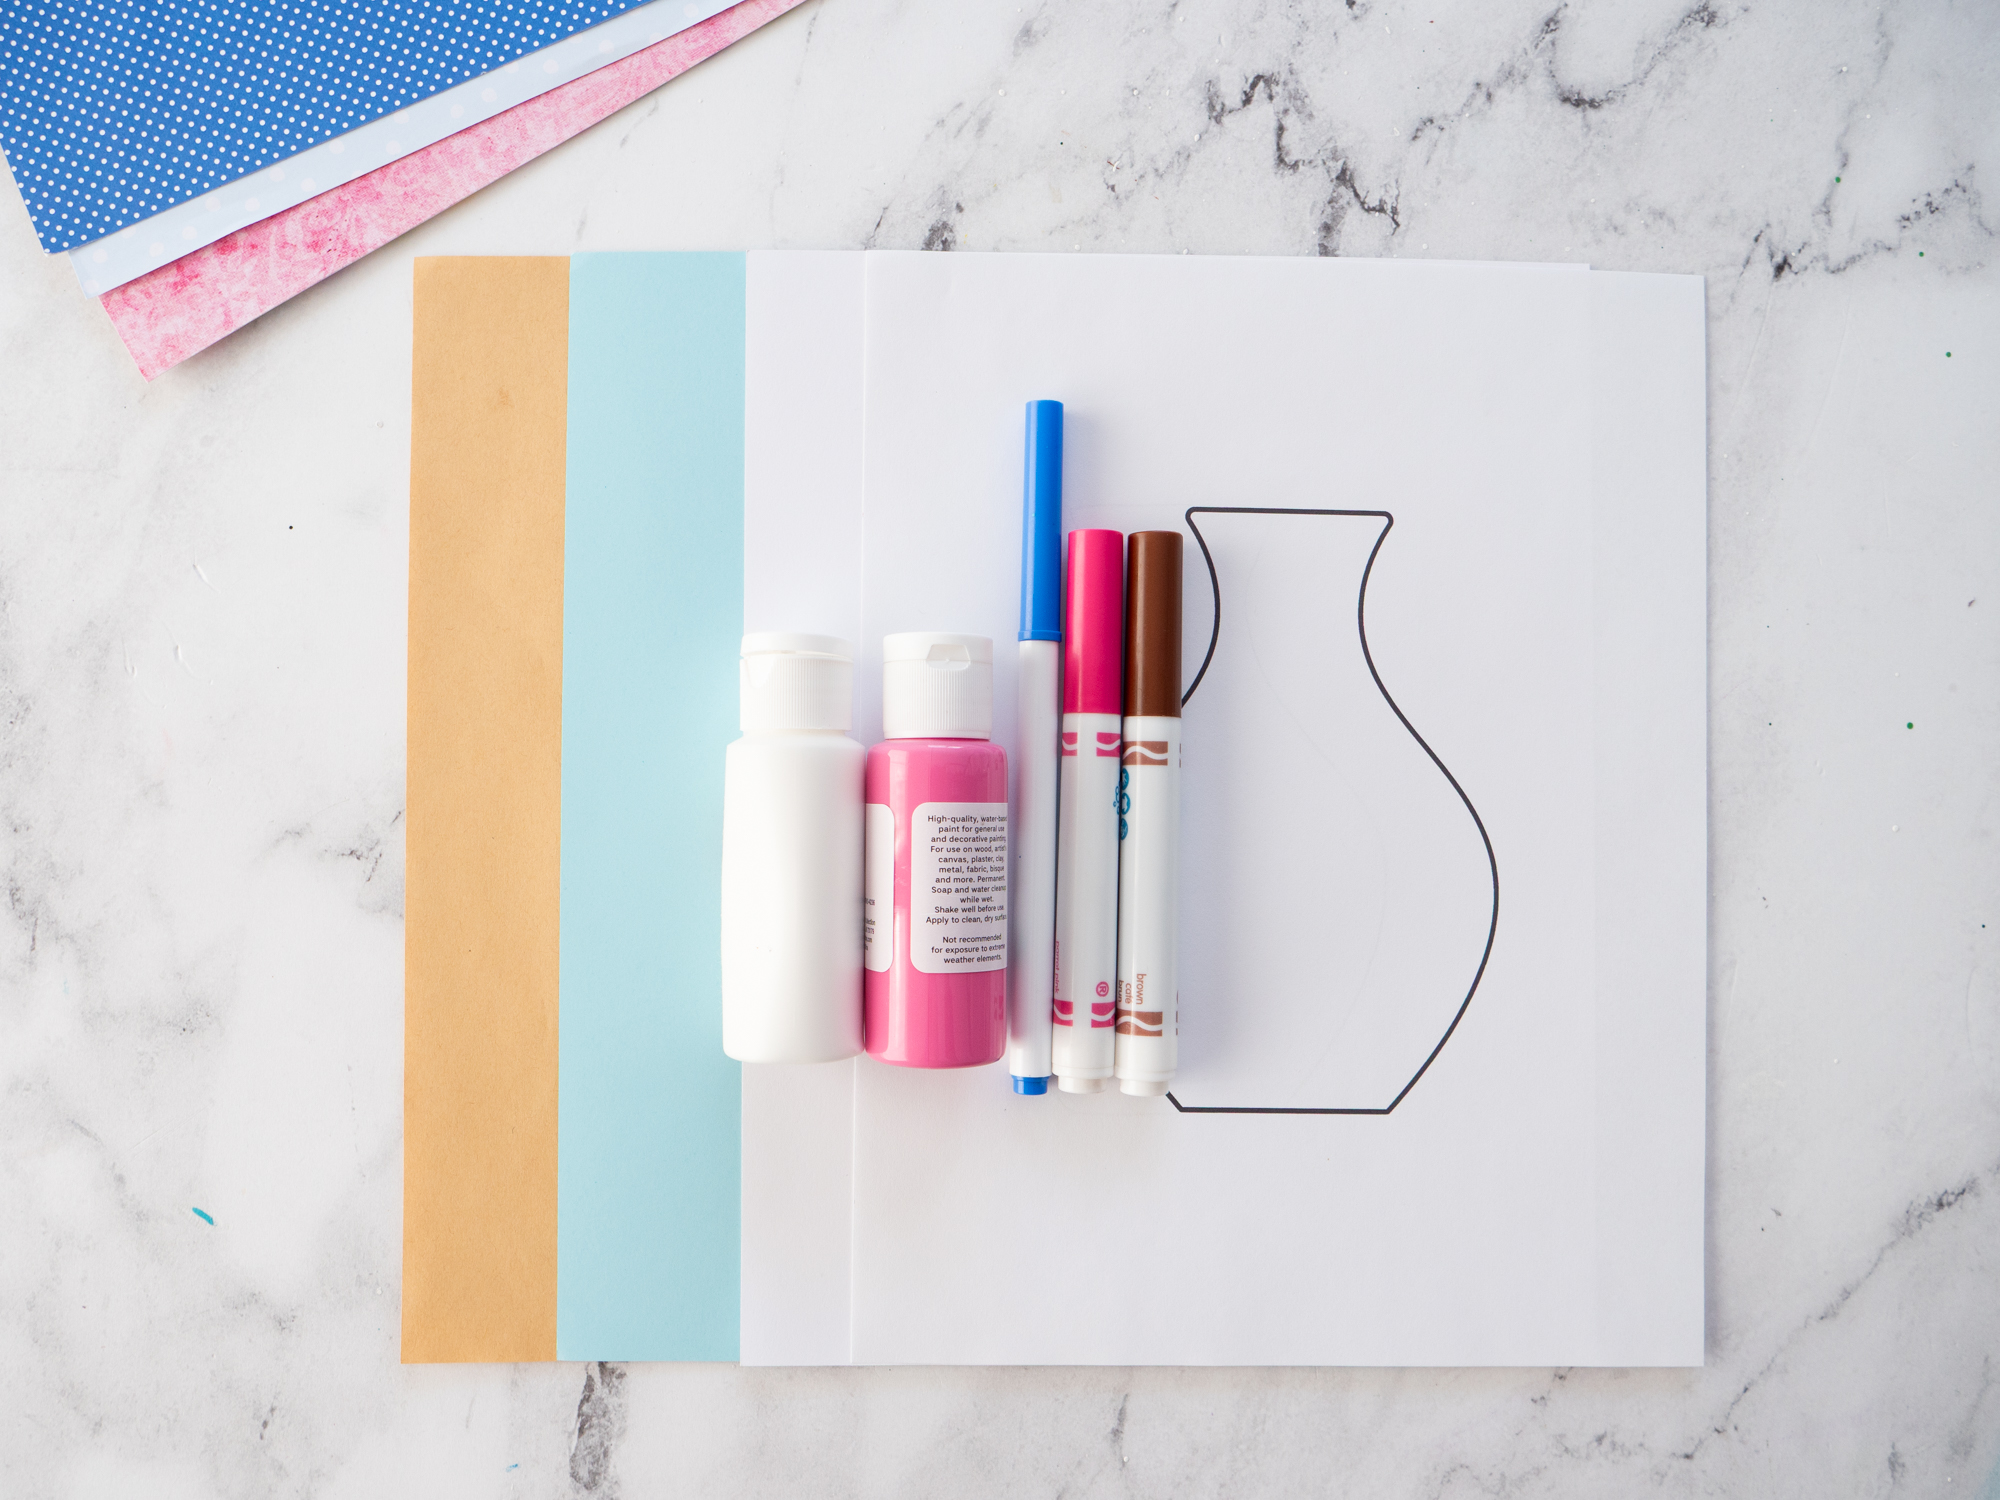
Materials Needed To Make A Q-Tip Cherry Blossom Craft
- Free Vase Template
- Free Design Ideas Page
- Markers – blue, pink and blue
- Brown Crayon
- Cardstock – light blue and brown
- Q-Tips
- Paint – green, light pink, pink and white
How to Make a Cherry Blossom Craft
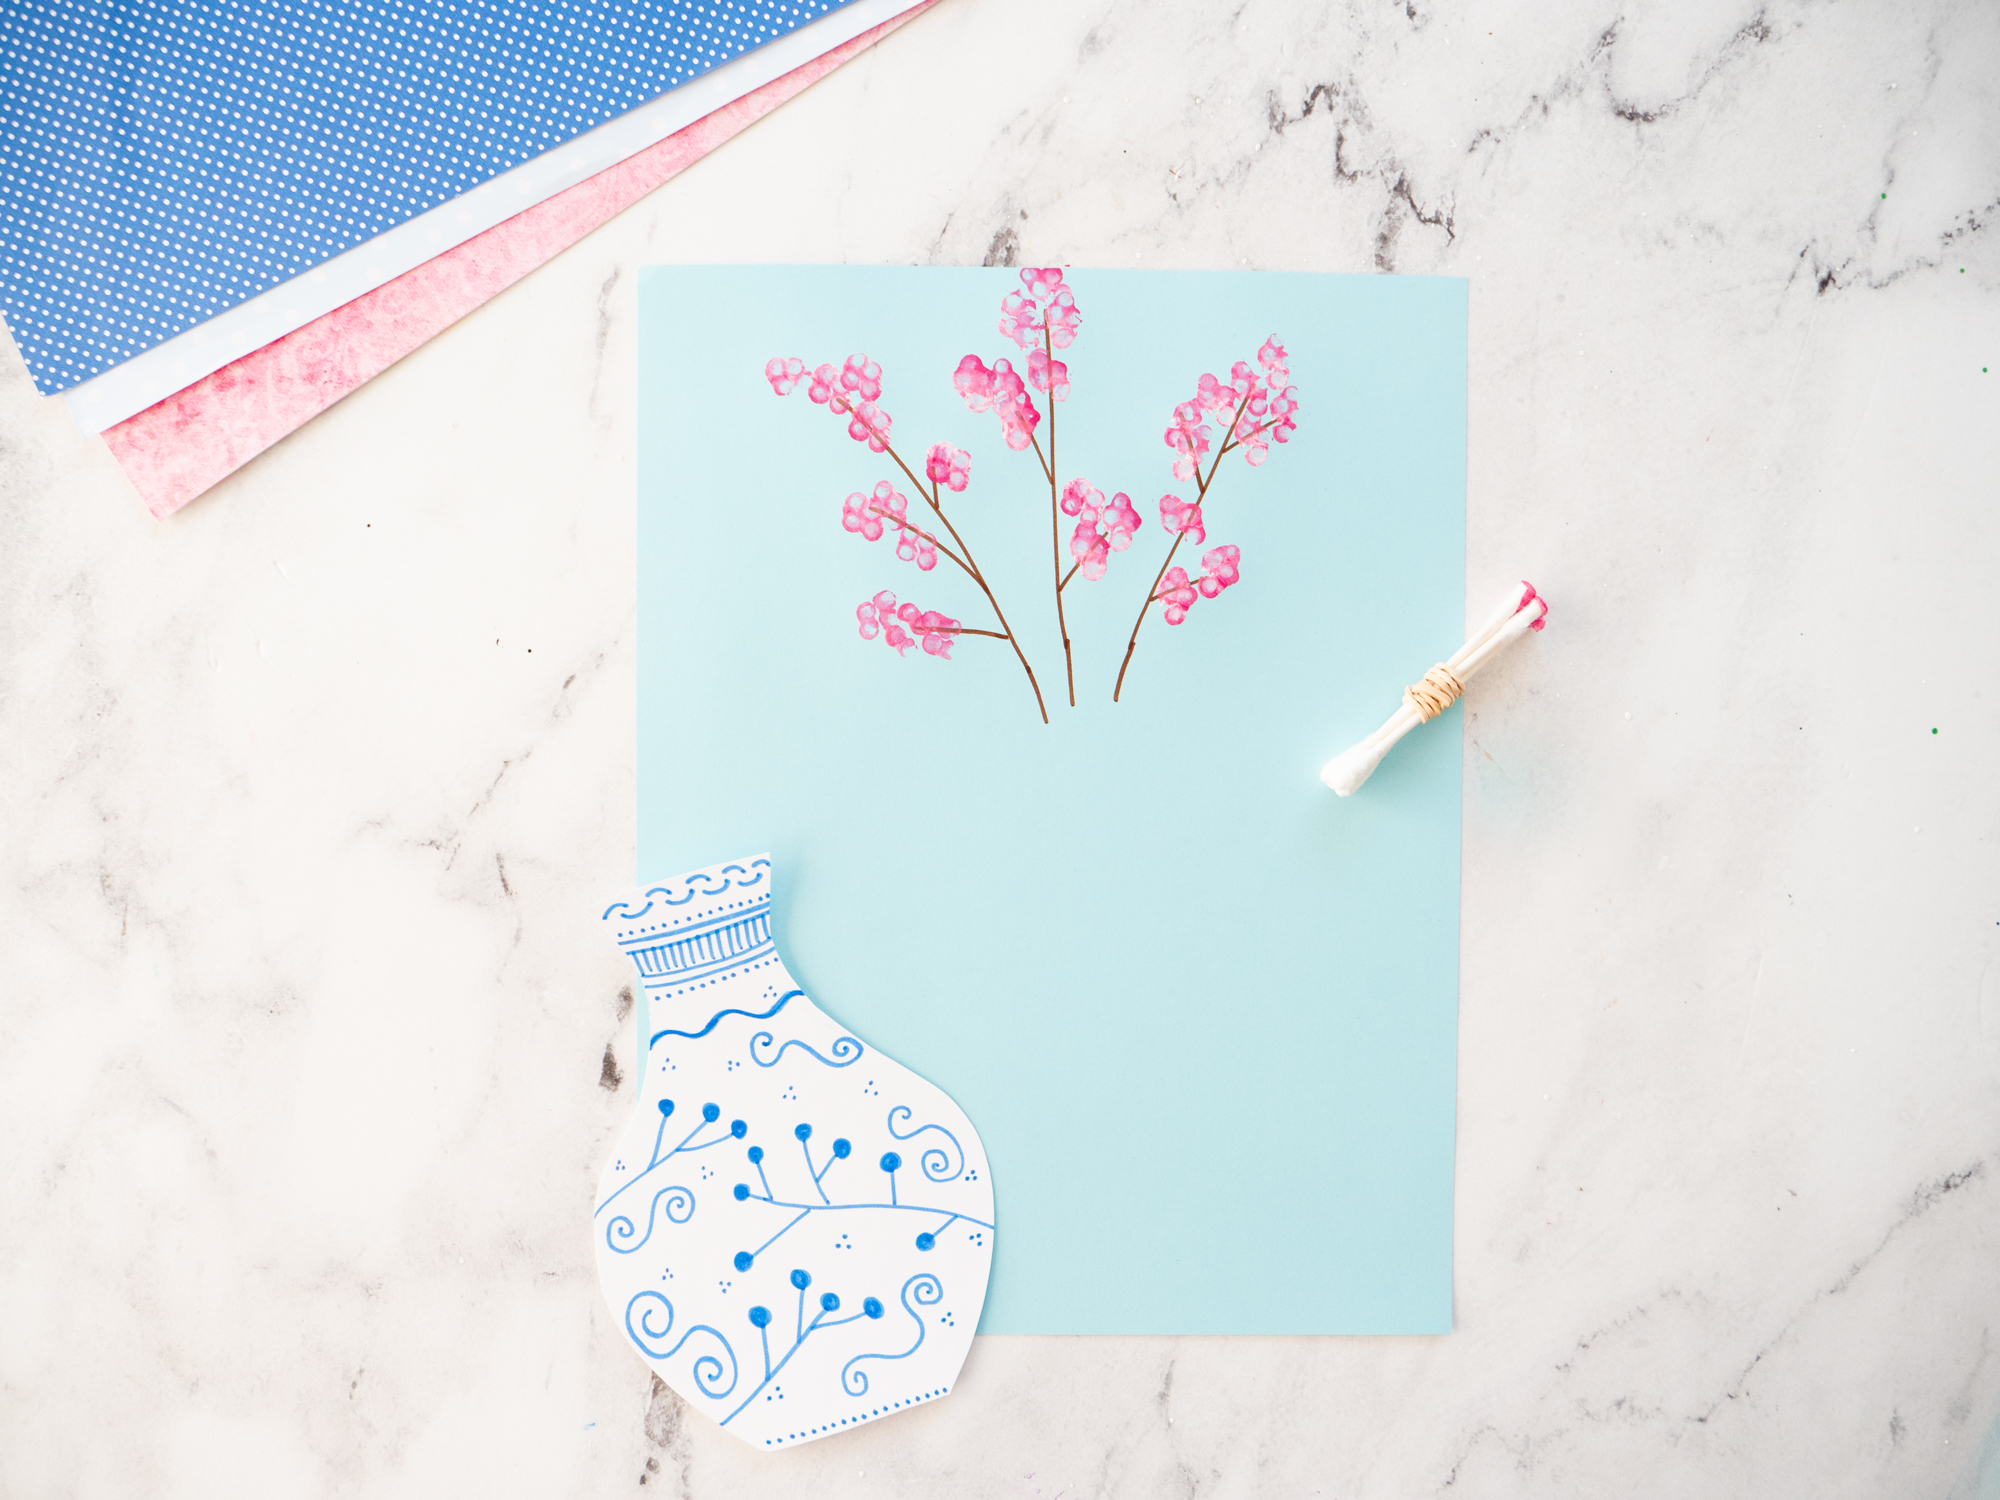
Step One:
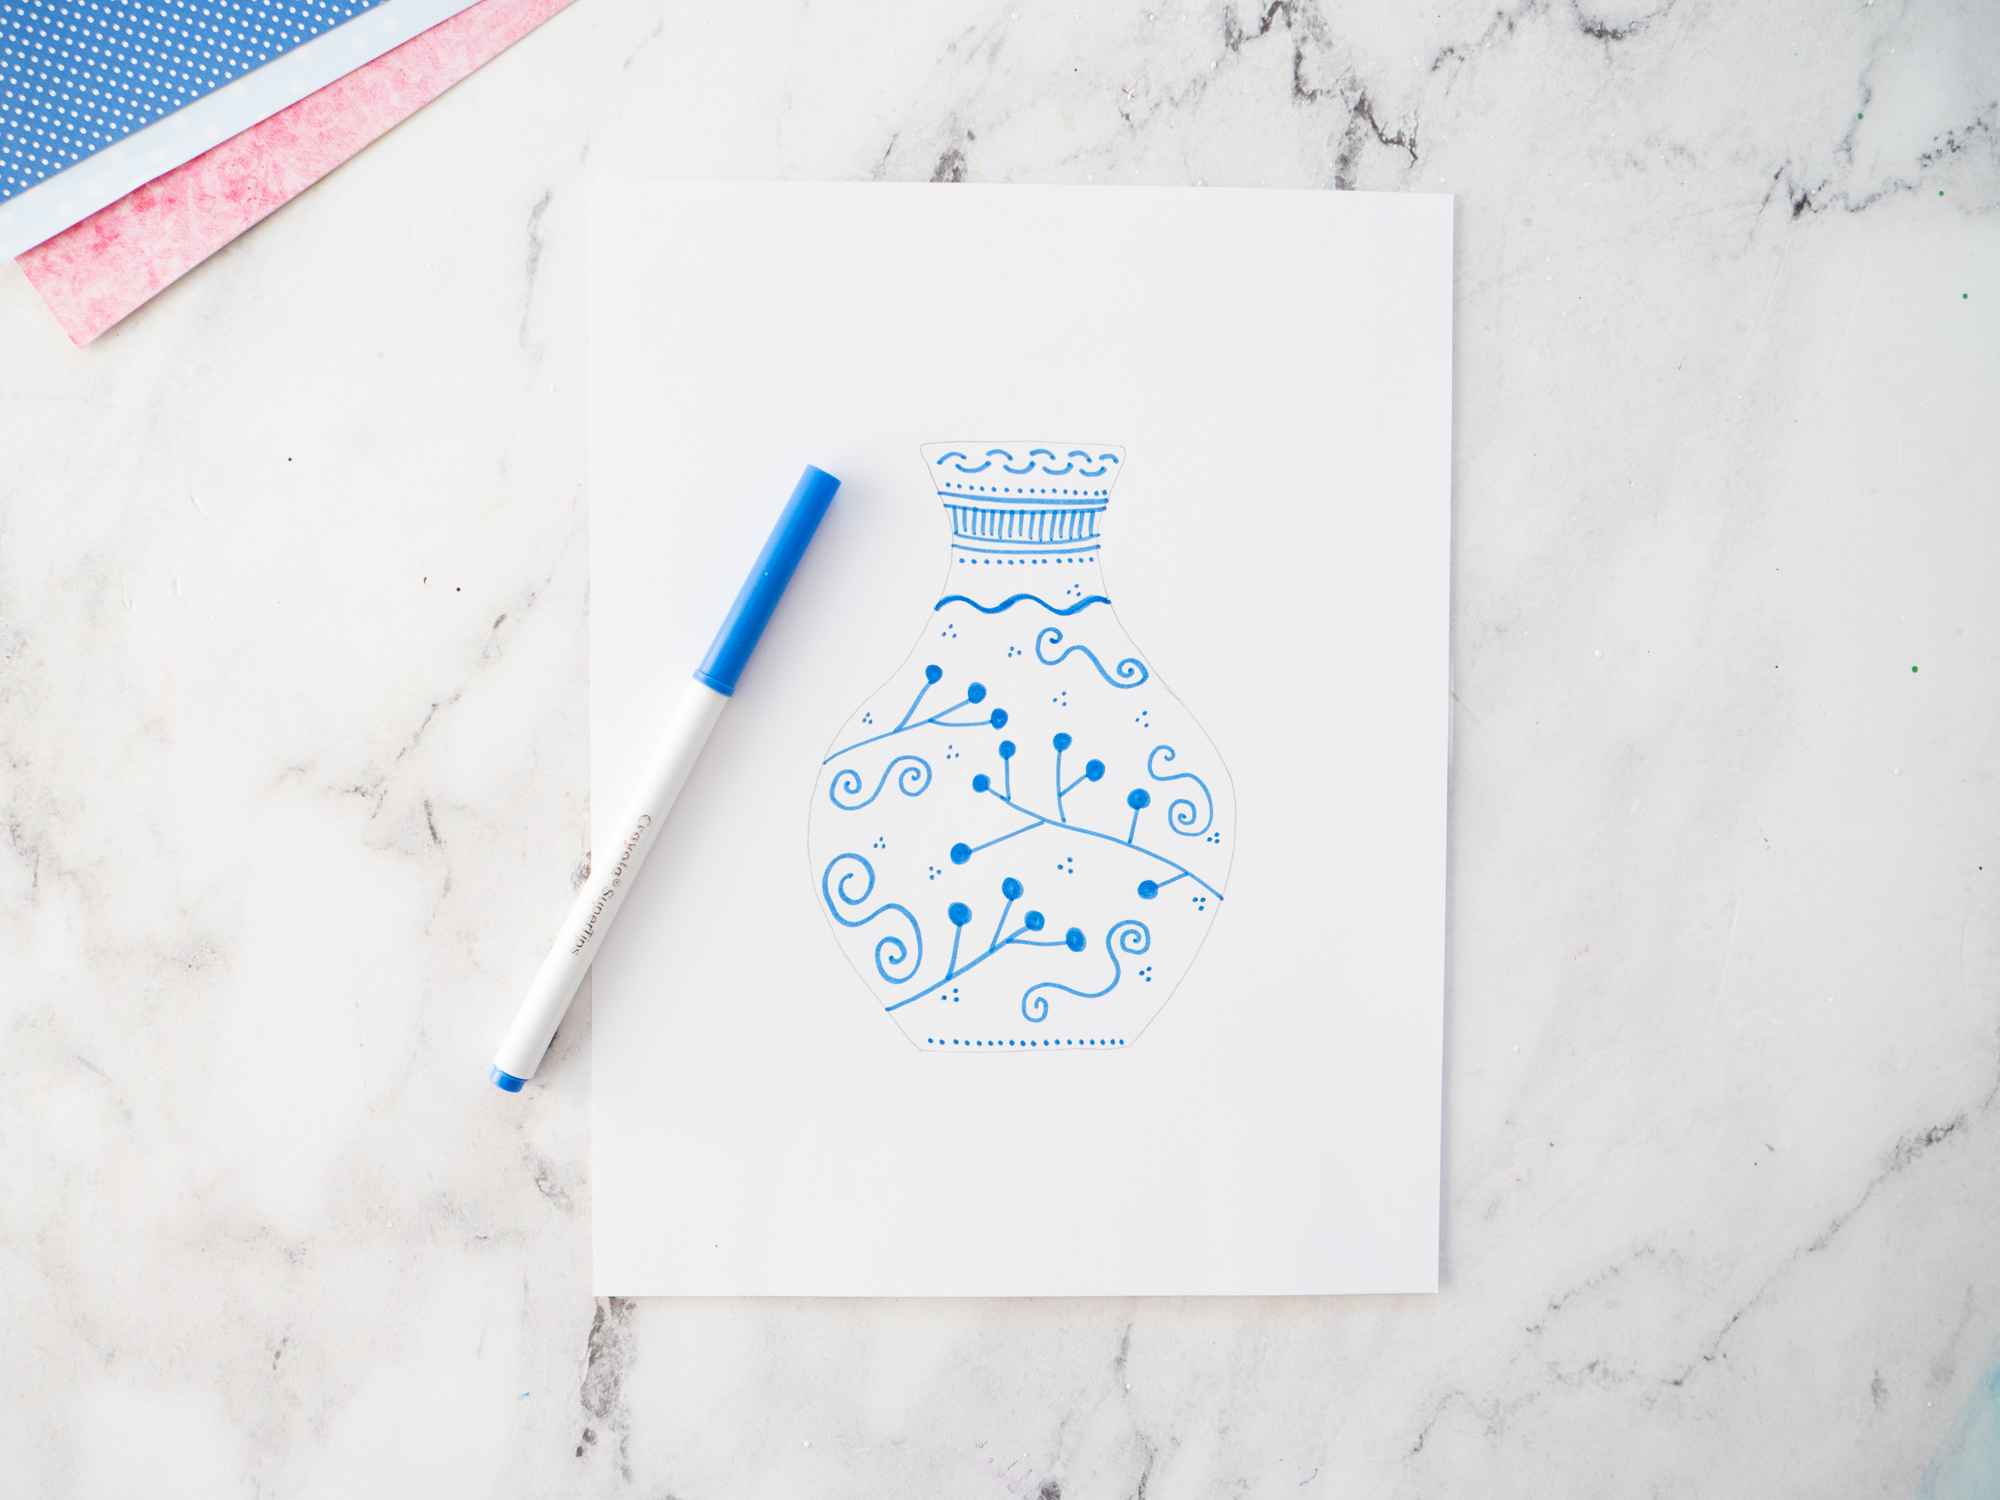
- Trace our vase template onto a piece of white piece of cardstock.
- Draw your favorite designs and patterns onto your vase with a blue marker. Use our free design sheet as inspiration for what designs your kids may want to doodle!
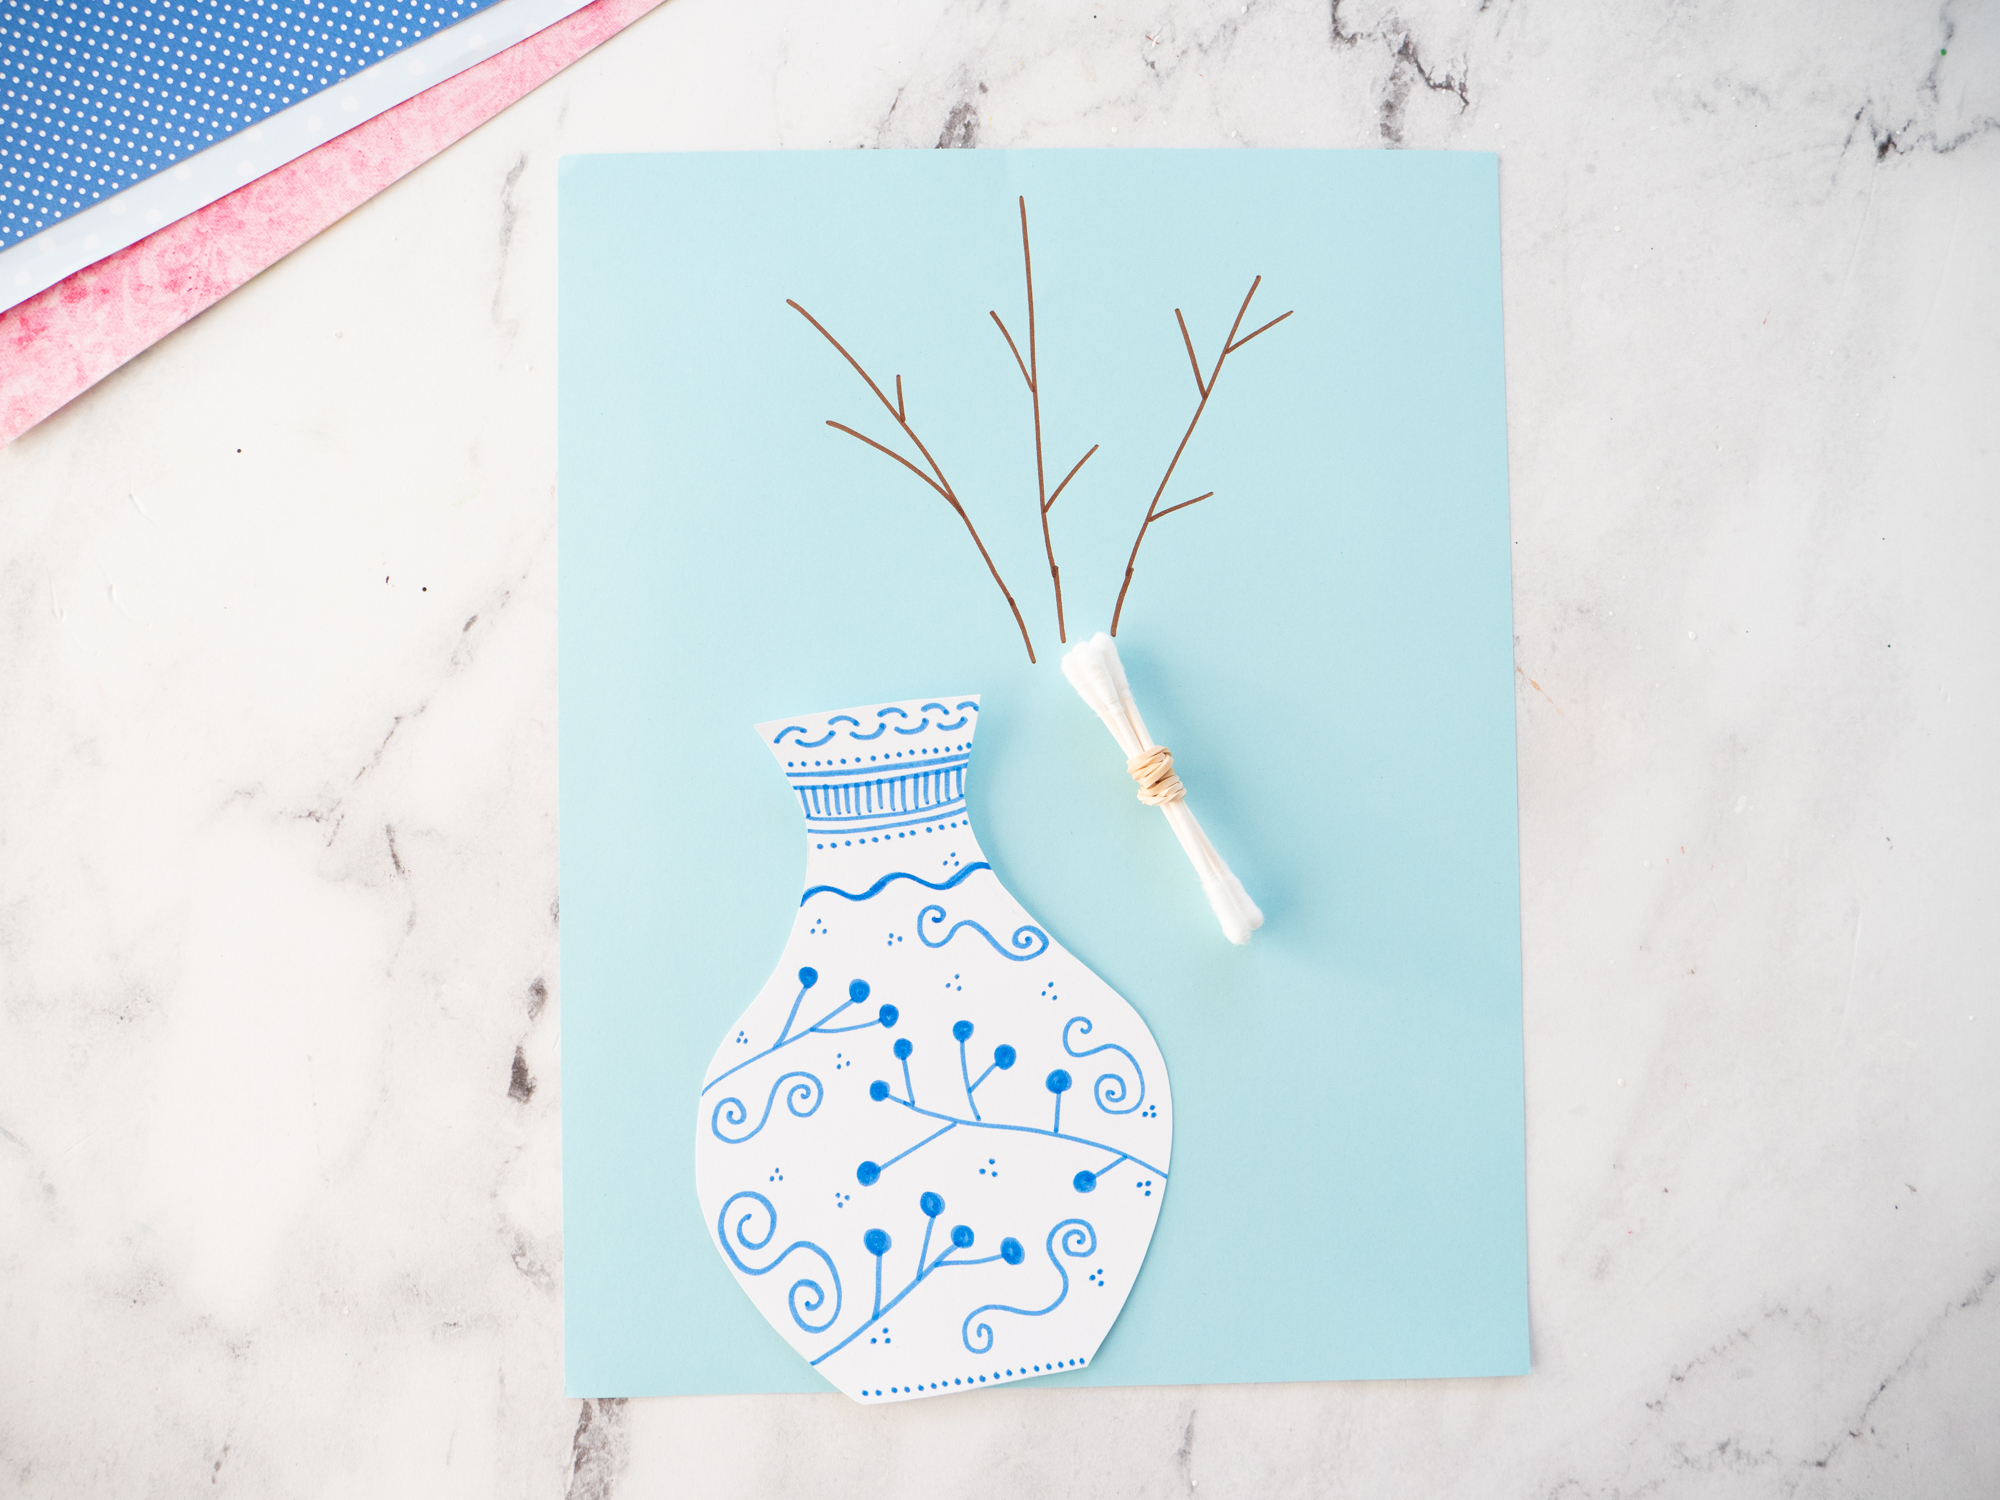
Step Two:
- Place your vase on your paper where you’d like it to sit, but don’t glue it down just yet. Use it as a guide to decide where your cherry blossom branches should start, then draw the stems with a brown marker.
- Bundle up four Q-tips and secure with a rubber band.
Step Three:
- Pour a small amount of paint onto a paper plate. Dip your Q-tips into the pink paint and gently stamp blossoms along the stems. To create variation, lightly dip just the tip into white (or another shade) before stamping. This technique will give your flowers soft highlights and a more natural, blended look.
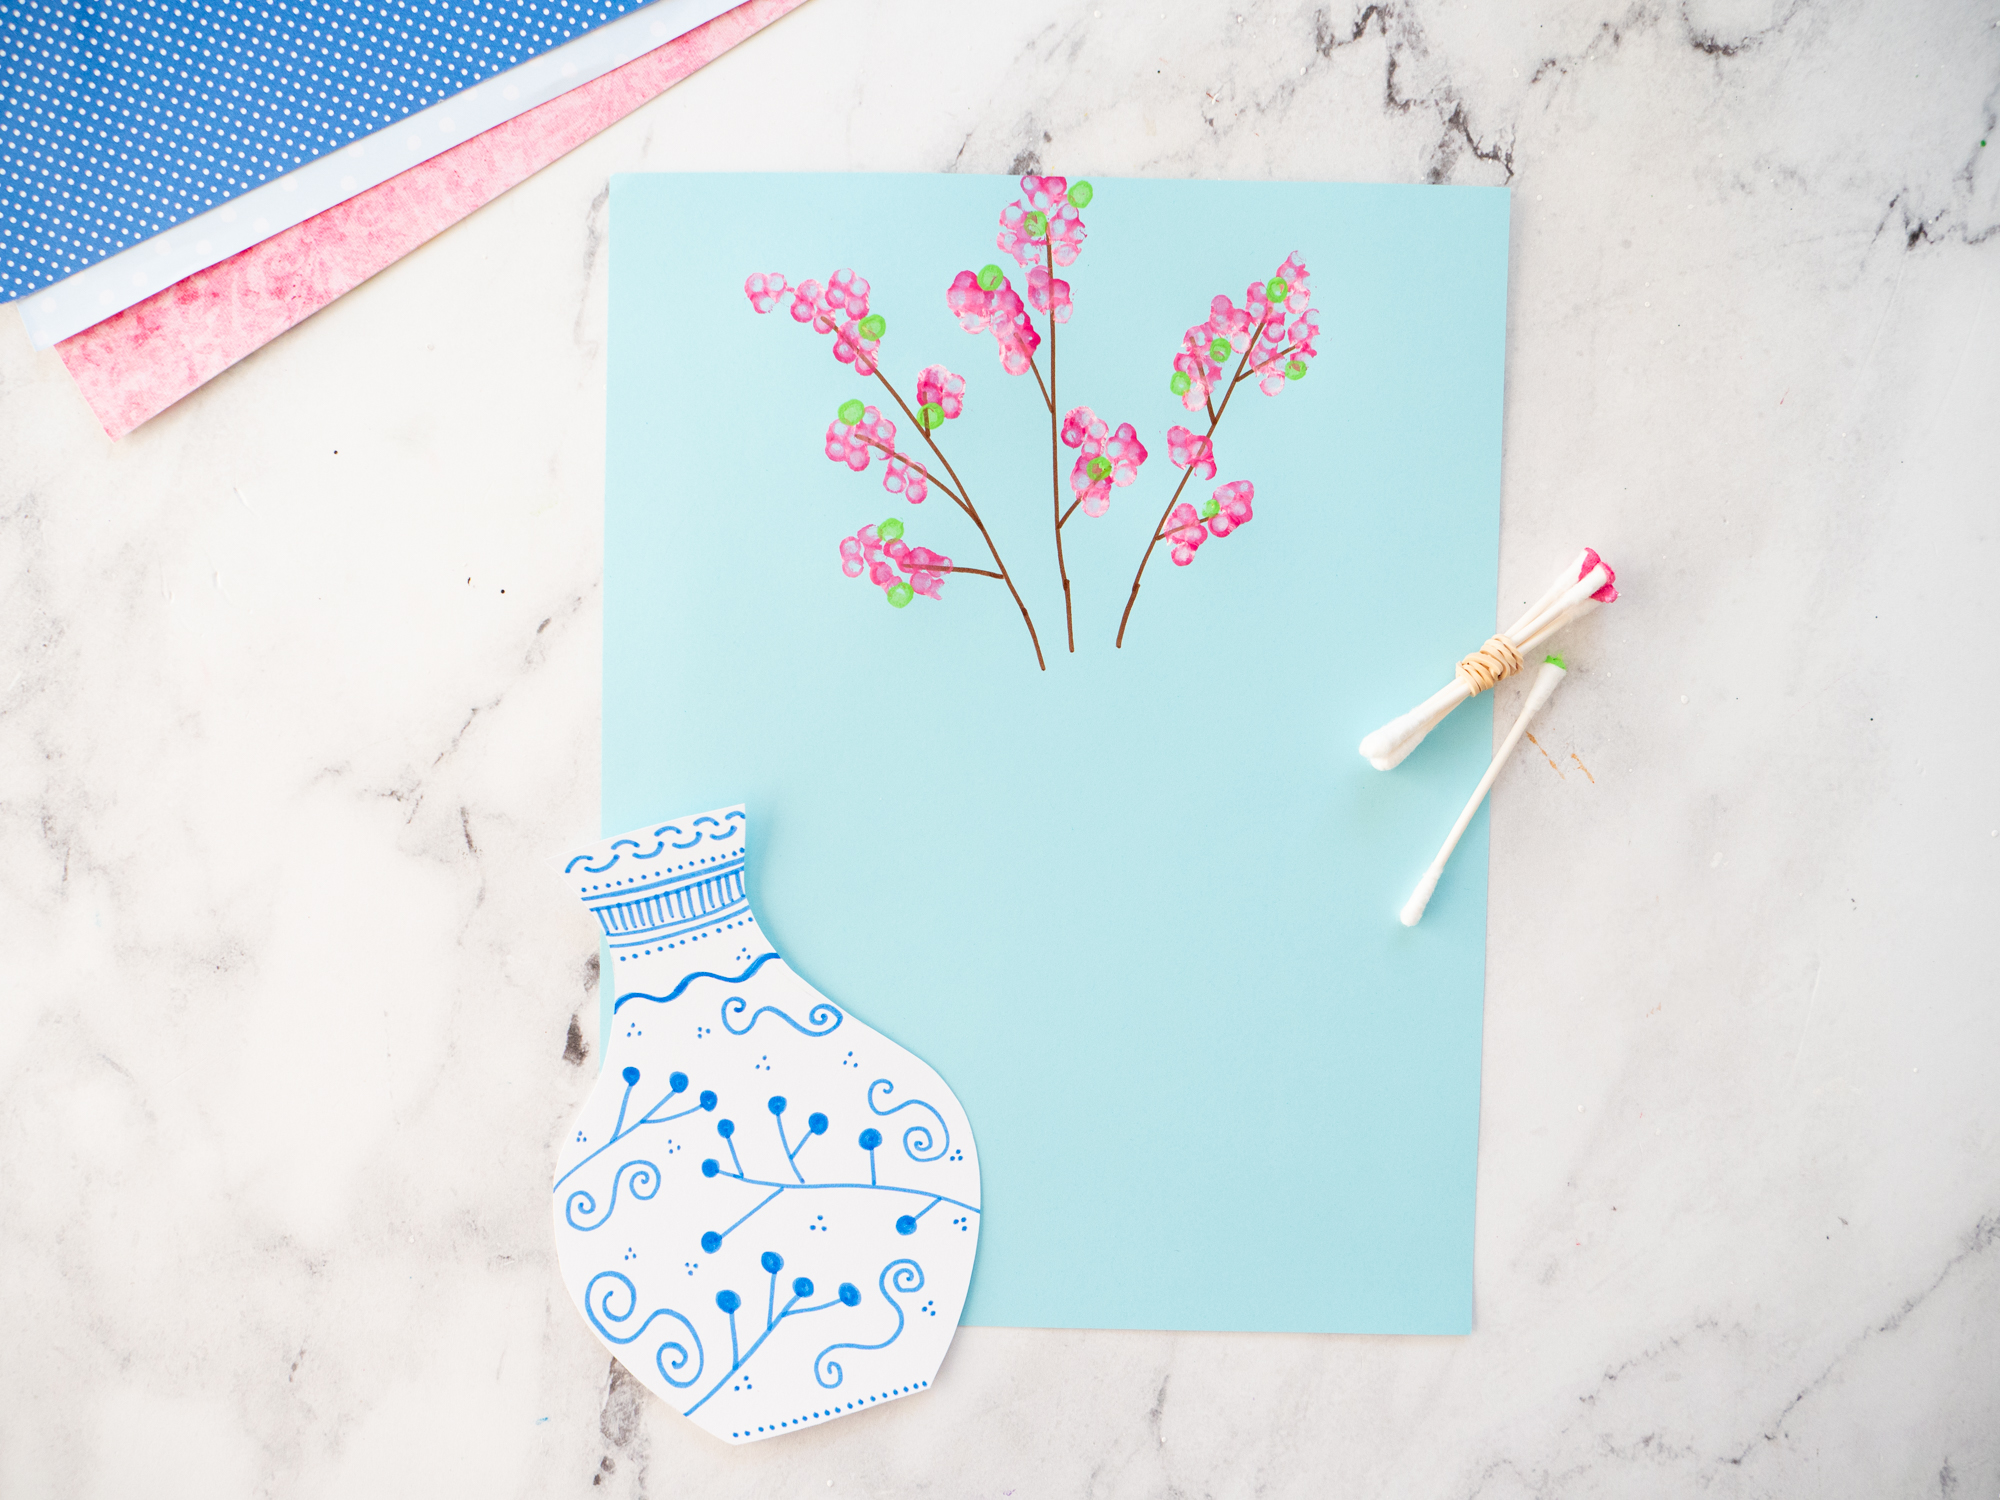
Step Four:
- Stamp small green leaves around your flowers with one q-tip. You do not need to do this around every flower.
Step Five:
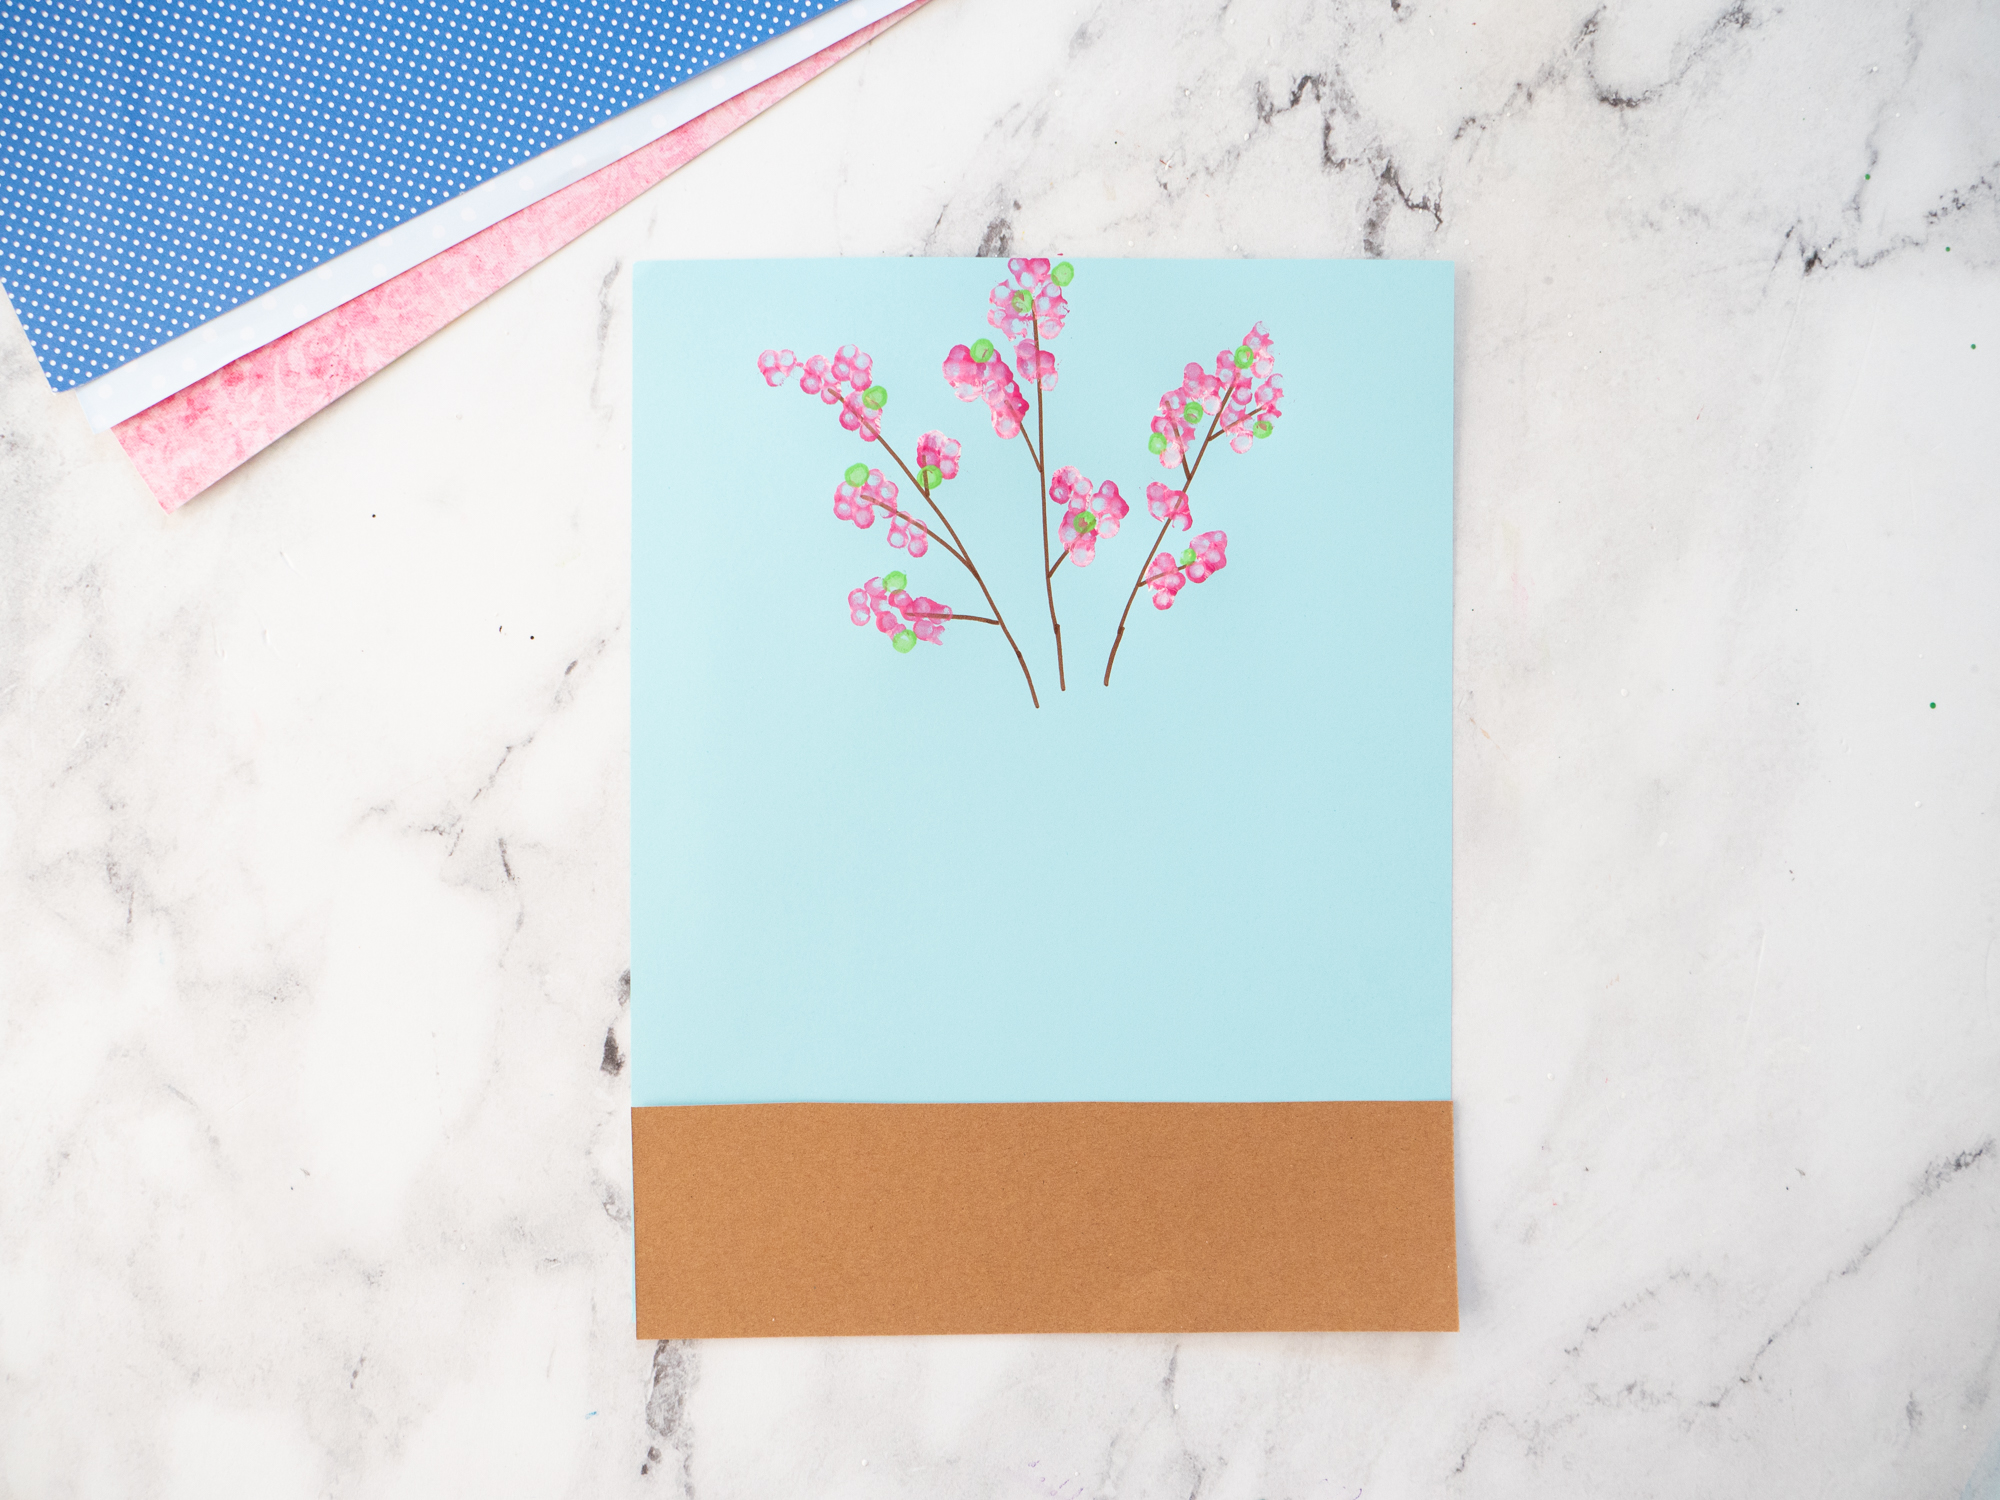
- Place a small strip of brown cardstock to the bottom of your blue cardstock.
- Using a dark pink marker, add small circles or dots to the center of your flower clusters to add a little dimension.
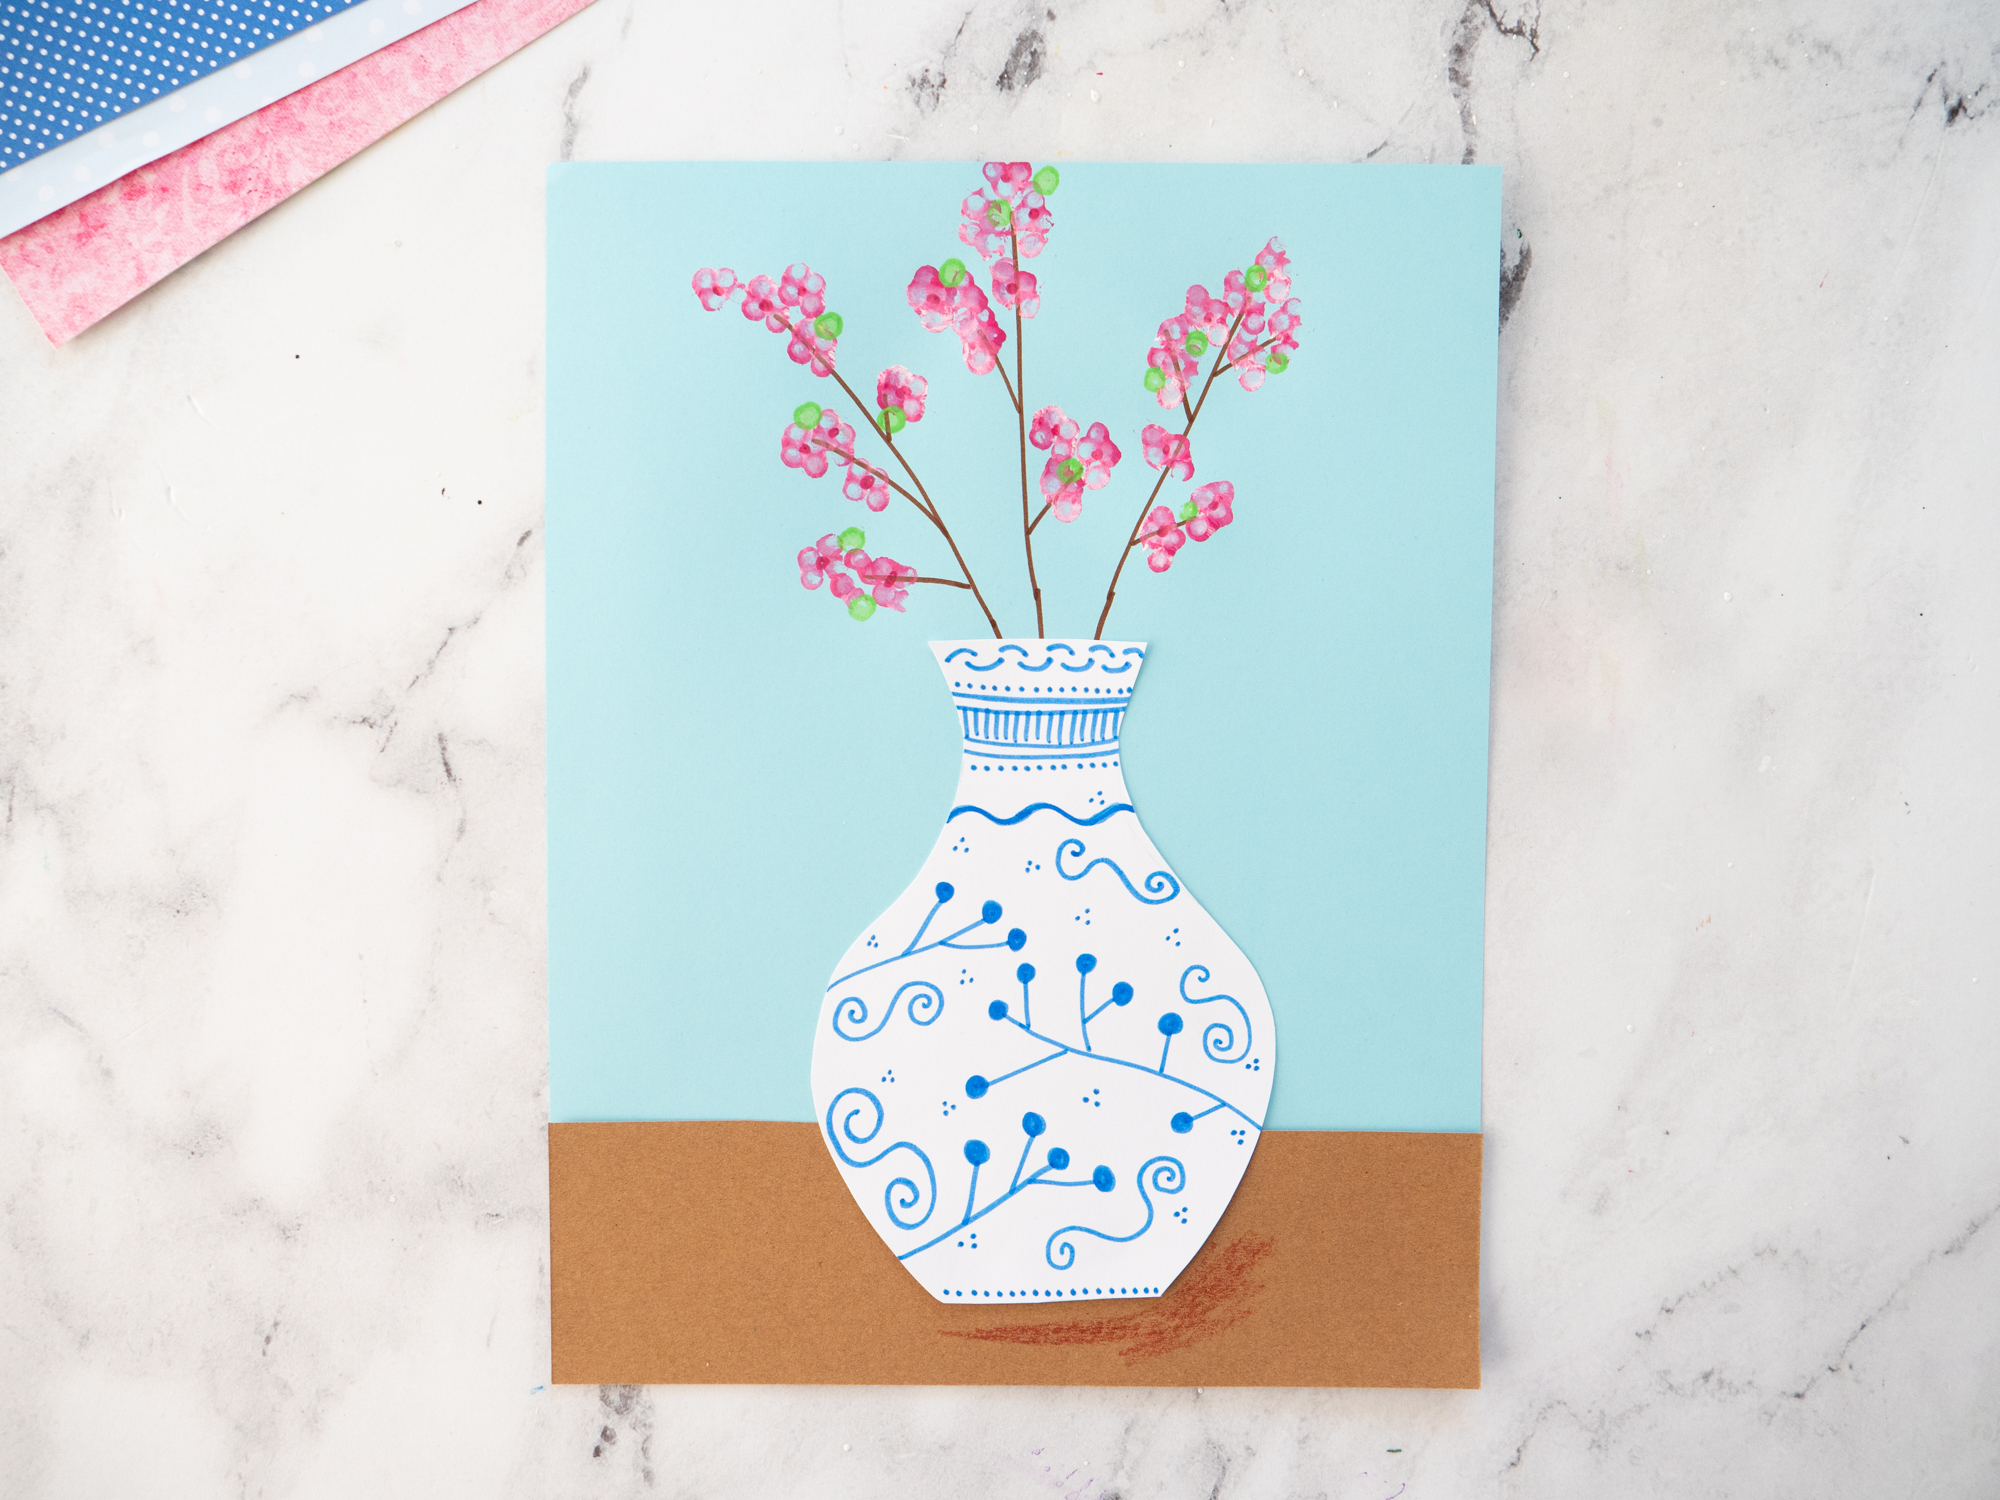
Step Six:
- Glue your vase on top.
- Add the look of a slight “shadow” under one side of your finished vase.
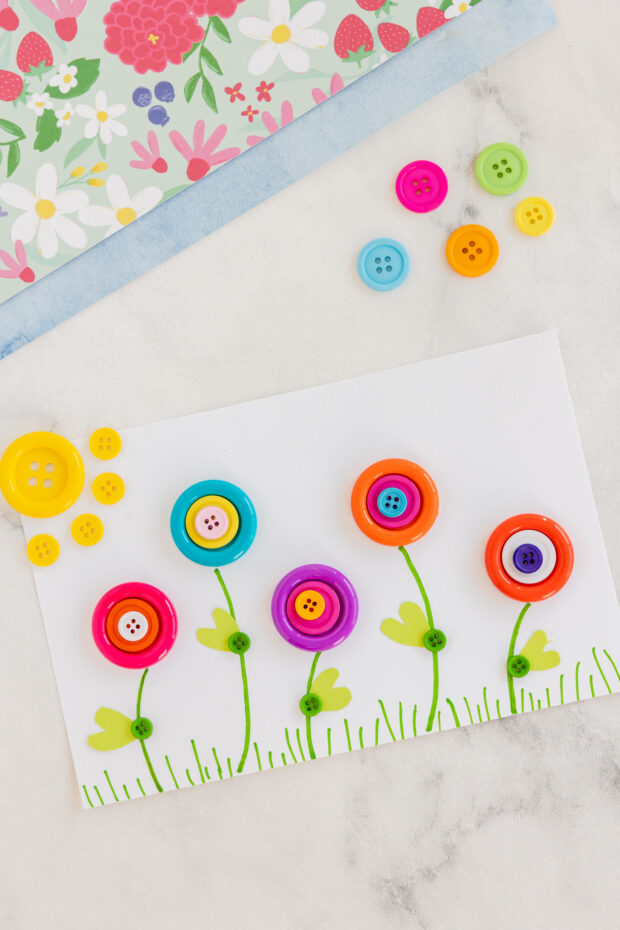
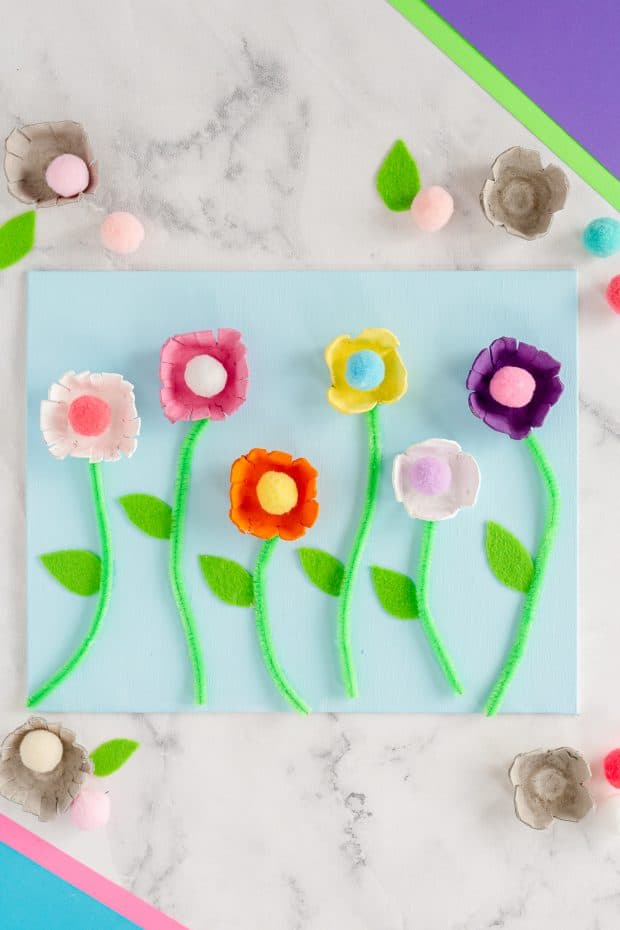
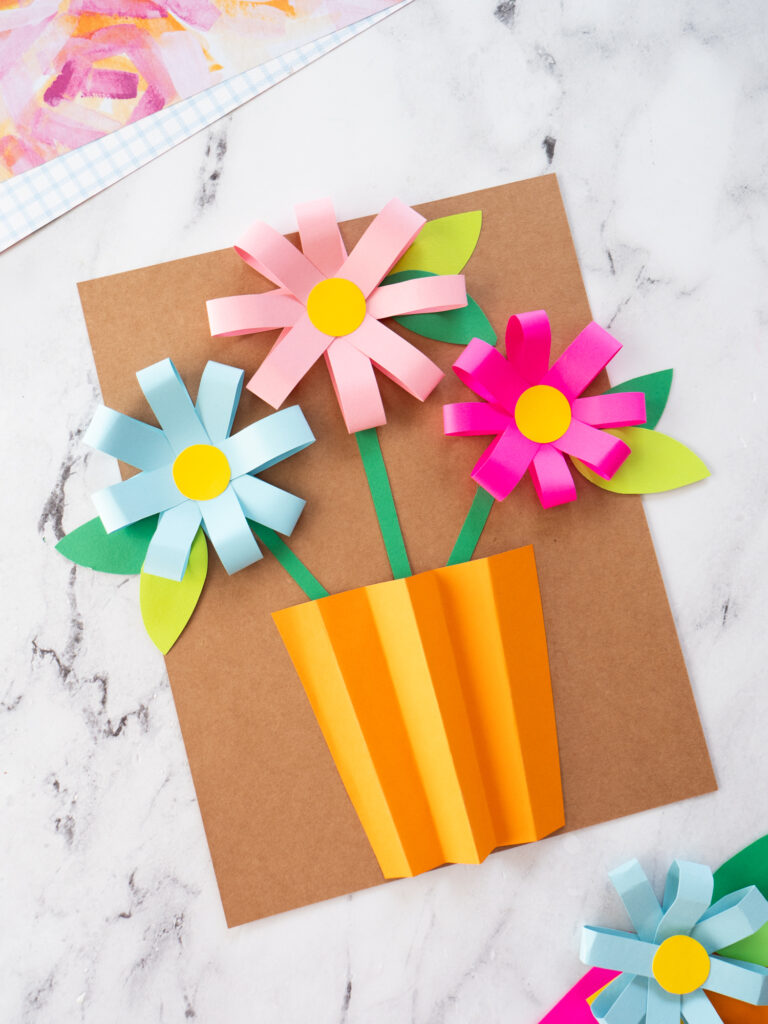
For More Flower Craft Ideas Try These: