As an Amazon Associate I earn from qualifying purchases.
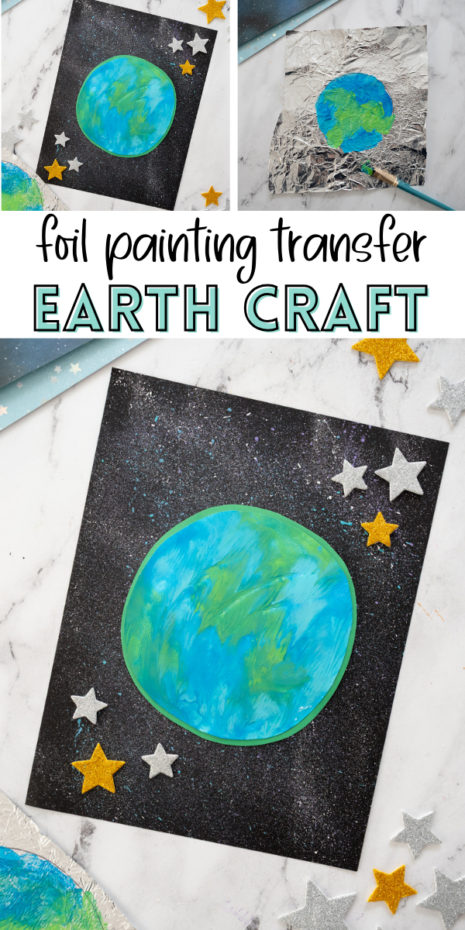
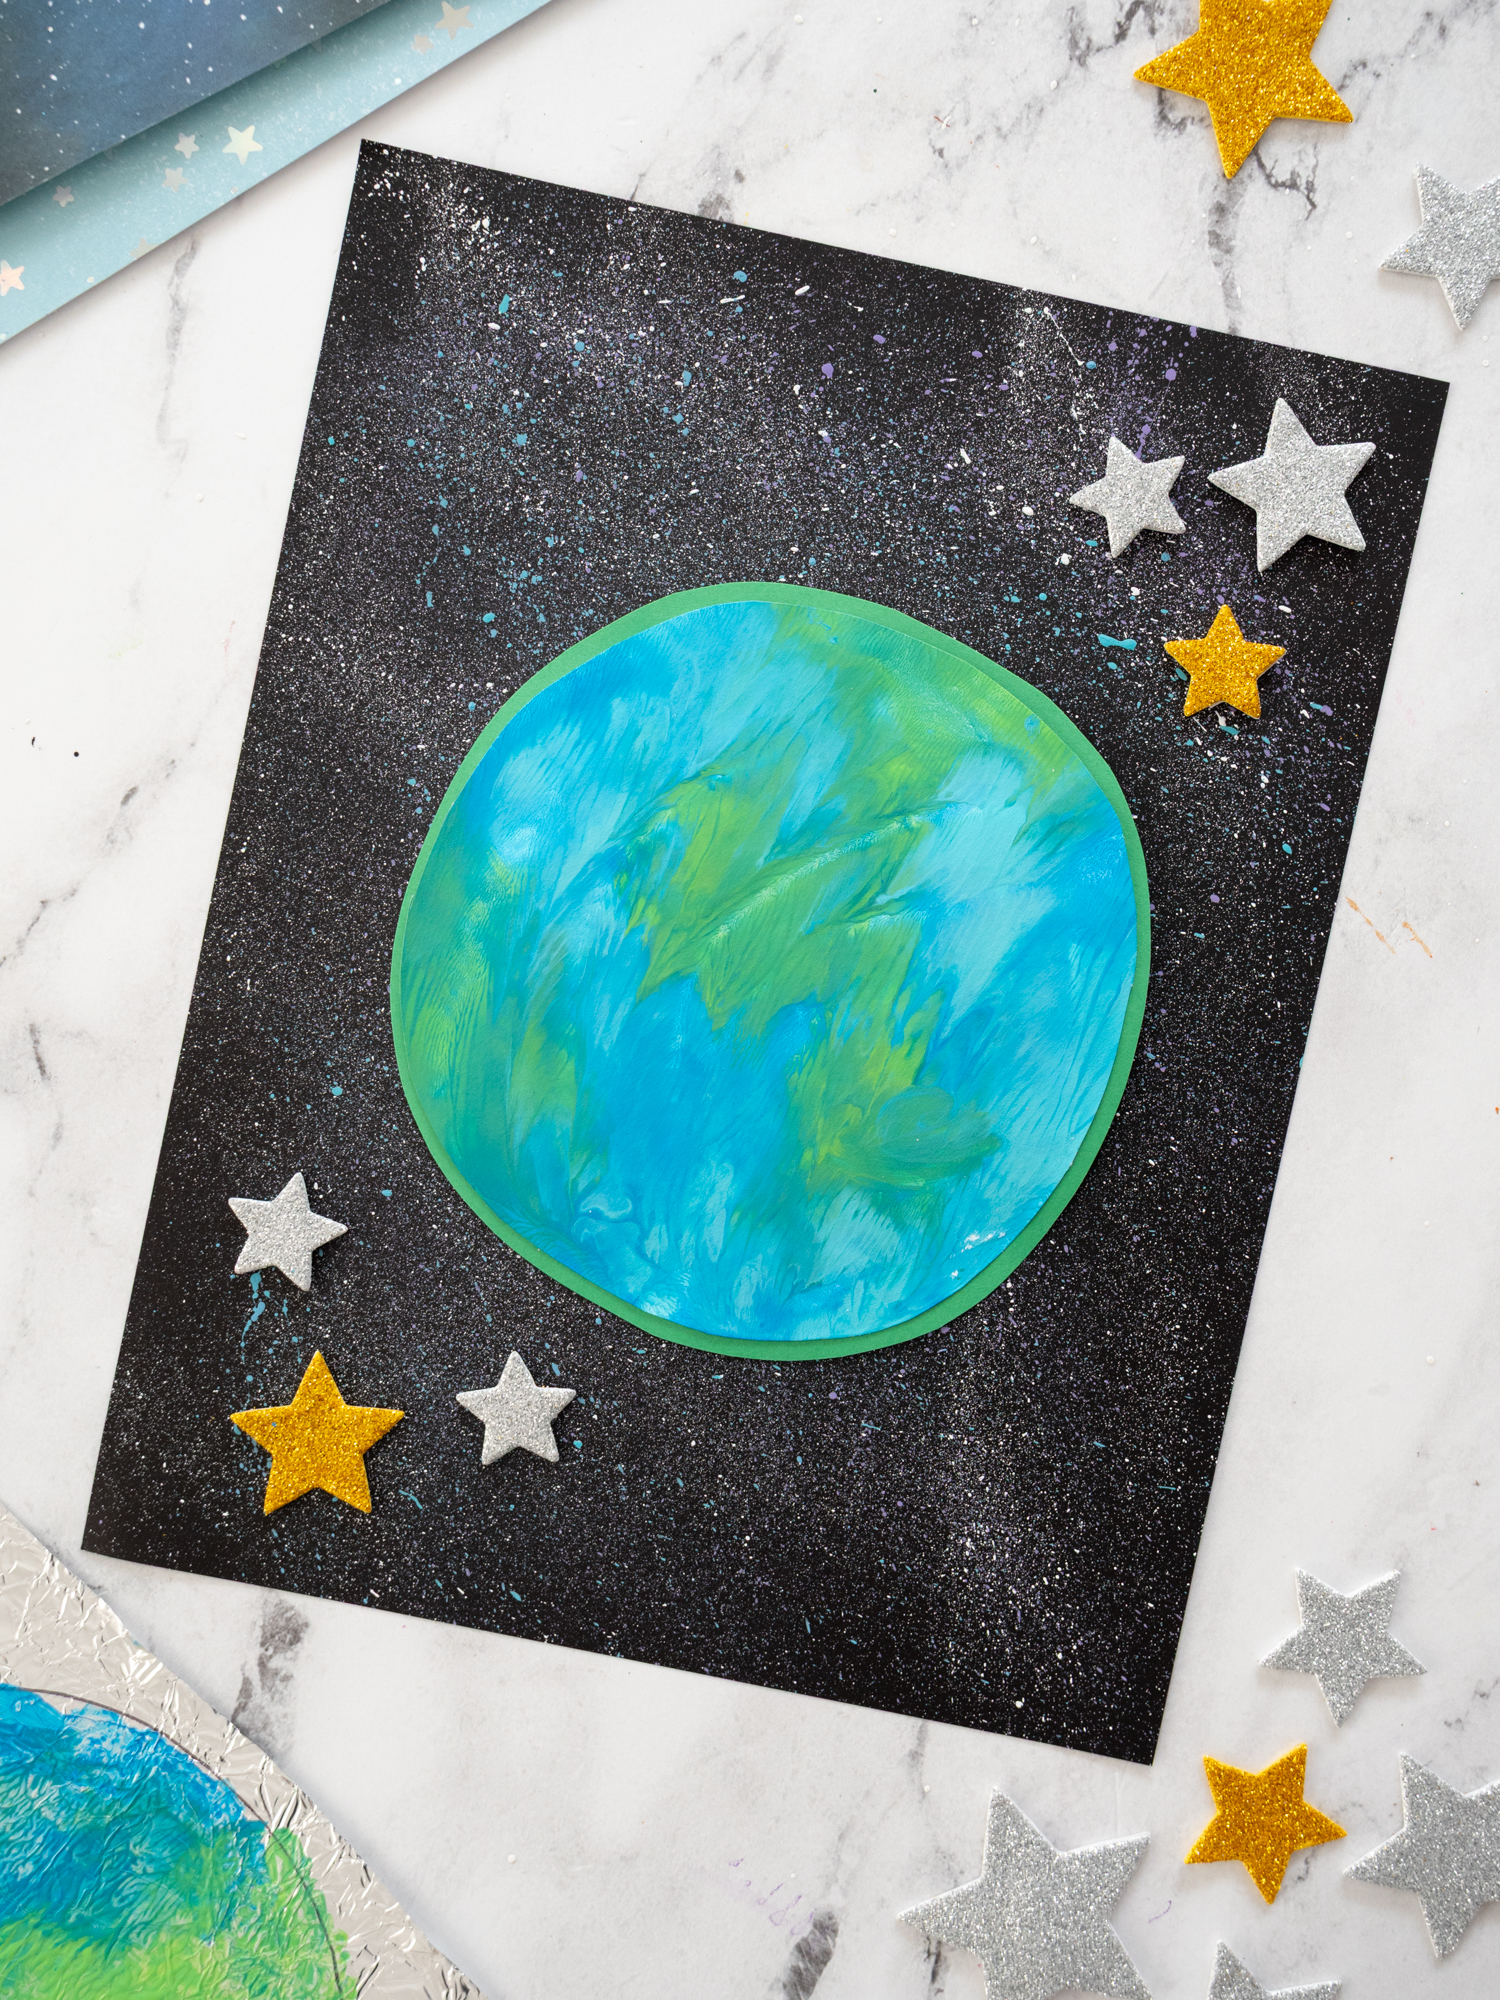
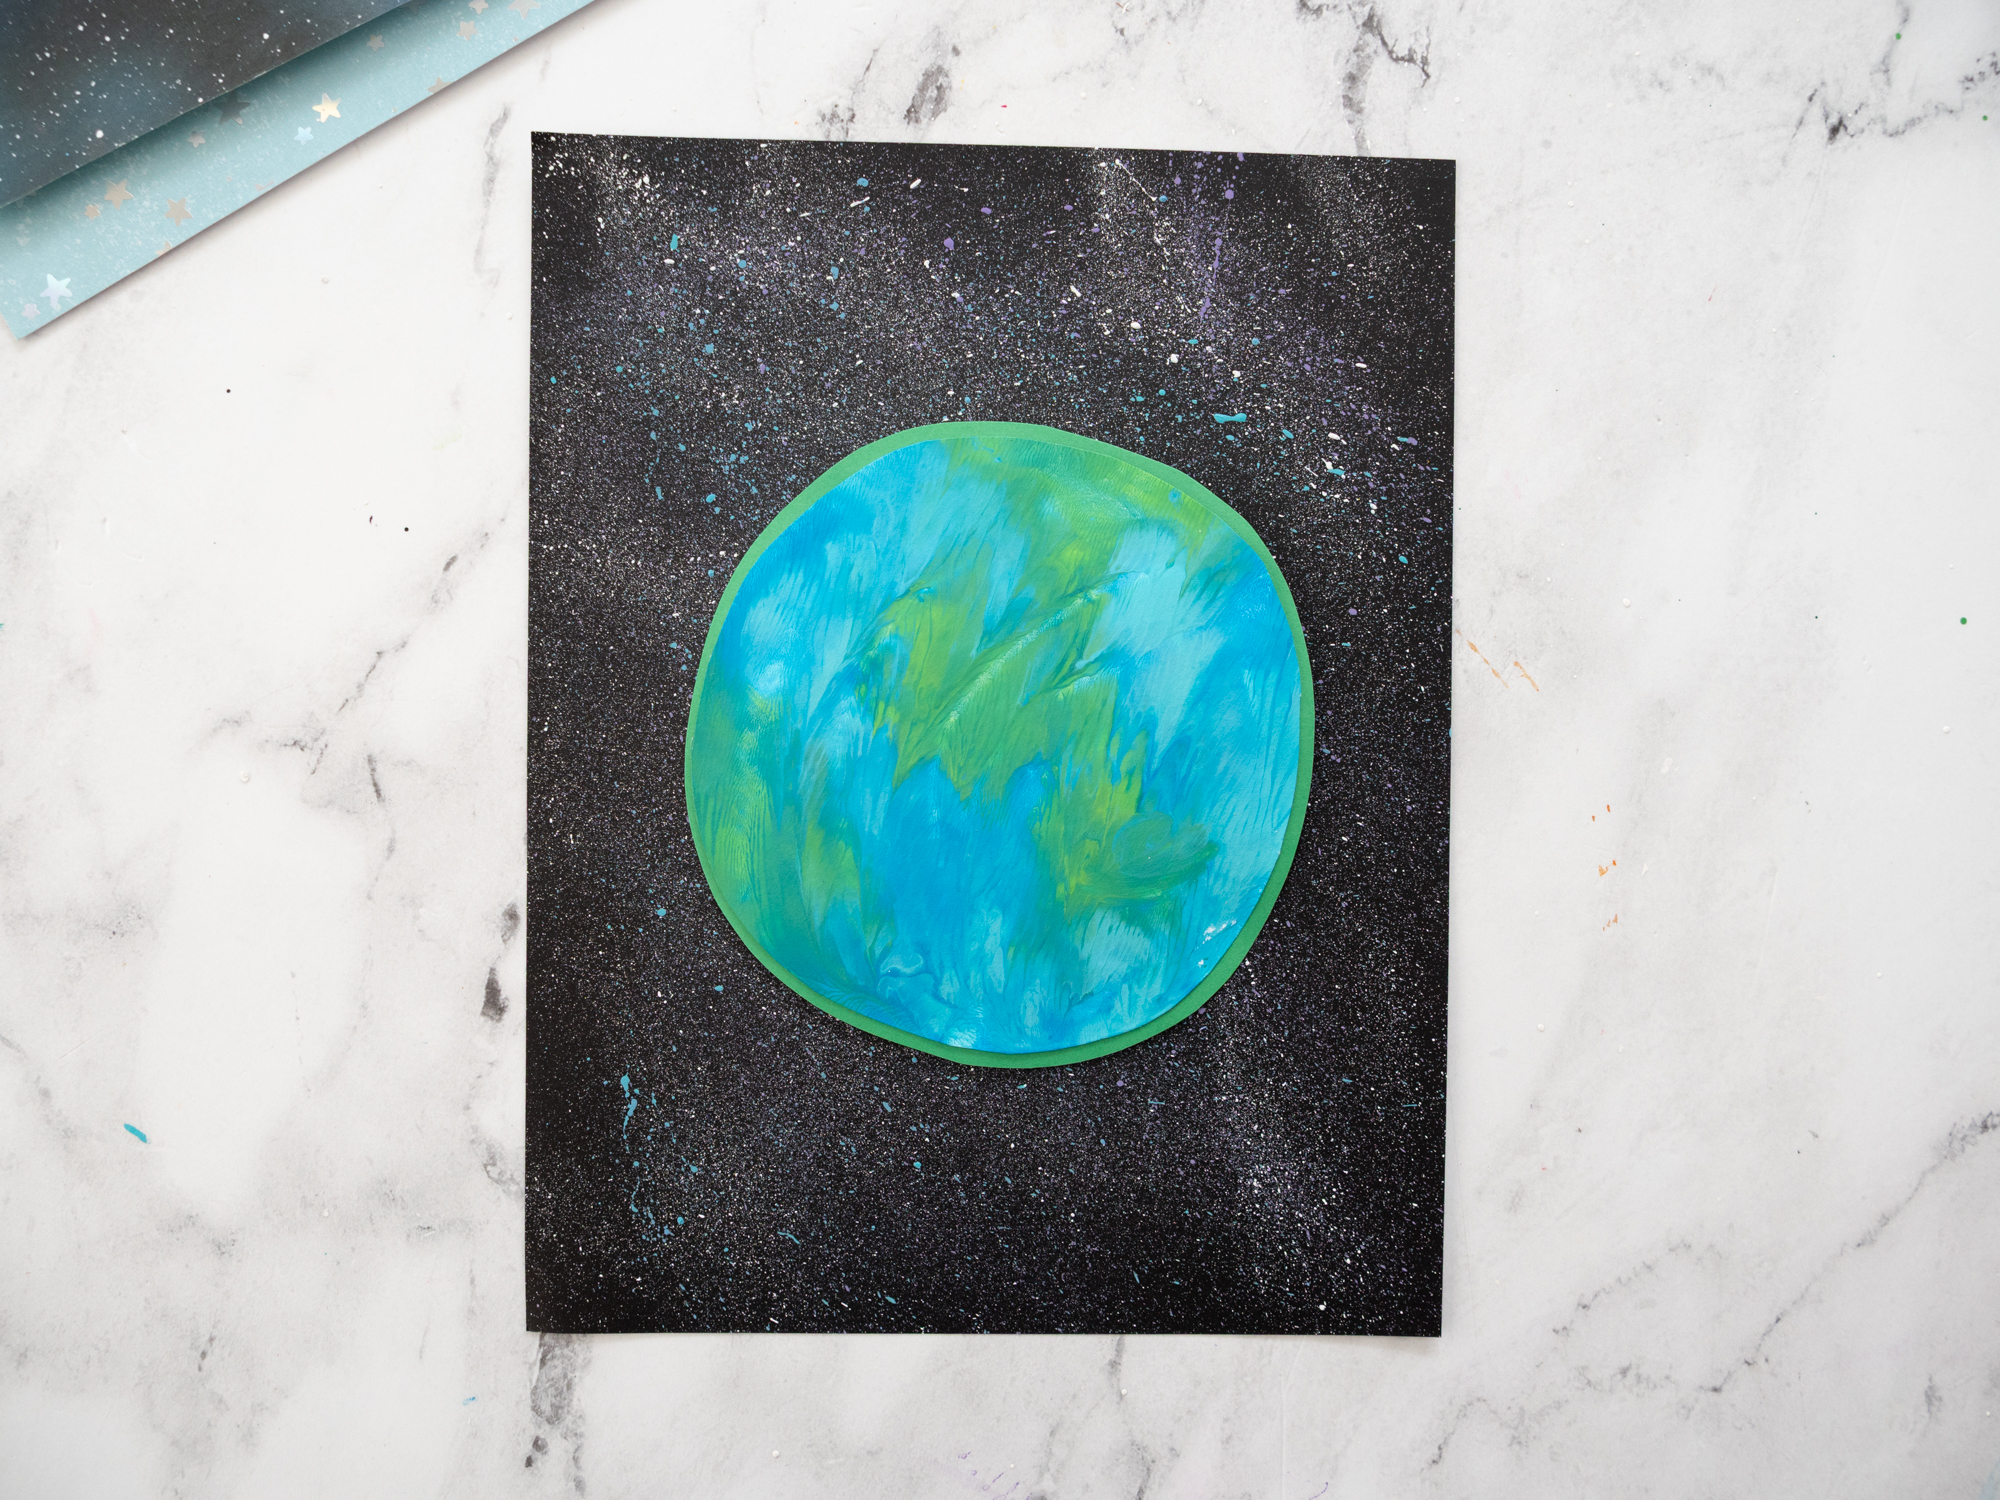
Create a beautiful Foil Painting Transfer Earth Craft with kids! This fun Earth Day art project uses foil painting to make a marbled Earth that looks amazing on a starry space background.
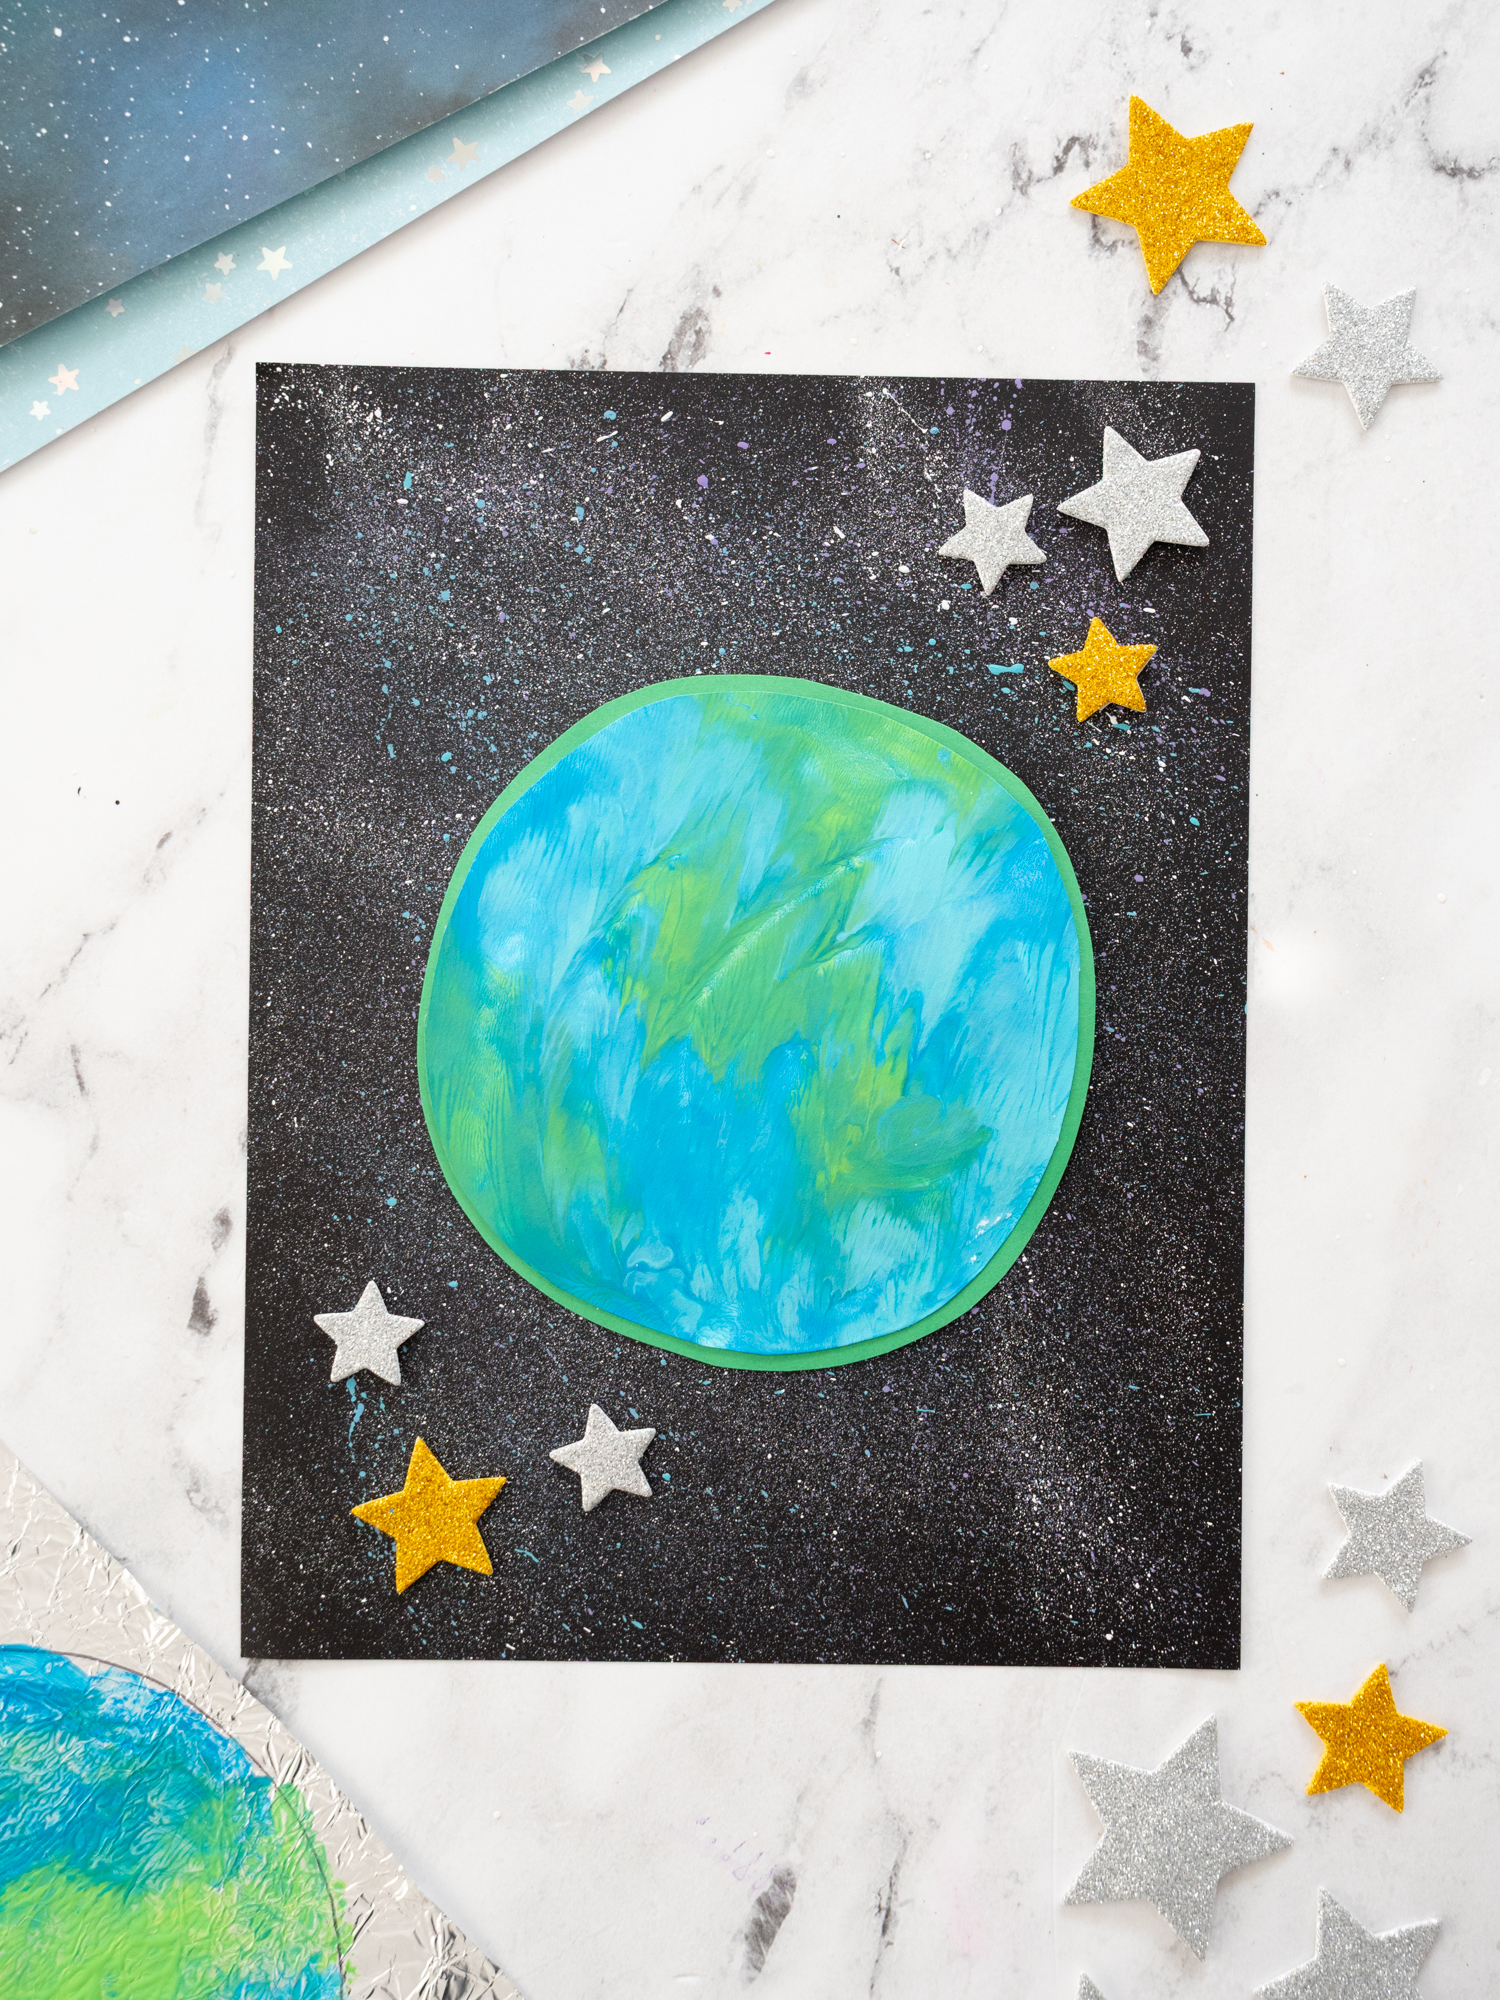
Foil Painting Earth Craft
If you’re looking for a fun and creative Earth Day craft for kids, this Foil Painting Transfer Earth Craft is such a fun one to try! Kids will love the process of painting on foil and then pressing their paper onto it to reveal a beautiful marbled Earth design.
The painting technique creates gorgeous swirls of blue, green, and white that make every planet look a little different. Once the Earth is finished, kids can place it onto a starry background to create their own Earth in space art project.
This simple craft is perfect for Earth Day, science units about our planet, or space-themed activities, and it’s a great way for kids to explore texture and painting in a creative way.
What is Foil Painting?
Foil painting is a fun and simple art technique where kids paint directly onto aluminum foil and then press paper on top to transfer the paint. Because the foil is smooth and non-absorbent, the paint slides and blends together easily, creating beautiful swirls and unique textures. When the paper is lifted, it reveals a one-of-a-kind design that looks almost marbled—making it a great technique for creative projects like this Earth craft. Kids love the surprise element of seeing how their colors mix and transfer!
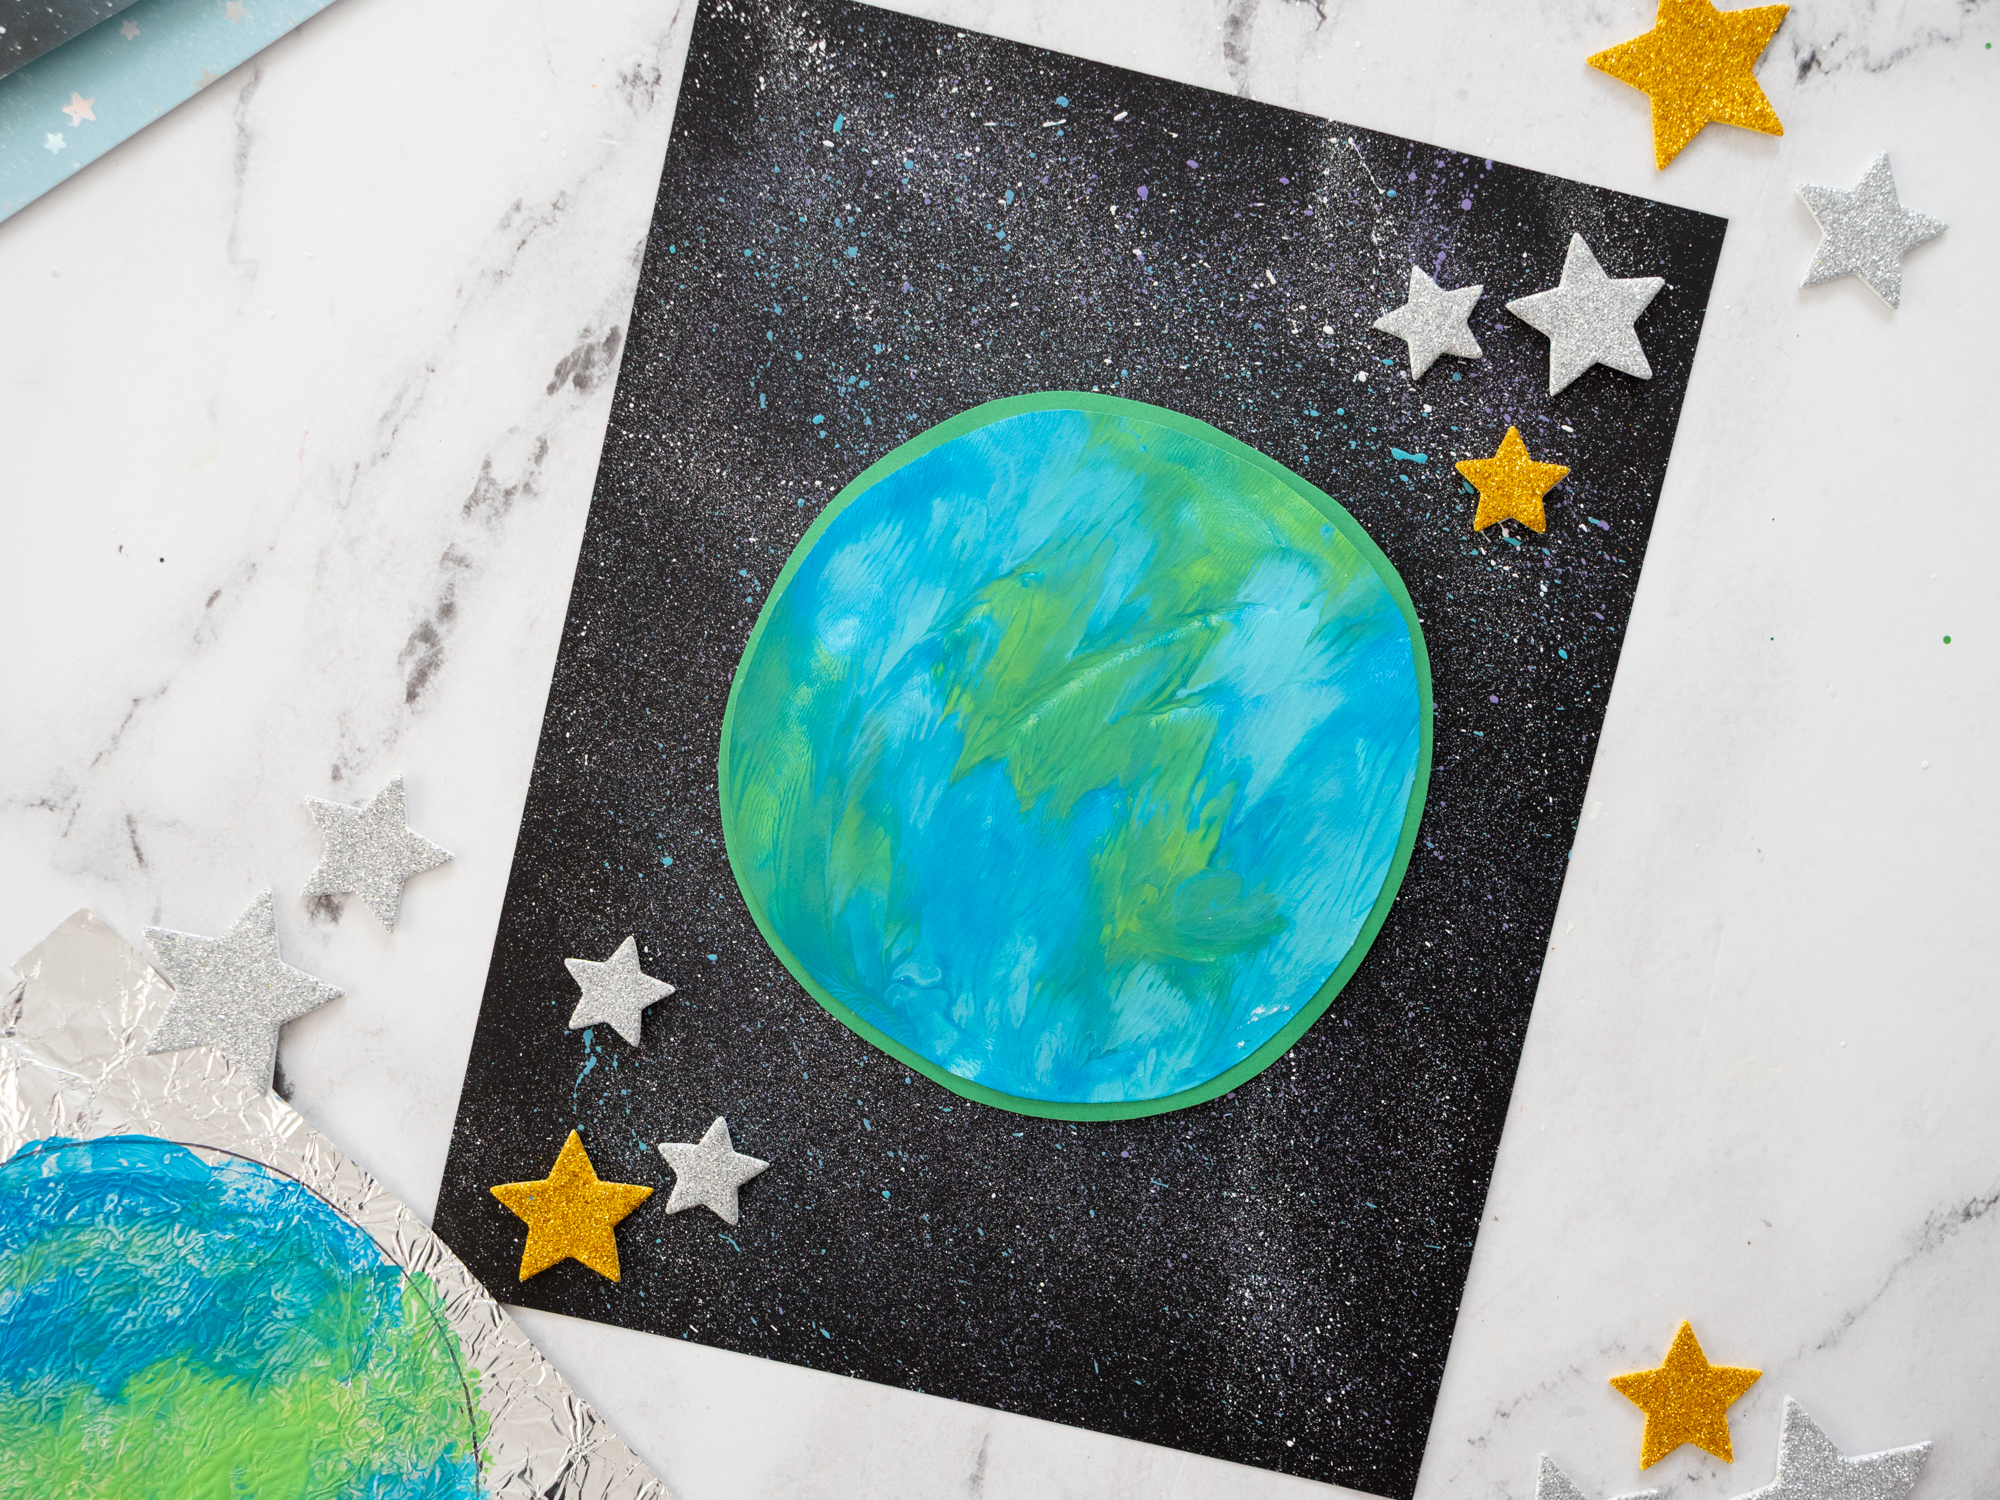
Why Kids Love This Earth Craft
This Earth painting craft is fun because kids get to experiment with a unique art technique. Instead of painting directly on their paper, they paint on foil first and then transfer the paint to their planet. Kids love seeing the surprise patterns that appear when they lift their paper from the foil!
This craft is also great for helping kids learn about:
- Our planet Earth
- Color blending and painting techniques
- Fine motor skills while cutting and assembling
- Creativity through art
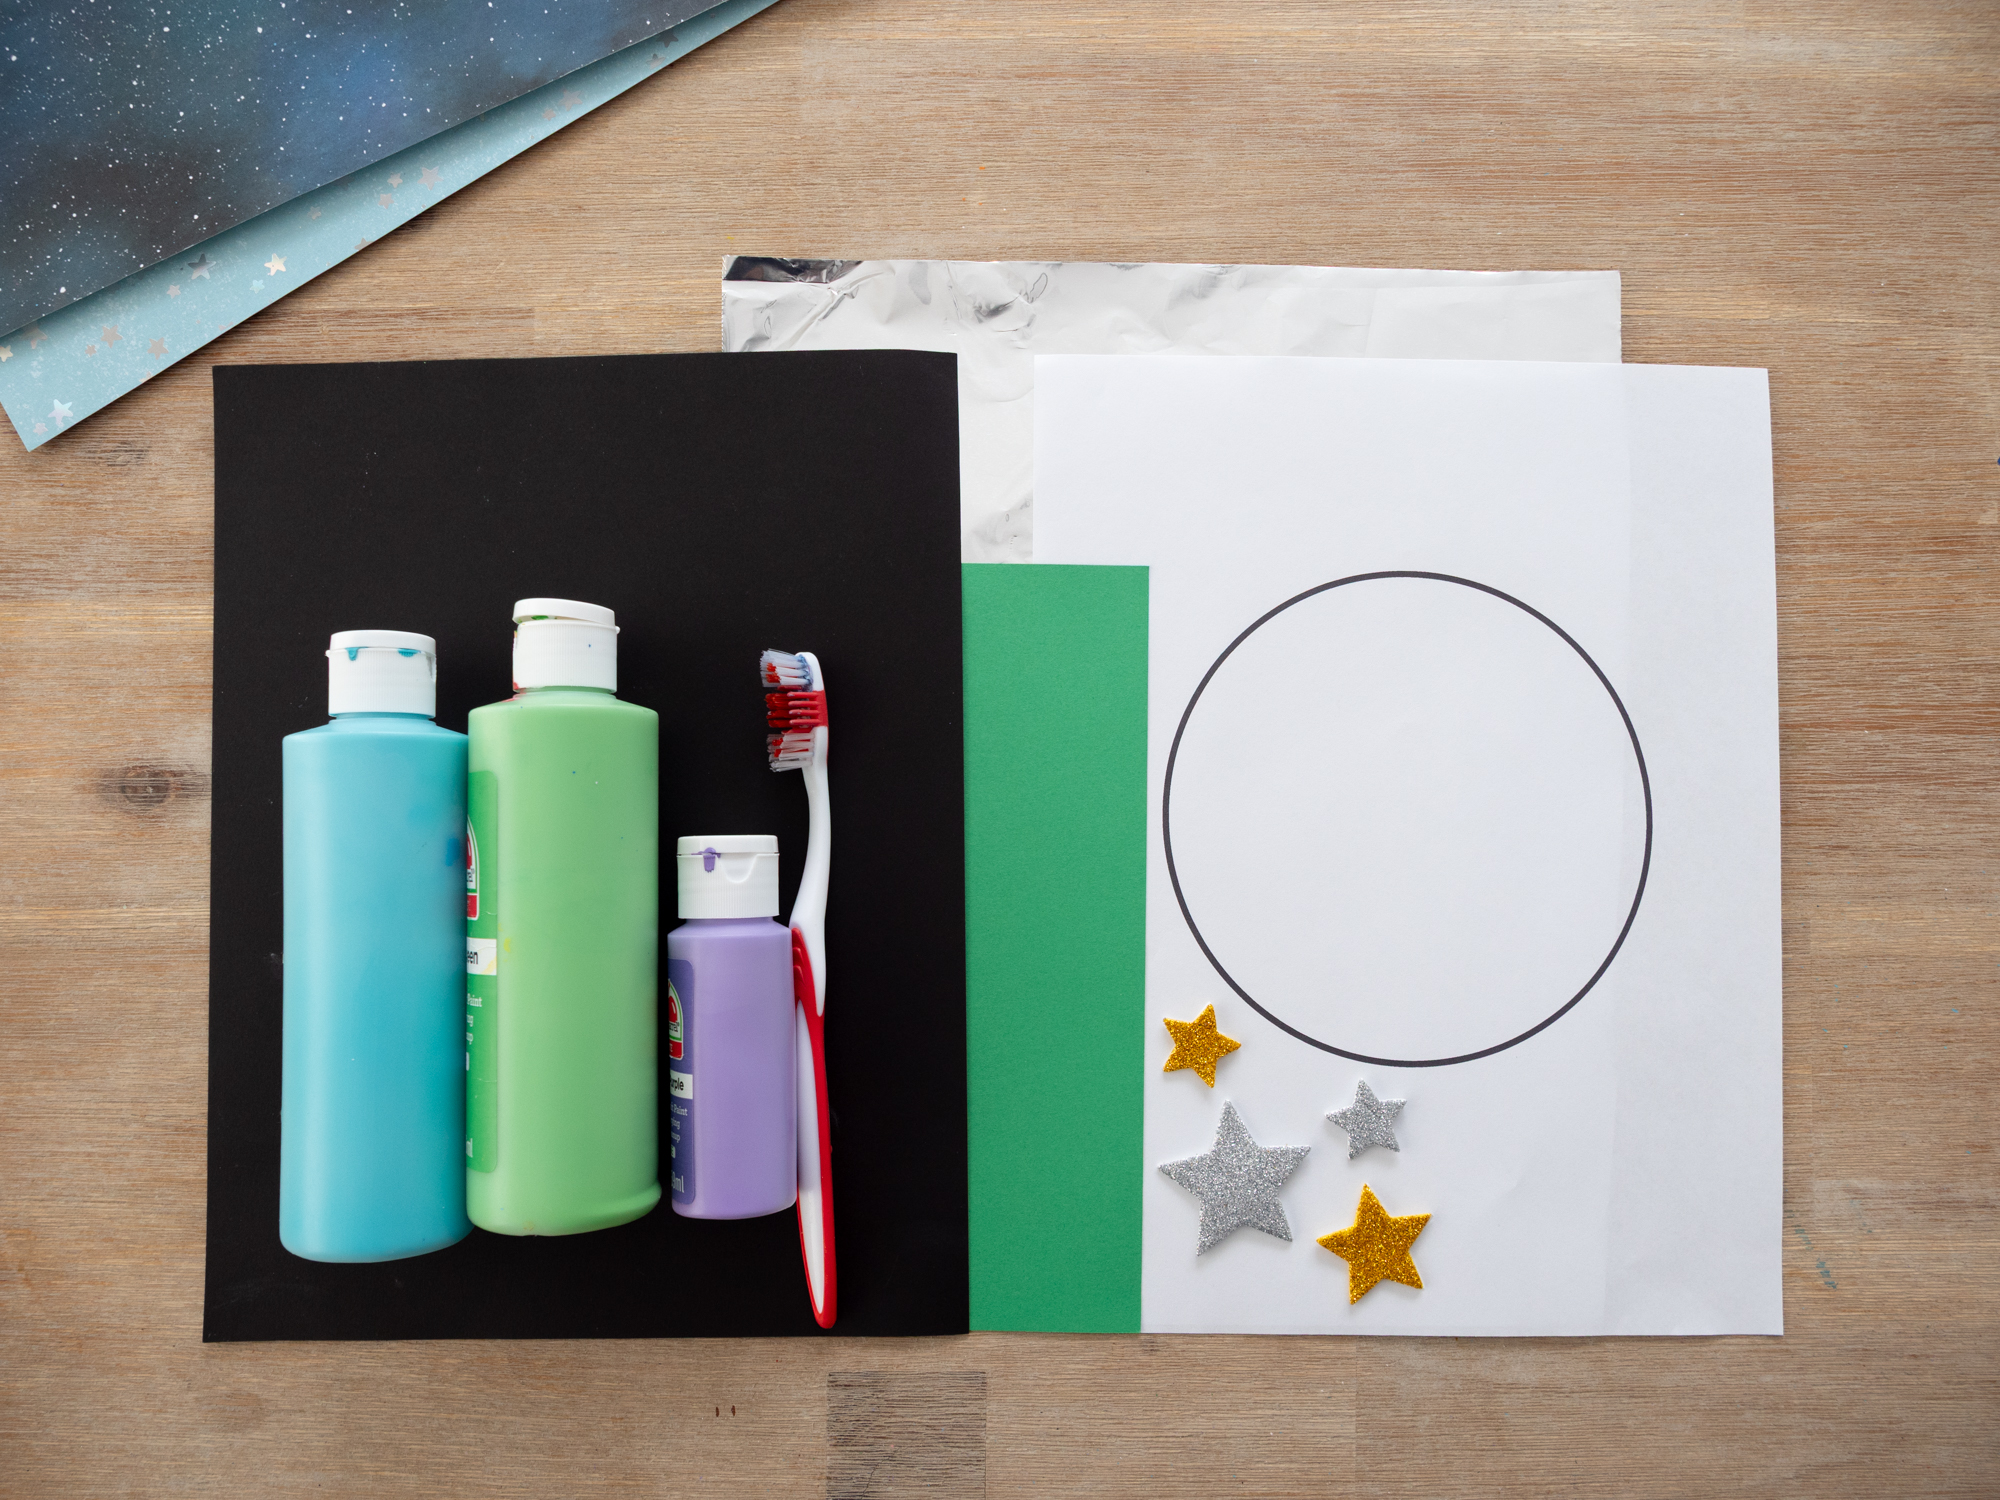
Materials Needed To Make A Earth Craft
- Circle Template
- Aluminum foil
- Blue, green, purple and white paint
- Paintbrush
- White cardstock or construction paper
- Scissors
- Black cardstock for the background
- Foam or paper stars (optional)
- Glue stick
How to Make a Earth Craft
STEP ONE:
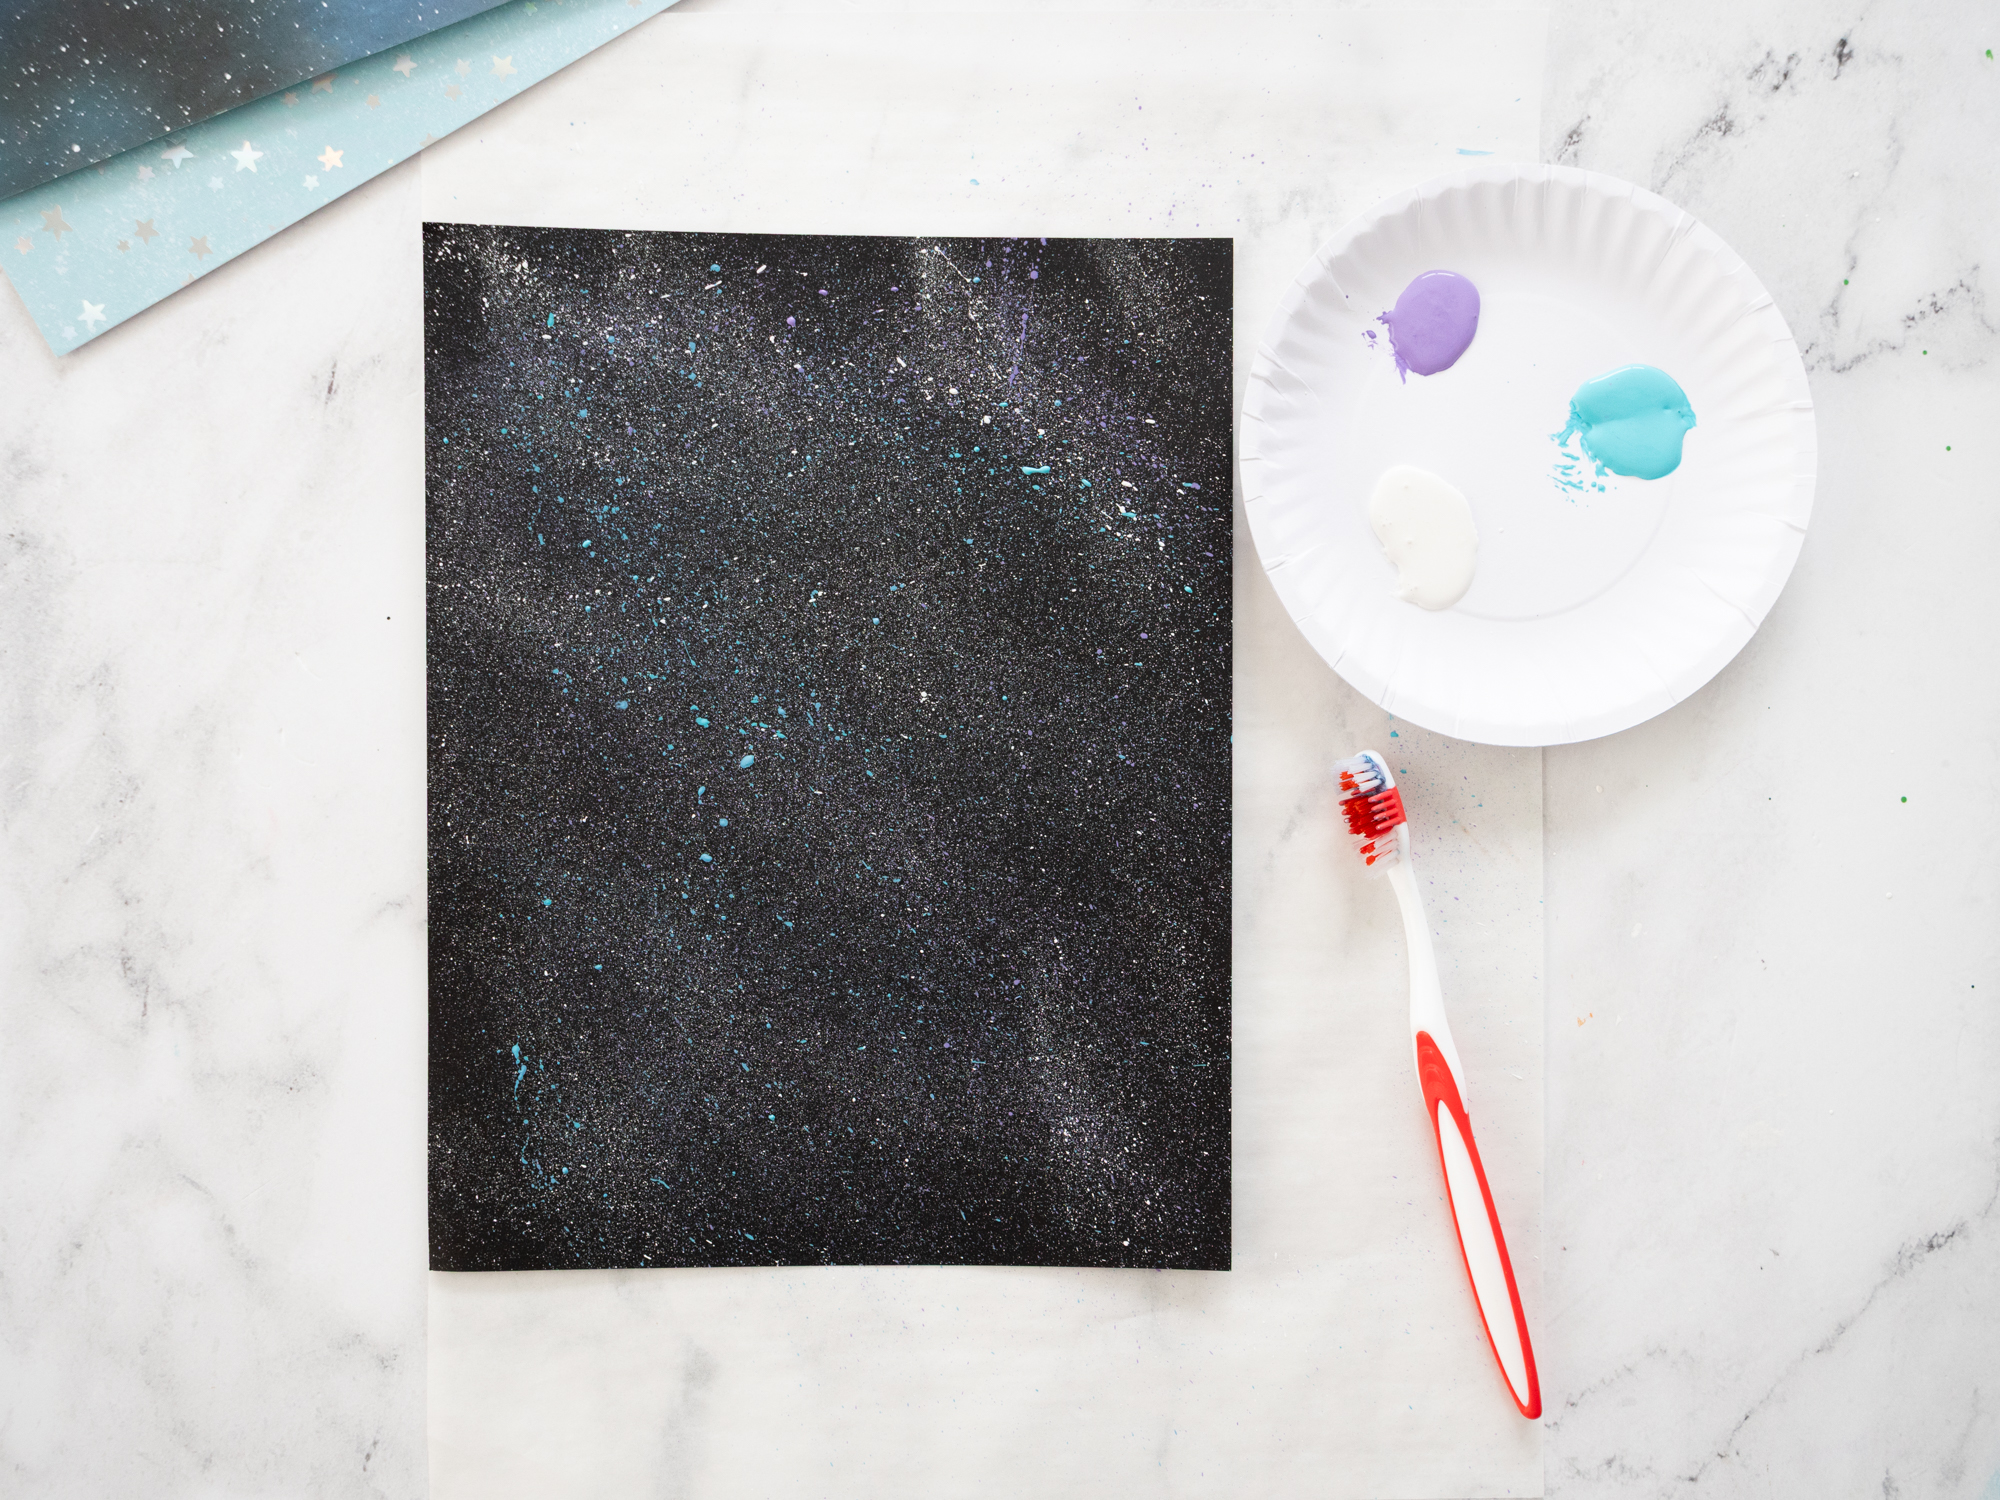
- Dip a toothbrush into white paint, then gently run your finger across the bristles to splatter the paint onto the black paper and create stars. Rinse the brush and repeat with other colors if you’d like to add more galaxy-like splatters.
STEP TWO:
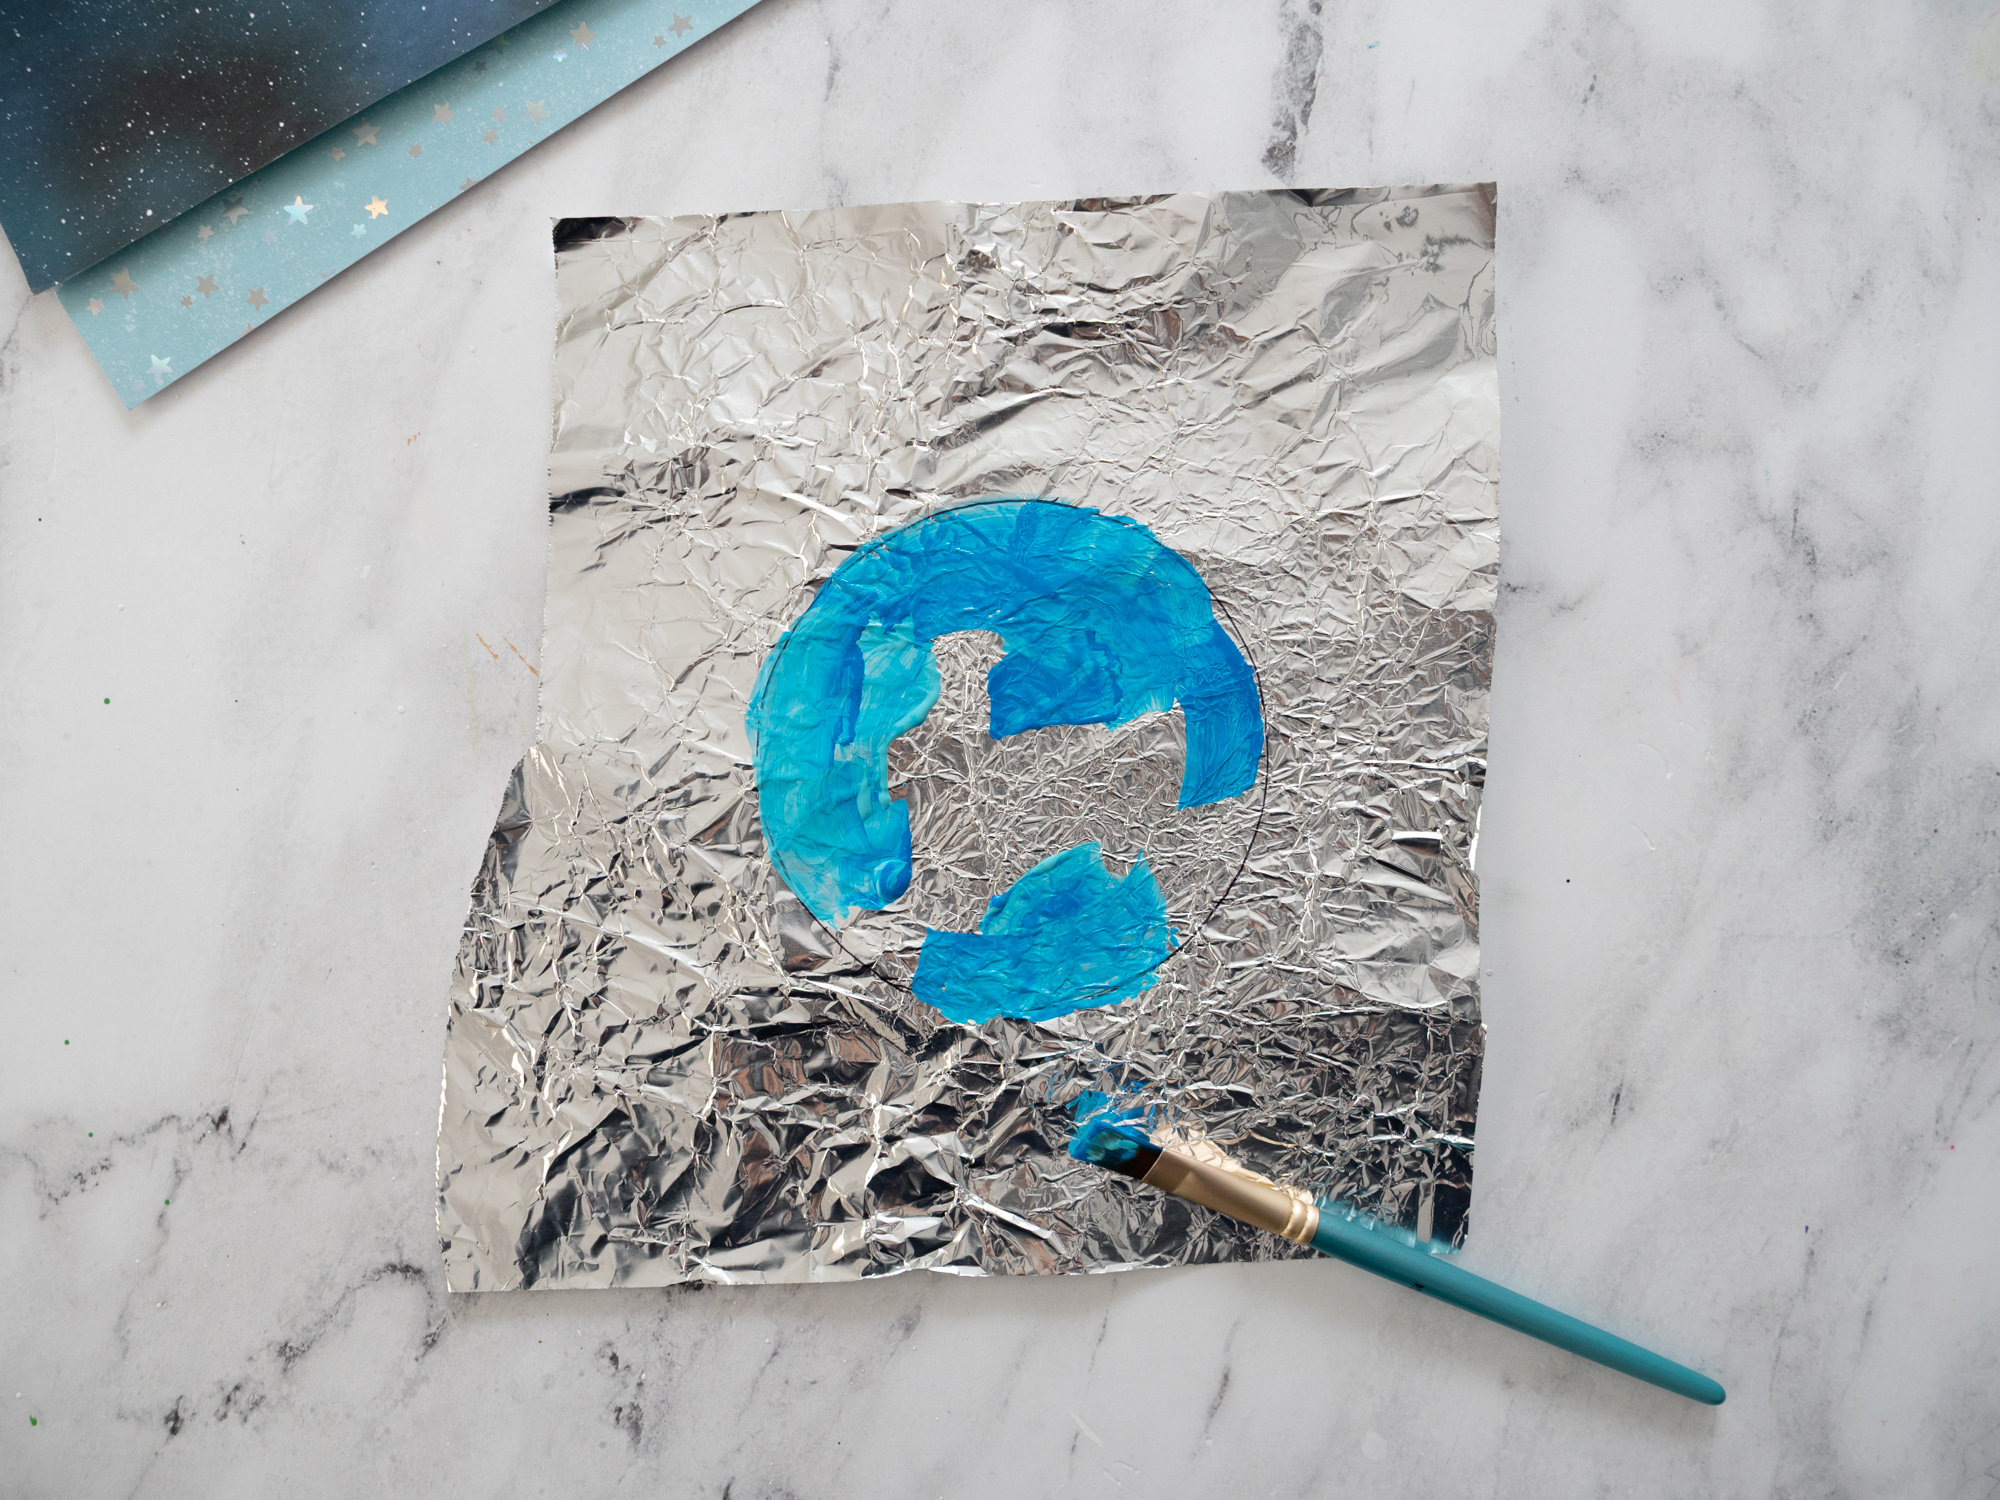
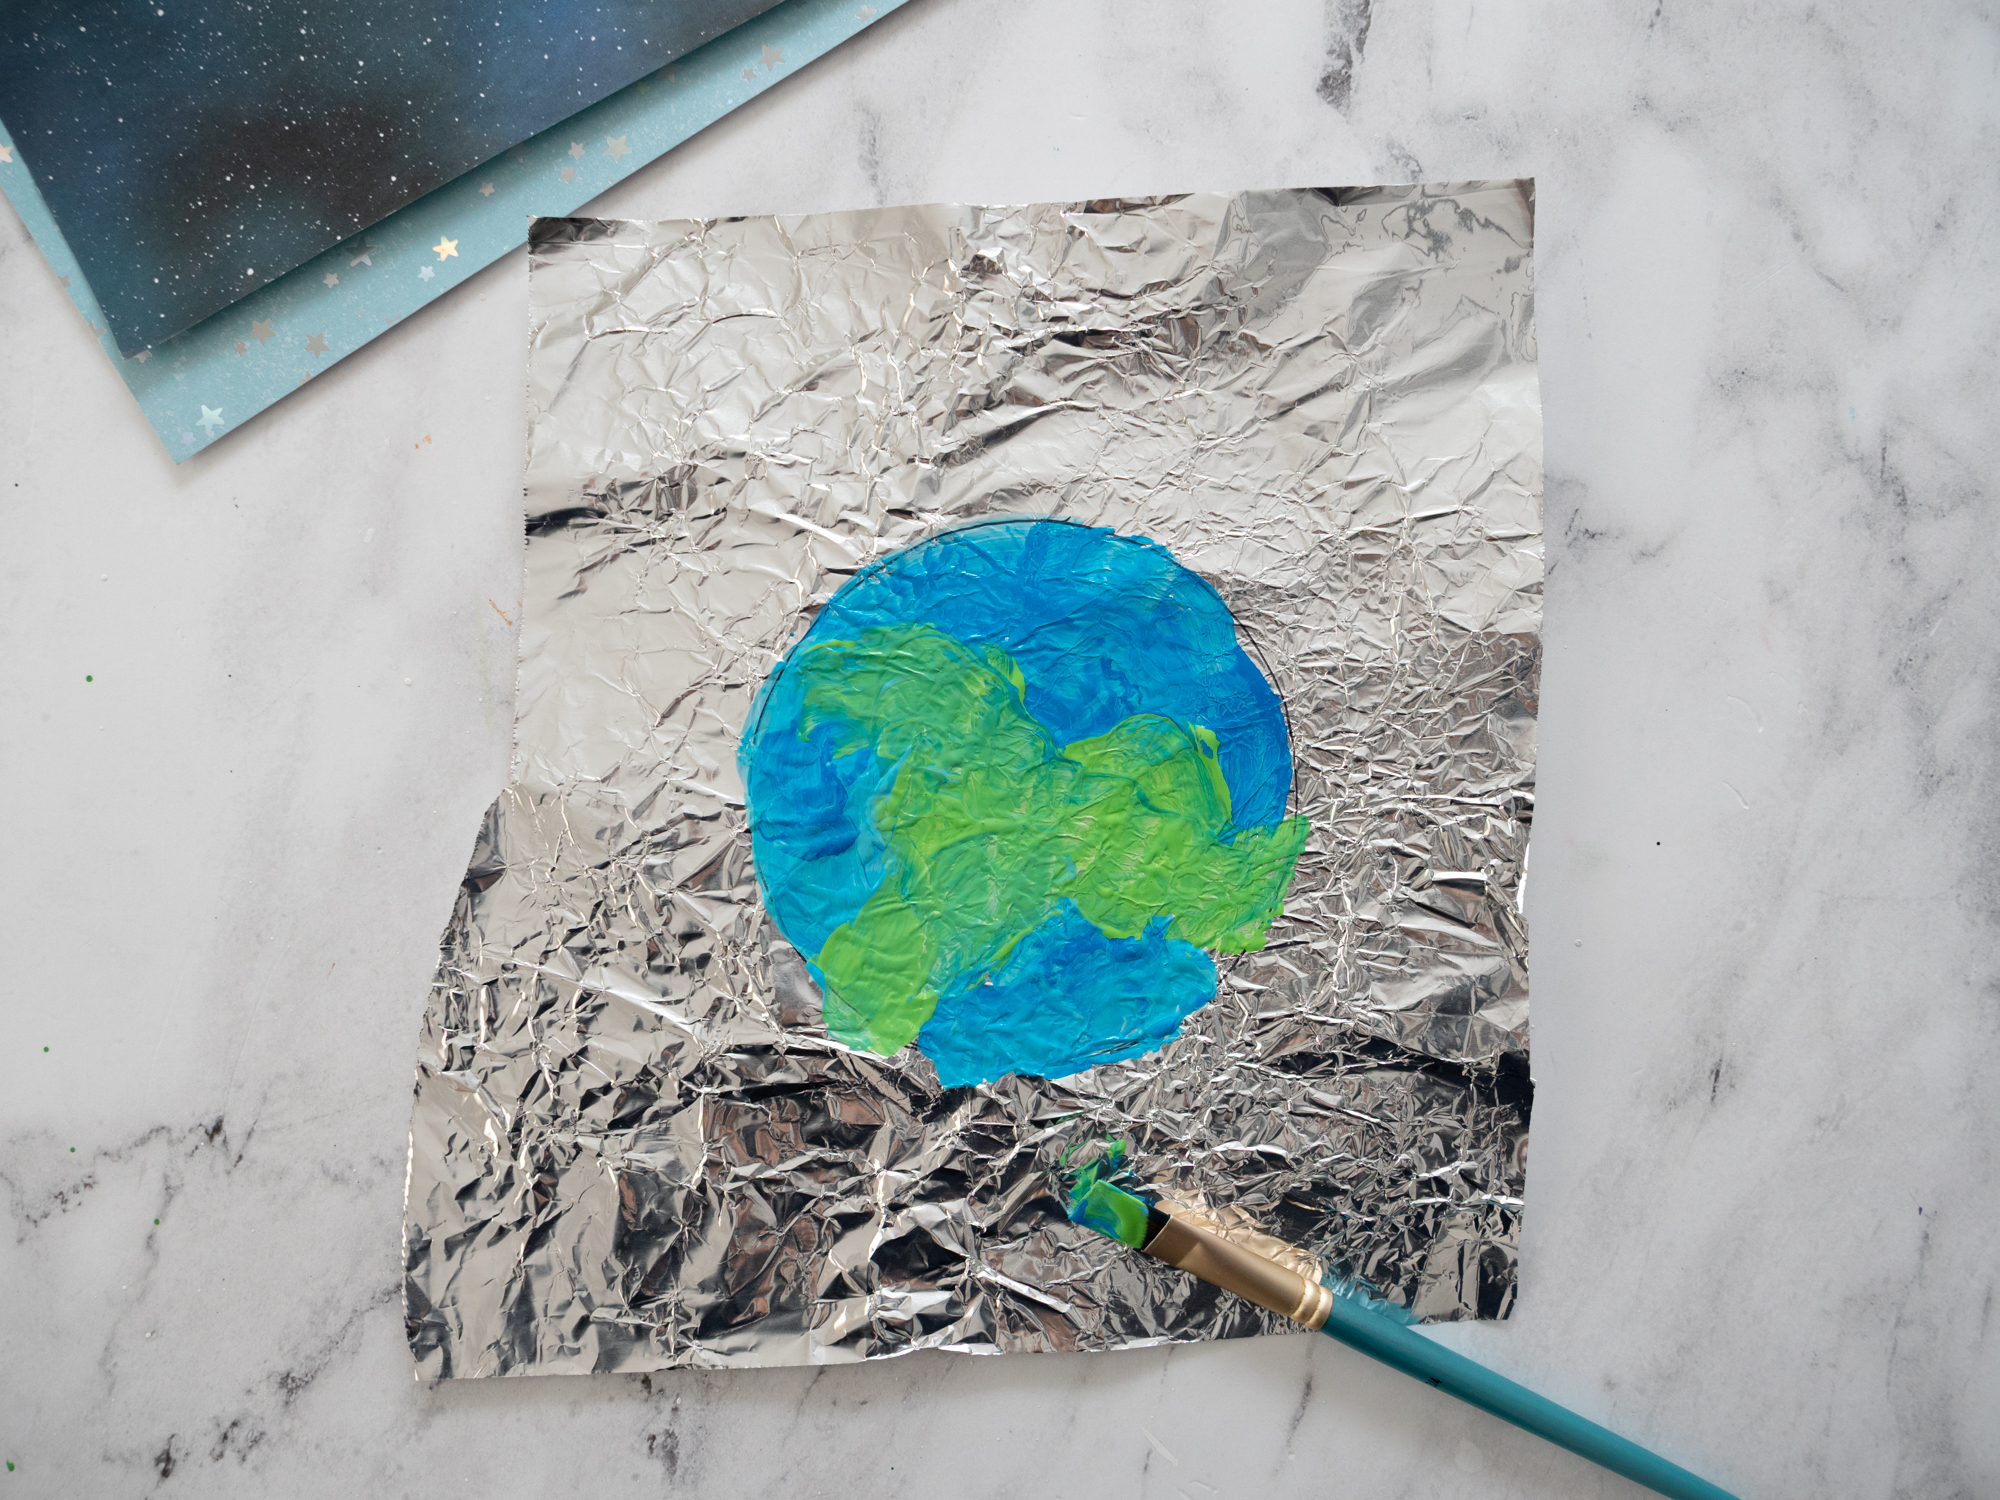
- Place a sheet of aluminum foil on your table. If desired you can crumble it slightly and lay flat.
- Use the circle template to trace a circle onto the the piece of foil.
- Using blue and green paint brush the colors onto the foil. You can swirl them together slightly to create the look of oceans, clouds, and land.
STEP THREE:
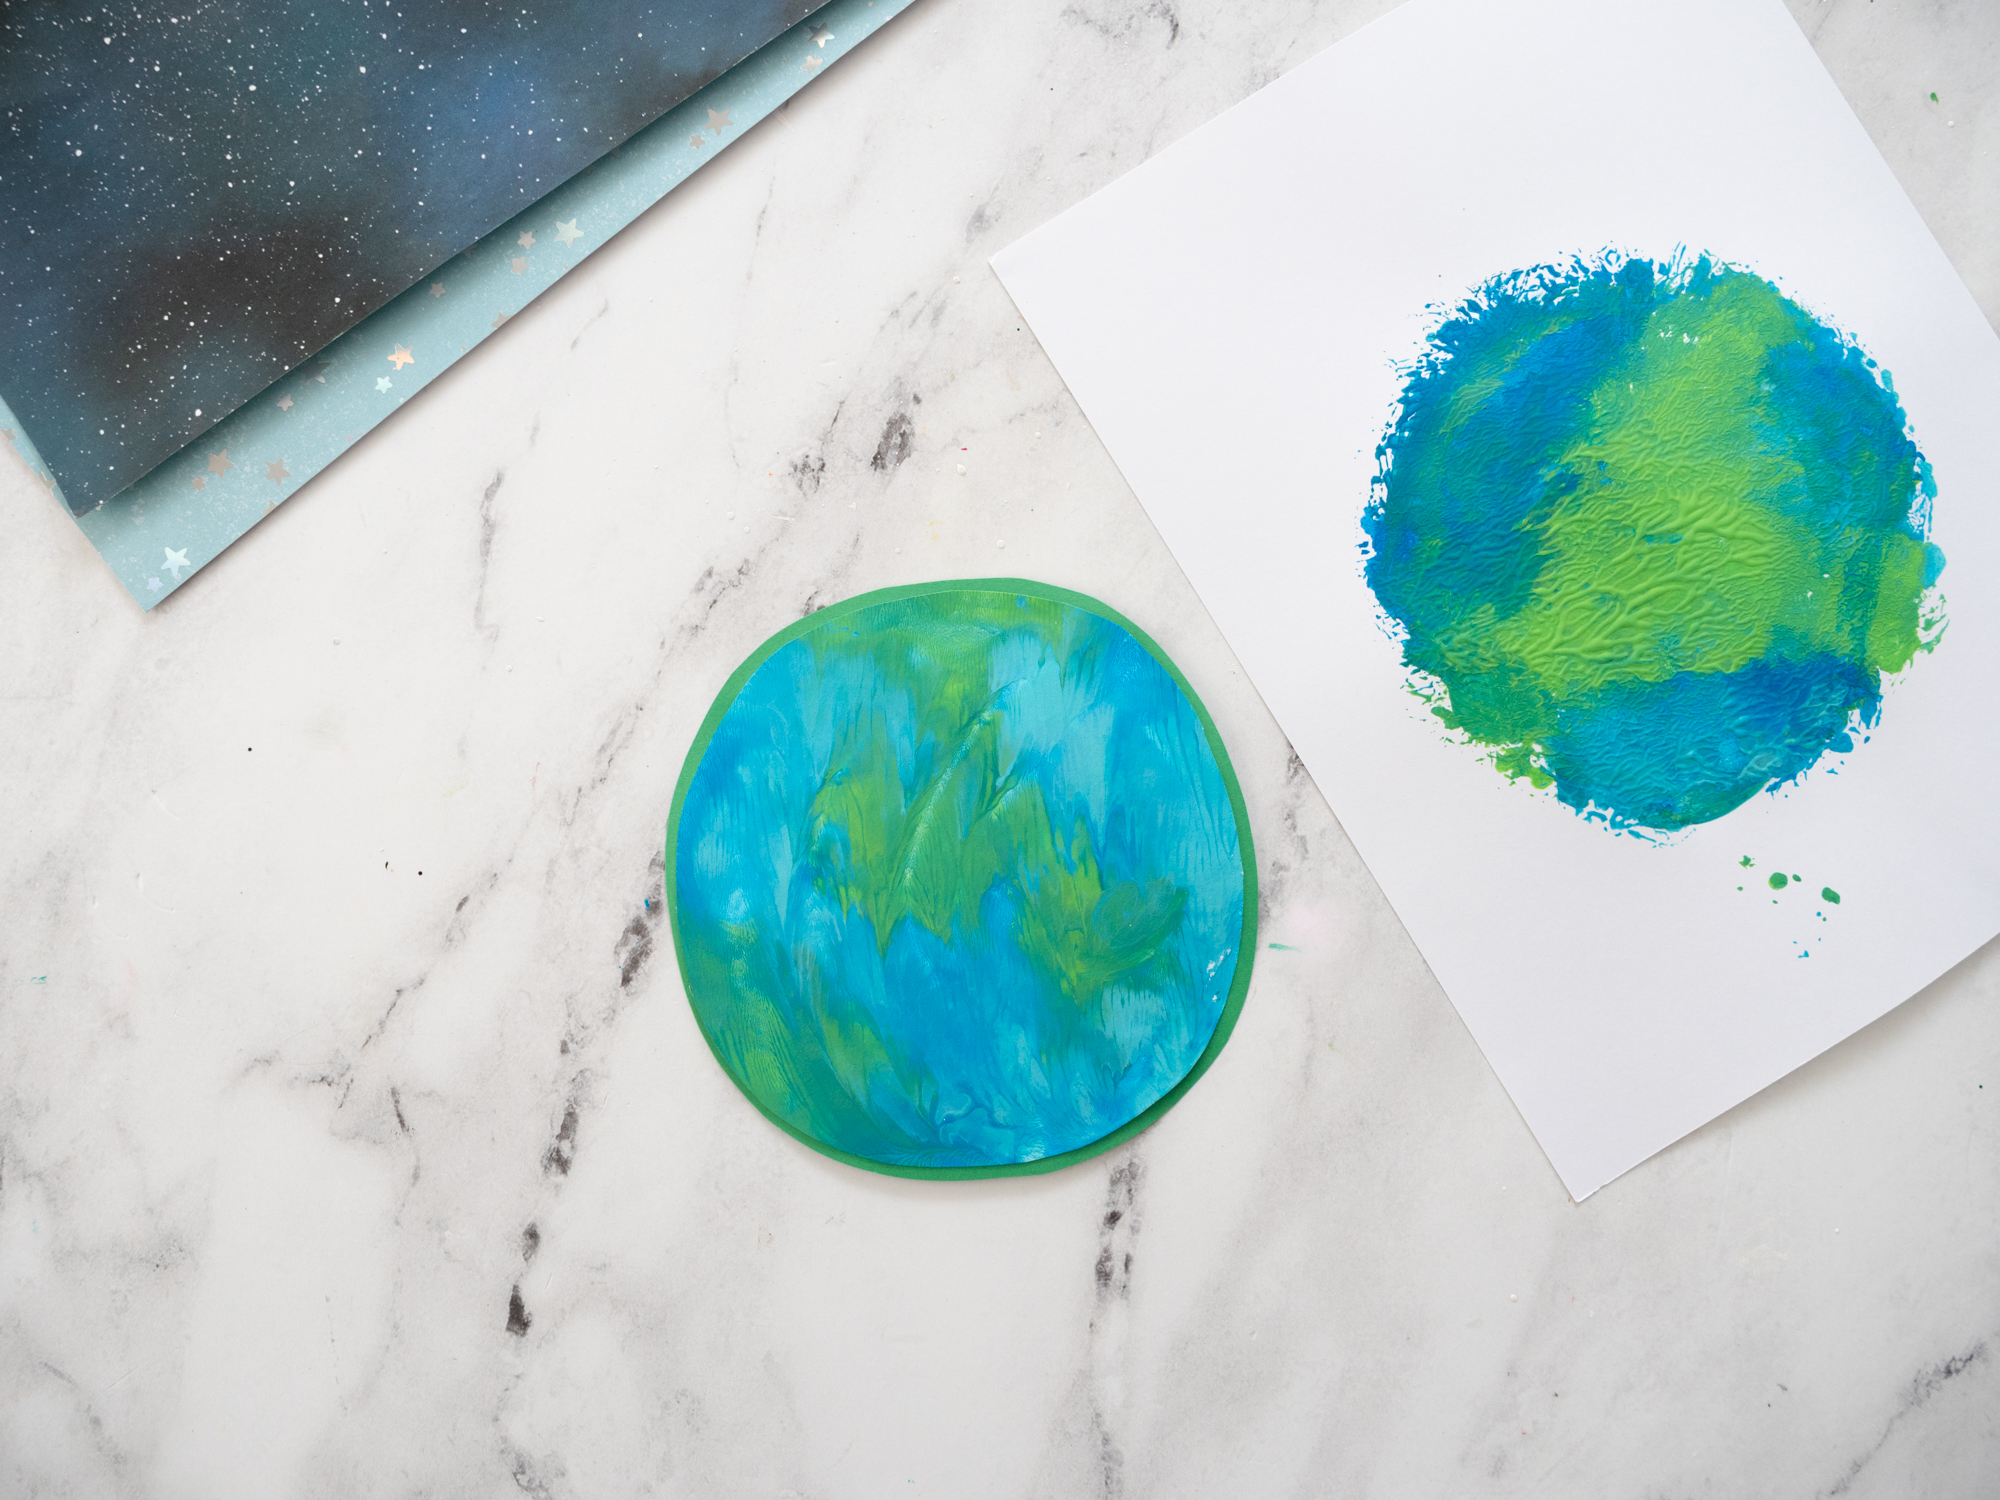
- While the paint is still wet (it must be wet!), lay a piece of cardstock on top of the foil. Gently smooth the paper down with your hands so the paint transfers evenly. Then carefully lift the paper to reveal the beautiful marbled Earth design. Don’t worry if some spots don’t completely transfer – we aren’t looking for perfection here!
- Once dry, cut out your circle shape. Glue the circle to a piece of green cardstock if desired. Cut around the edges leaving a slight green edge around the earth.
STEP FOUR:
- Glue your Earth to the middle of your paint splattered black paper.
- Add foam stars around the earth if desired.
For More Outer Space Crafts Try These: