As an Amazon Associate I earn from qualifying purchases.
These White and Color Washed Pumpkins are an easy and colorful pumpkin statement for any Fall themed mantel!

This post is brought to you by Delta. All opinions are mine.
White and Color Washed Pumpkins
White washing is such a fun technique and can give otherwise new looking pieces a more coastal or used look. I love pumpkins and I enjoy decorating with them. Often times I have a hard time fitting in their bright orange hue in my home decor style. I found these great terra cotta pumpkins from Target and while I loved the earthy feel they already had, I decided to white and color wash them to match my more “non-traditional” Fall decorating style.

I also used a similar affect to this fun wooden Maple leaf and wooden slate that I found at Target as well. With just a little bit of Delta Ceramcoat® Acrylic Paint and about 30 minutes of free time I was able to make three statement pieces for my mantel. I love being able to pick up my crafting supplies while walking the aisles of Target because…no kids..and Target…sounds like a really good time to me 🙂 I enjoy use the Ceramcoat brand because it such a creamy formula which means less coats needed!
What kind of projects work well with Delta Ceramcoat Paint?
It’s great for wood, terra cotta, plaster and paper mâché surfaces! It dries to a matte finish so it’s great for indoor projects and you can always add a layer of Mod Podge if needed.

Supplies for White and Color Washed Pumpkins:
- Delta Ceramcoat Acrylic Paint, in your desired colors
- Paint Brush or Rag
- Water
- Paper Plate or Towel

How to make White and Color Washed Pumpkins
- Place your pumpkin on top of a paper plate or piece of parchment paper to protect your surface underneath.
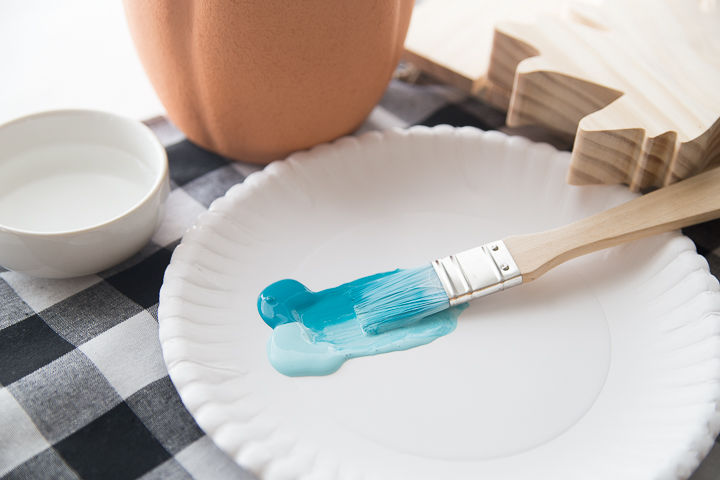
- Pour some paint on a separate paper plate, mix with water (the Amount of water will depend on how white washed you want your pumpkin to be)
Using your paint brush dip your brush into water down paint. Lightly brush pumpkin until desired affect is achieved. You can let the water drip off the paintbrush for a “drippy” look or you can even use a rag and rub the paint on for a more perfect and uniform look.
 I decided to use the same affect to make a blue colored pumpkin. I use a lot of mints and turquoise colors in my home so this pumpkin fit in perfectly!
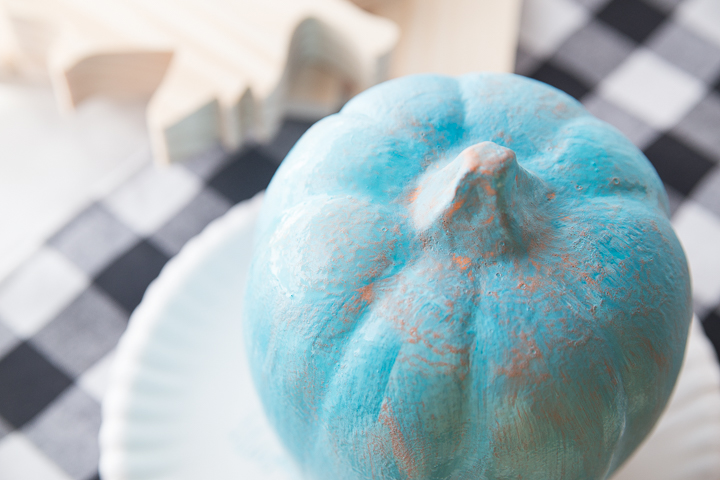
You can apply a thick layer of paint for a thin layer, it all depends on how much “orange” you want popping through!
I repeated the white wash technique with the other two wooden pieces I picked up and just mixed the colors together. There really is no right or wrong way to white wash your pieces! I always suggest with watering your paint down to where the white wash covers very little because you an always add more paint for more coverage. It’s much easier to add more than try to take paint off your surface 🙂
For more mantel decor ideas check out these: