As an Amazon Associate I earn from qualifying purchases.

Get ready to bring a little woodland magic to your craft time with this adorable Torn Paper Owl! Using simple materials and our free template, this craft is perfect for kids to explore their creativity while building fine motor skills.

Torn Paper Owl Craft for Kids
This adorable Torn Paper Owl craft is a simple and fun activity that’s perfect for kids of all ages! Whether you’re crafting with your toddler or working on a creative project with older kids, this craft is all about exploring textures and creativity. Using a mix of torn paper and our free easy-to-follow template, kids will love piecing together their own feathered friend. Plus, this craft makes a great addition to any forest or nighttime theme in your classroom or at home!

HOW TO VIDEO:
Materials Needed To Make a Torn Paper Owl
- Free Owl Craft Template
- Black cardstock (or any dark color for the background)
- Brown, white, and green cardstock paper
- Orange cardstock paper
- Googly eyes
- Pink cardstock for cheeks
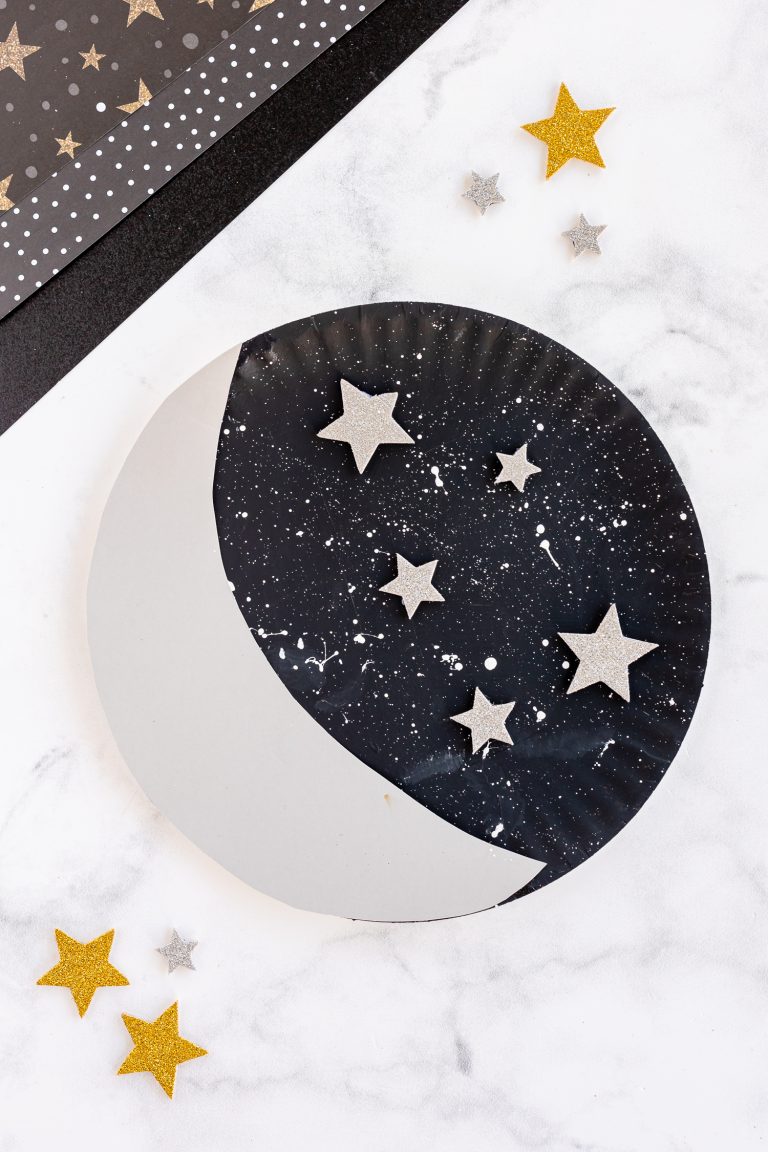
- Silver star stickers or glitter paper for stars
- Glue stick or craft glue

How To Make a Torn Paper Owl Craft
Step 1: Prep your Background and Owl Pieces
- Download and Prep Your Template: Start by downloading the free owl template. Print it out and use it as a guide to cut out the owl’s shape, beak, and branches.
- Rip the Paper Feathers: Rip small pieces of brown and white construction paper to create the owl’s feathers. This step is fantastic for little hands to practice fine motor skills!
- Prep the Background: Glue your branches to the bottom part of your background piece. Lay your owl template base on top and trace around. This will be the the are you fill with your paper.


Step 2: Creating the Owl
- Assemble Your Owl: Glue the torn brown and white pieces onto the owl template, layering them to look like feathers. Add the googly eyes, an orange paper beak, and pink paper circles for rosy cheeks.
- Add some Final Details: Add a few green leaves for a pop of color. Finish the scene with silver star stickers or glittery cutout stars to create a whimsical nighttime sky.


Crafty Tips:
- For younger kids, pre-tear the paper pieces so they can focus on assembling the owl. I do encourage you to have your children tear some of the pieces as this really does help develop fine motor skills.
- Use a variety of textures, such as crumpled tissue paper, for a unique twist!
- Encourage older kids to add more details, like drawing bark lines on the branch or extra stars in the sky.