As an Amazon Associate I earn from qualifying purchases.
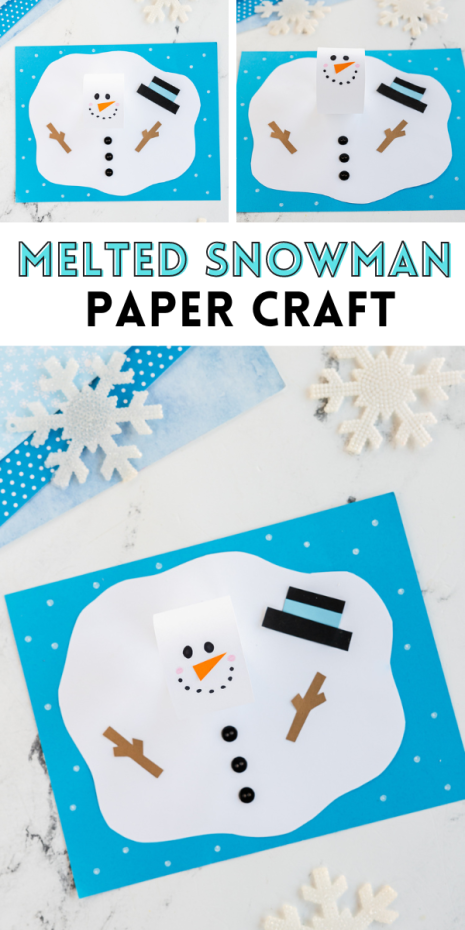
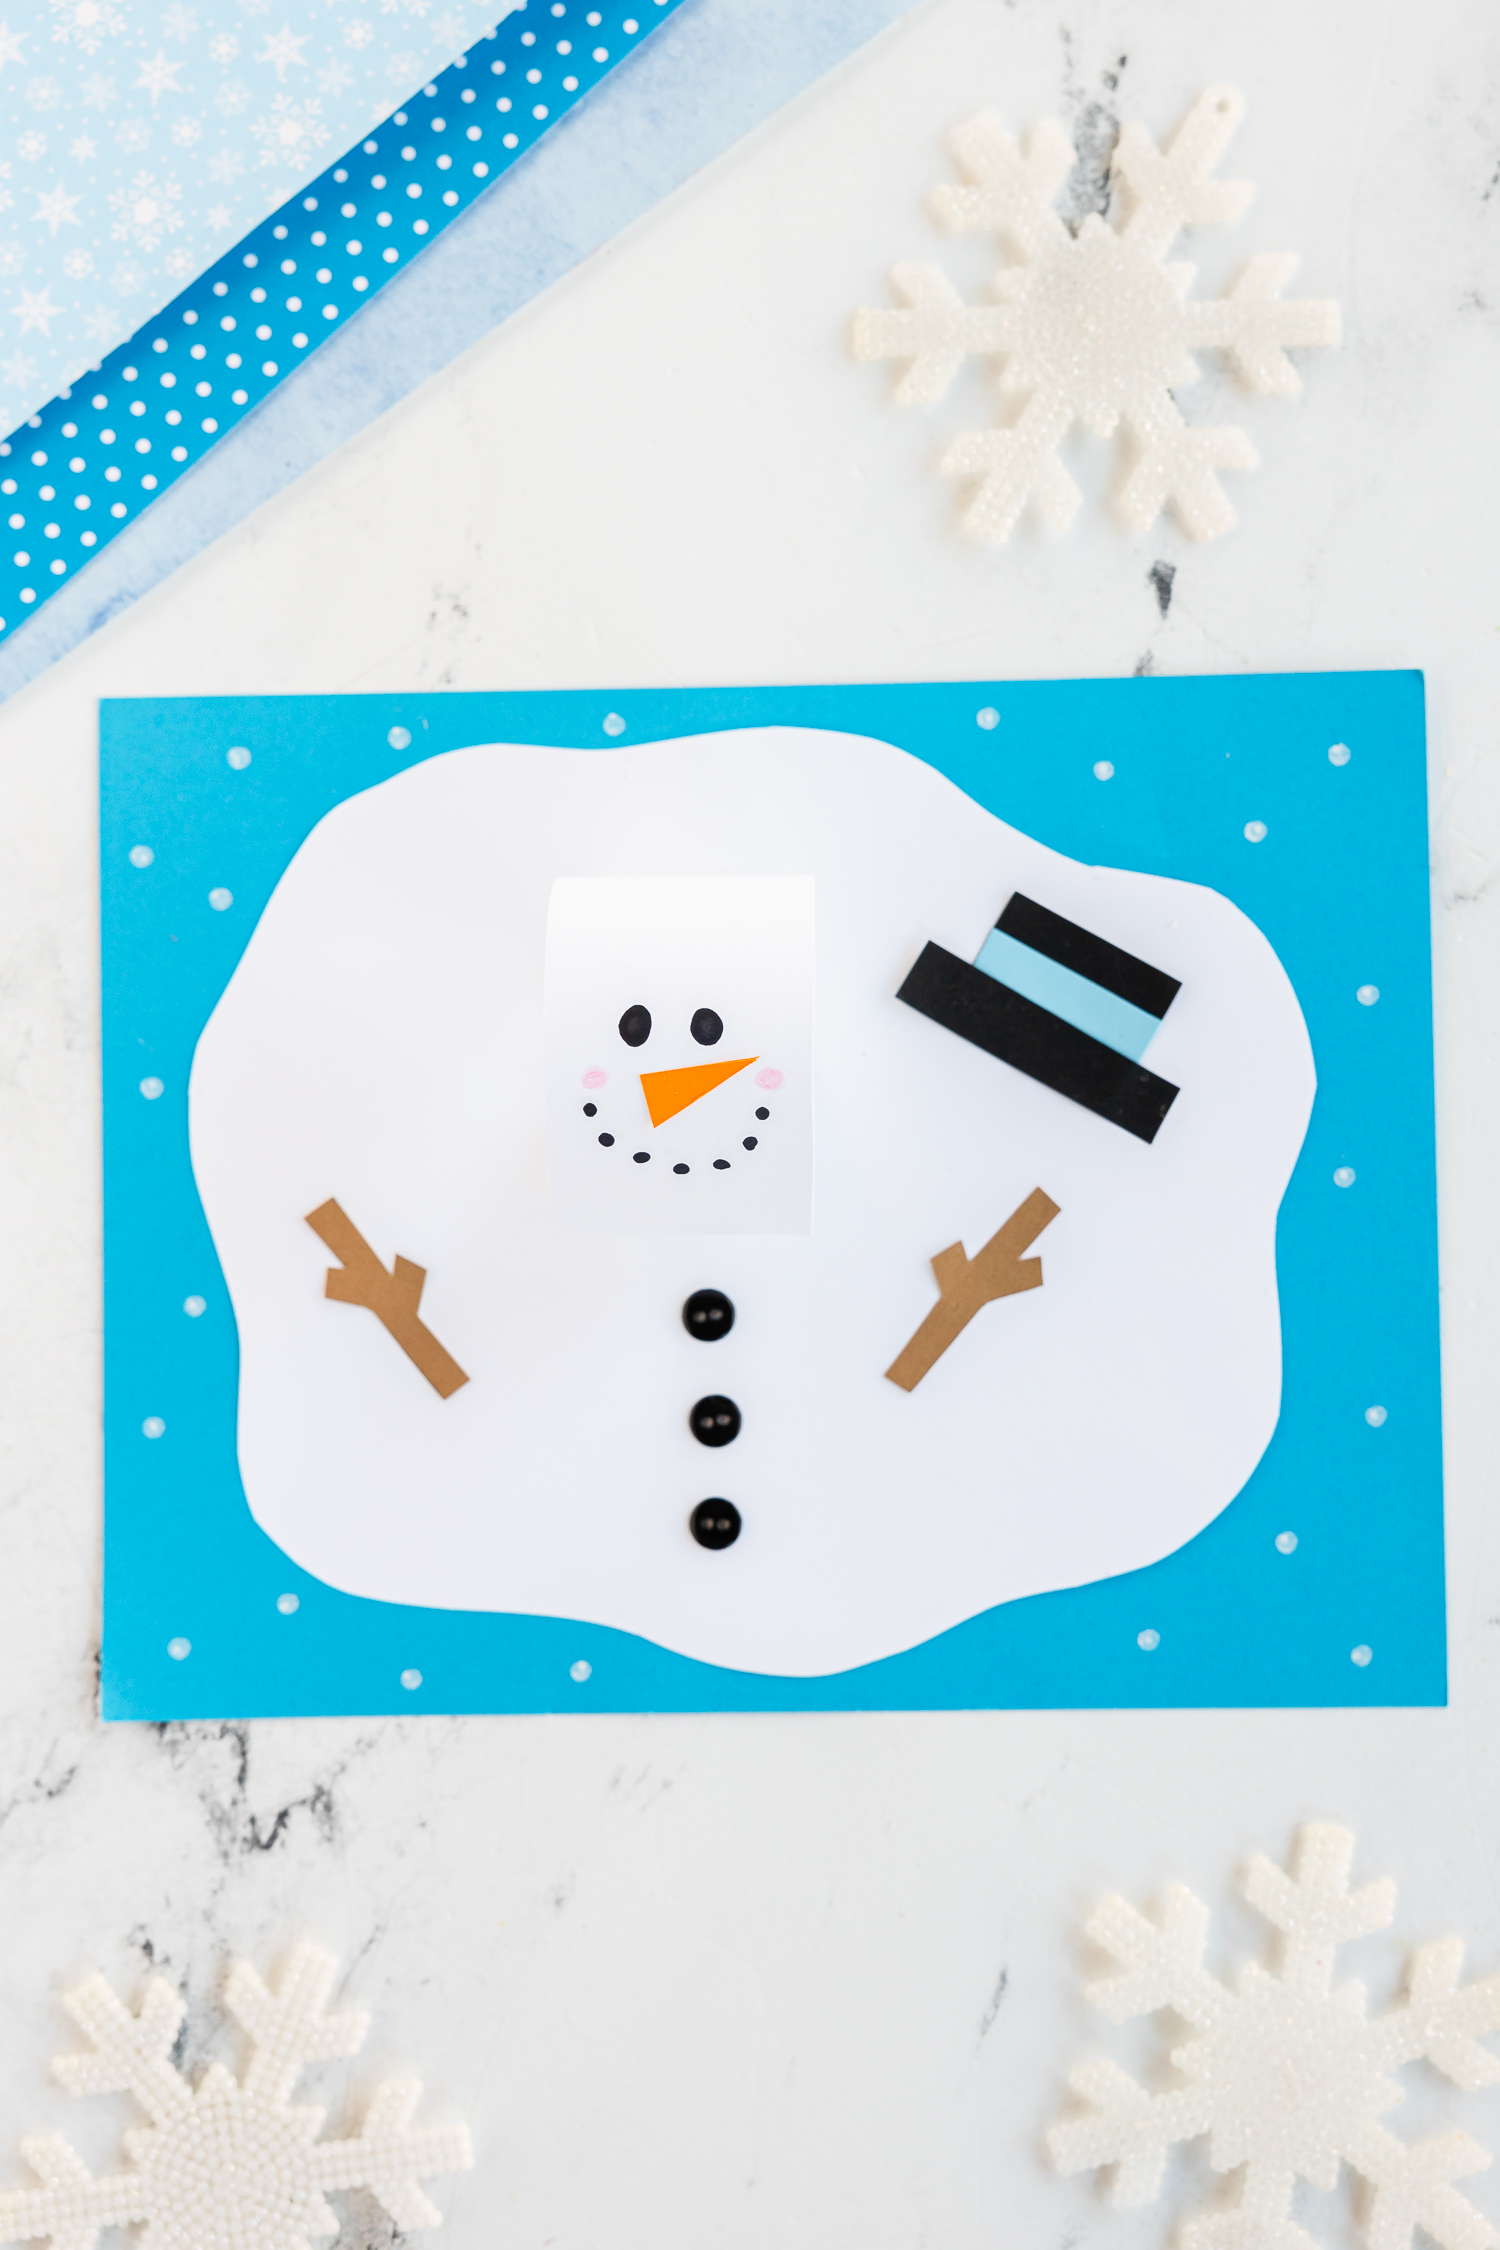
This Paper Melted Snowman craft is such a fun winter craft for kids of all ages! It’s a great activity for a snowy day.
Adorable Melted Snowman Craft
Snow and snowed in school days are something we are pretty used to here in Pennsylvania. While we love a good snow day, sometimes it hards to keep the kids busy all day long when the weather outside is a bit too chilly to play in. A favorite thing we like to do during a snow day is work on a fun art project together. This melting snowman craft is the perfect winter craft and a fun way to bring a little snow time fun indoors. Paper is the center of this project which makes it a great low prep project to do when you are short on time and have a limited amount of art supplies.
One of the best parts about this winter craft is the 3D affect our snowman face loop gives our project – it’s a simple but creative way to add some dimension to our artwork! Kids just love when you can add extra fun elements that stands out in their artwork.
HOW TO VIDEO:
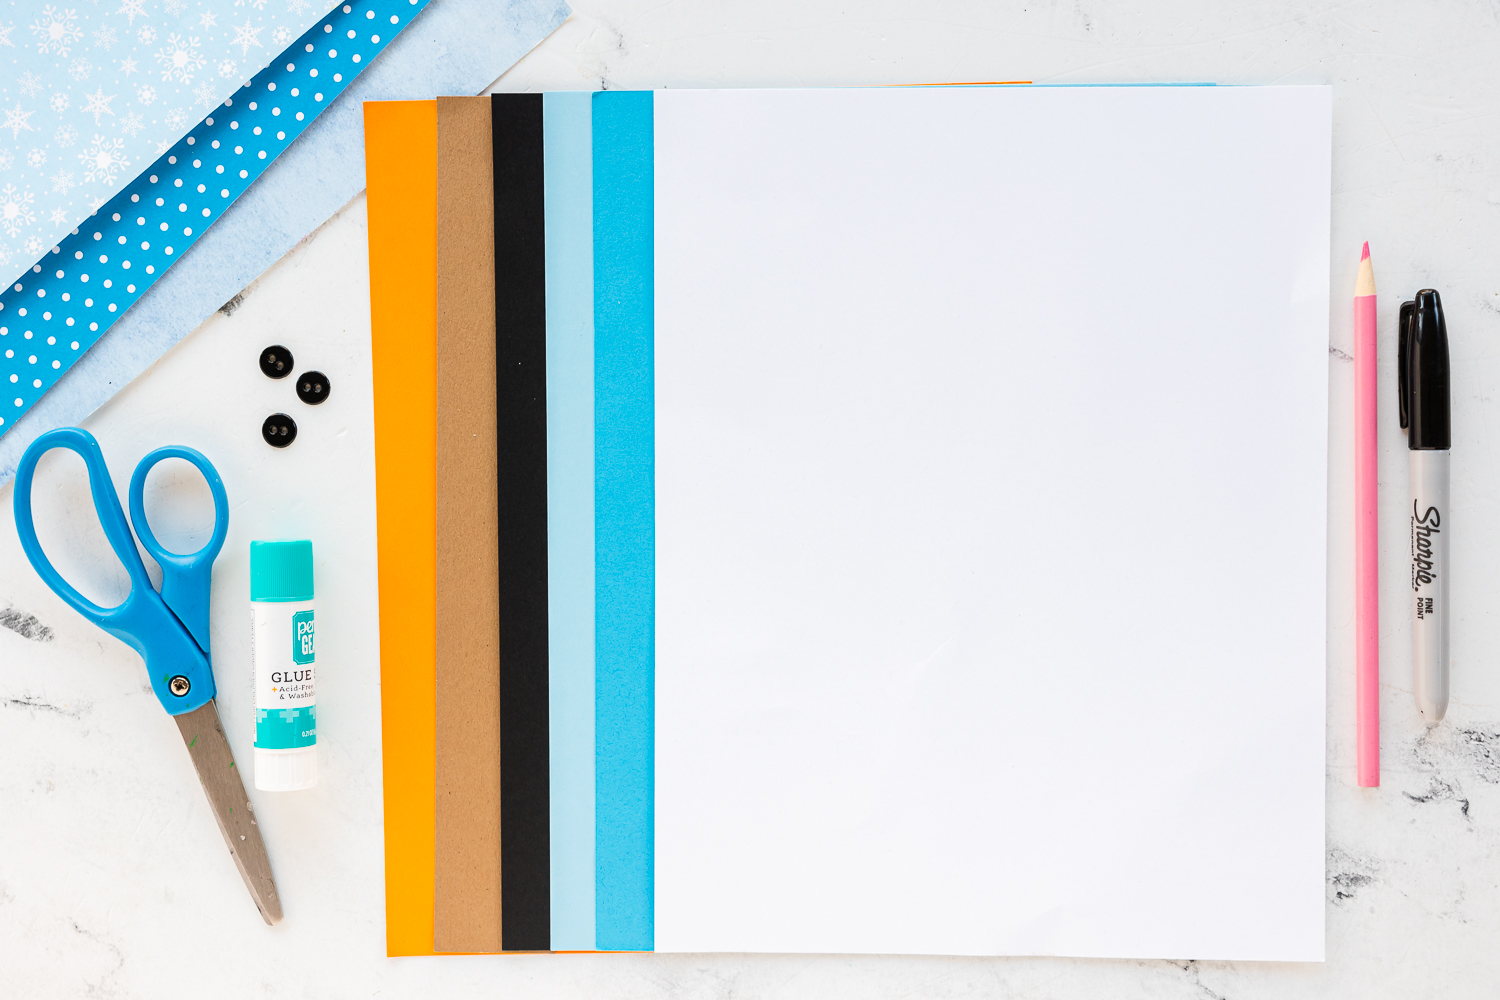
Supplies Needed
- Card stock or Construction Paper, white, black, brown, blue and orange.
- Sharpie Marker
- Black Buttons
- Glue stick or White Glue
- Free snowman Parts Template
- White Paint Pen*
* If you don’t have access to a paint pen, you can also let kids dot on the snow with white acrylic paint and a q-tip or the bottom end of a rounded paint brush.
How to Make Melting Snowman Paper Craft
- Use our free Melted Snowman template to cut out your various snowman melt pieces.
- Make a snowman face on the middle of your long rectangular piece using your orange nose and black sharpie. If desired, you can swap out the sharpie for googly eyes. We used orange card stock for the nose but you can also use a small piece of orange craft foam.
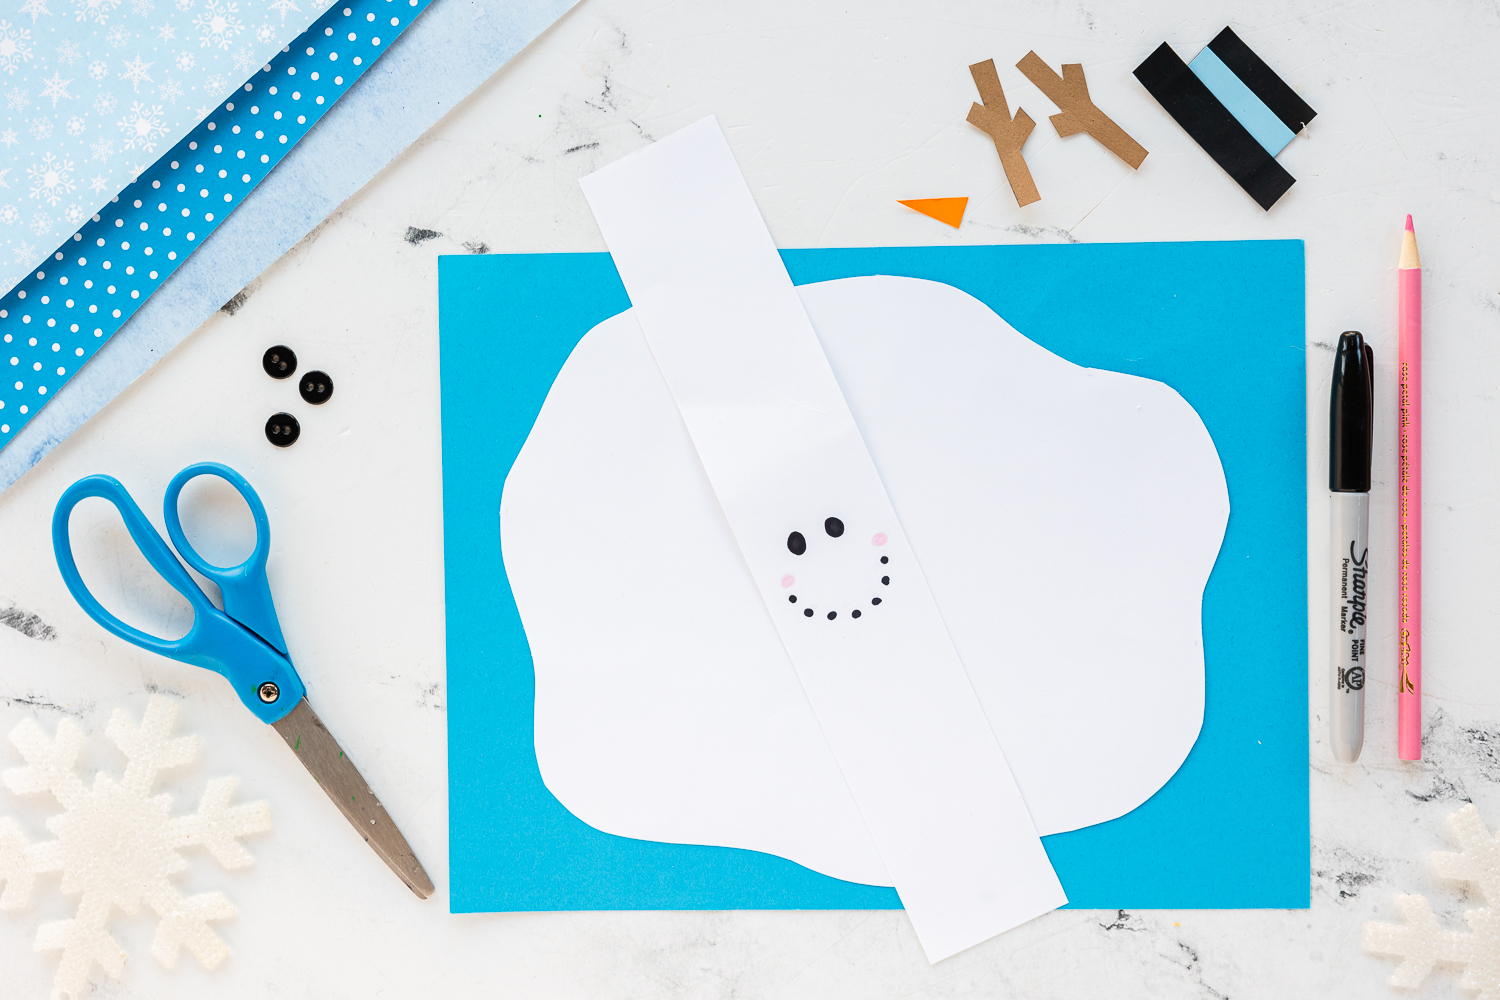
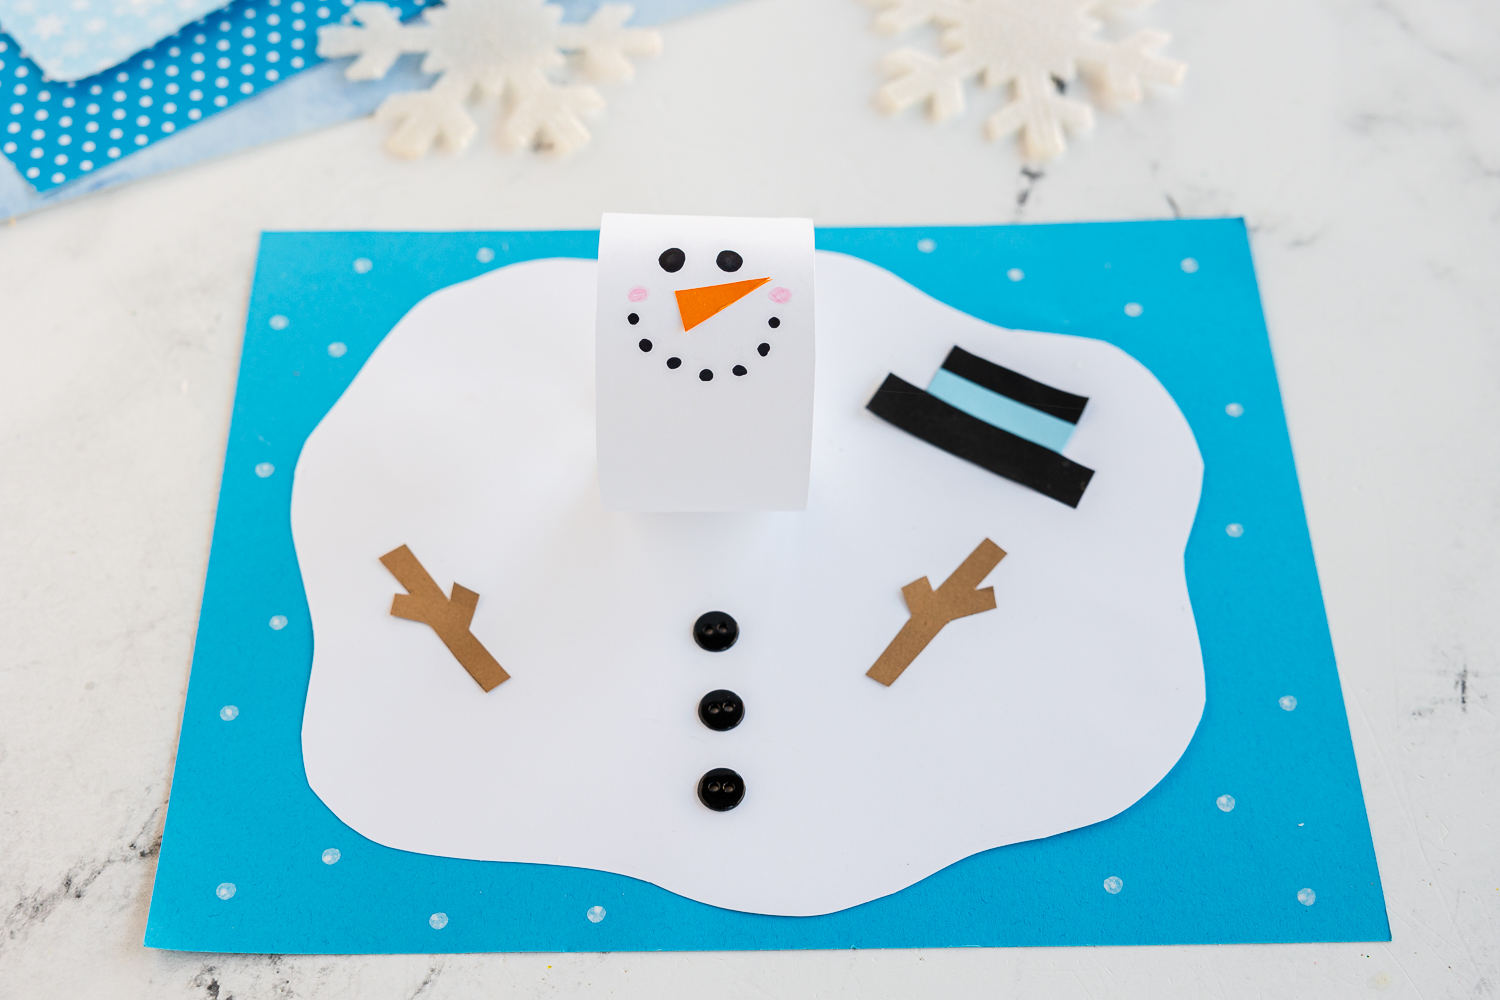
3. Form your face piece into a loop.
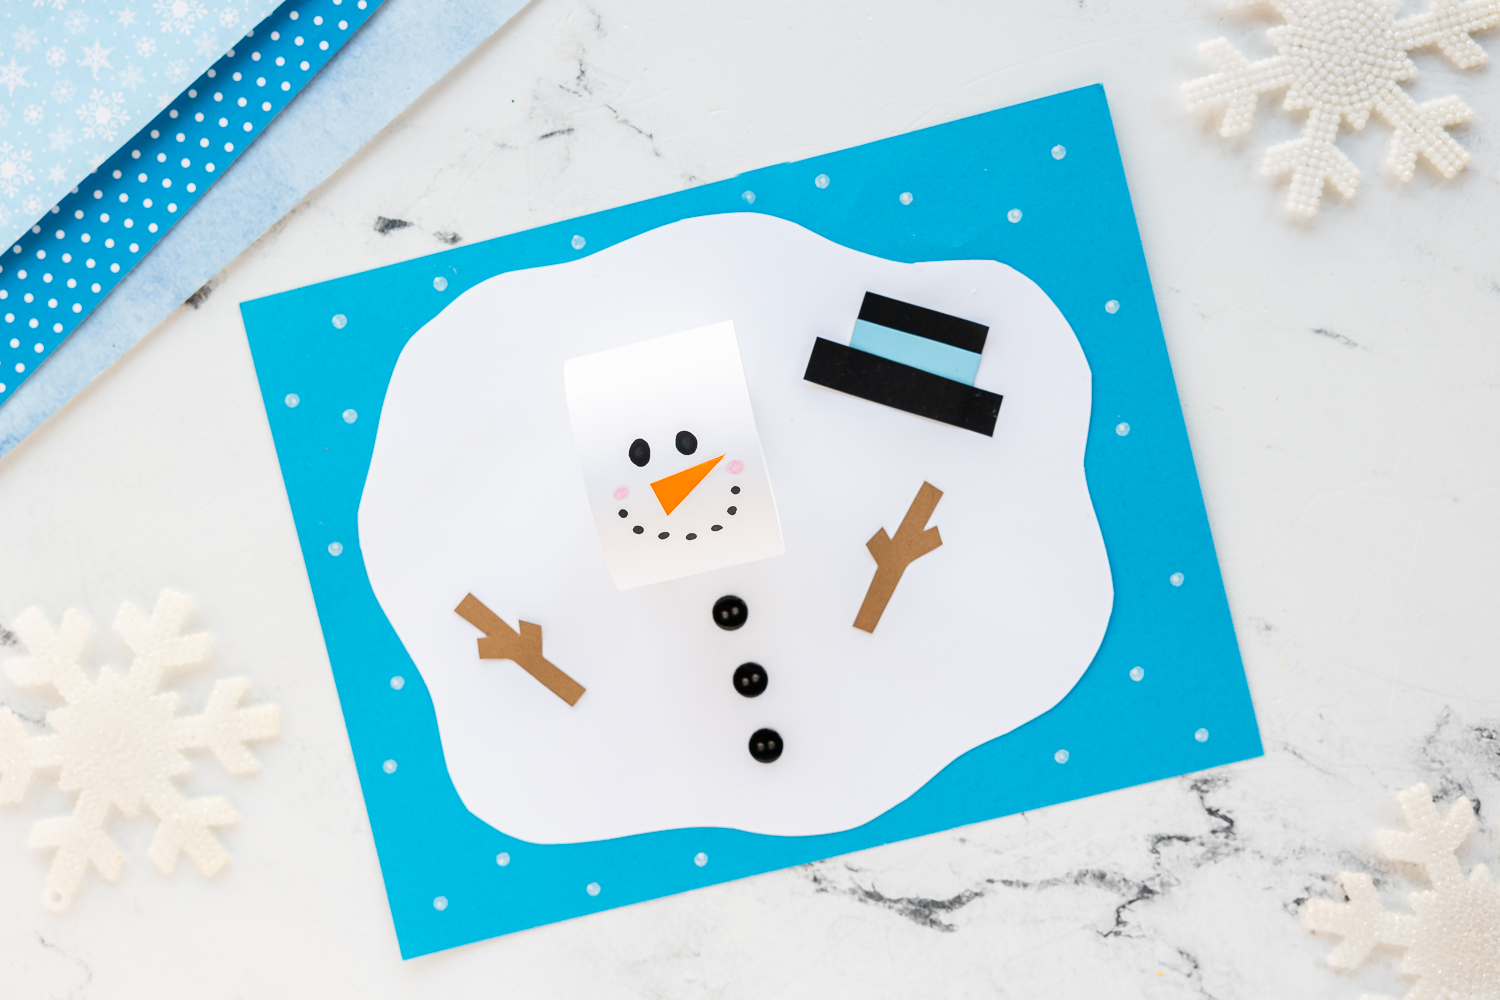
4. Glue your melted snowman body to the middle of a piece of blue card stock. We used two pieces of clear tape to secure our face but you could use a small dab of hot glue if desired as well. Adults only please! 🙂
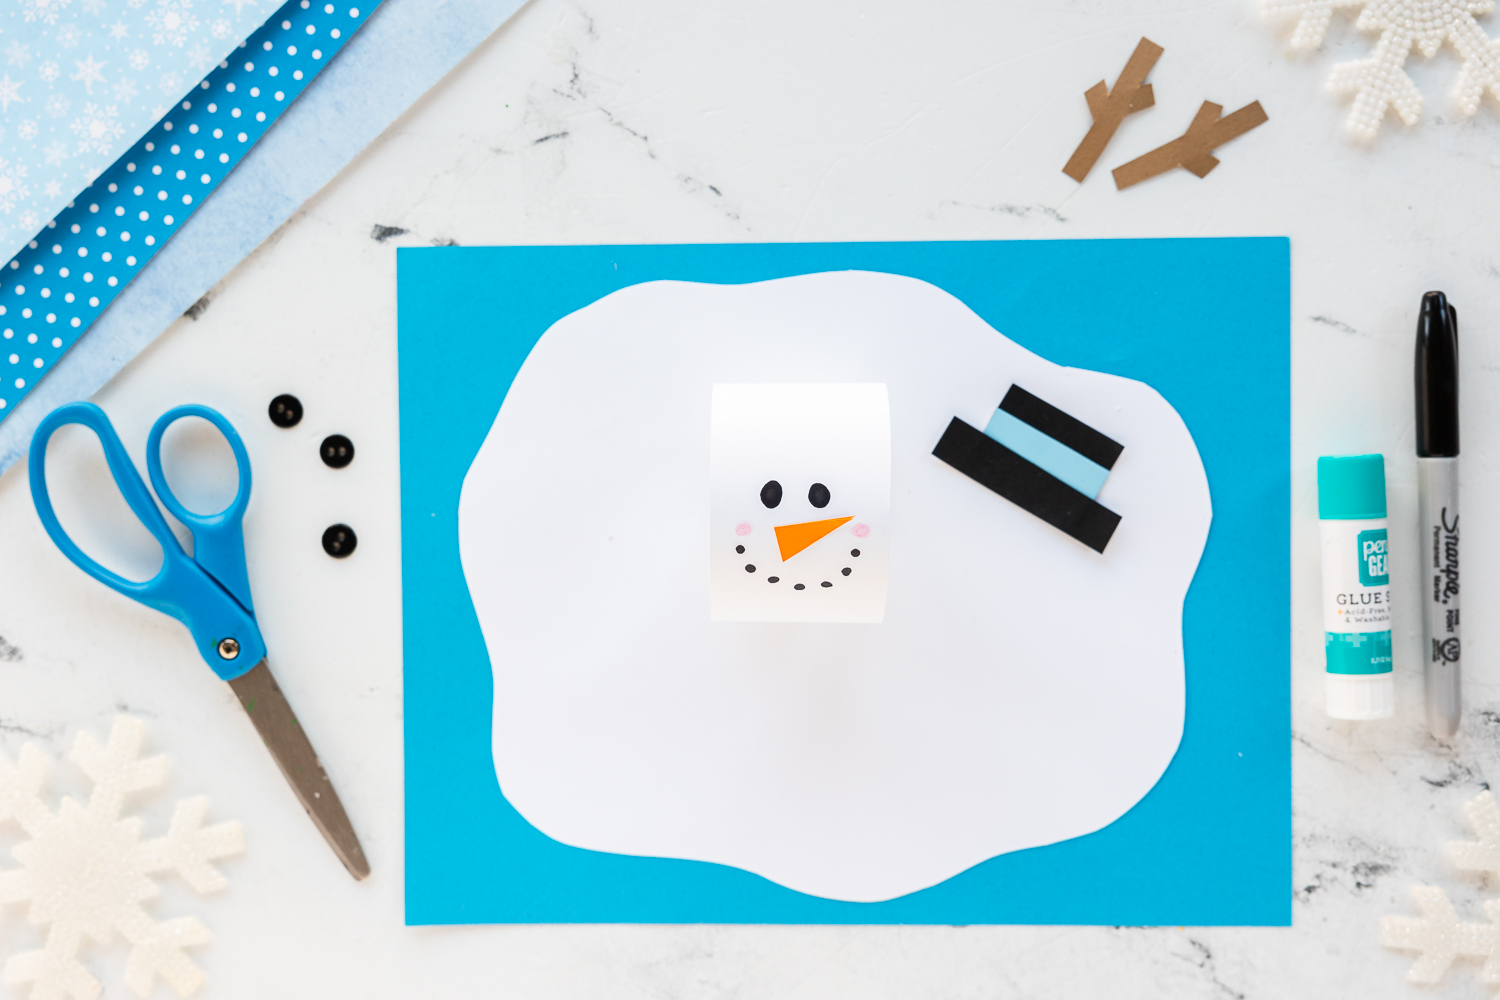
5. Glue or tape your face loop to the snowman body.
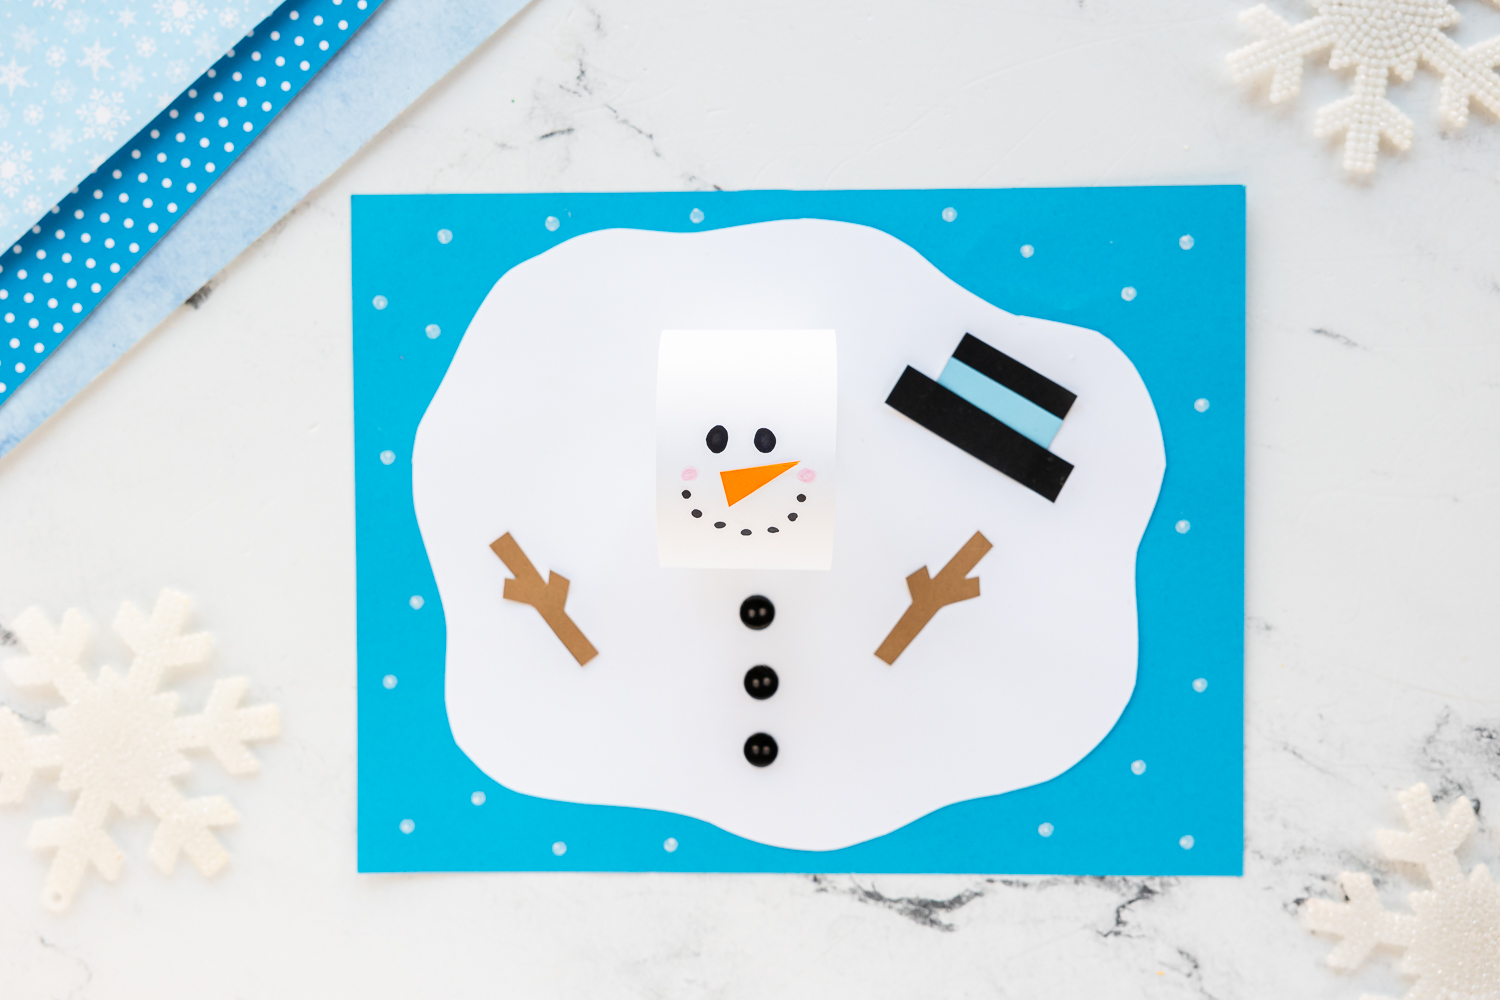
6. Add snowman arms, top hat and buttons to the melted snowman body.
7. Using a white paint pen, add some snow around the snowman.
How to Use in a Classroom or Homeschool Unit: ( EASY PREP!)
This snowman is a great project for the classroom or homeschool activity.
- Be sure to grab our free template! Having elementary aged kids cut their own craft templates, trace, and cut their own snowman pieces out is great for their fine motor skills and strengthening their hand muscles. The body of the snowman is great for younger kids to practice on a slightly wavy line! For younger kids the arms might be too difficult to cut out and for older kids this is a great start to some independent work.
- Give them paper options! Pinks, blues, and purples are all fun options for background colors! Let kids pick their favorite color to show off their melting snowman!
- Let them be creative! There are many different ways to make a snowman face! Let them personalize their own snowy friends. There is no wrong way to make them.
- Display! These cute snowmen would make a perfect seasonal bulletin board display and kids will love walking by and seeing their snowmen for all the school to enjoy during the winter season.
- Read some books! Grab some of your favorite snowman books to go along with this cute winter scene.
For more Snowmen crafts or winter activities you should try these:
- Sponge Painted Polar Bear
- Puffy Paint Snowman – uses glue and shaving cream!
- Popsicle Stick Snowman
- Paper Plate Snowman


