As an Amazon Associate I earn from qualifying purchases.
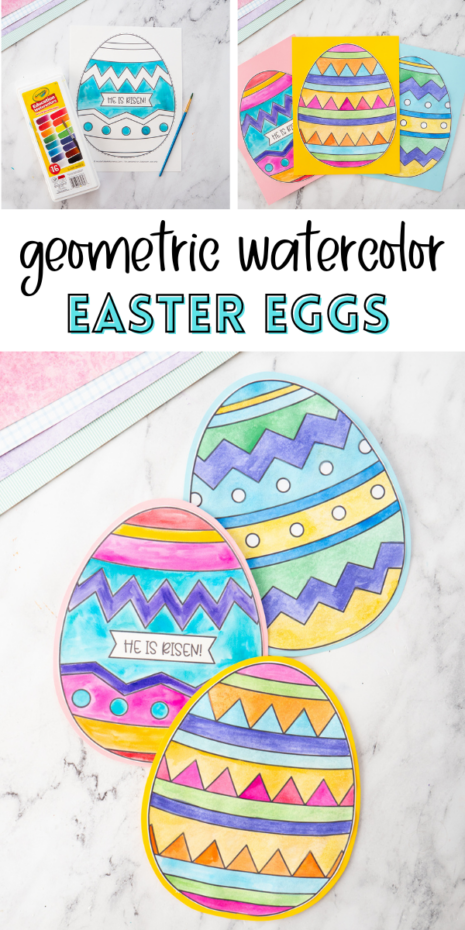
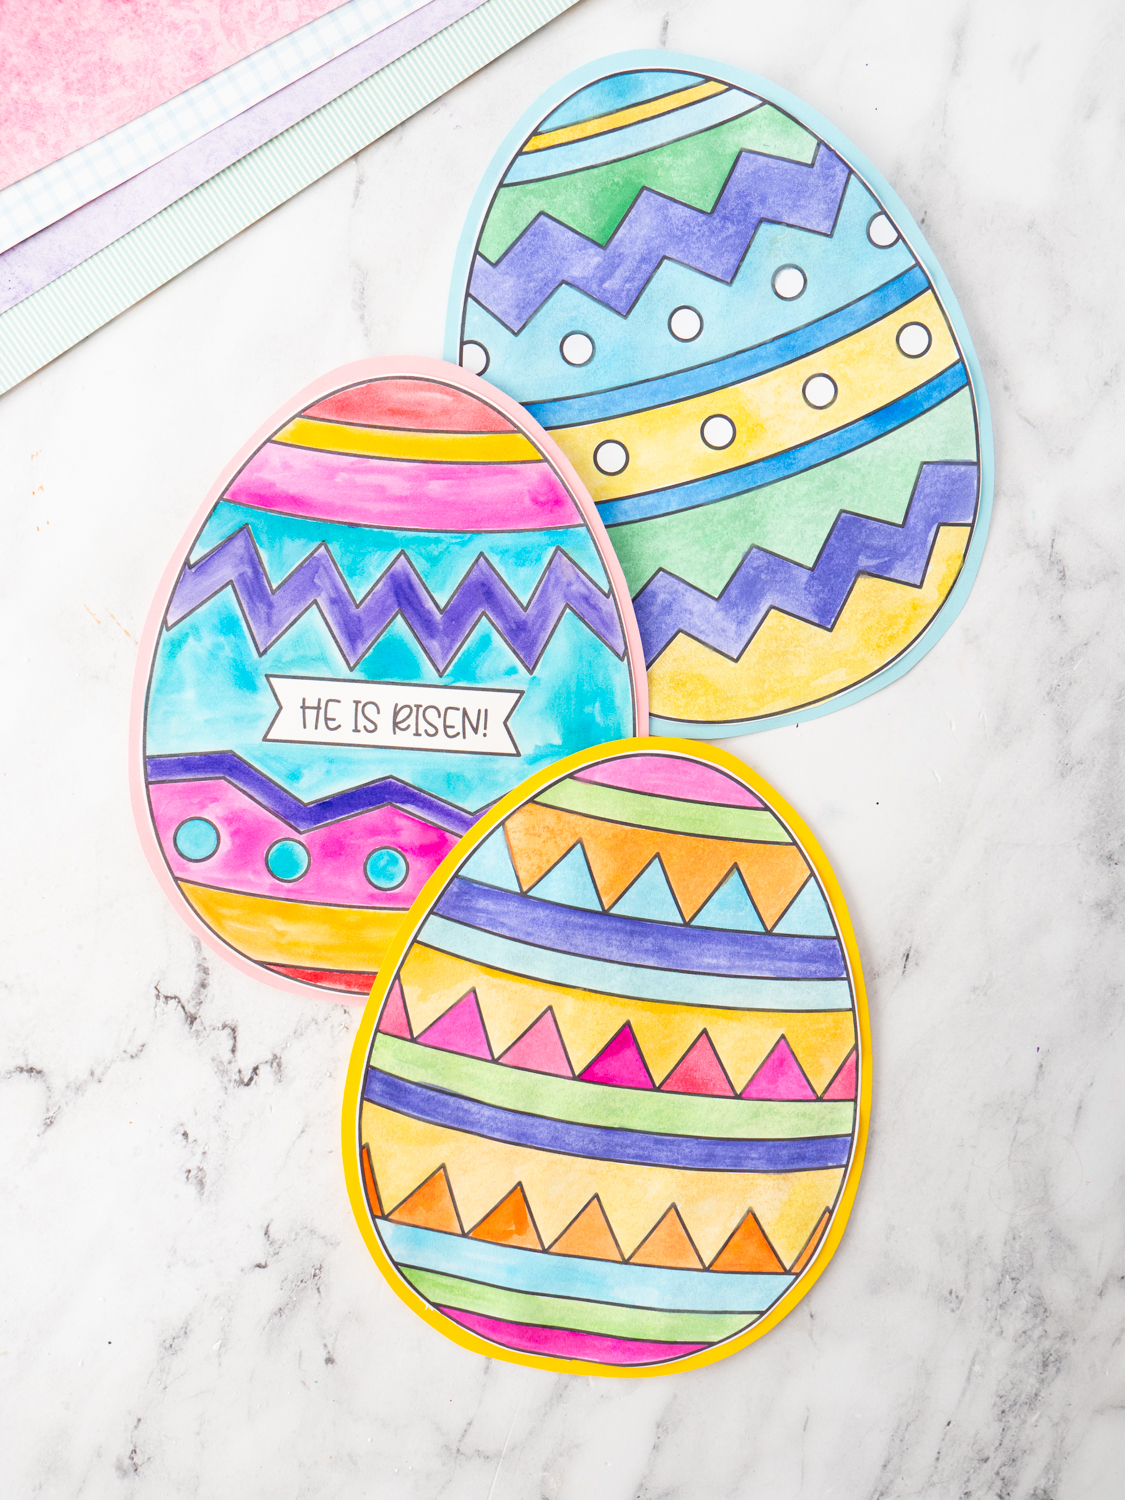
Create bright Geometric Watercolor Easter Eggs using a printable template, or let your kids draw their own design first for a little extra creativity and spring art fun together.
Watercolor Easter Egg Craft
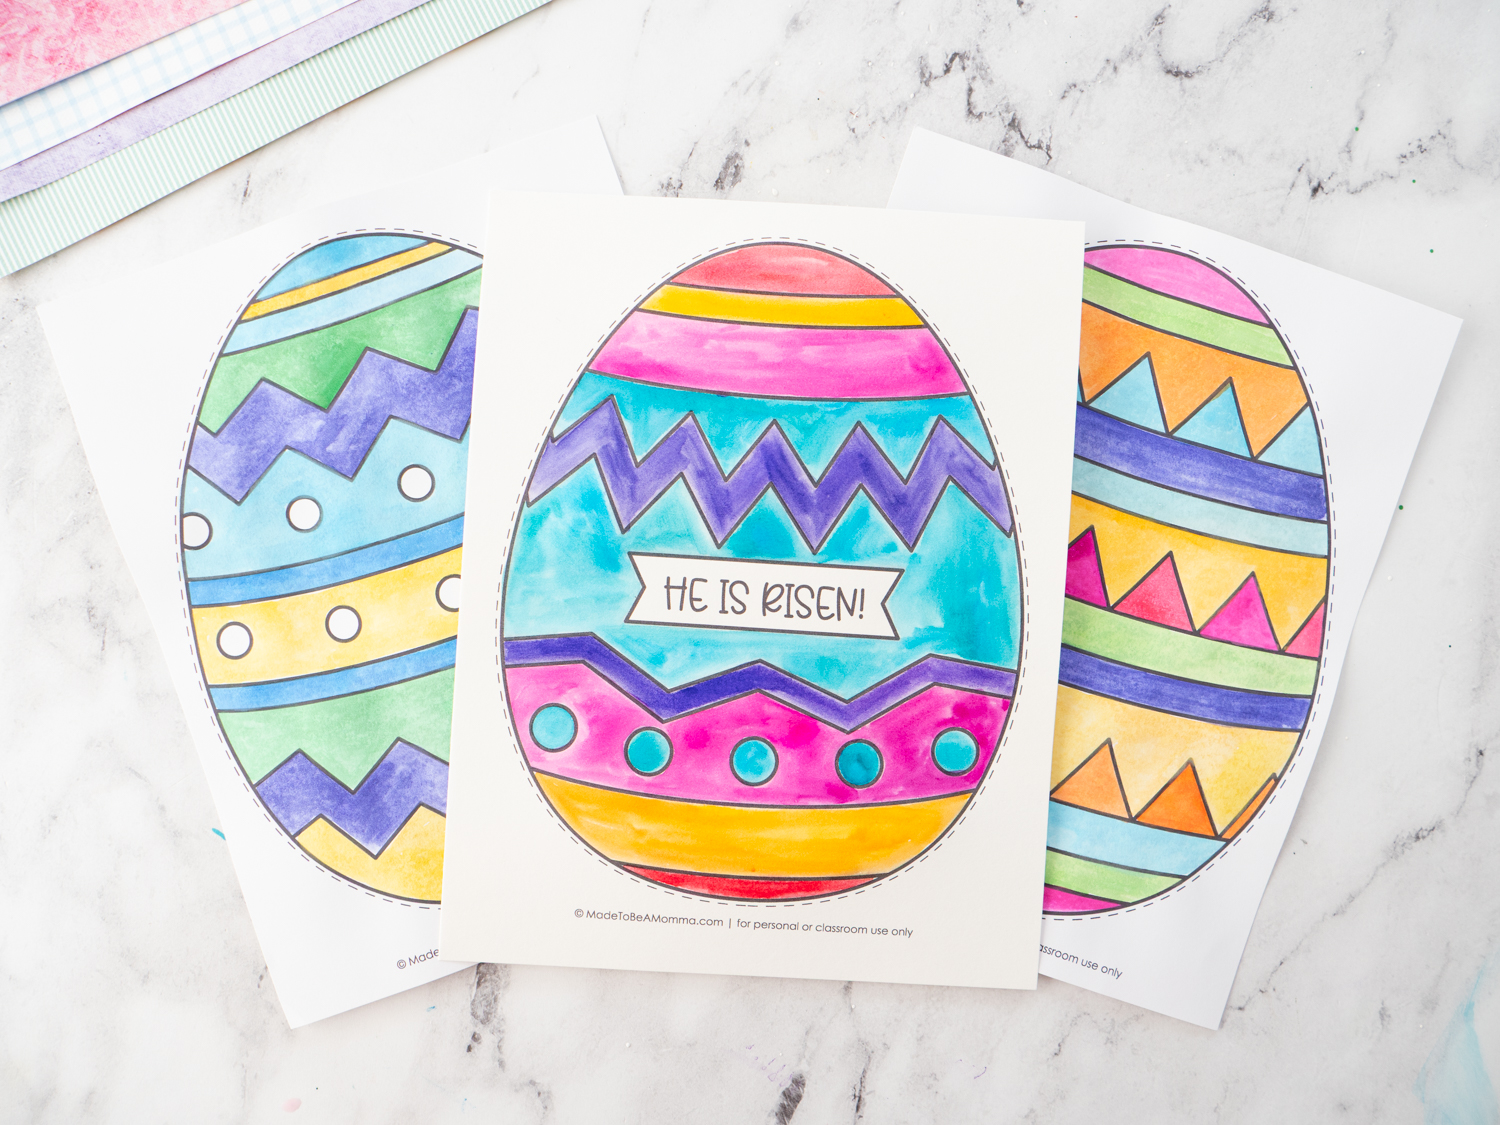
If you’re looking for a colorful and easy Easter art project, these Geometric Watercolor Easter Eggs are such a fun choice! 🎨🥚 The printable template comes with pre-drawn geometric patterns — zigzags, stripes, dots, and triangles — so kids can jump right into painting and coloring. But if you’d rather have them design their own egg first, they absolutely can! Simply draw a large egg shape on paper, divide it into sections with lines and patterns, and then follow the same watercolor or coloring steps below.

Why Pre-Drawn Templates Are Actually Helpful 🙂
Because the patterns are already created for them, kids can:
- Focus on staying inside the lines
- Practice watercolor control
- Explore warm and cool colors
- Make intentional color choices
- Build fine motor skills
Sometimes removing the “draw it first” step allows kids to slow down and really enjoy the painting process without getting bored. It also makes this craft accessible for a wider range of ages.
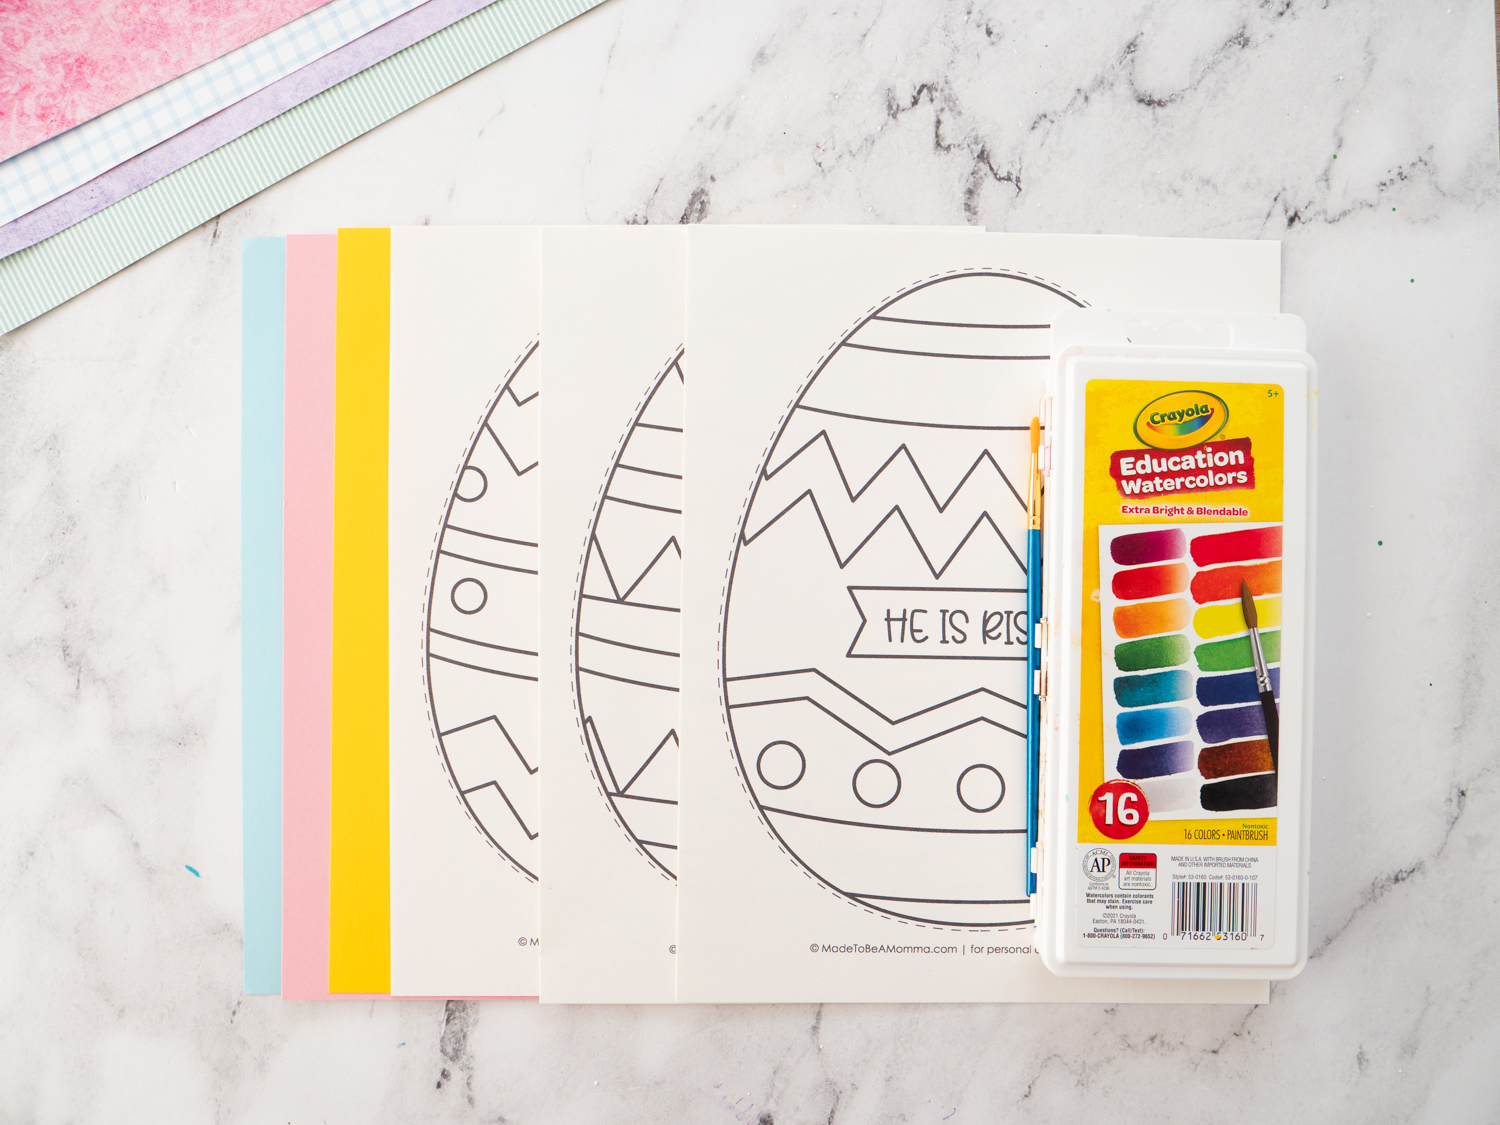
Materials Needed To Make A Painted Easter Egg Craft
- Free Easter Egg Templates
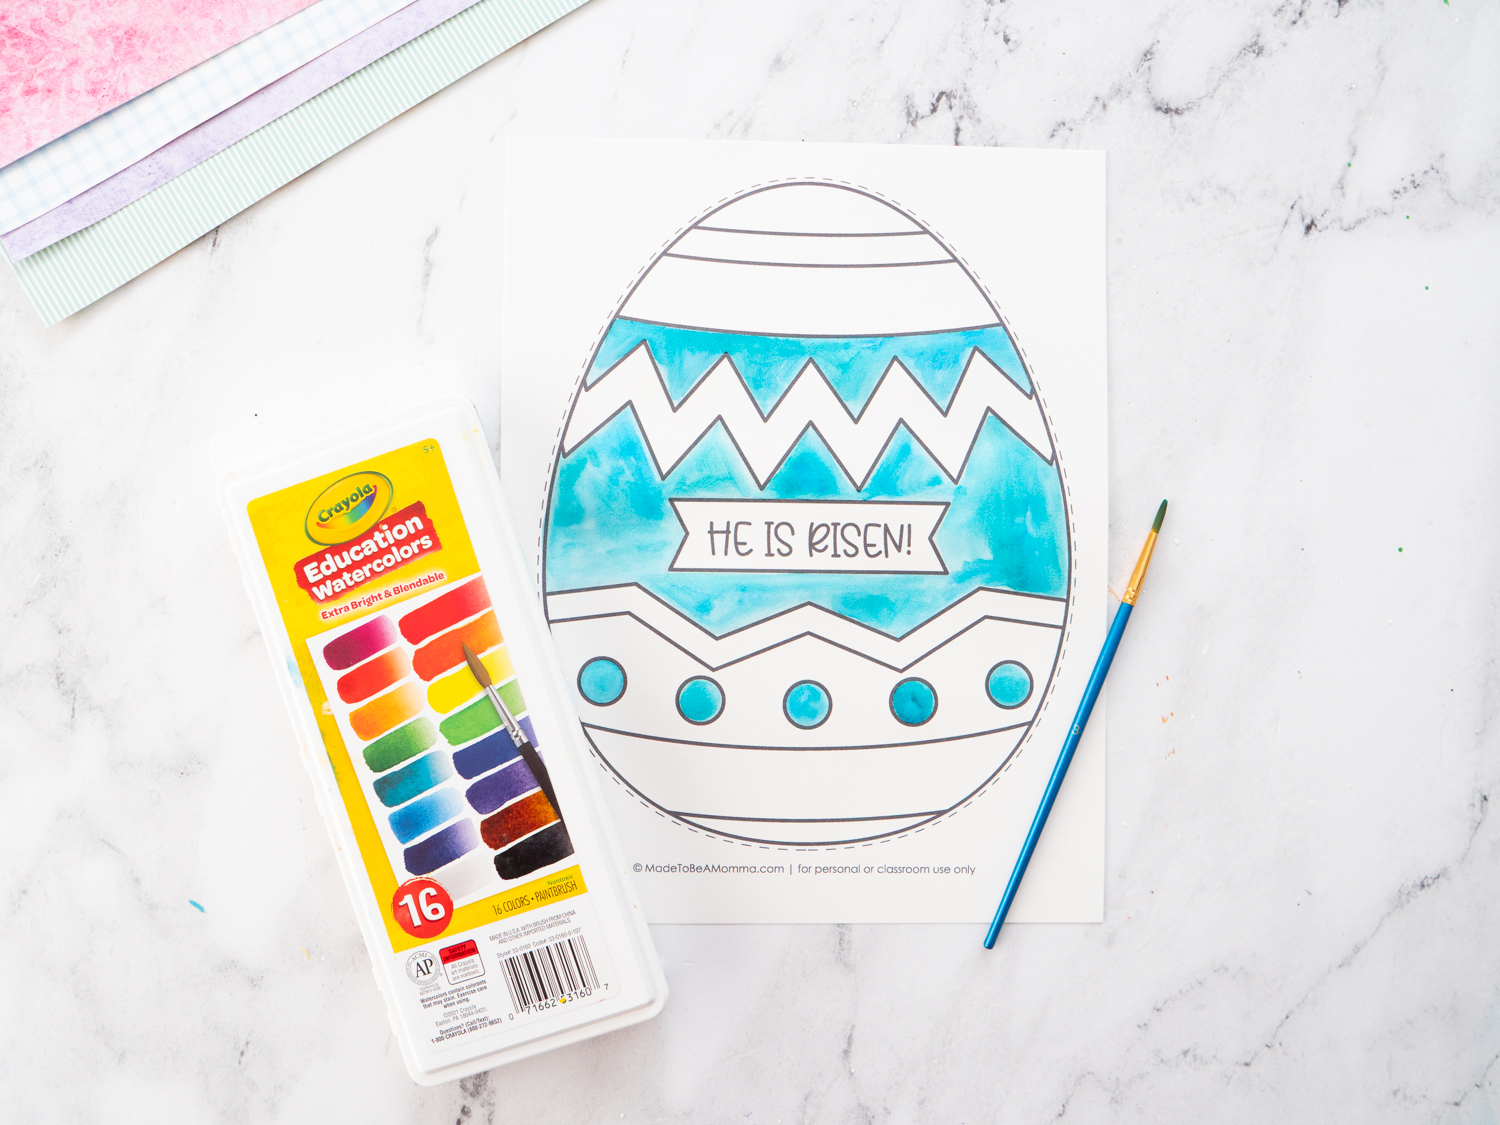
- Watercolors- we love this brand!
- Oil Pastels, optional but great for younger crafters
- Colored Paper, in your desired shades
- Glue
- Scissors
Crayon Resist Option: perfect for little hands!
For younger kids or students who are still developing brush control, I highly recommend adding a crayon resist step. Before painting, have them trace over all the printed lines with a regular crayon (whatever color they desire!). Pressing firmly creates a wax barrier that helps prevent the watercolor from bleeding into the next section.
For Older Crafters
If you’re working with older kids who already have stronger brush control, you can skip the crayon resist step. Now your kids can focus on:
- Painting up to a line without crossing it
- Controlling how much water is on the brush
- Rotating the paper instead of twisting their wrist
- Making clean, intentional strokes
Even though they aren’t drawing the patterns, they’re still building important art skills through painting technique and color choices.
How to Make a Watercolor Easter Egg
Step One:
- Print your favorite Easter egg templates or draw your own!
- Paint all the different sections of your geometric egg with your favorite watercolor shades! Encourage your kids to mix colors together to form new colors!
- Allow to dry completely.
Step Two:
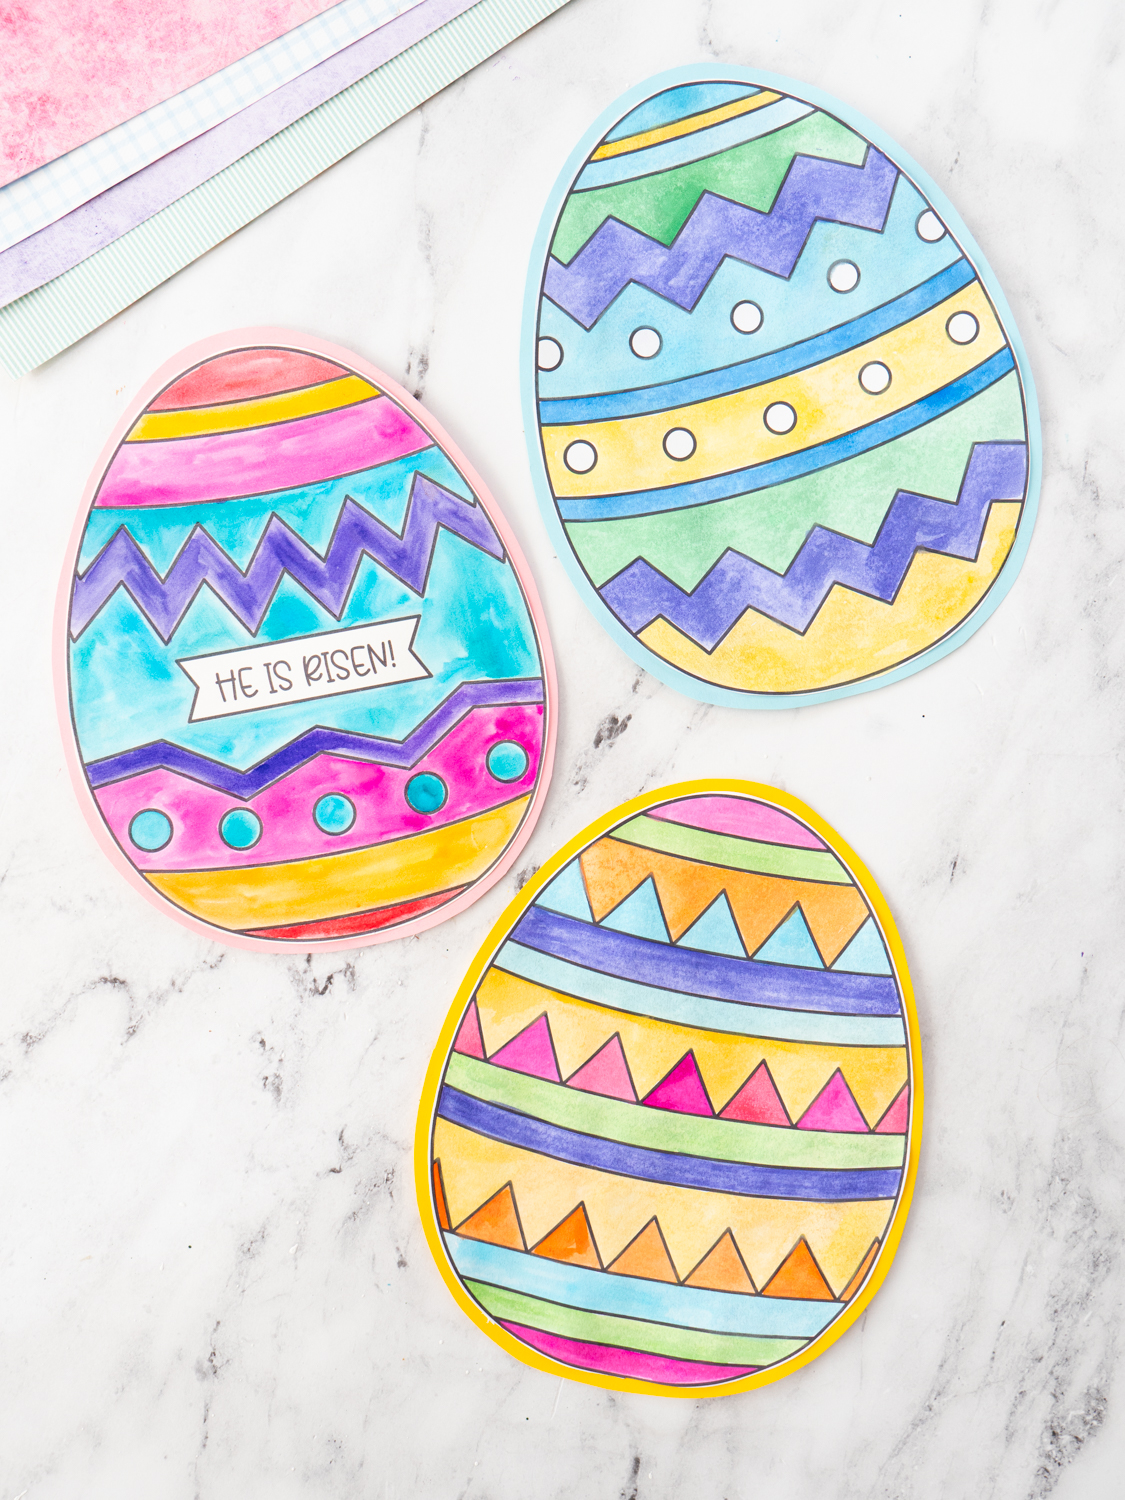
- Once your Easter eggs are dry, cut them out following the cut lines.
- Glue your eggs to a piece of colored paper.
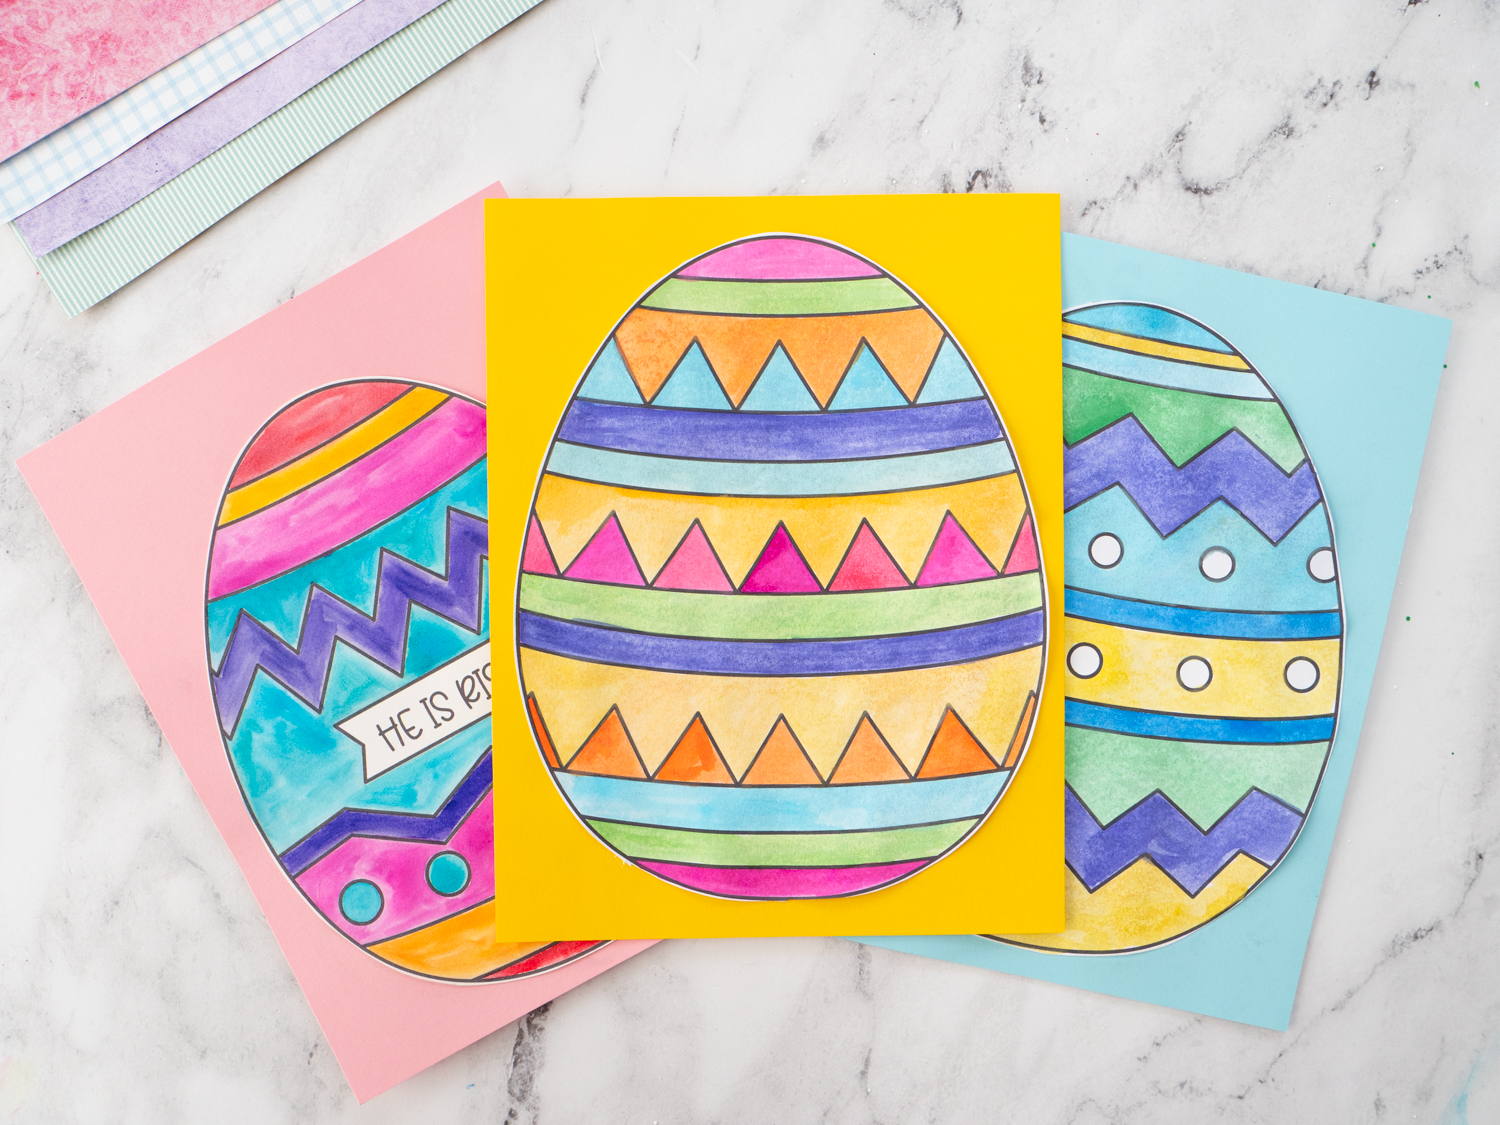
Step Three:
- Trim around each Easter egg, leaving about ¼ inch of the colored paper showing to create a bright, colorful border.
- If you prefer, you can also leave the eggs fully glued to the paper. This adds a pop of bold color to your eggs!

For More Easter Craft Ideas Try These: