As an Amazon Associate I earn from qualifying purchases.
This Torn Paper Snowflake activity is a wonderful activity for children to understand and celebrate their individuality as God made them, just as every snowflake is unique in its design.
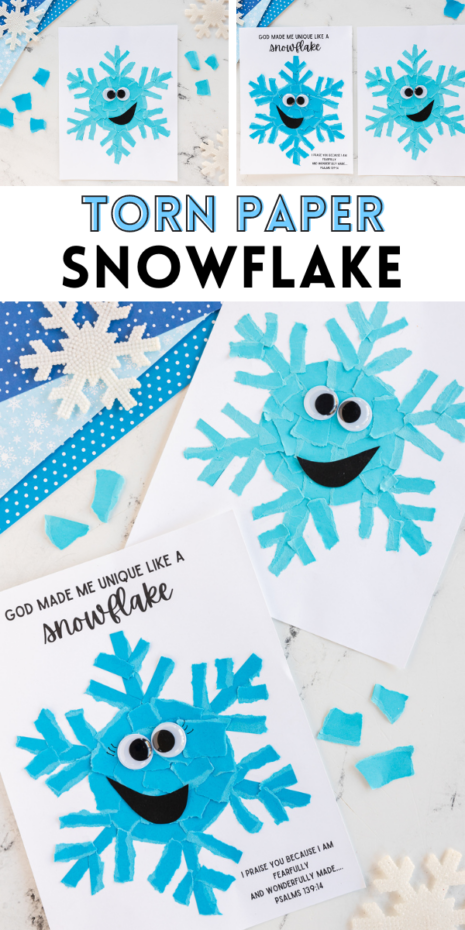
Torn Paper Snowflake
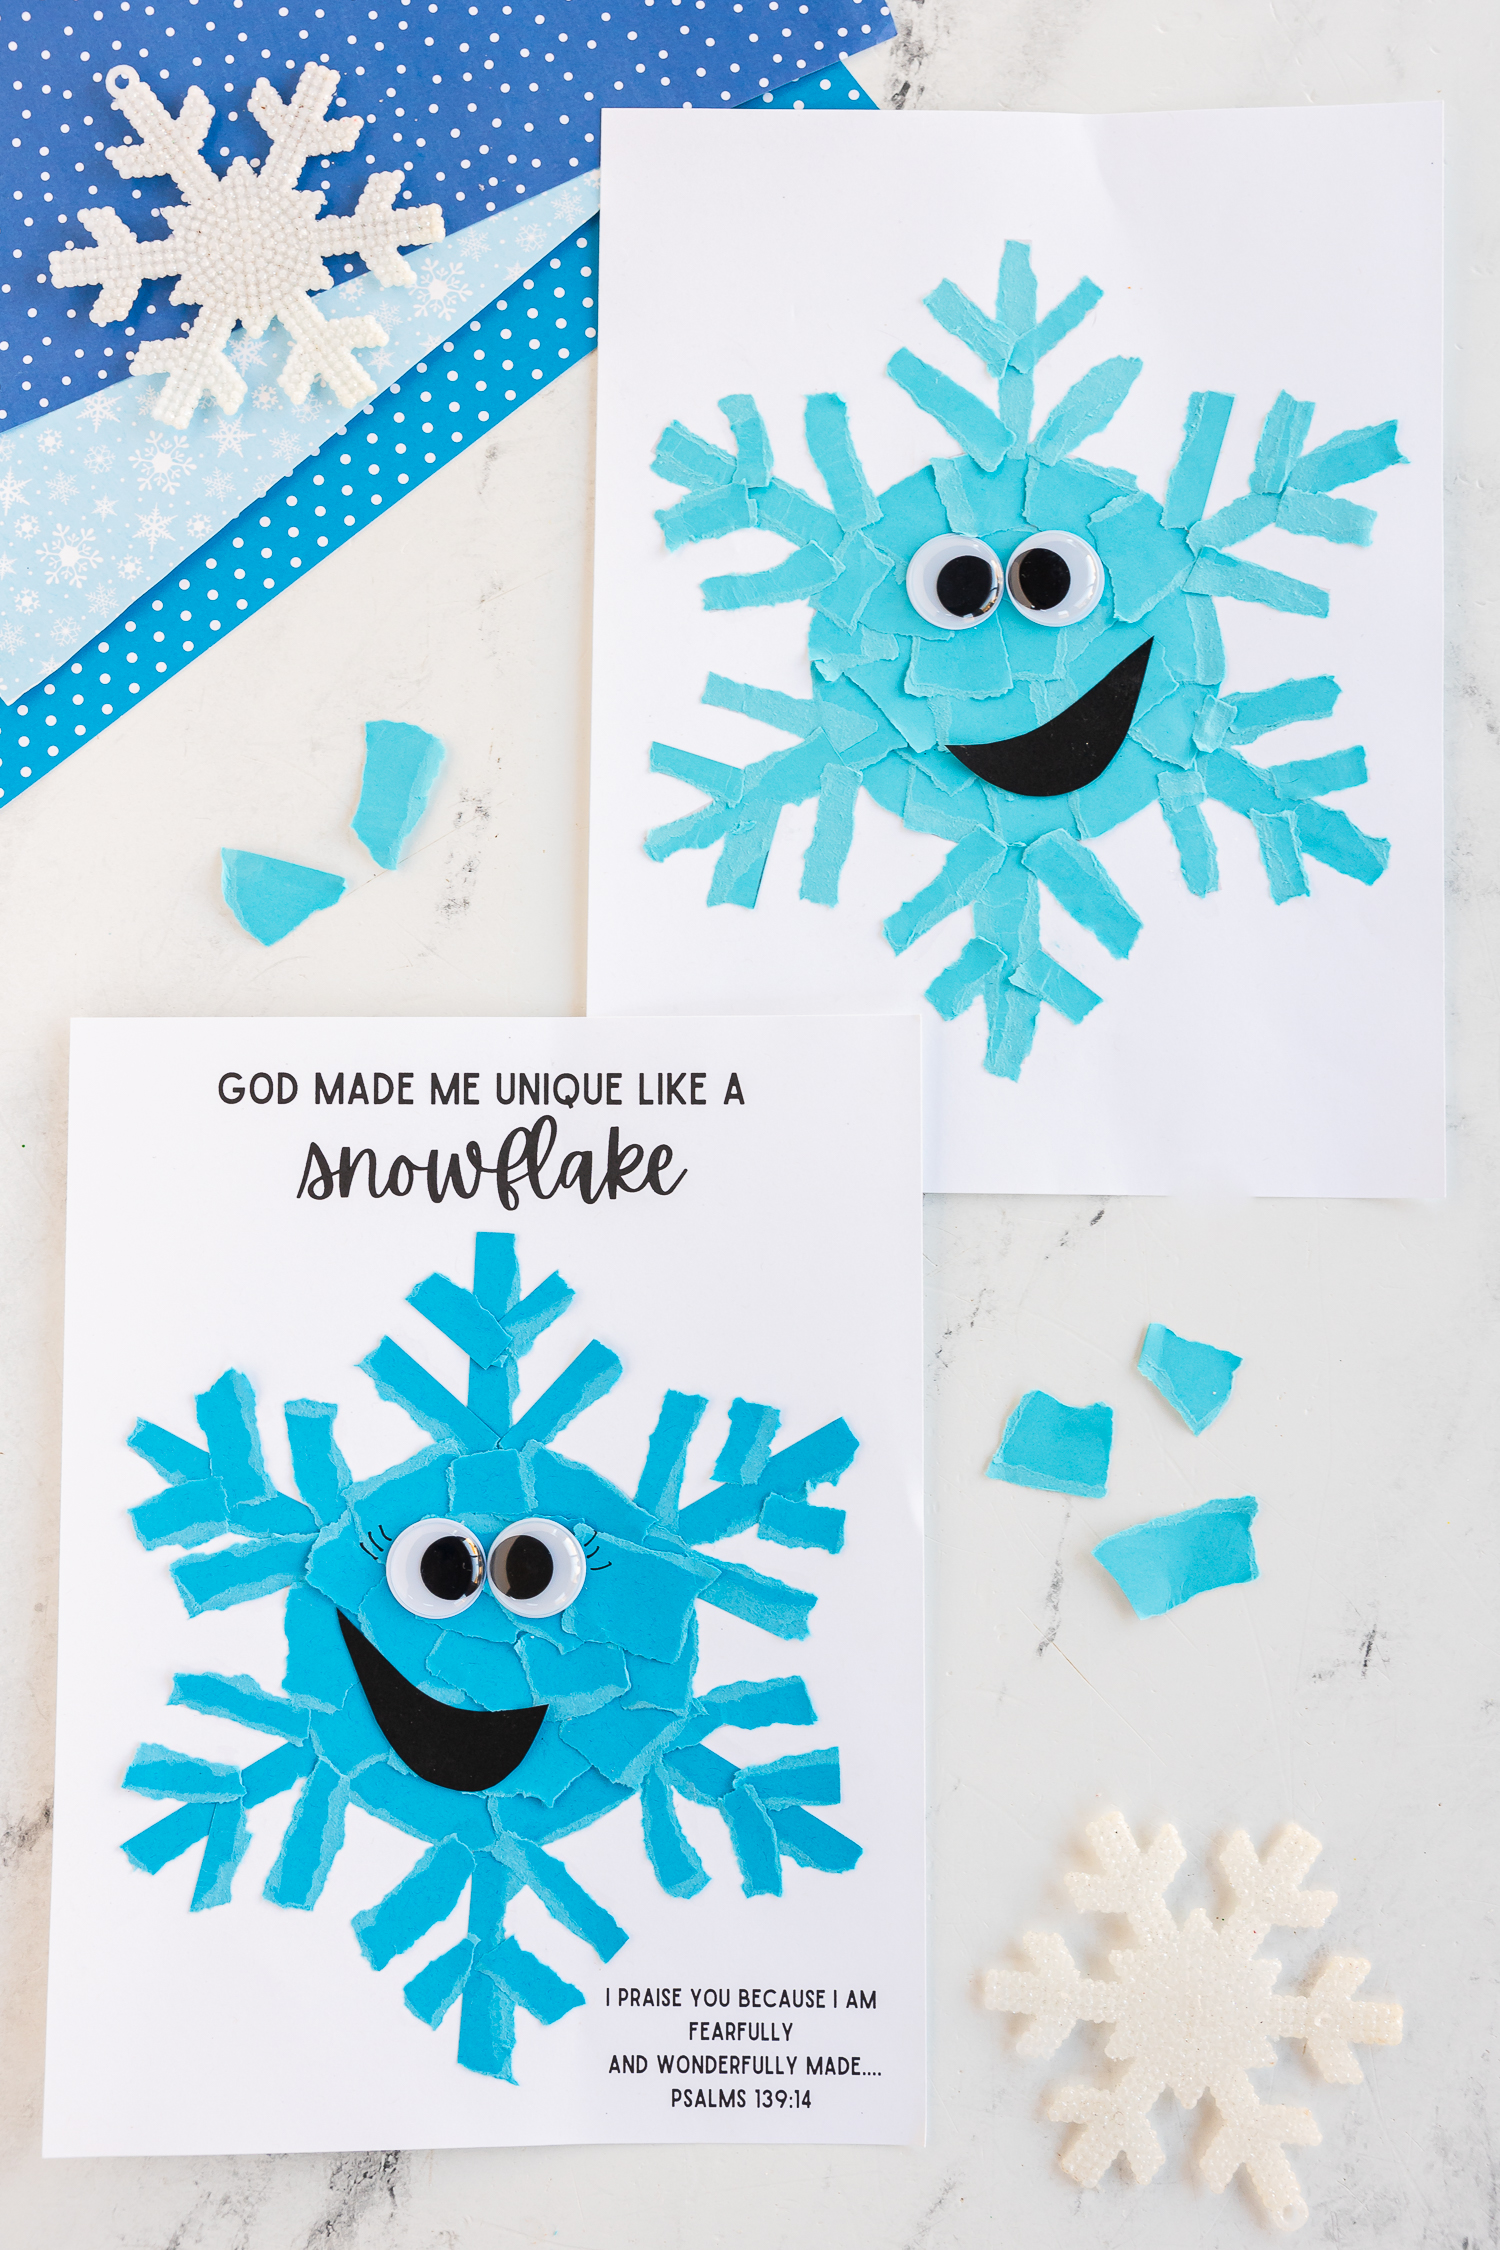
This Torn paper Snowflake project is the perfect opportunity to discuss with children the importance of individuality. Just like no two snowflakes are exactly alike, each child is wonderfully made in God’s image. This Bible snowflake craft is perfectly for a Sunday School winter lesson, homeschool lesson or just because.
We offer two FREE printable templates for this craft. You can decide if you want the Bible verse to be a part of your craft or not.
HOW TO VIDEO:
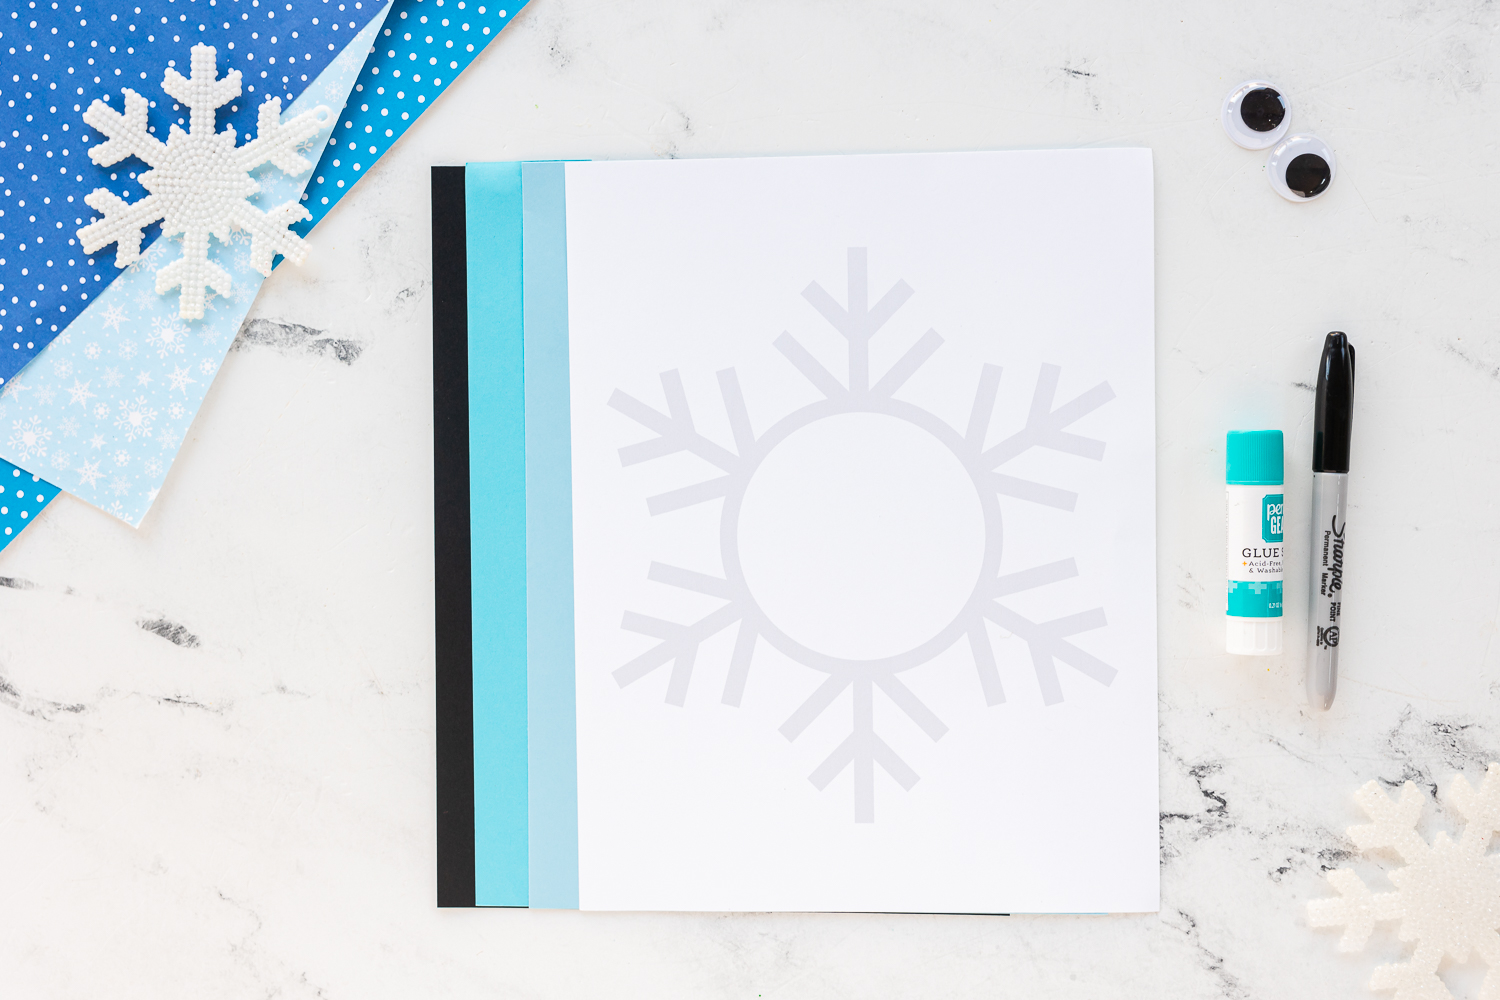
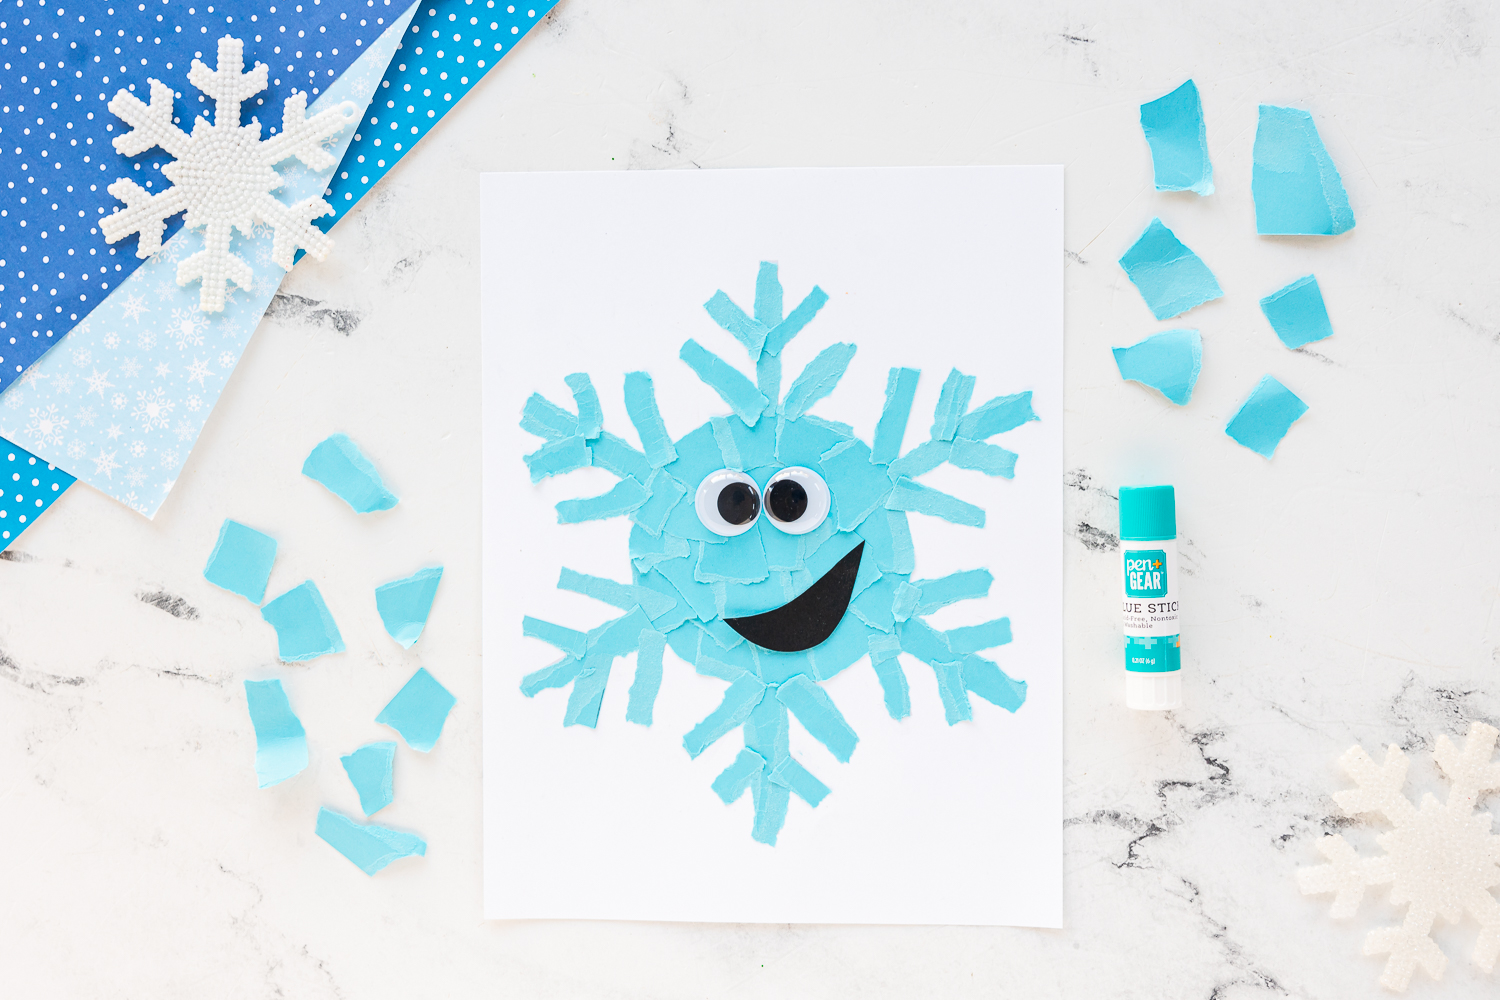
Materials Needed To Make A Torn Paper Snowflake
- Free Printable Snowflake Template. Download with the Bible Verse here and without here.
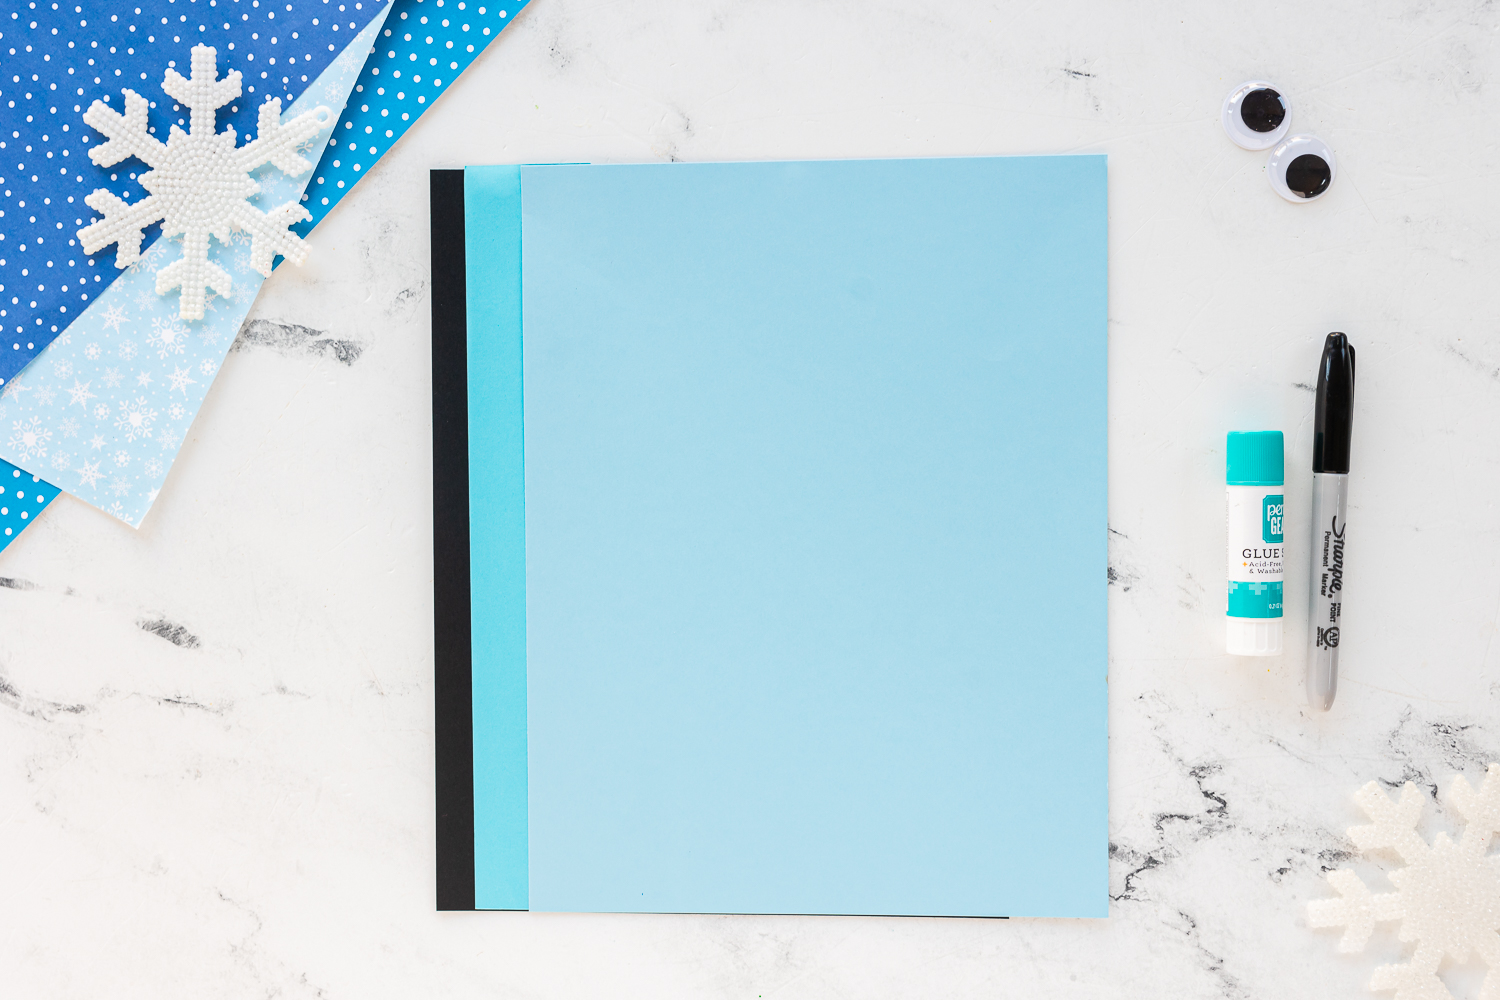
- Various Shades of Blue Paper: To mimic the cool hues of real snowflakes.
- Black Cardstock: For the snowflake’s smile.
- Googly Eyes: To bring your snowflake to life.
- Glue: To stick everything together.
- Optional: Add eyelashes for extra personality.
How To Make a Torn Paper Snowflake
This craft is super fun and easy to make! Here’s how.
Step 1: Prepare Your Materials
First, gather all your materials. Make sure you have different shades of blue paper to give depth and character to your snowflake.
Step 2: Tear and Create
This is where the fun begins! Tear your blue paper into small pieces. Don’t worry about making them uniform; the uniqueness of each piece adds to the charm of your snowflake.
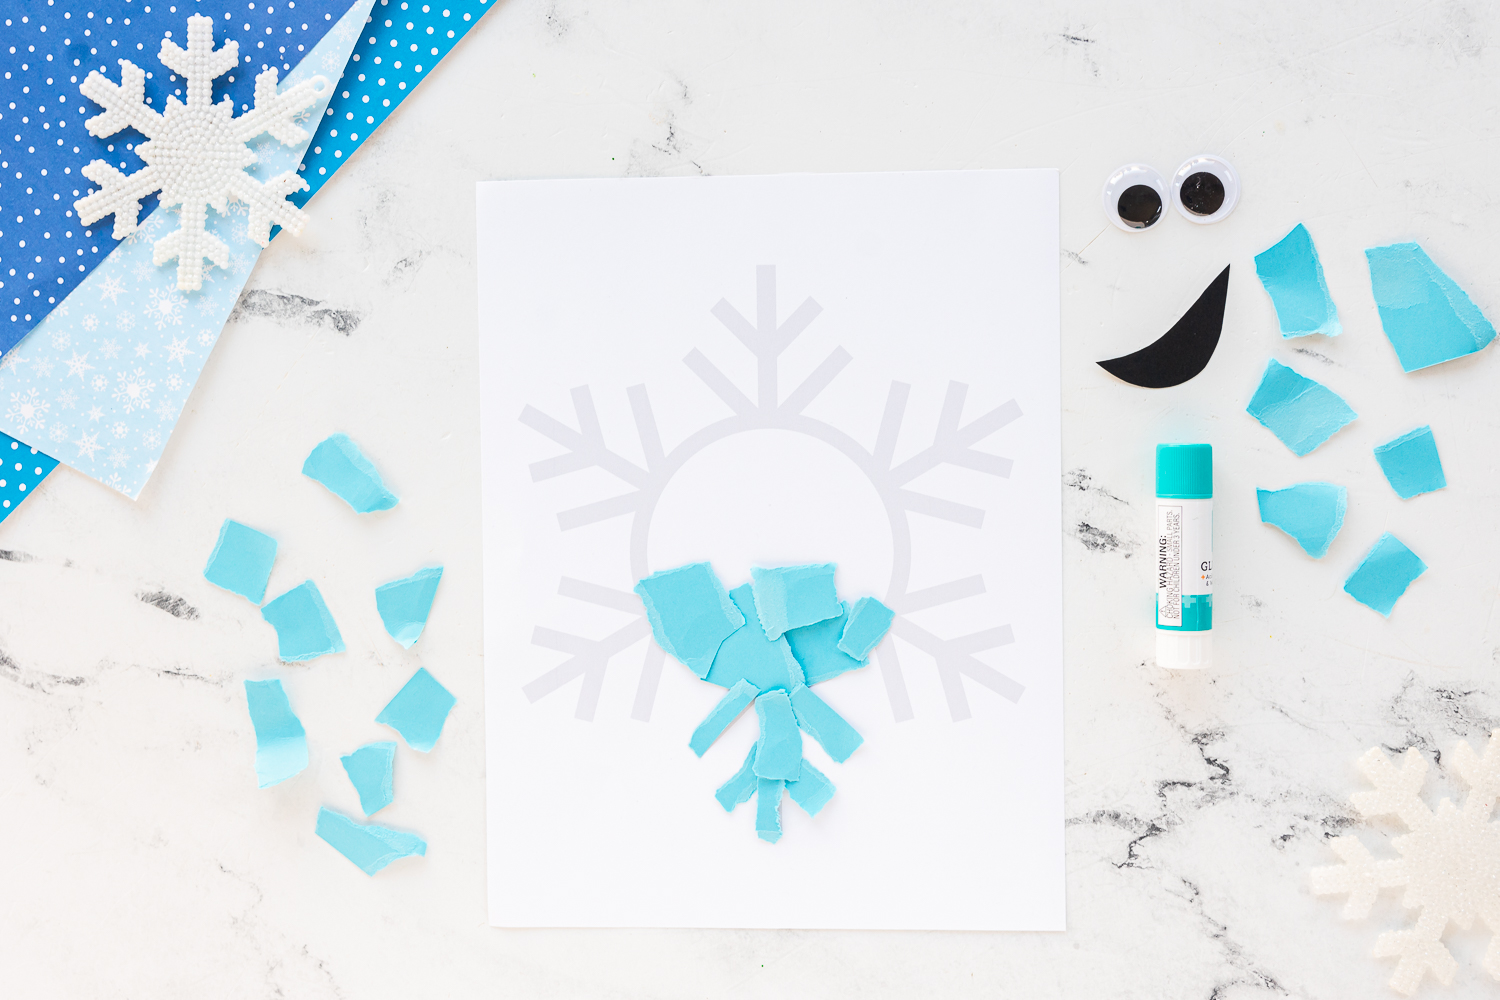
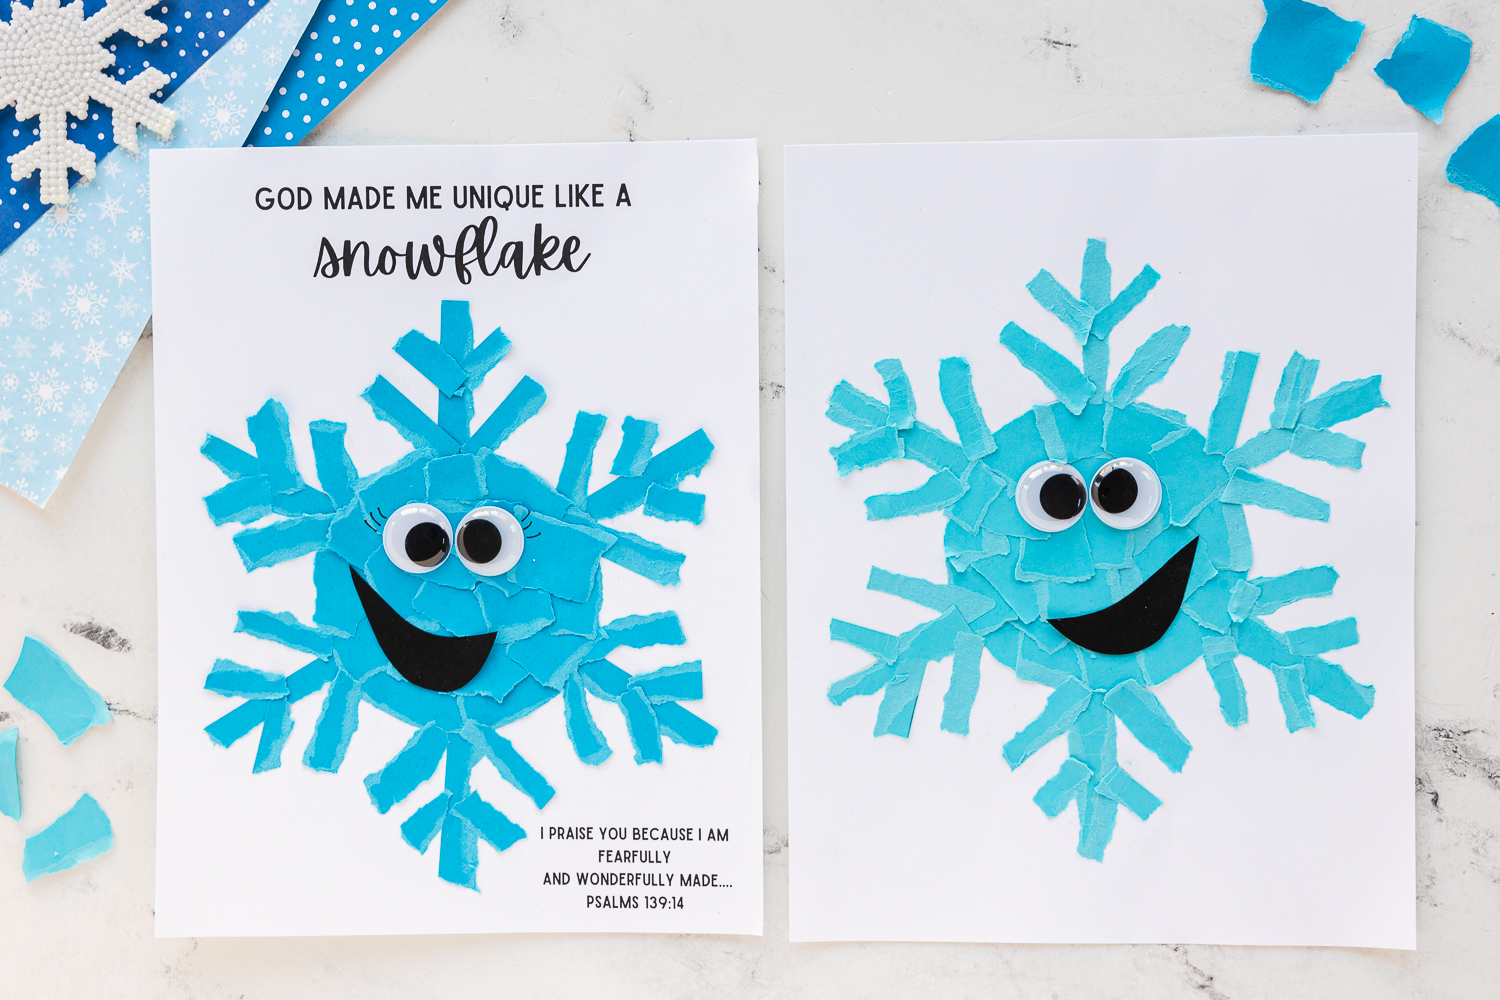
Step 3: Glue onto the Template
Take your snowflake template and start gluing the torn pieces of paper onto it. Fill in the template completely, and feel free to overlap pieces for a textured look.
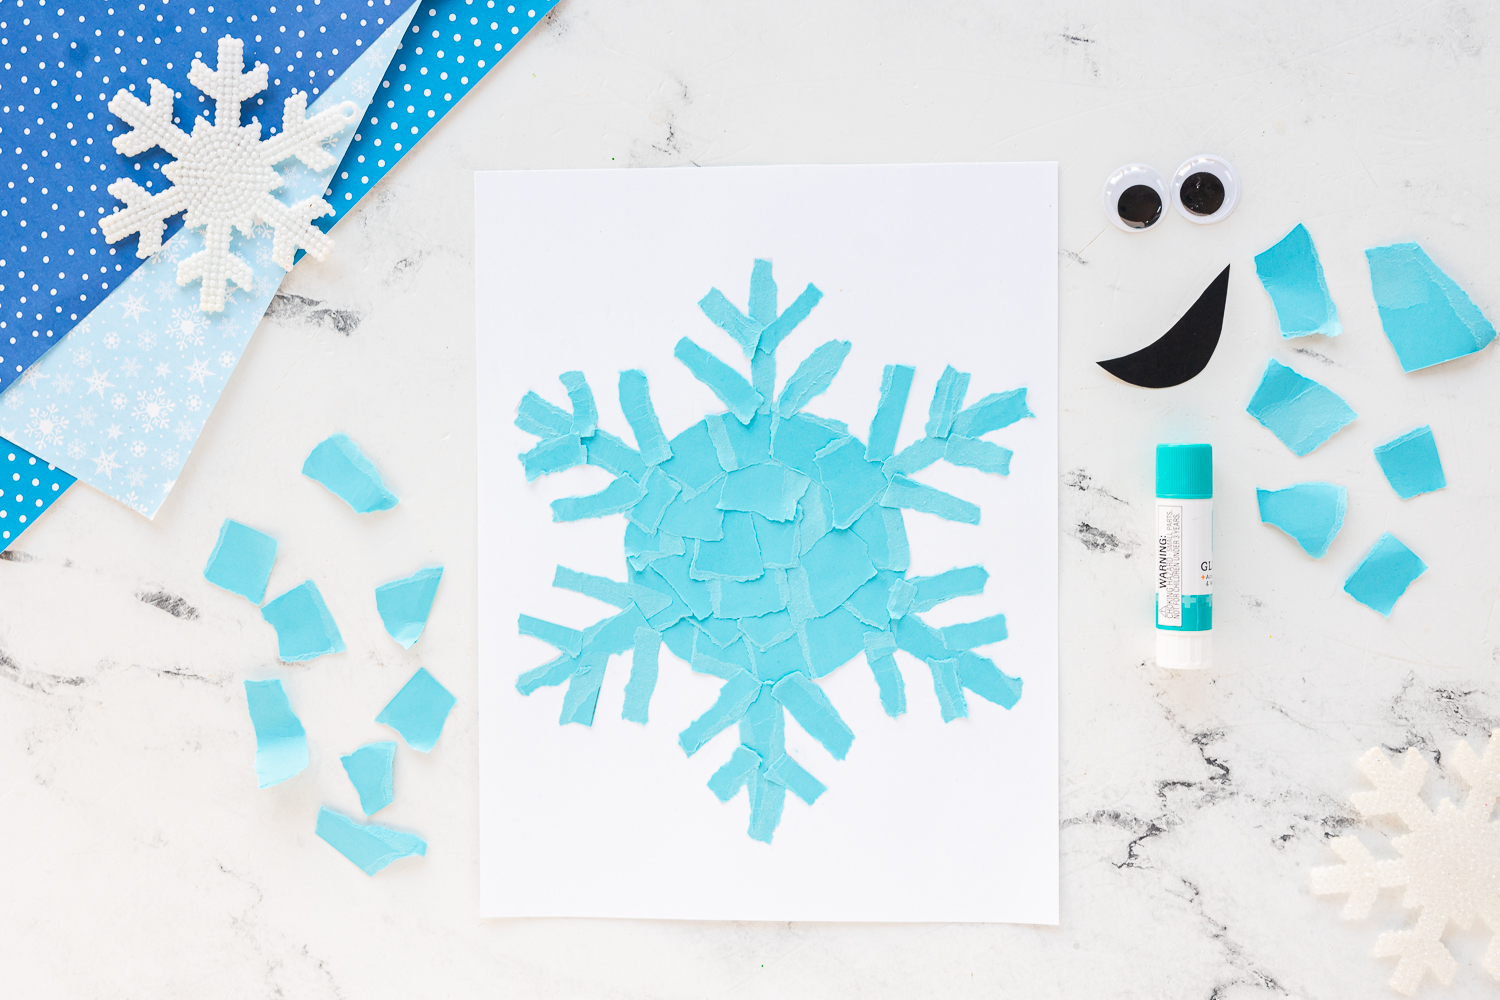
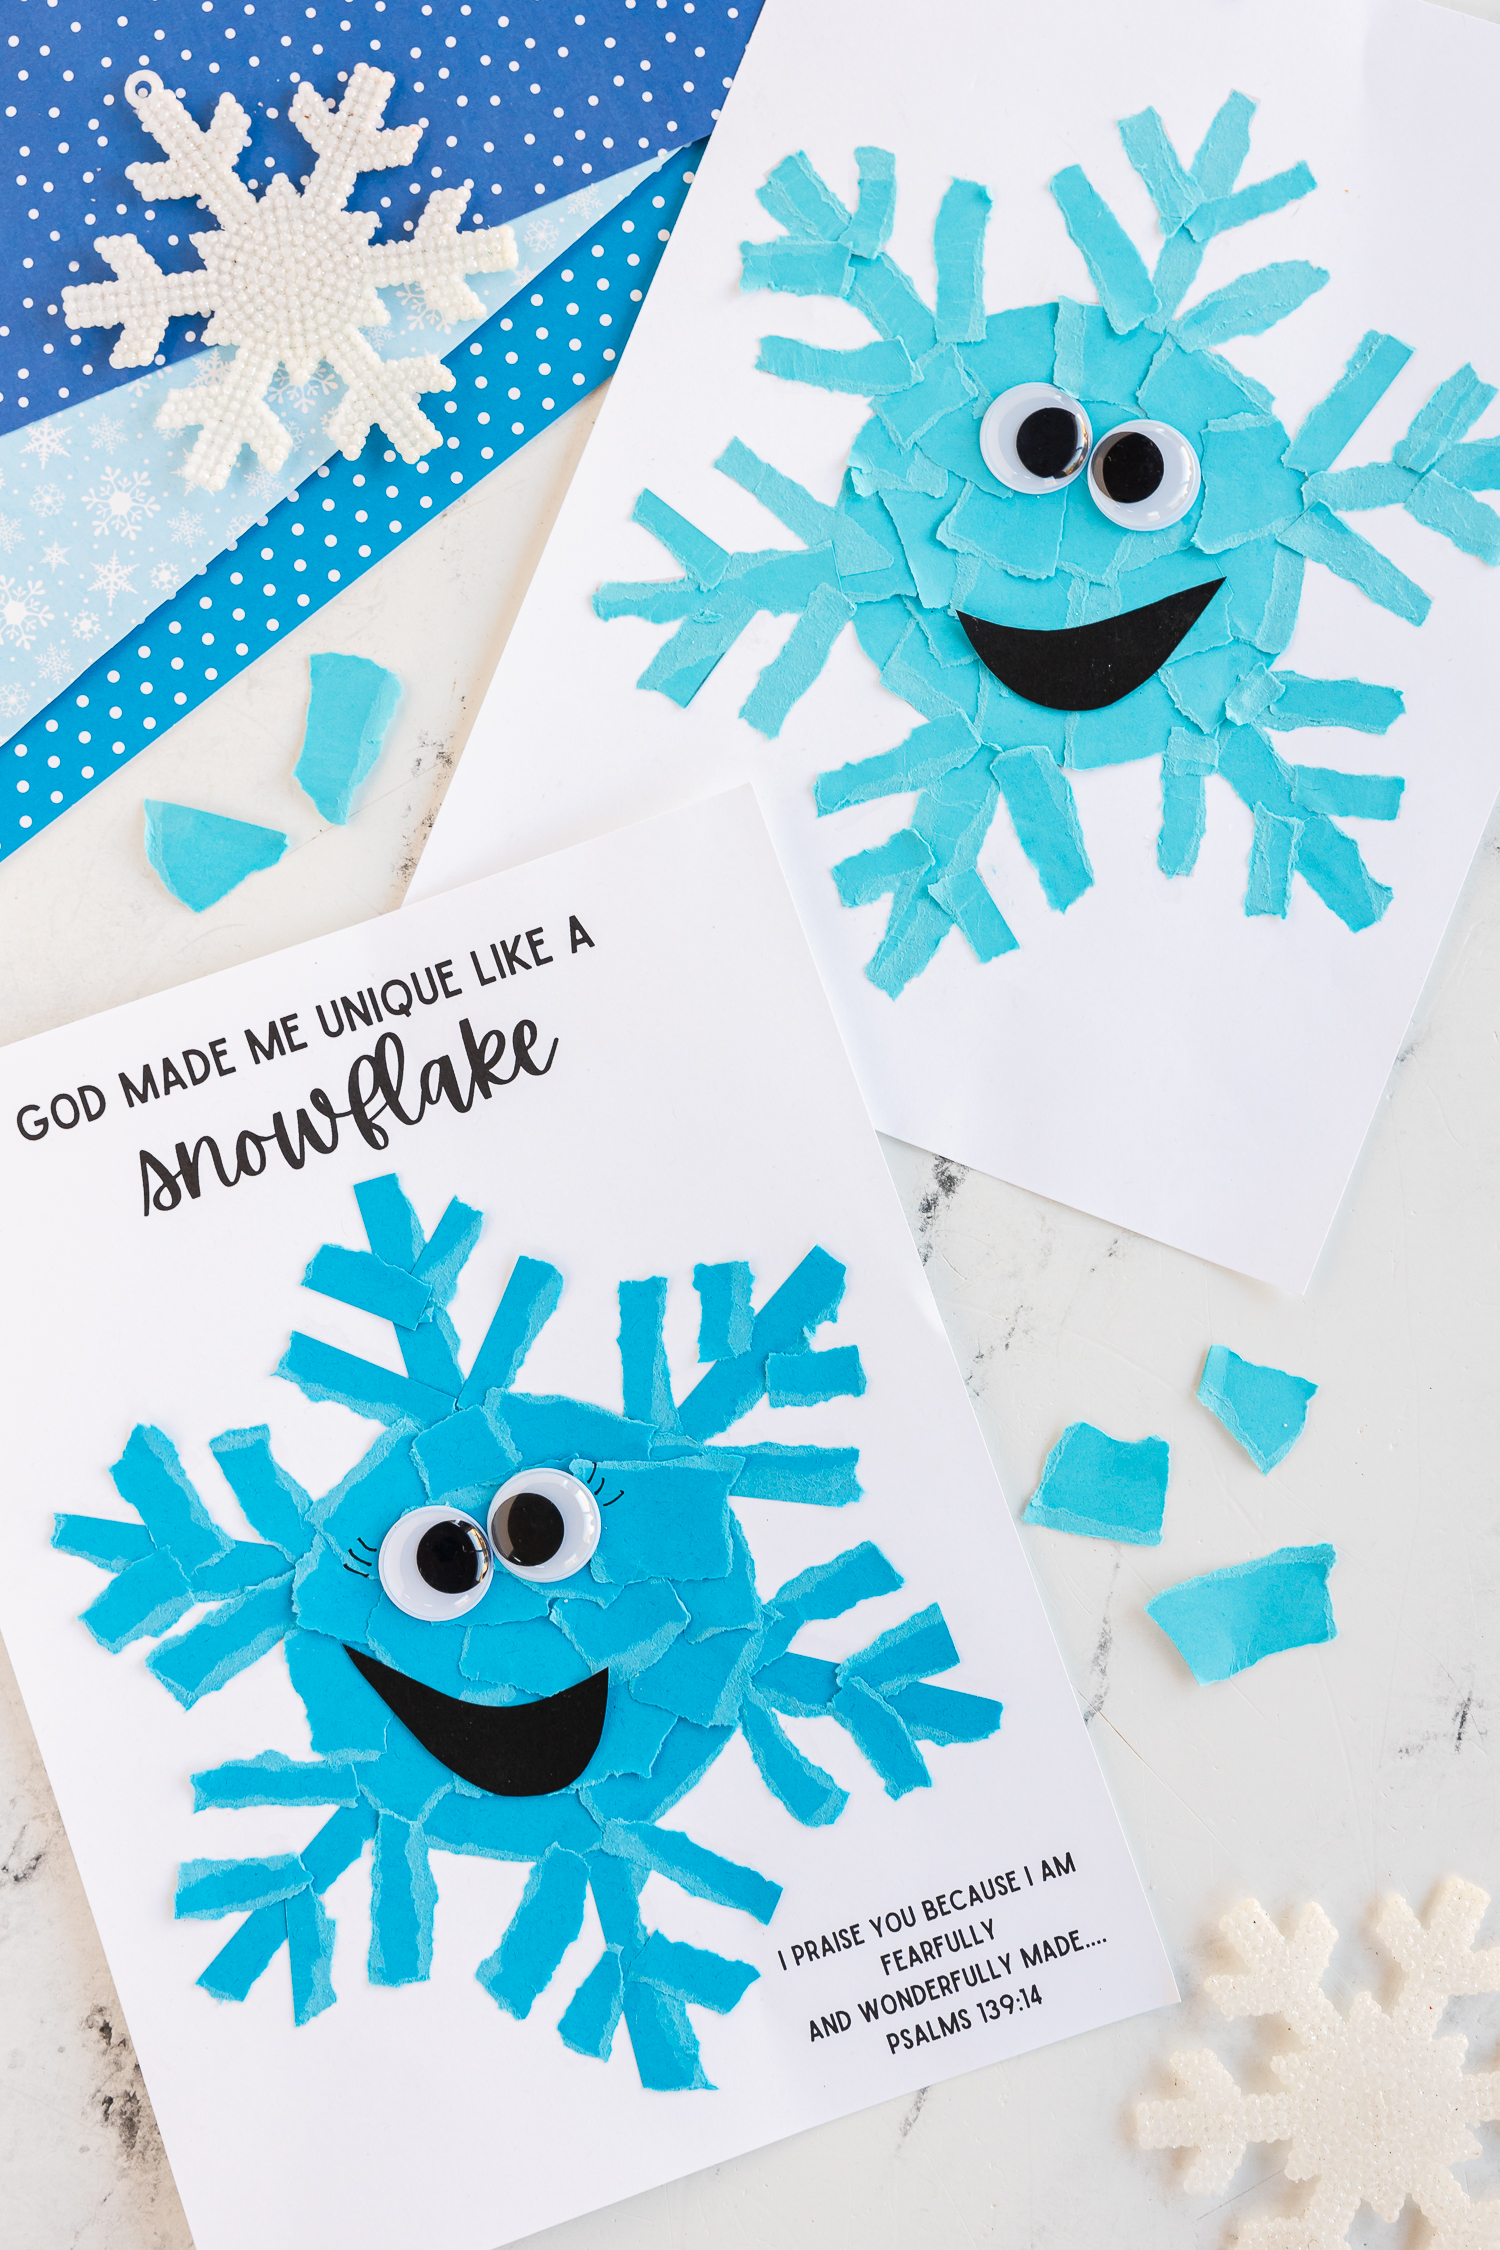
Step 4: Add Personality
Once your snowflake is filled in, cut out a small smile from the black cardstock and glue it onto your snowflake. Then, add the googly eyes. If you like, you can also add eyelashes for a more whimsical touch.
Creative Variations of Torn Paper Snowflake
Once you’ve mastered the basic design, you can get creative with your Snowflake Art:
- Color Variations: Instead of just blue shades, experiment with a rainbow of colors or use a monochromatic scheme like different shades of purple or pink. This can reflect different moods or personal preferences.
- Pattern Play: Instead of random placement, arrange the torn pieces in specific patterns or gradients. This can be a fun way to teach about symmetry and design.
- Personality: Add silly google eyes, different smiles, cheeks and other elements to give your snowflakes various personalities.
Commonly Asked Questions
What age group is this craft suitable for?
This craft is great for kids aged 4 and up. Younger children might need help with tearing and gluing, but it’s generally a kid-friendly activity.
Can I use different types of paper for this craft?
Absolutely! Feel free to use construction paper, scrapbook paper, old magazines, or even wrapping paper for different textures and patterns.
How can I hang my paper snowflakes?
You can use string, ribbon, or fishing line to hang your snowflakes. Just attach the string to the back with tape or glue.
Do I have to use blue paper?
Not at all. You can use any color you like! Each color can make your snowflake look unique and fit different themes.
Is this craft messy?
Tearing paper can be a bit messy, but it’s not near as messy as painting or glitter crafts. It’s a good idea to have your child tear their paper and put them in a small bowl to contain the pieces.
Torn Paper Snowflake
Ingredients
- Free Printable
- Paper shades of blue
- Cardstock – black
- Googly eyes
Instructions
- Tear pieces of blue paper into small pieces.
- Glue within the snowflake template.
- Add a black smile and googly eyes.
- Add eyelashes if desired.