As an Amazon Associate I earn from qualifying purchases.
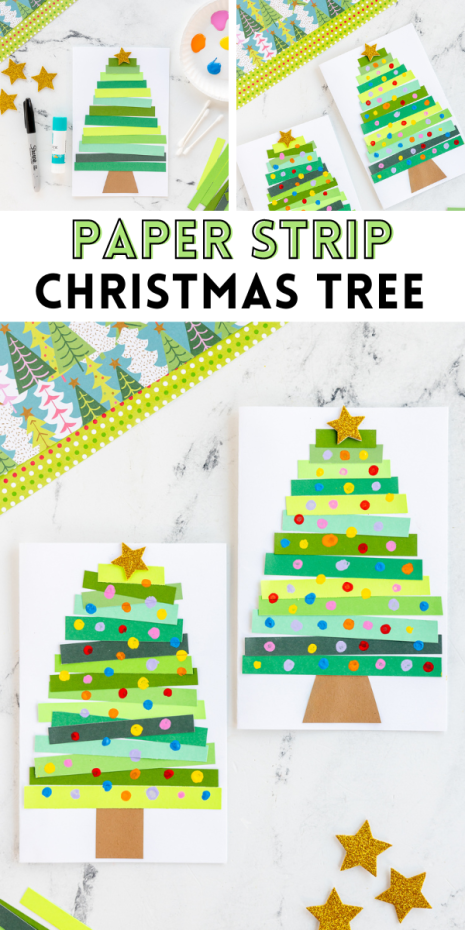
Kids will love to create this festive paper strip Christmas tree craft – all you need is simple materials such as paper, q-tips and paint to get started on this Christmas card they will love all winter long!
Christmas Trees farms and faux lighted trees pop up in fields, farms and stores in the beginning of the winter season waiting for families to come pick their favorite tree to decorate and enjoy for the rest of the holiday season- it’s a favorite activity for many families. Whether you are team real tree or faux tree most people can agree that the tree is what give their home the feeling and nostalgia of all that Christmas has to offer. It’s why we like to do various Christmas tree crafts here at Made to be a Momma such as our Torn Paper Christmas Tree, Paper Plate Christmas Tree, a Dinosaur holding a tree, and we even have a Tassel Tree which is great for older crafters or adults.

So if you are looking for an easy Christmas craft that the kids will love to make, you found it! This paper Christmas tree craft is great for kids of all ages- from the littlest of crafters with (with some assistance) to the older kids that like to do every step on their own. This easy and engaging craft is not only a wonderful way to spend quality time with your little ones but also a perfect way to deck the halls with handmade holiday magic.
Materials Needed:
- Green construction paper or colored card stock – we used different shades of green for added dimension. This is the perfect way to use up some of your scrap paper.
- White card stock paper, folded in half to make a card shape.
- Brown Paper, for the tree trunk
- Scissors or Paper Cutter
- Glue Stick or liquid school glue
- Q-tips
- Gold glitter foam stars
- Craft paint in assorted colors

How to Make Paper Strip Christmas Tree Card
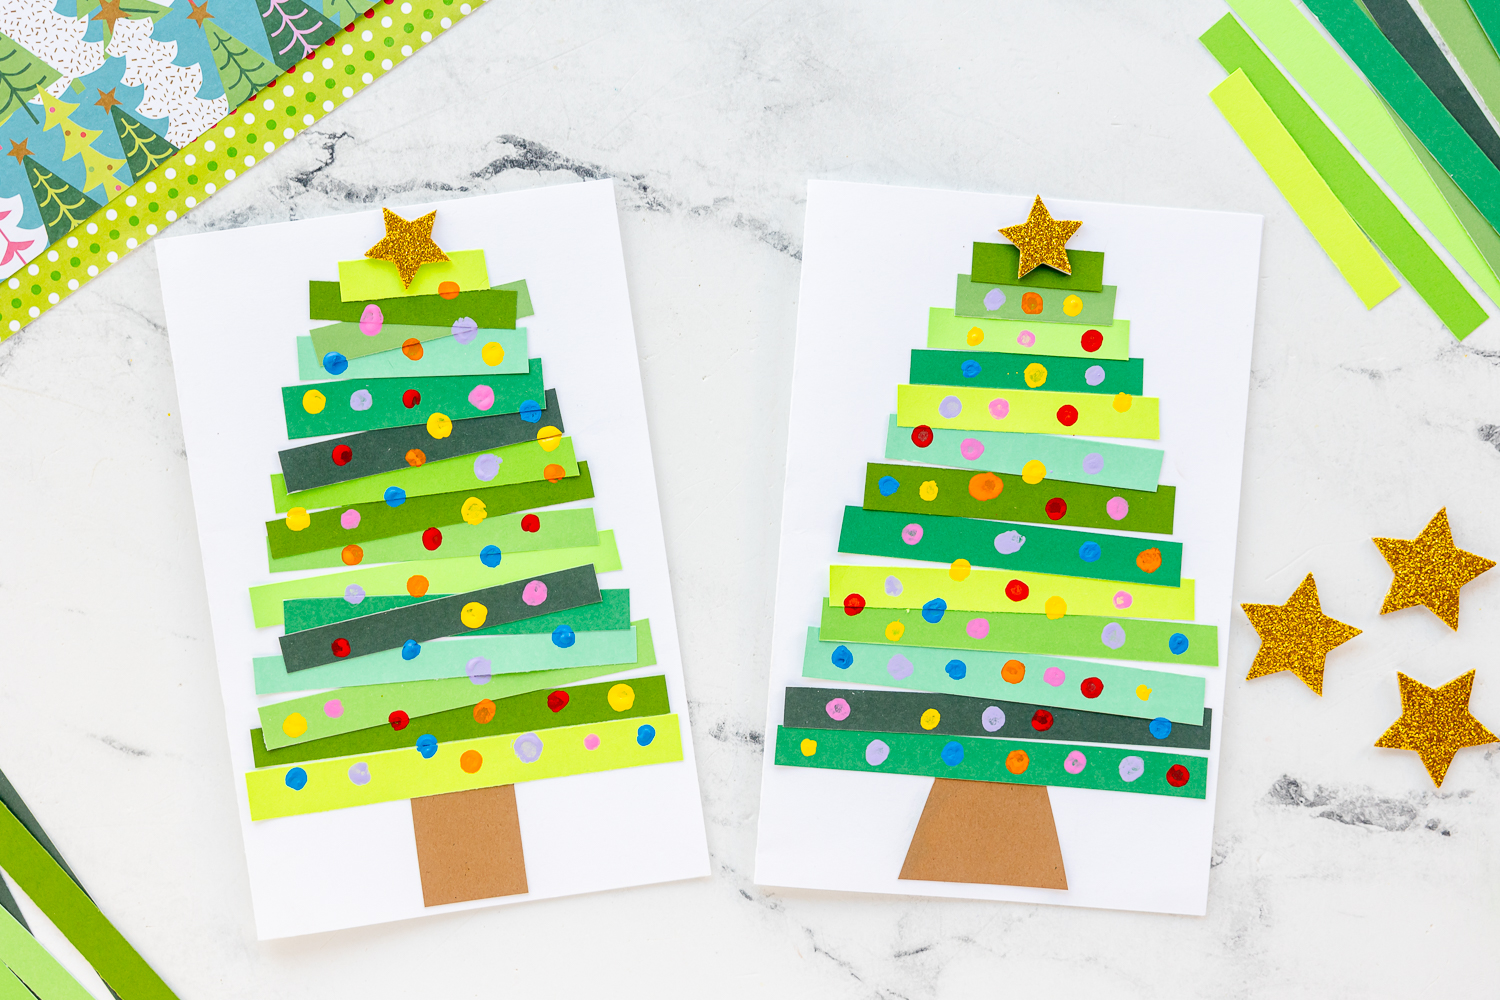
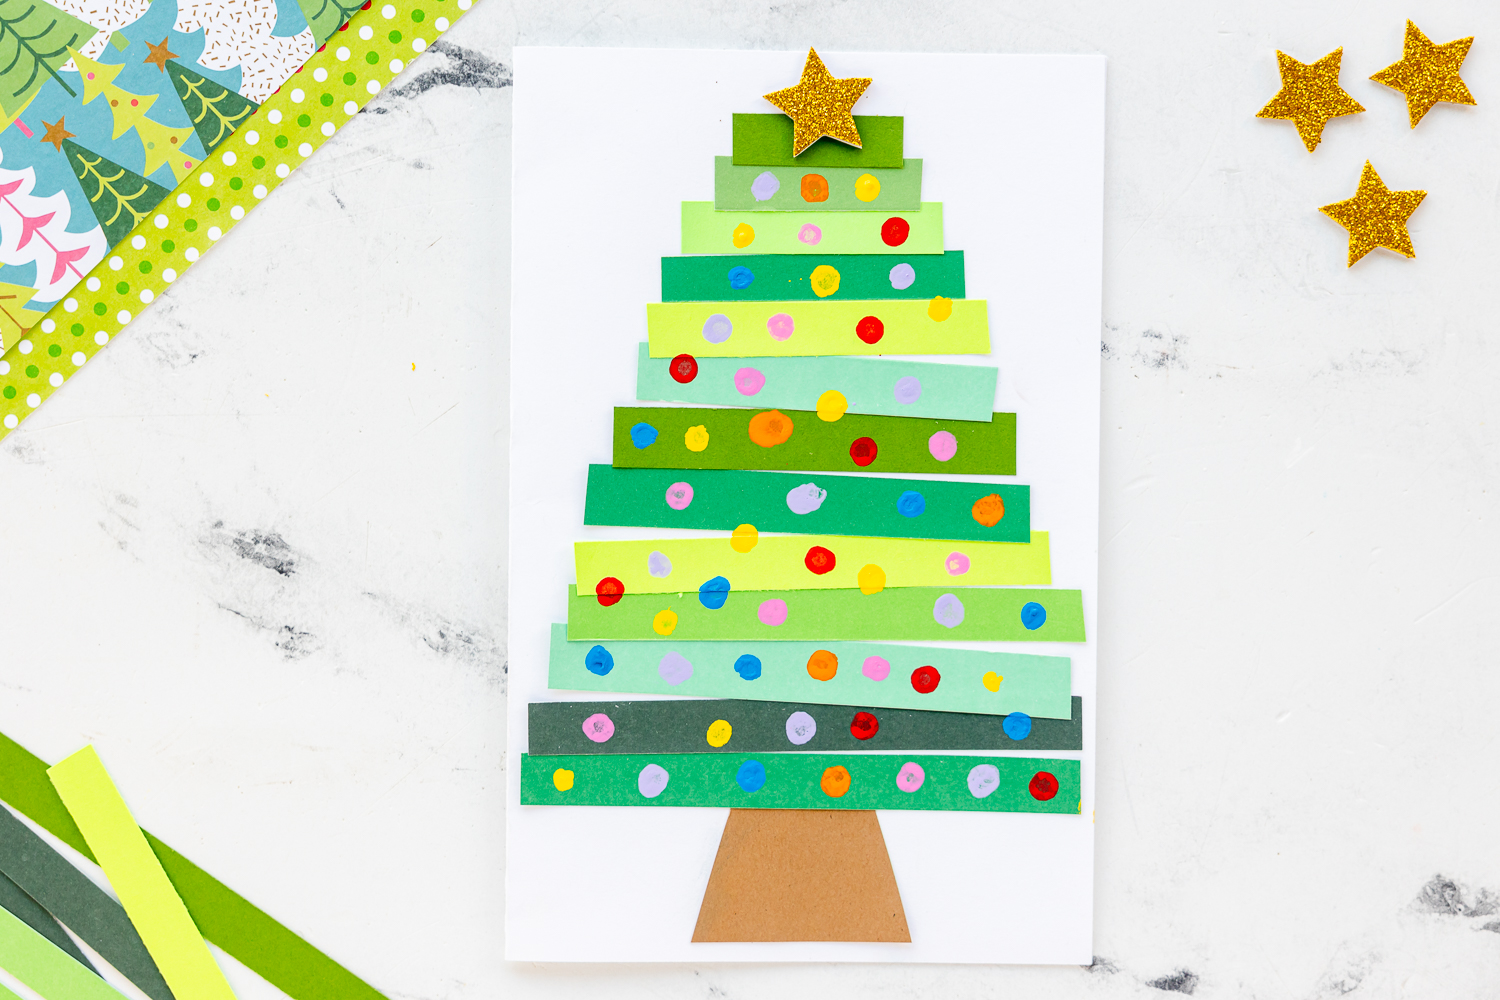
- Prepare the Green Strips: Start by cutting the green paper or card stock into strips of varying lengths. These will serve as the layers of your Christmas tree. You can experiment with different shades of green to add depth and dimension to your tree.
- Build your Base: Cut a piece of brown paper in the shape of a brown trunk and add it to the bottom of your folded white paper.

- Assemble the Tree Branches: Take the longest strip and glue slightly above the brown trunk. Repeat with remaining strips of paper decreasing in size as you move upward, Layer the shorter strips on top of each to create the classic tiered Christmas tree triangle shape. You can decide whether you want to keep your paper strips on your Christmas tree shape to be in a straight line or crisscross/non perfect shape.
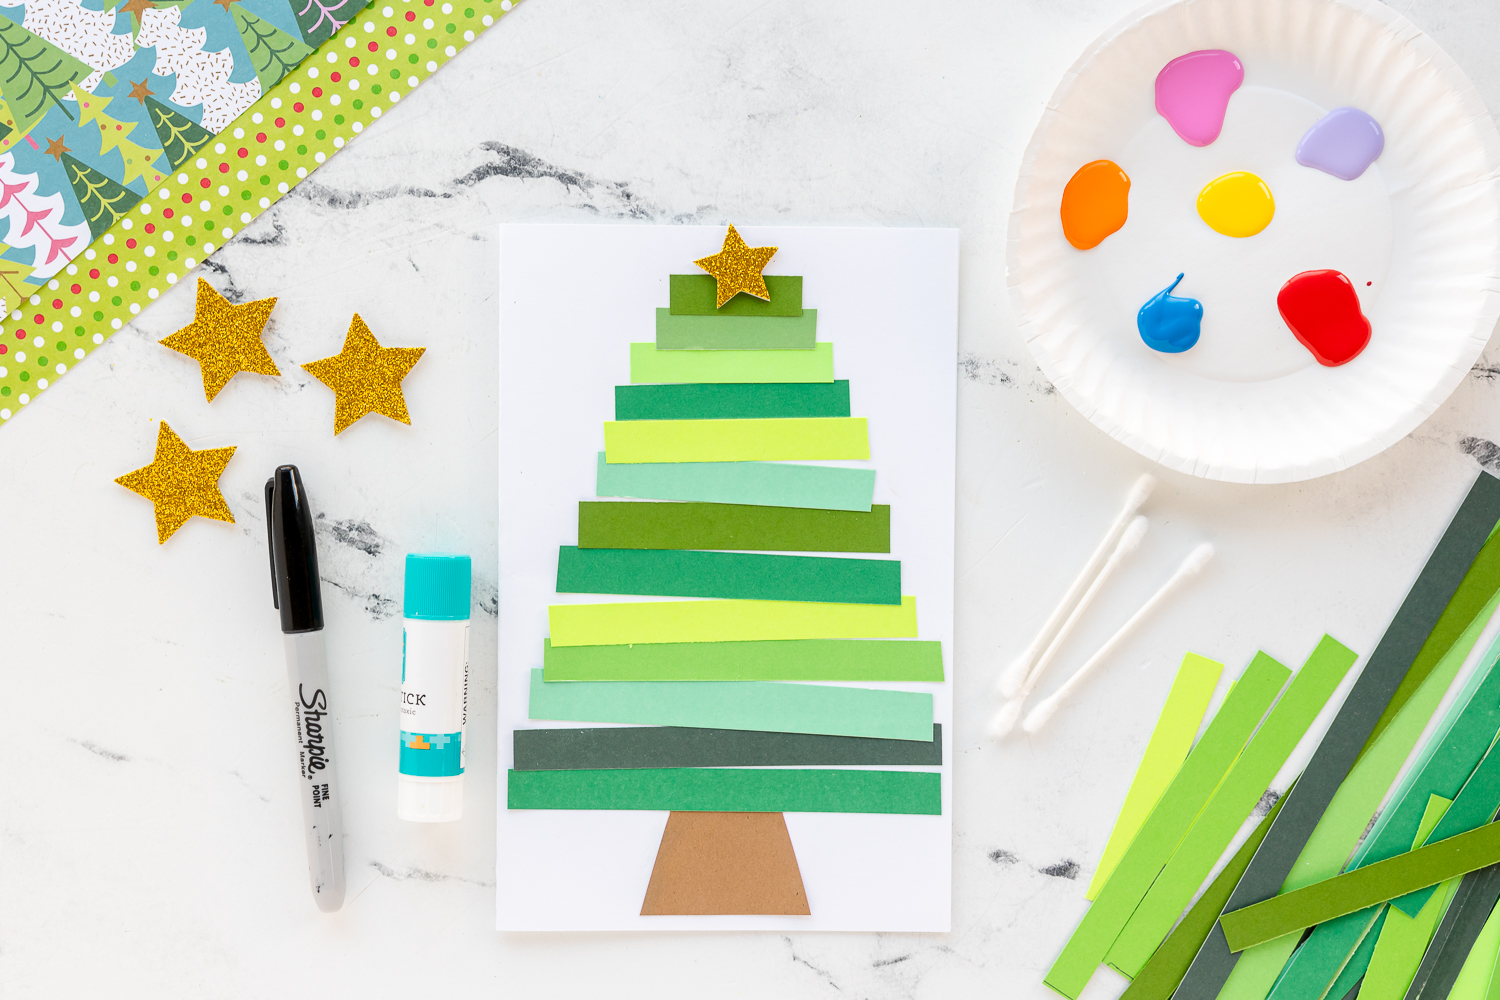
- Qtip-Painted Ornaments: Dip the cotton ends of Q-tips into different colored craft paints and use them to decorate your tree with vibrant ornaments. Add a gold star on top.
- Spread Holiday Cheer: write a sweet message inside your card to give as a Christmas gift to a friend or family member.

Now gather your materials, round up the little elves, and let the crafting festivities begin! Your kids will love how easy these handmade paper Christmas trees are to make! Maybe by the time they are done crafting you will have a full forest of festive trees 🙂


