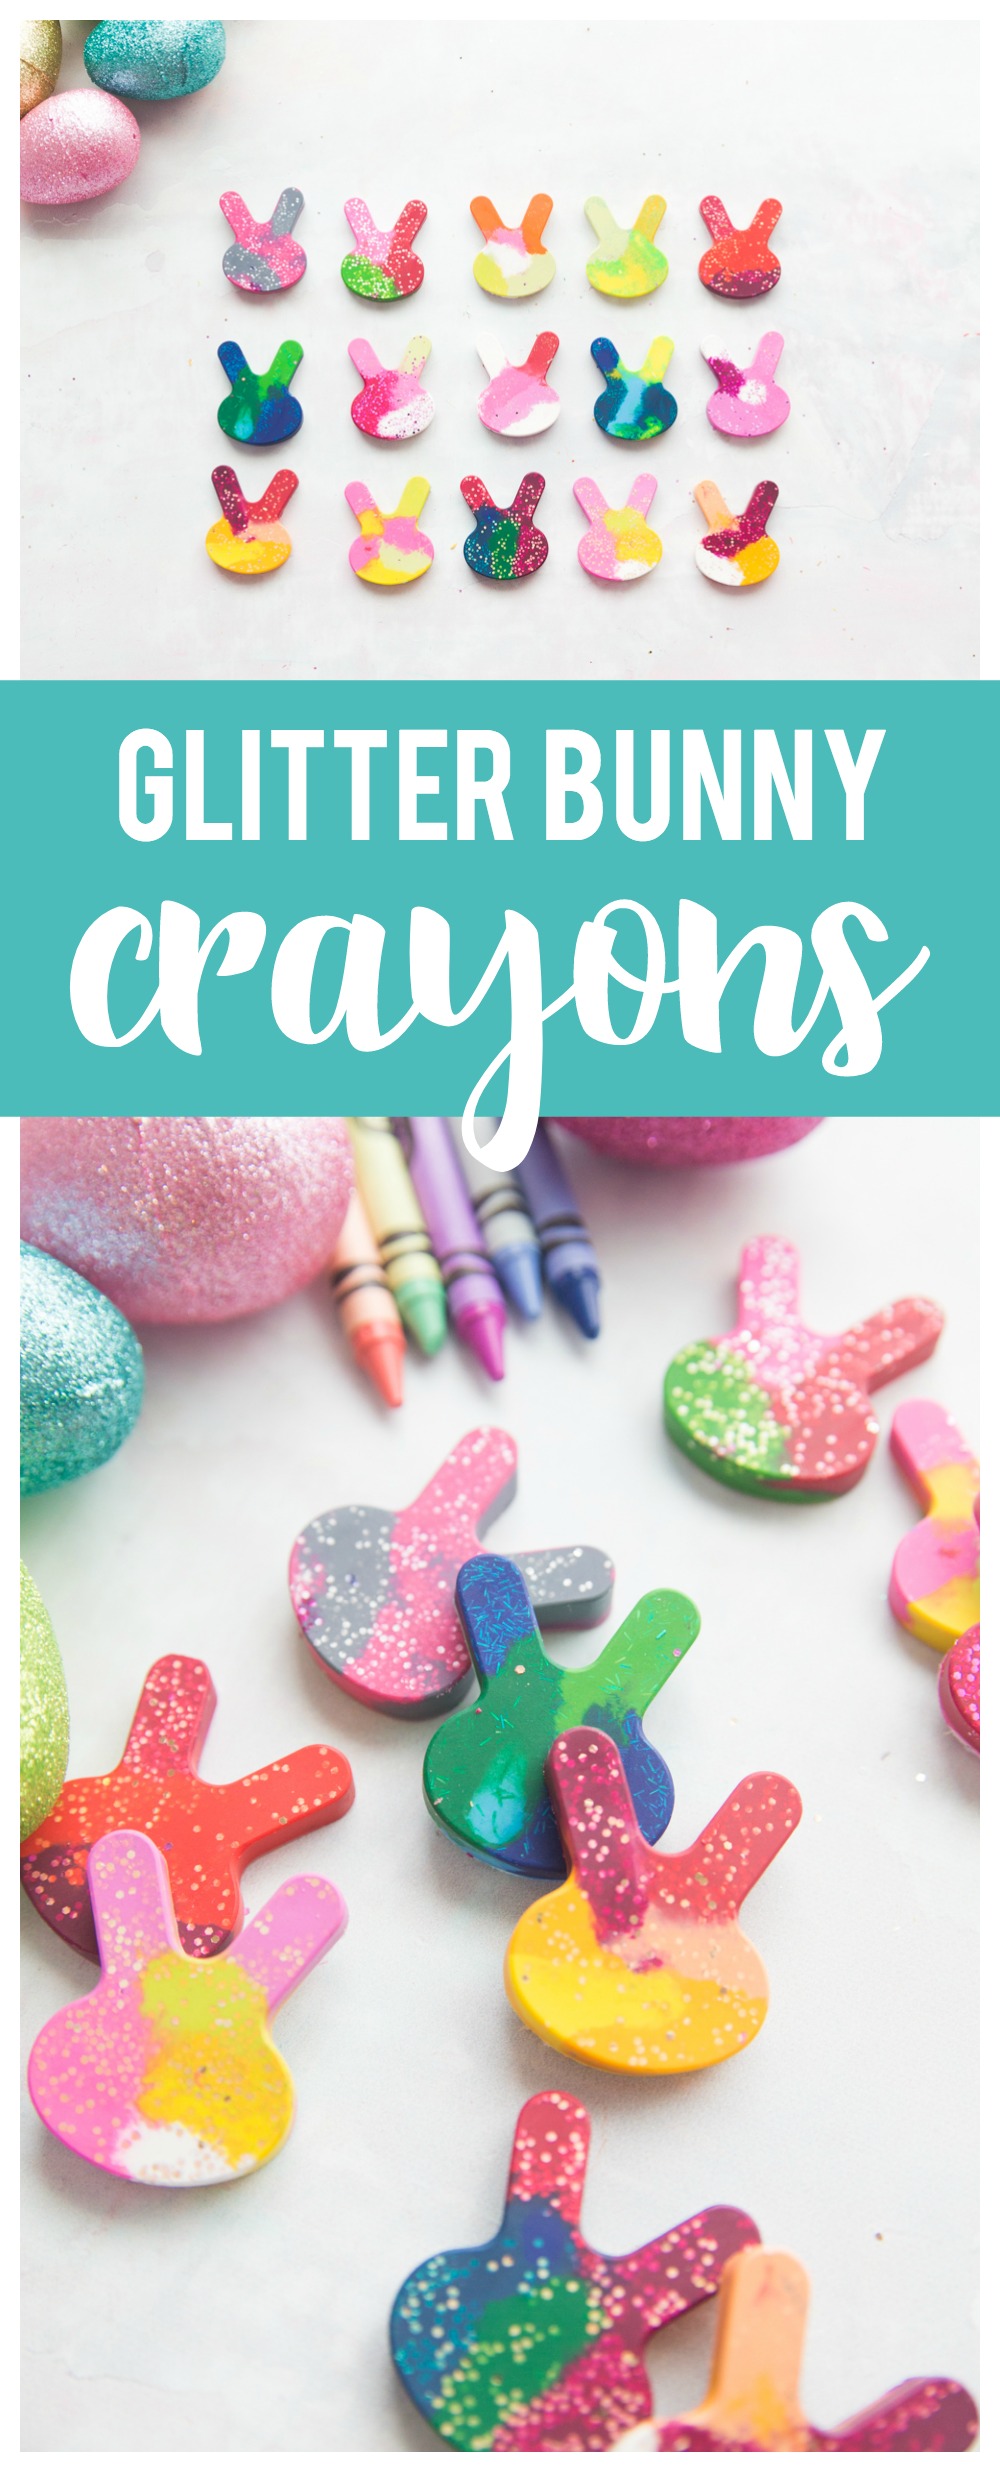
Glitter Bunny Crayons
As an Amazon Associate I earn from qualifying purchases.
Glitter Bunny Crayons: a fun Easter kid activity! You only need crayons, glitter and a silicon mold.
 My kids love to craft just as much as I do which both makes my heart happy and my house a mess 🙂 They are constantly pulling out their craft supplies whether that be their stickers, markers, little wood pieces for them to paint that I collect here and there. The one thing all three of my kids love to do, even my two year old, is to color. My kids could spend an hour or two just coloring and cutting out their different pages they colored. Their favorite coloring book as of late is this Toddler Coloring Book I originally got this book for my daughter because of the simpler shapes and designs but my boys who are 5 and 7 year olds actually prefer this book too! With Easter right around the corner we decided to make these little glitter bunny crayons to go along with one of their favorite activities. They loved putting “matching” colors together and couldn’t wait to see how the crayons melted and blended together.
TIP TO MAKE GLITTER BUNNY CRAYONS:
- Parents*use a knife to “score” the crayon paper wrapper. Scoring through the layers of paper make it much easier for the kids to peel it off.
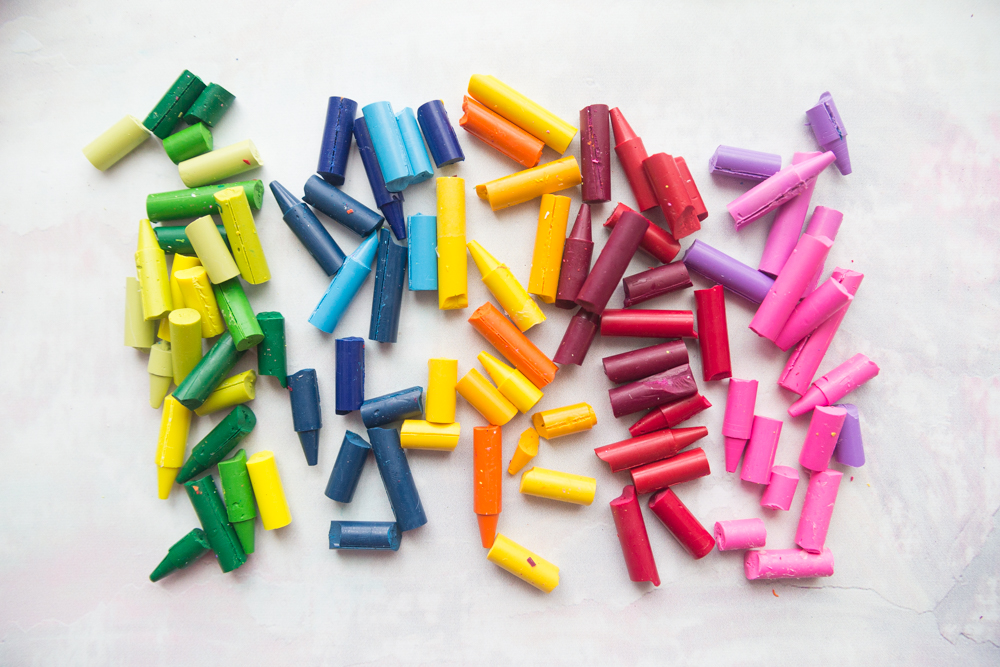
- Teach your kids about their colors and different shades of colors by having them organize the crayon pieces by like colors.
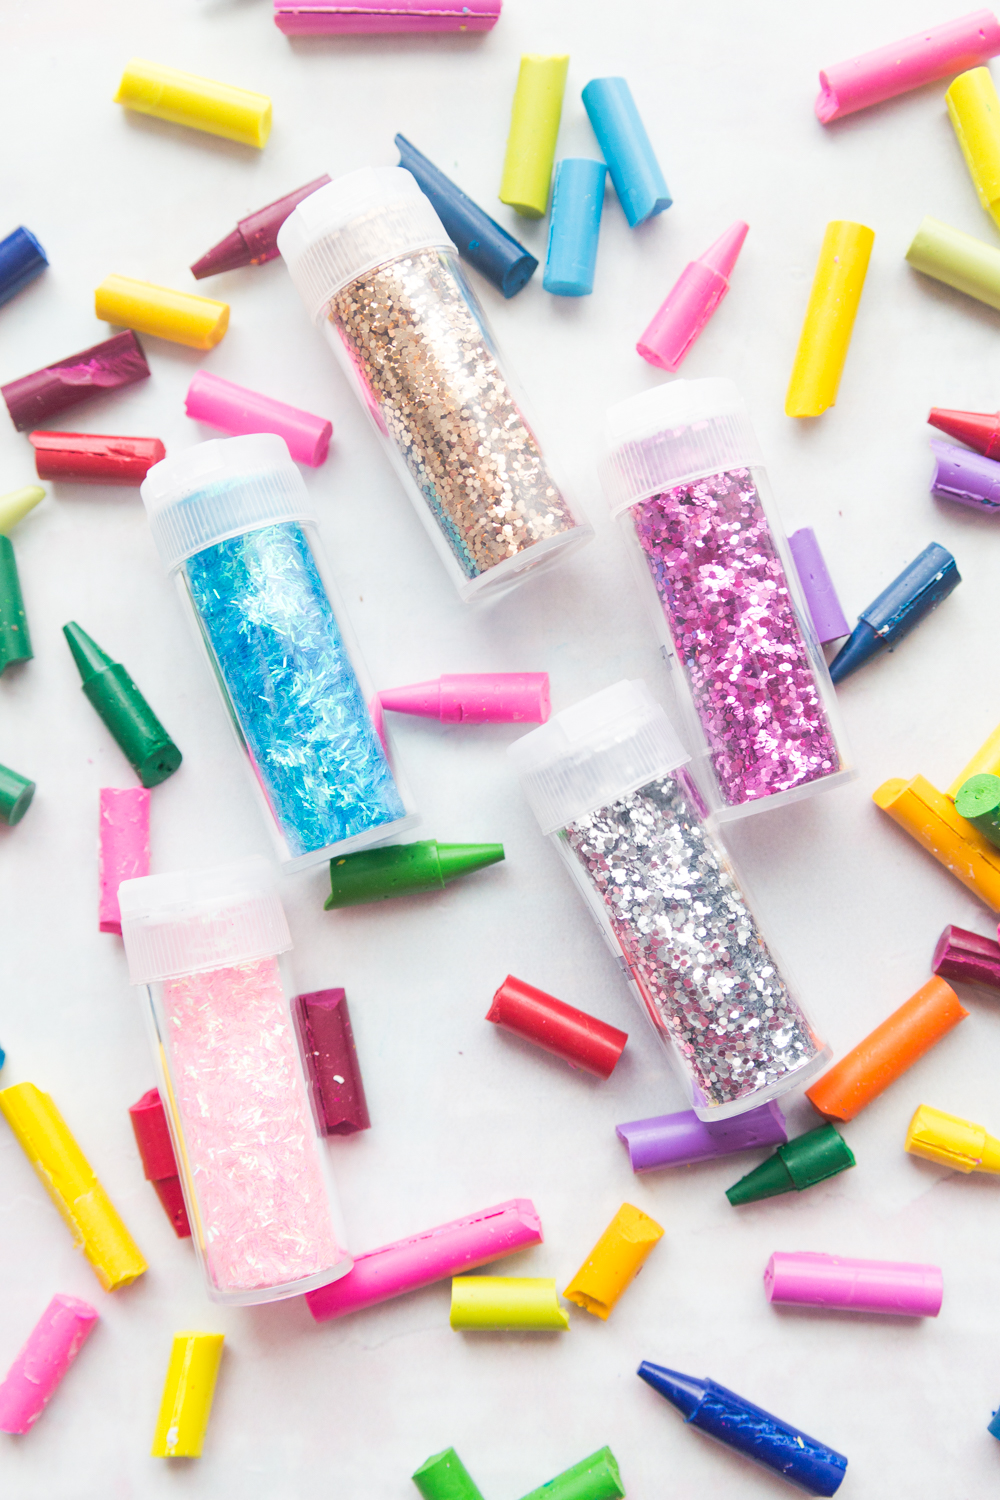
- Add glitter for an added fun element to your crayons
- Place your silicone mold on a baking sheet before placing in the oven, it’s much easier to take out a flexible silicon mold filled with hot melted crayons on a flat tray then without – just trust me on that 😉
Once you have removed your crayon papers covers and have broken your crayons into small pieces you can start making your new crayons. I know it seems crazy to break a “new” or whole crayon but you aren’t wasting it just transforming it 🙂
HOW TO MAKE GLITTER BUNNY CRAYONS:
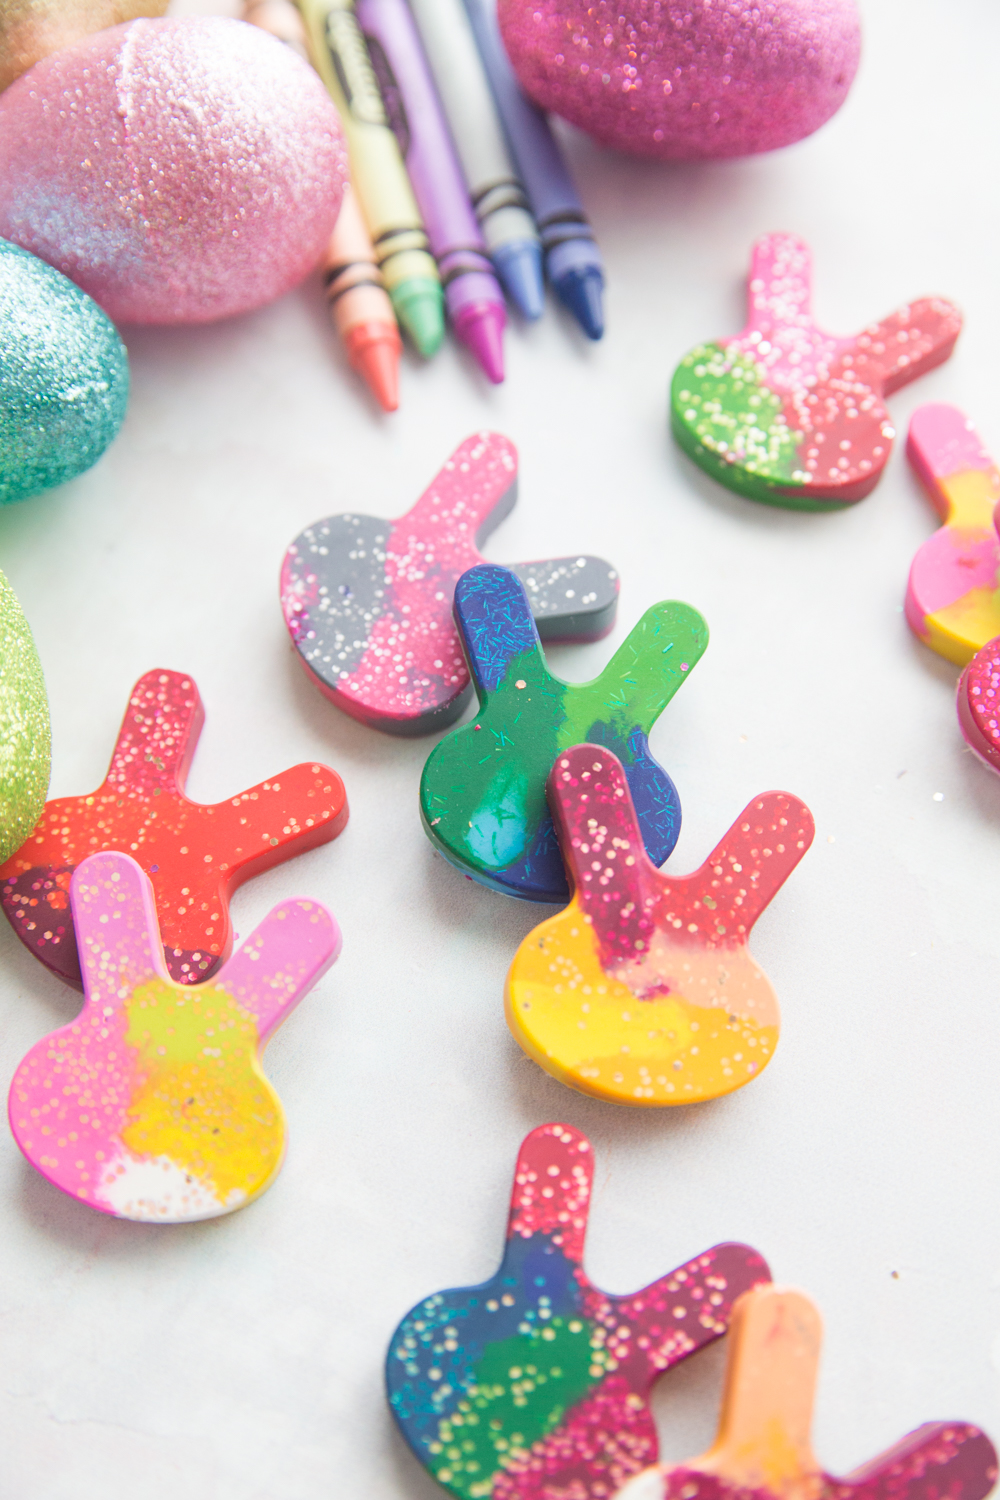
If you want to add glitter to your glitter bunny crayons, add a bit of glitter to the silicone mold. I used a bunny silicone mold I found at my local Michael’s Craft store but you can find silicone molds in just about any craft store and on Amazon too.
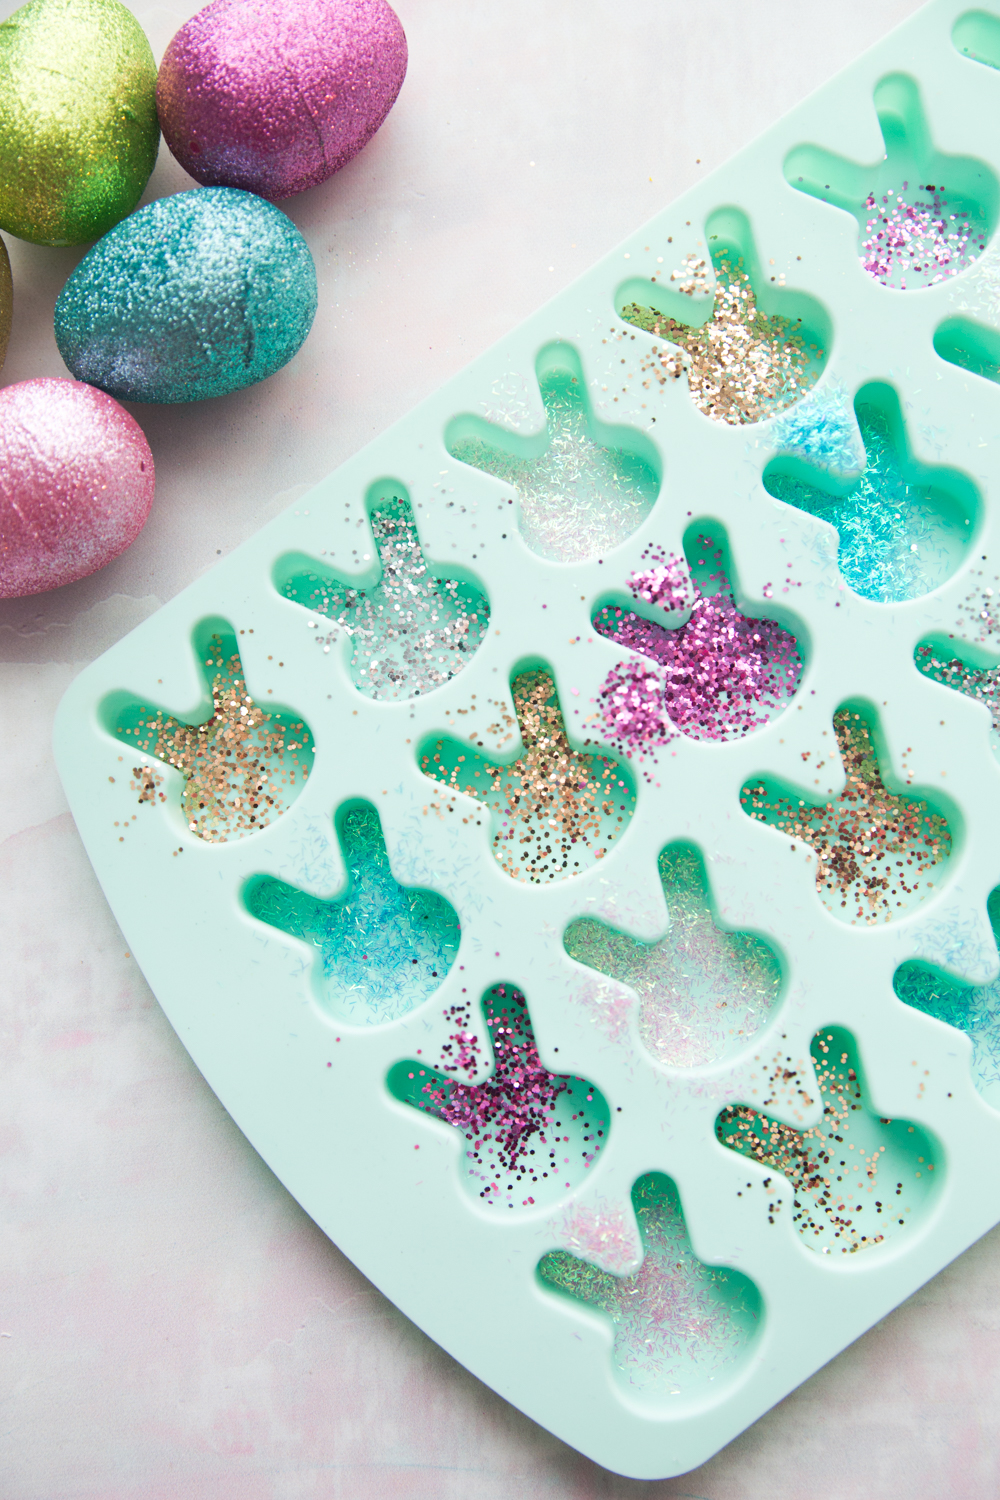
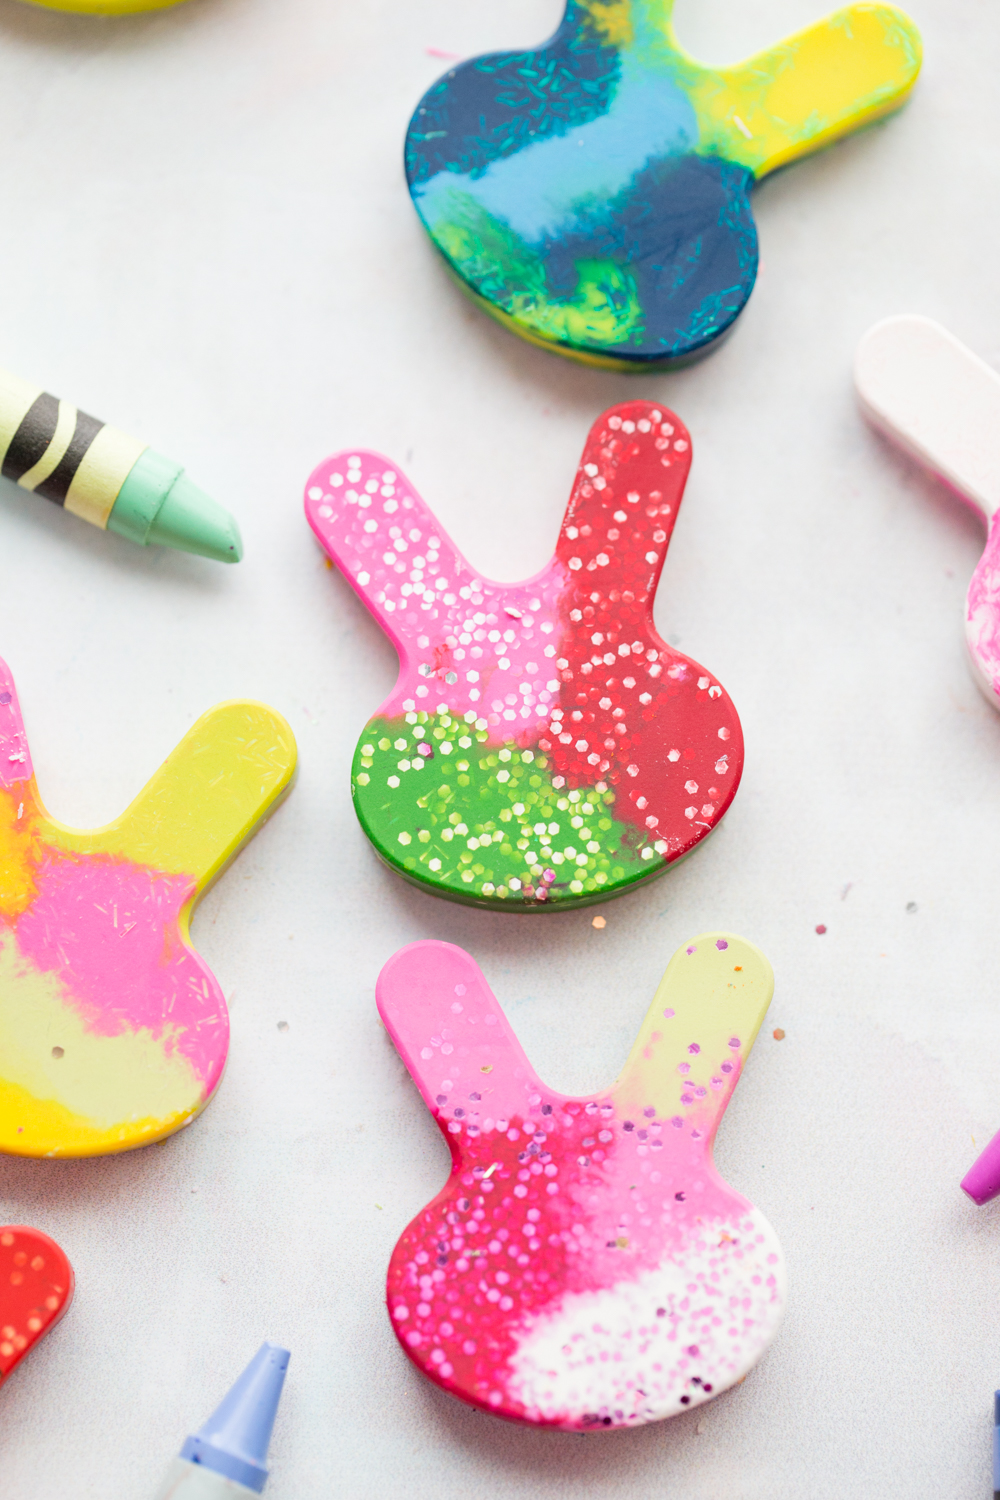
Once you have added your glitter to the bottom of the molds it’s time to add your crayon pieces. We tried to add colors that we thought would naturally look fun together but let your kids be creative with what they think will look well- you may be surprised! Don’t worry about filling every section of the bunny mold, as the crayons melt it will fill in the gaps 🙂 We added a touch more glitter before we placed them in the oven at 300 degrees for about 8 minutes. Take the glitter bunny crayons out of the oven and let them cool completely on the counter. Mine were cool in about 15 minutes but I would give them about 1 hour just to be sure.

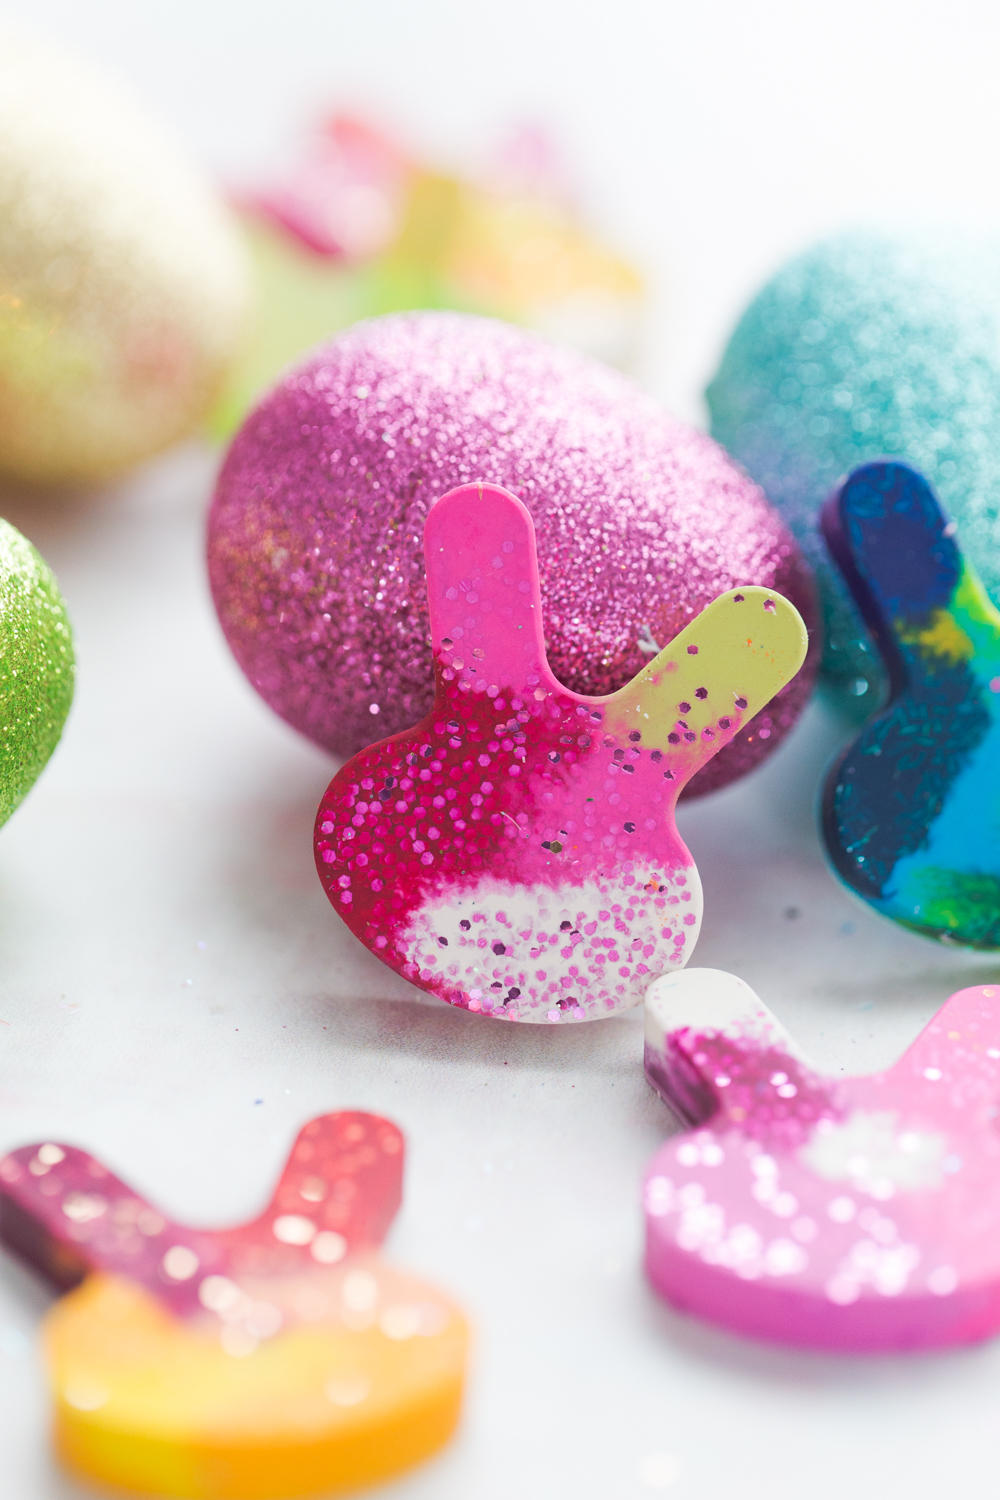
I found popping the bunny heads out first out of the silicone mold helped the ears to come out. Only two bunnies lost an ear in the removal process, but my kids were in a hurry 🙂

Aren’t there so many fun color combinations? My kids loved how they turned out! They would make great little Easter gifts and these particular bunny crayons fit perfectly inside an plastic Easter egg.
The best part is coloring with them and seeing the different colors that come onto the paper. Have you ever made your own crayons before? I would love to see them if you try! Just tag madetobeamomma on all social media platforms!

Does the glitter on these stay on your drawings, or does it just fall off as you use the crayon?
Thanks!
Laurie