Wooden Bunny Craft for Kids
As an Amazon Associate I earn from qualifying purchases.

This wooden bunny craft for kids is an easy Easter DIY home decor craft that only takes a few supplies and can be personalized with so many different colors of paper flowers. This is a great group craft for kids!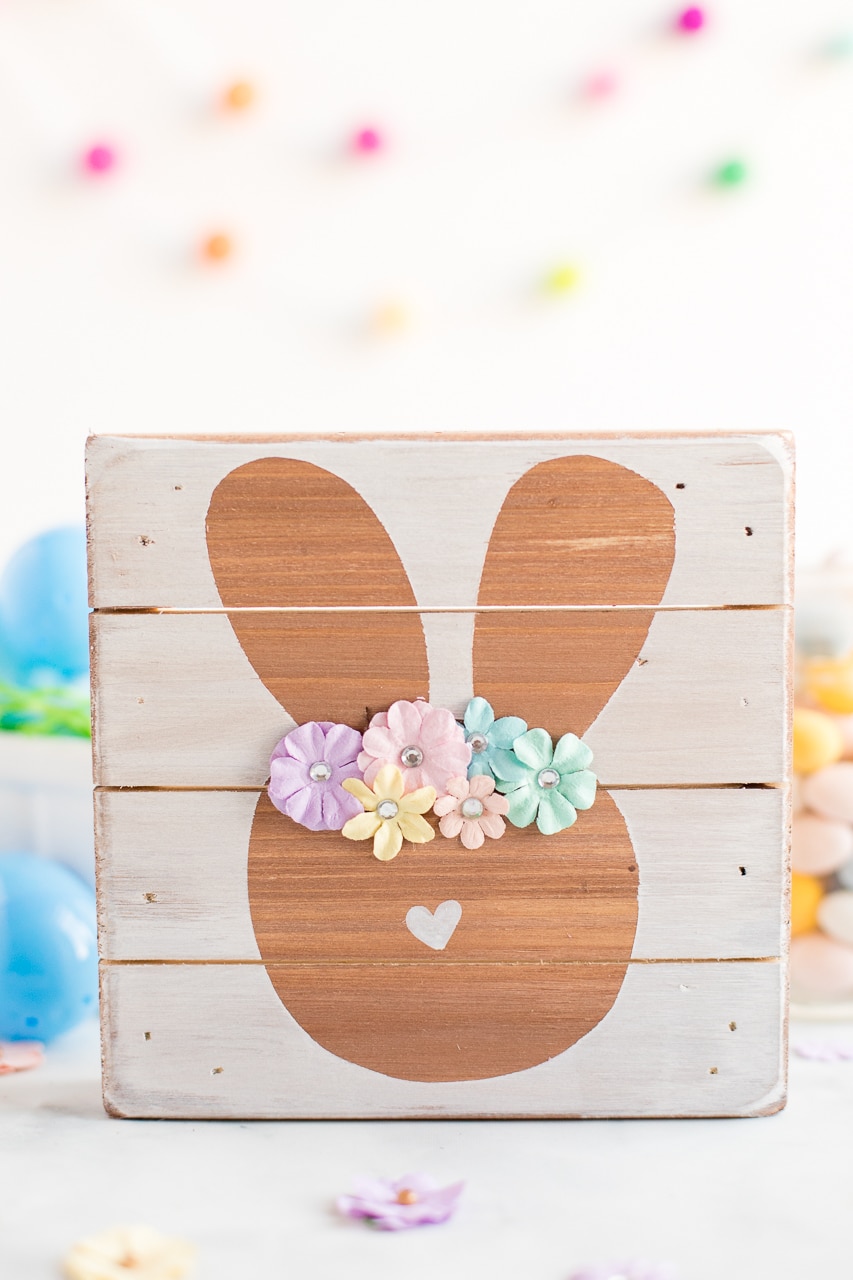
Easter Bunny Sign Craft for Kids
I love hosting craft parties! Over the years during our annual Christmas Cookie Exchange, we have always had a Christmas craft be part of the night. I have also hosted some non-holiday craft days and they are always so much fun! Just recently I hosted my first mother/daughter craft day and we made this adorable and simple wooden bunny sign. When I say this is an easy and fun craft for all ages, I mean it. 🙂 At our craft day we had little girls as young as 4 and they were able to handle almost every step on their own. It was so much fun to see each girl pick out their favorite paint colors and then bring their bunnies to life with their favorite paper flowers and eye lashes. *See our photos below for a peek at some of the bunny crafts created by both girls ranging from 4 to 10 and young moms!
You only need a few basic supplies and about 20 minutes to create these wooden bunny signs. They are perfect as spring time decor and to celebrate the upcoming Easter holiday. Here are the supplies you will want to pick up:
- 6 in. x 6 in. wood block, we used THESE.
- Acrylic Paint, in any colors you want! You will need two colors one as a base for the bunny shape and another color to create the edging around the bunny.
- Bunny Shape cut out a vinyl. We used removable vinyl. We free sketched a bunny shape in the size we wanted and used that as our template for the rest of the girls. You will use the vinyl as a sticker on the wood block to create the layered bunny look.
- Paint Brush
- Paper Flowers, we used THESE in the pictures above. Most craft stores have multiple paper flowers in arrays of colors and shapes. I made sure to purchase some packs of flowers when they were on sale or when I could use a coupon! A few flowers go along way as the base is only a 6 in. x 6 in.
- White Sharpie Paint Pen, however you can also just use a small paint brush and white paint to paint on the nose if desired.
Watch this video to see just how easy this Easter craft really is!
Direction for How to Make Wooden Bunny Sign Craft for Kids
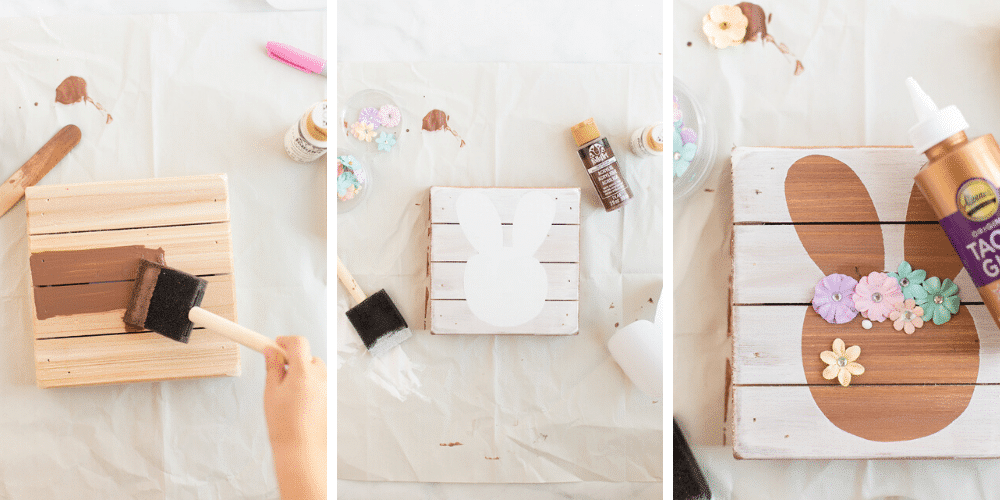
- Start off by painting your wood black a base color. The color you choose as your base color will be the color of the bunny’s head shape. Allow to dry completely. You can speed up this process by using the low setting on a hair blow dryer.
- Once your base color is completely dry attach your bunny sticker, made out of removable vinyl, in the center of your wood block.
- Paint on your second color of paint on top of your bunny sticker. I found that working from the center of the stick out works best to prevent any bleeding of paint under the sticker.
- While the second color of paint is still slightly wet remove the bunny sticker. You will want to remove the sticker before the paint completely dries or the bunny sticker will peel some of the dry paint off with it. Once the sticker has been removed touch up any necessary parts.
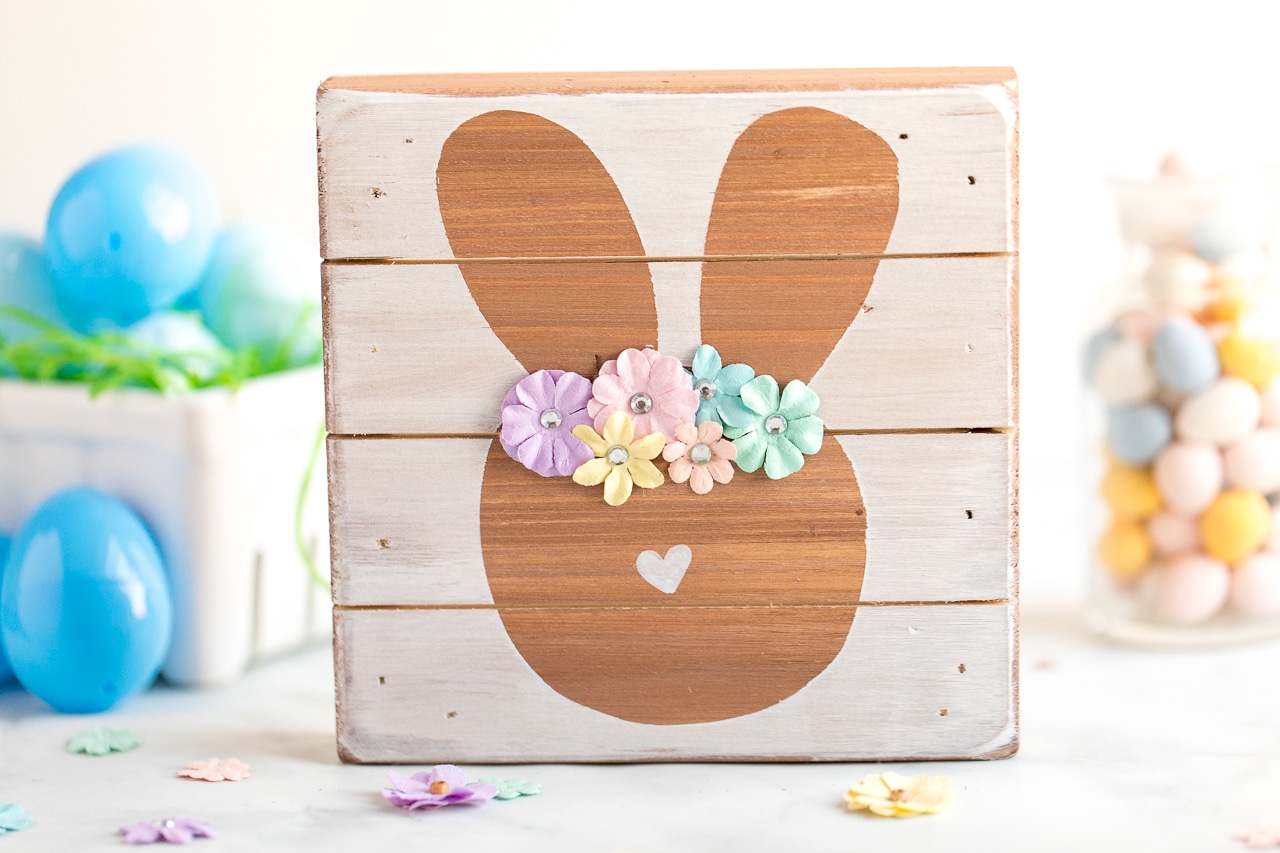
- Adhere your flowers to the crown of the bunny head. You can use Craft glue, Glue Dots, or even hot glue to adhere the stickers.
- Add wink sticker eyes if desired, all of the little girls in our craft day loved the wink sticker eyes that I found at my local craft store. Whether the bunny has wink eyes or not they all turned out cute!
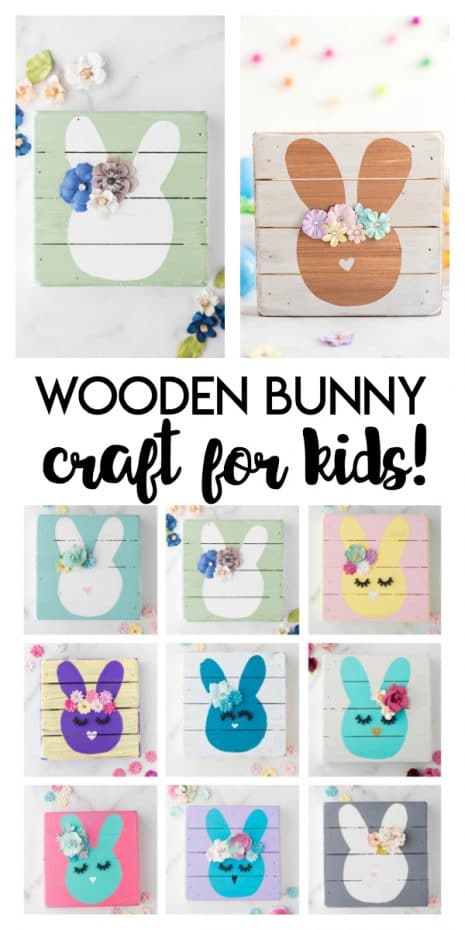
Check out some of the bunny signs my friends and their girls made! I just love how many different variations there are and how each bunny matched their makers personalities and style.


Such an adorable idea! My kids love projects like these!
This is adorable! I’m definitely going to do this with my niece this year.
These are so adorable, my kids will have a blast making these!