As an Amazon Associate I earn from qualifying purchases.
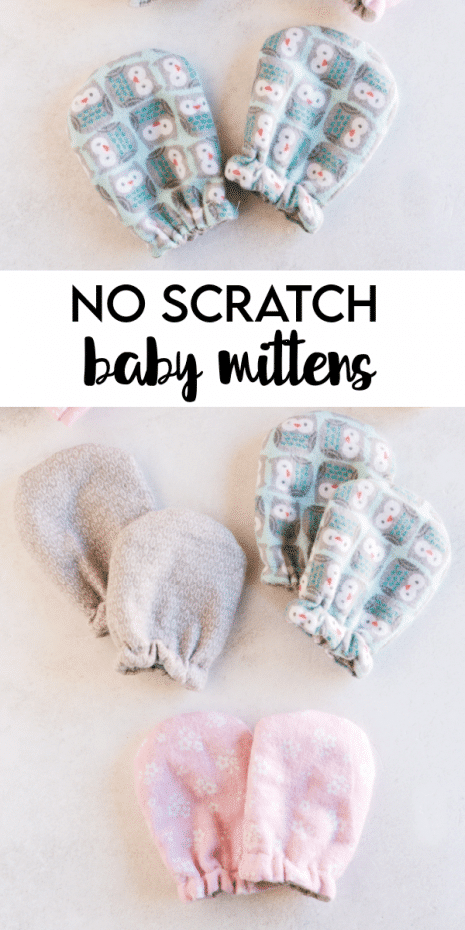
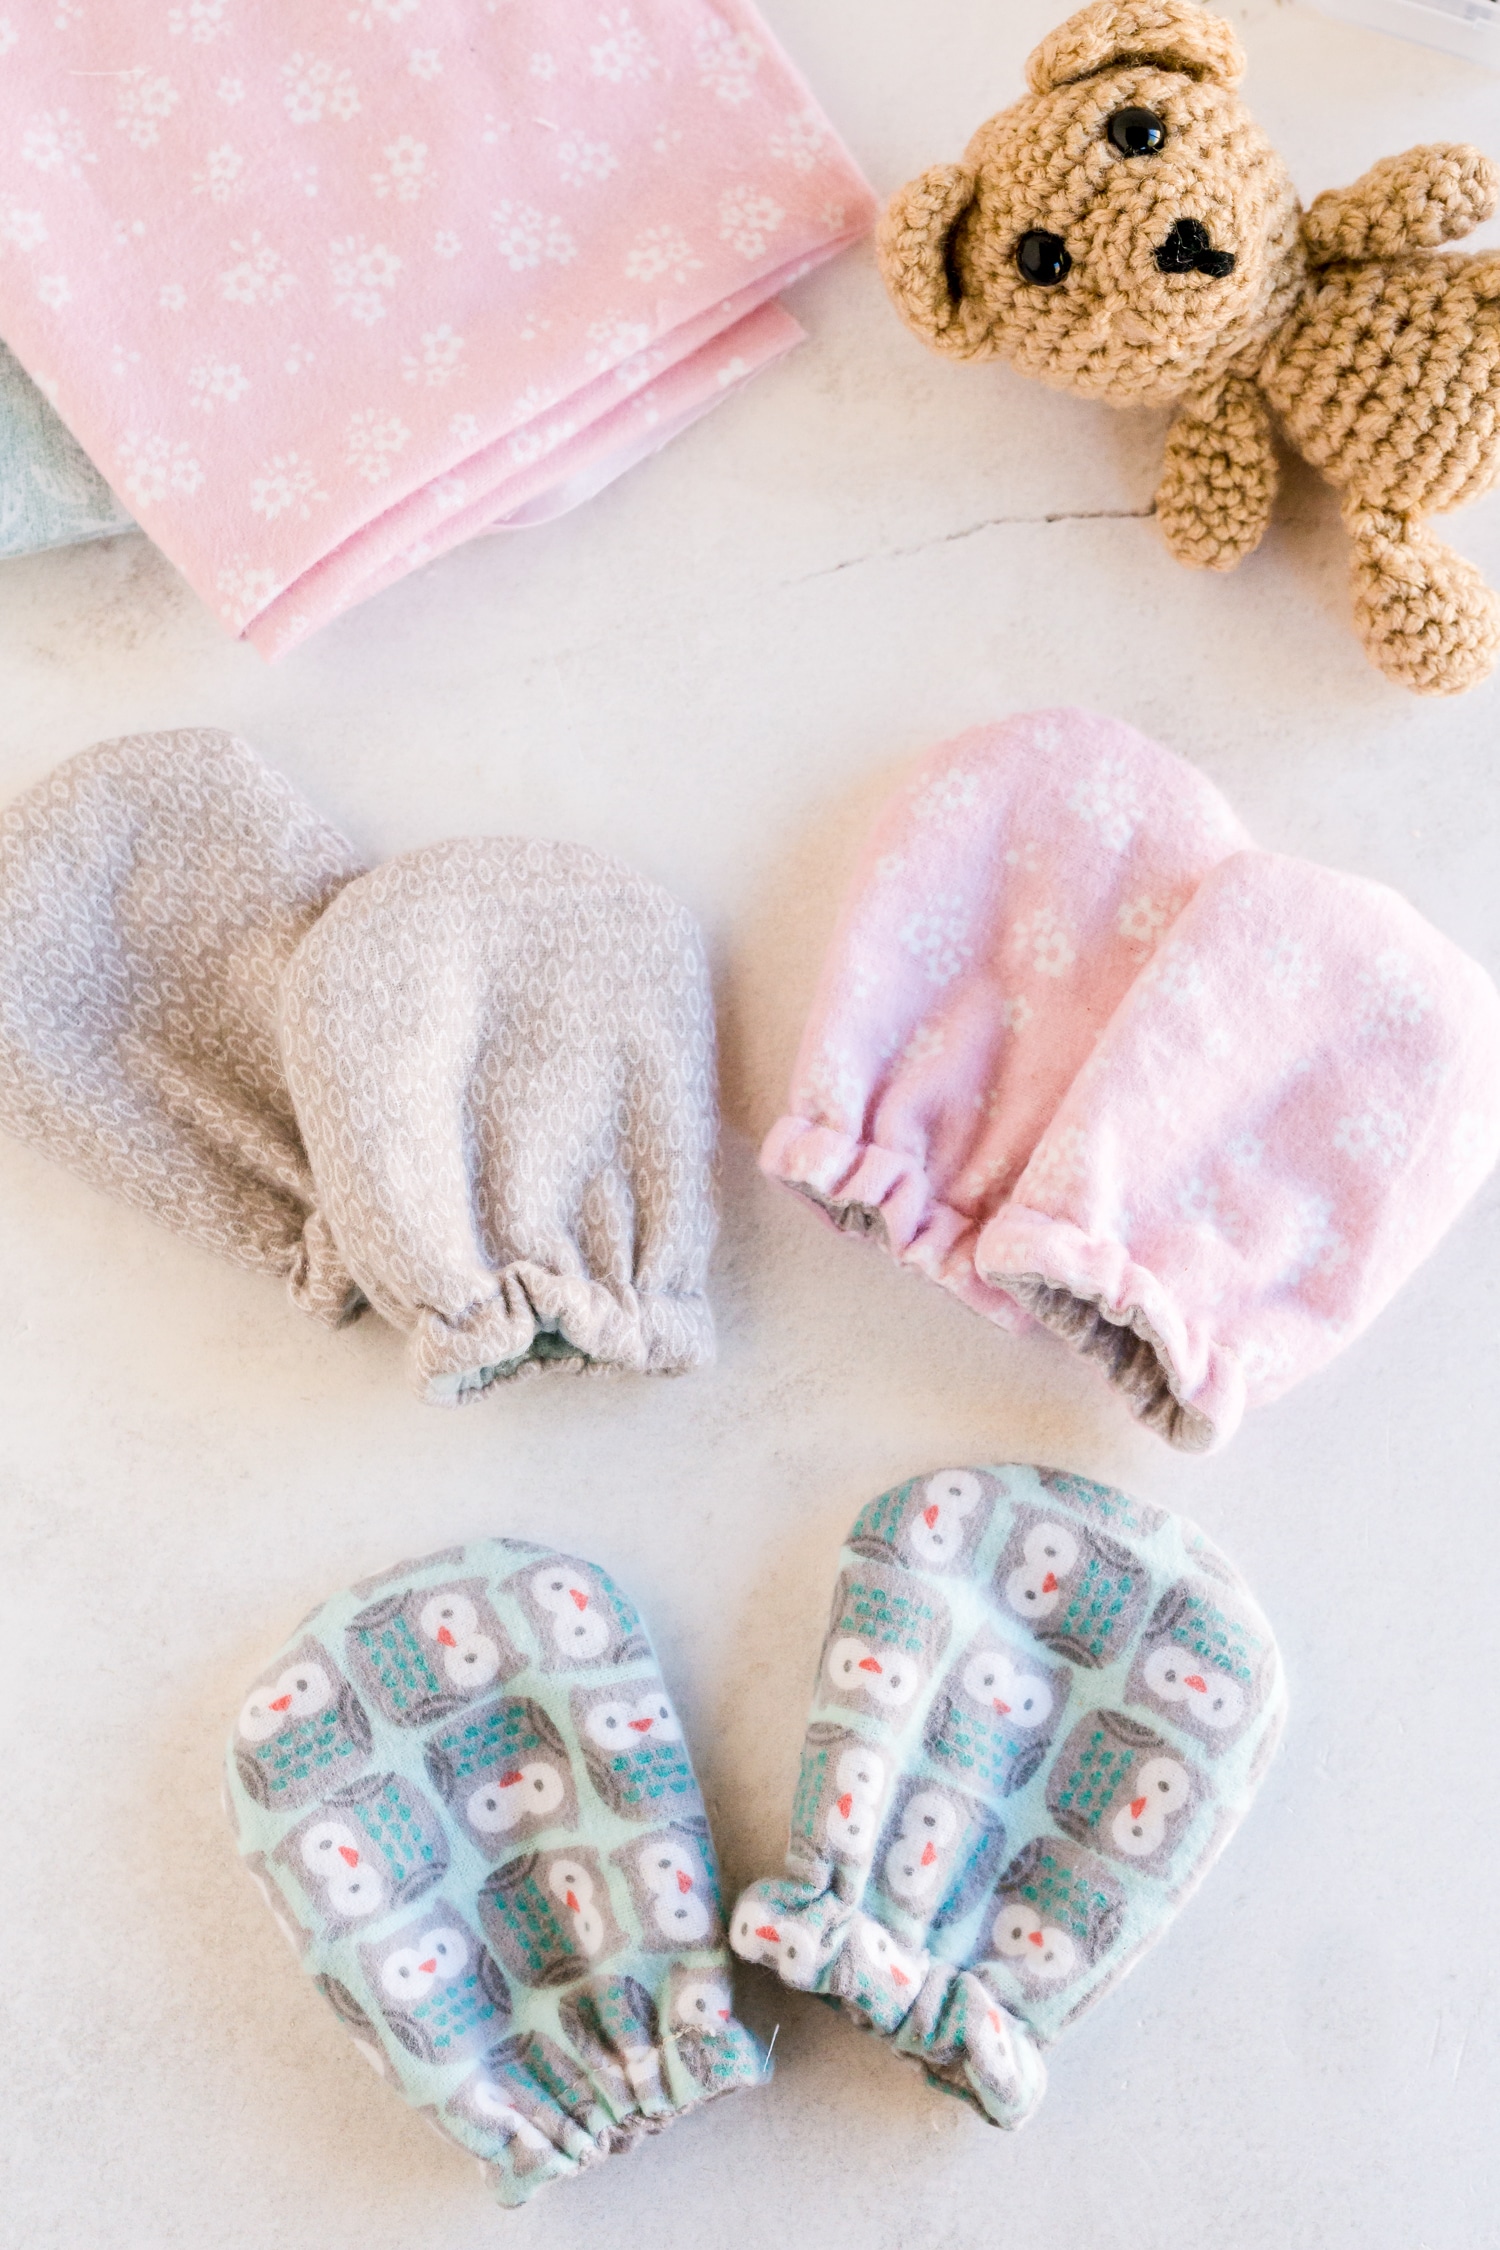
No Scratch Baby Mittens will keep your baby’s fingers nice and warm! Swap out a light weight fabric for flannel during the summer months.
NO SCRATCH BABY MITTENS
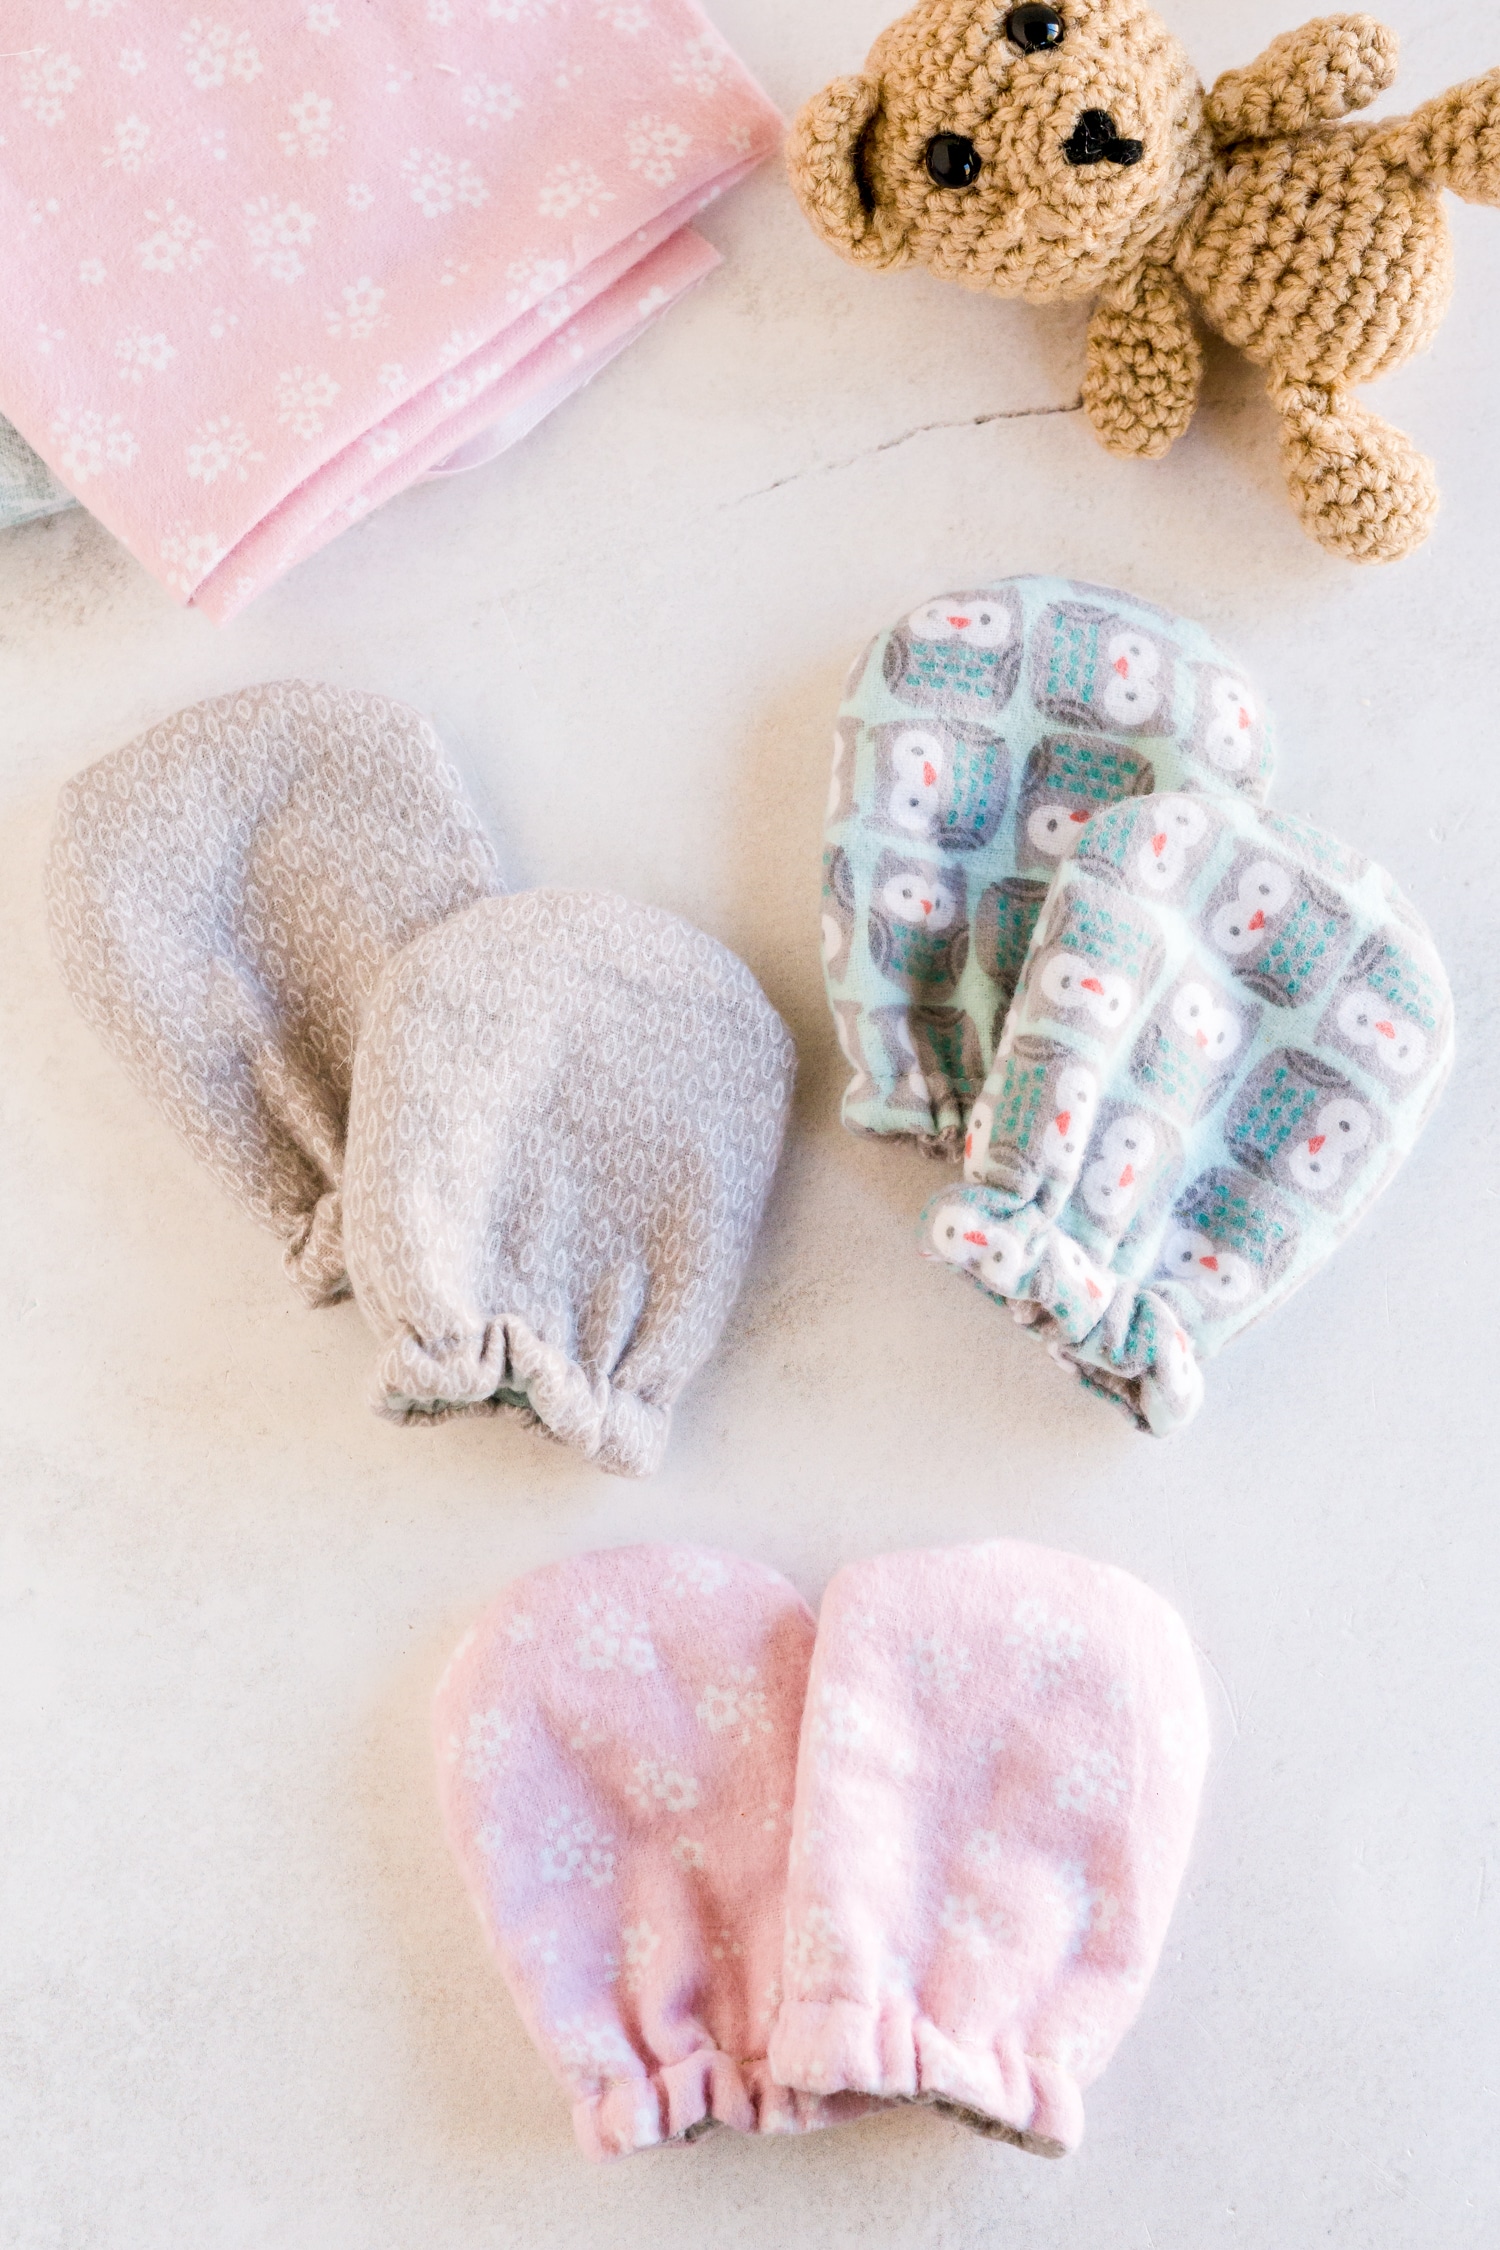
All three of my babies were born doing the cooler months of the year. My oldest was born early April, which in Pennsylvania is still pretty cold. Carter was born in January and my daughter Addyson was born in November. These no scratch baby mittens were made out our flannel for my babies but these can easily be made with two lighter cotton fabric pieces for those hot summer babies.
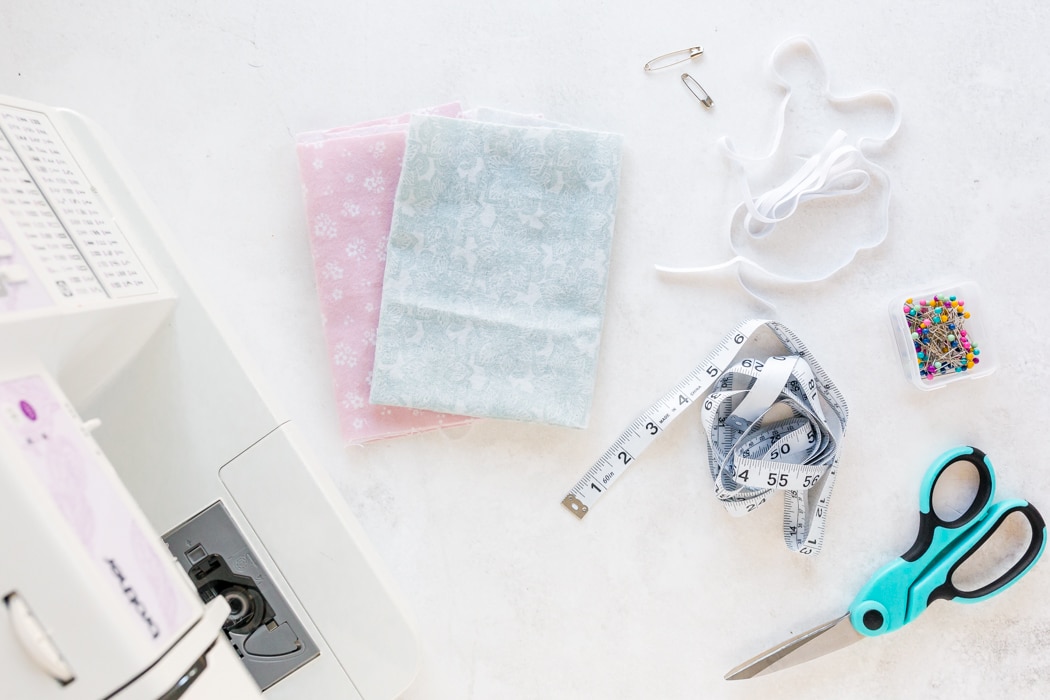
Baby Mittens Materials:
- 1 fat quarter for Main Fabric pieces
- 1 fat quarter for lining
- (2) 4 inch pieces of 1/4 in. elastic, you may need to make the elastic smaller for a smaller baby
**These mittens may be a tad bit too big for a newborn. These mittens fit my babies best around 6 months and older. If you want to make these for a newborn I would make the overall mitten size in step 1 about 1 inch smaller**
How to Make No Scratch Baby Mittens:
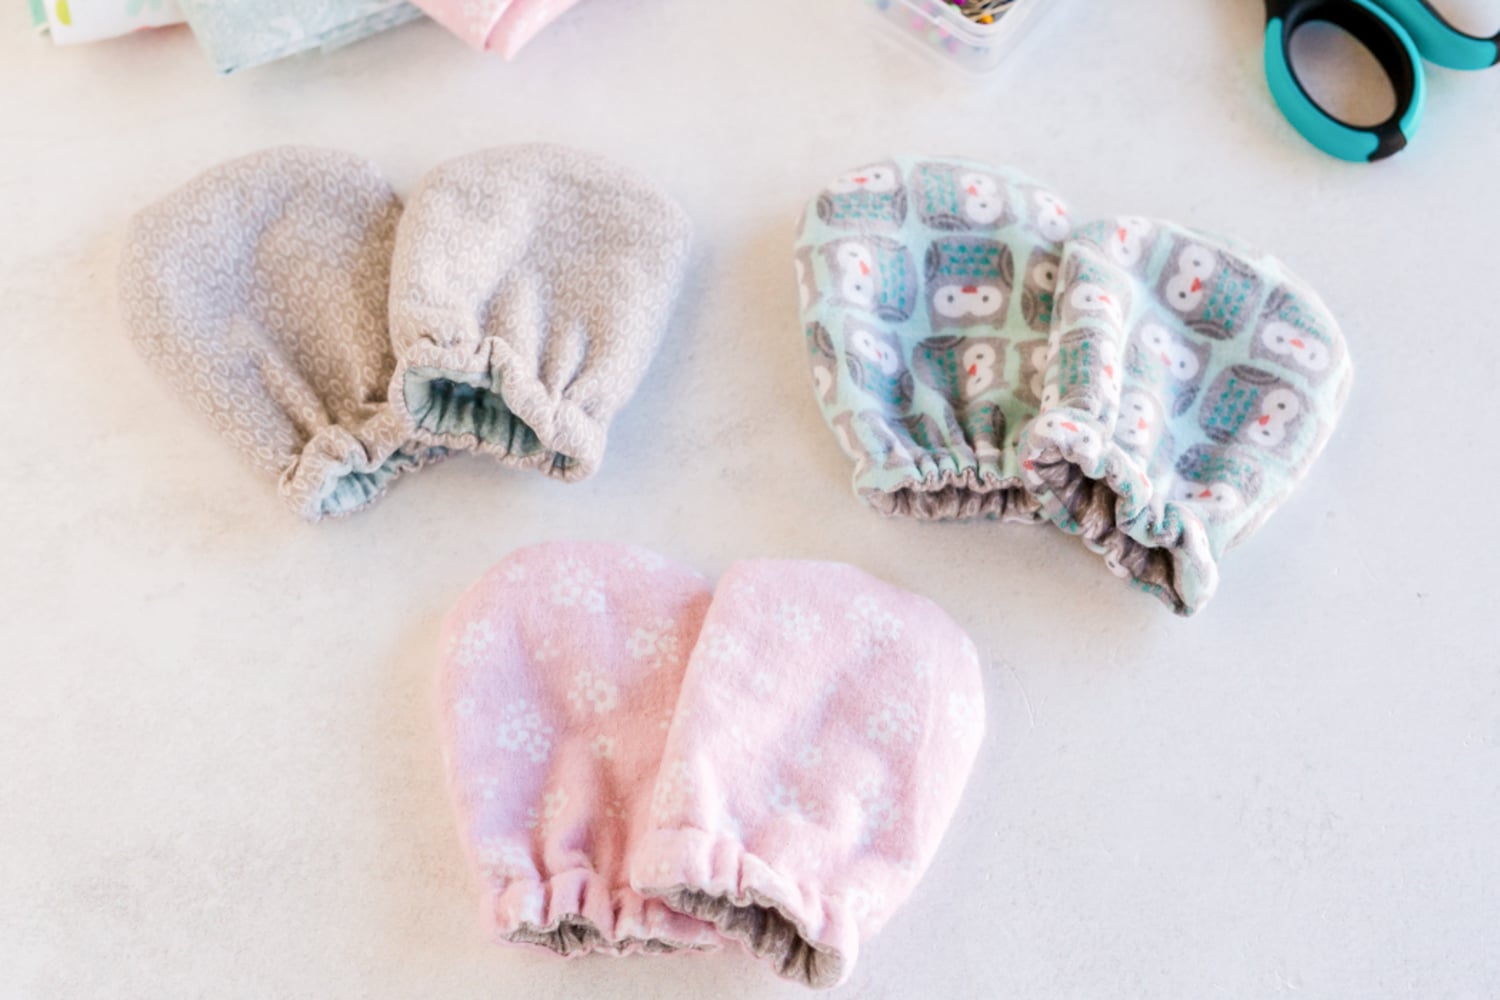
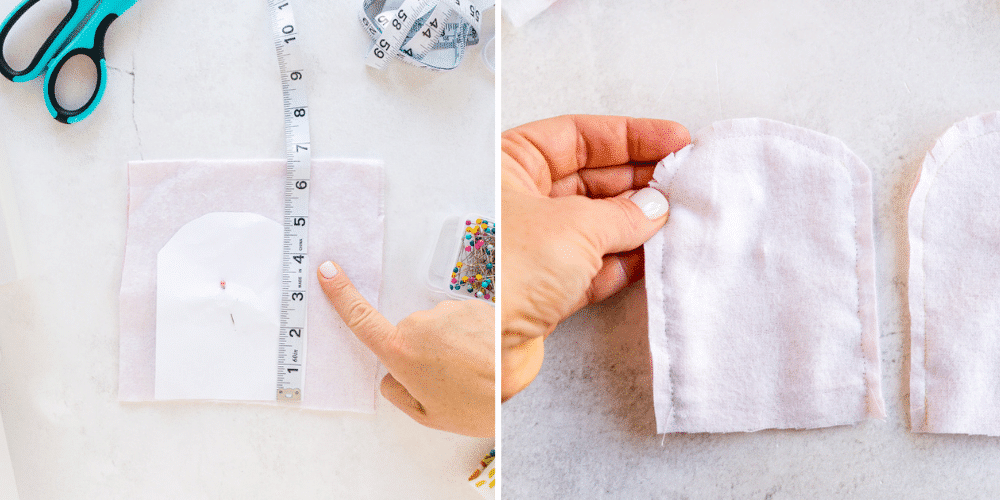
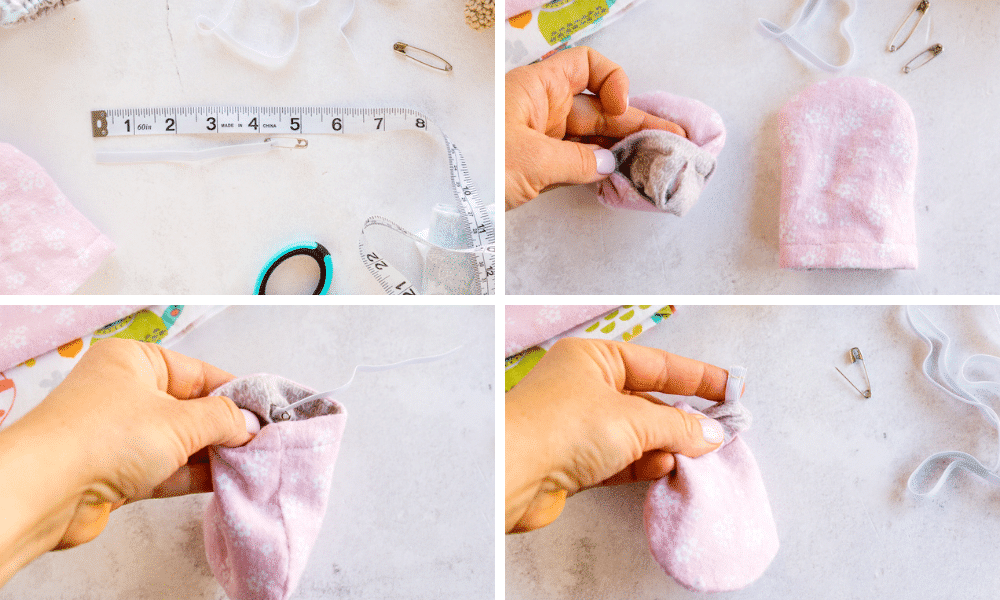
1. Start off by cutting out a mitten type shape. Mine was about 4 inches wide and 5 inches tall. At about 4 inches I rounded the top. You will need to cut TWO Main pieces and TWO lining pieces per mitten. You should have 8 fabric pieces for a set of mittens. Again, if you are making these for a baby smaller than 6 months I would downsize this a bit.

2. Lay your two MAIN pieces RIGHT sides together and sew around the edge with a 1/4 inch seam. Clip the curve of the mitten so it lays nicely once turned. Turn your main piece right side out.
3. Take your two lining pieces and lay them RIGHT sides together and sew. Leave a small opening on one of the sides for turning.
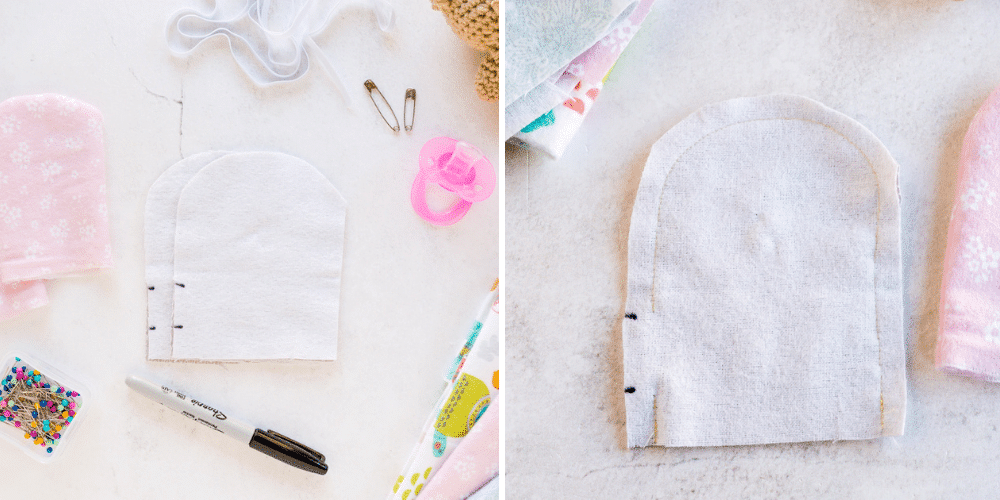
4. While your lining is still inside out, insert your main piece into the lining. The pretty side of the fabrics should be facing each other. Sew around the top edge and turn right side out by pulling your main piece and lining through the opening.
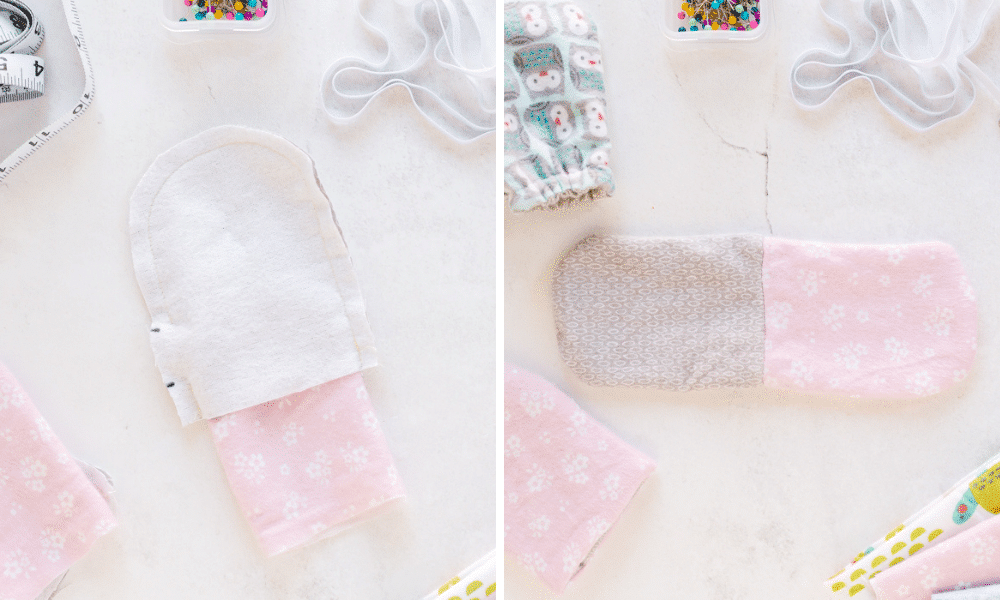
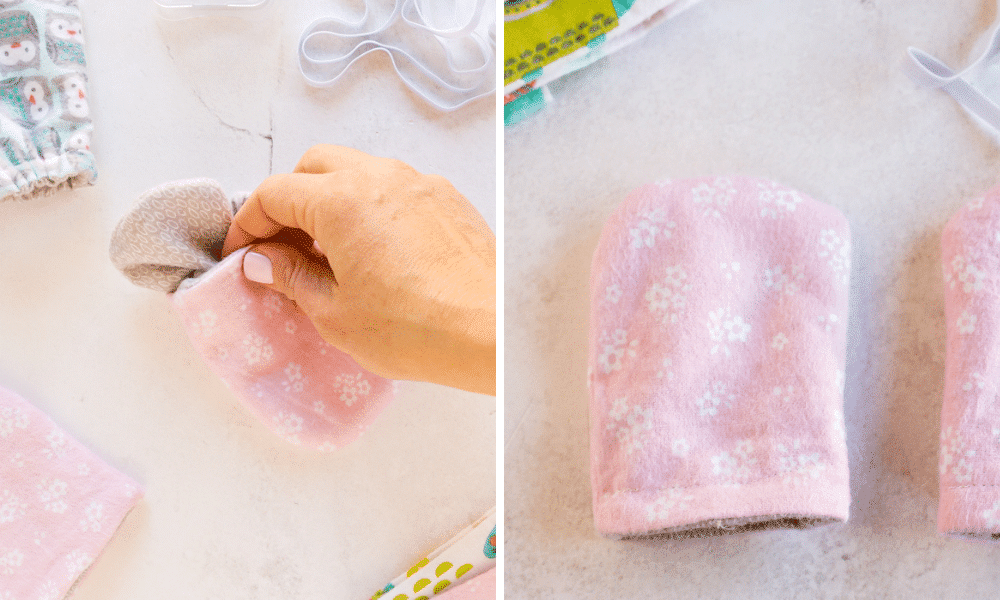
5. Insert lining into your main piece. Topstitch around the edge of your mitten with a 3/8 inch seam making sure to leave a small opening near the opening that is in your lining.
6. After the casing is sewn, you will need to cut your elastic to the size needed. I cut mine at 4 inches. Pin a safety pin on one edge of the elastic and thread it through the casing until it comes out the other side. Make sure you are still holding on to the piece of elastic at the end you started so it doesn’t get lost in the fabric. After you pull your elastic all the way through, sew your elastic pieces together.
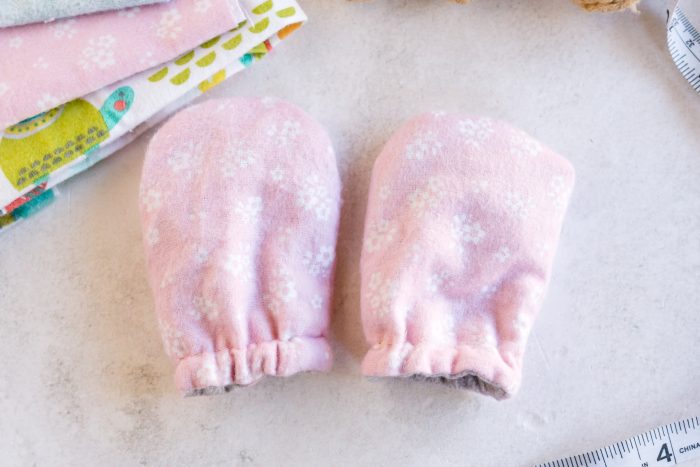
7. Pull your lining out slightly and sew the opening closed along with the top stitch on the outside of the fabric. You should have a perfectly cute, “keep those chubby little fingers warm” mitten.
For more simple sewing projects try these:
This post was published on October 18th, 2012. It has been updated as of December 22, 2020 with new photos and and easier to understand instructions.


Could ribbon be used instead of elastic?
Hi! Where do I find the free mitten pattern?
I have a serger and made these with fleece without the lining. Super quick and easy. Thanks for an adorable pattern.
With the amount of fabric suggested, could you make more than one pair from the same stock of fabric?